Do you want to know how to display all of your WordPress posts on just one page? Many websites will display one post at a time. This is the classic approach and has one strong disadvantage. Visitors must find another post on your website and click on it. You might be thinking, well yeah, but what’s wrong with that?
It is extremely common for a visitor to read one post and leave. In fact, visitors are more likely to spend 15 seconds on the page looking for a a particular piece of information and then leave. Having all of your posts on one page gives the visitor less of a chance to leave because they just need to click on one of them. Today, I will demonstrate how to display all of your posts on one page using two methods.
Why Display All of Your WordPress Posts on One Page
Generally, you will only set your most recent and most popular content to show up on pages. This will ensure that your newest content gets attention while keeping popular content in the spotlight. Of course, if you are an older website, you most likely have a lot of content that is not in the spotlight. Most visitors will only be able to find that content through a search engine or through the website’s archive page.
Instead of relying on search engine results and your archive page, why not build a page with every post on it? This will help visitors find any post on your website in one location. If you have a lot of content and I mean a lot of content, this could result in a very overwhelming page. In this case, you may want to actually not put every post and choose to display more popular or well-received articles. Many visitors see a lot of content and get overwhelmed, which is why busy pages are not a good practice.
How All of Your WordPress Posts Can be Displayed on One Page
Today, I will demonstrate how to display all of your posts on one page using two methods. Displaying all of your posts on one page is very easy and there are multiple ways to go about it. I will go over two of these methods. The first is using the Display Posts Shortcode plugin. It has over 100,000 active installs and as the name suggests displays all of your posts through one simple shortcode.
The second method will involve no additional plugins but use page template code. If you are not comfortable with coding, I would recommend using the first method. With that being said, even if you are comfortable with editing code or inserting a snippet, this is on a different level. Before starting I would recommend creating a backup of your website. This will ensure that if a mistake is made you can simply revert to the version of your site before the code was added.
Plugin Method
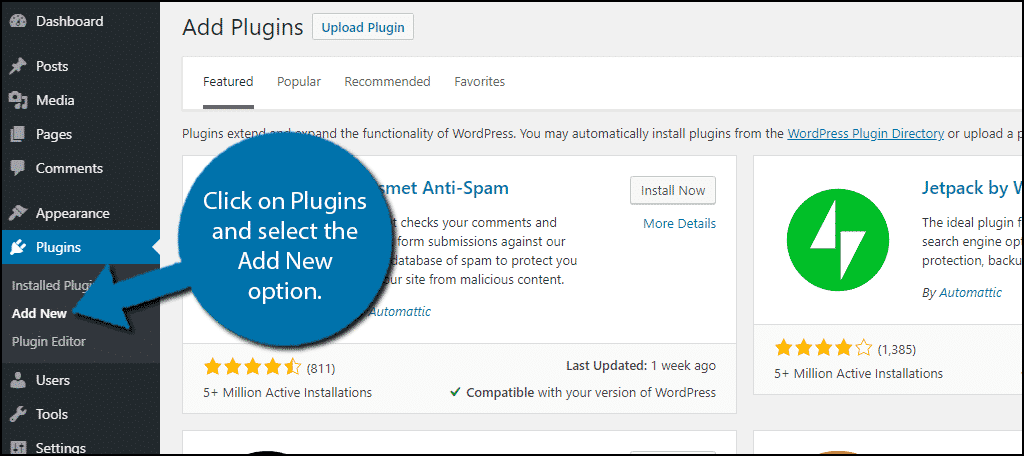
Start by clicking on Plugins and selecting the Add New option on the left-hand admin panel.

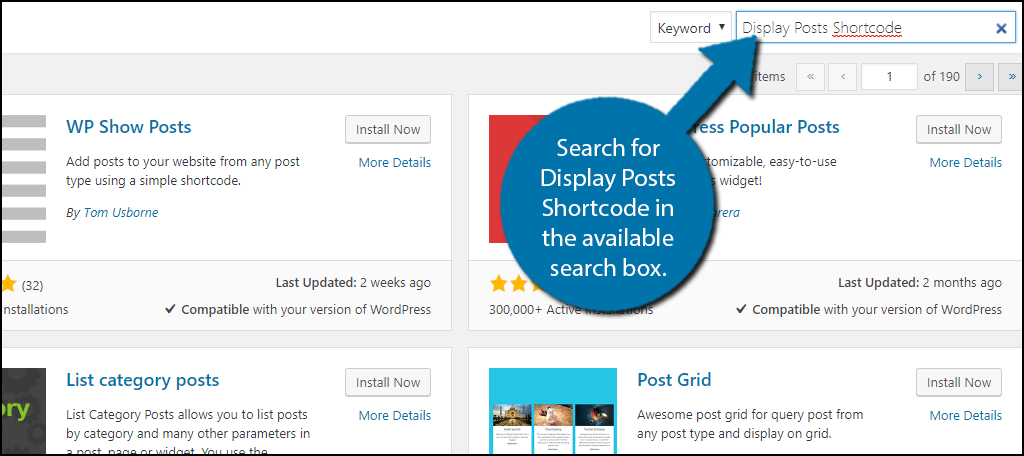
Search for Display Posts Shortcode in the available search box. This will pull up additional plugins that you may find helpful.

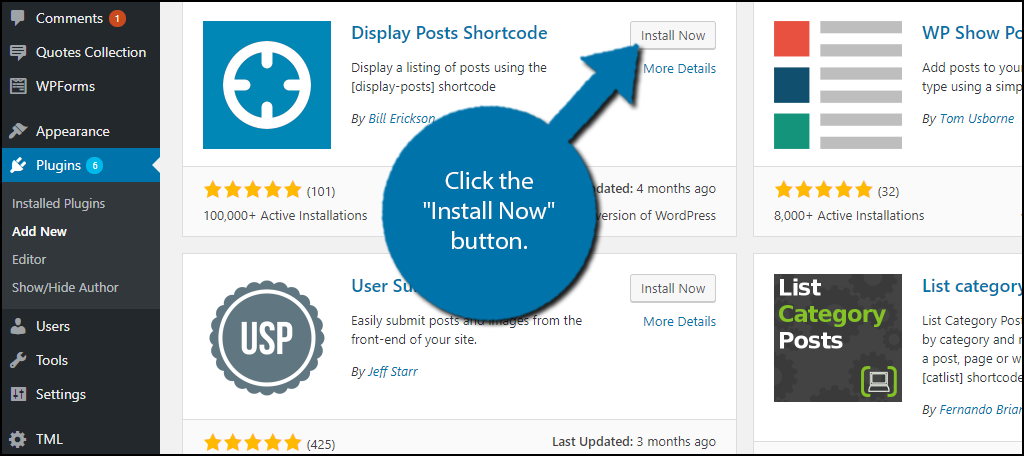
Scroll down until you find the Display Posts Shortcode plugin and click the “Install Now” button and activate the plugin for use.

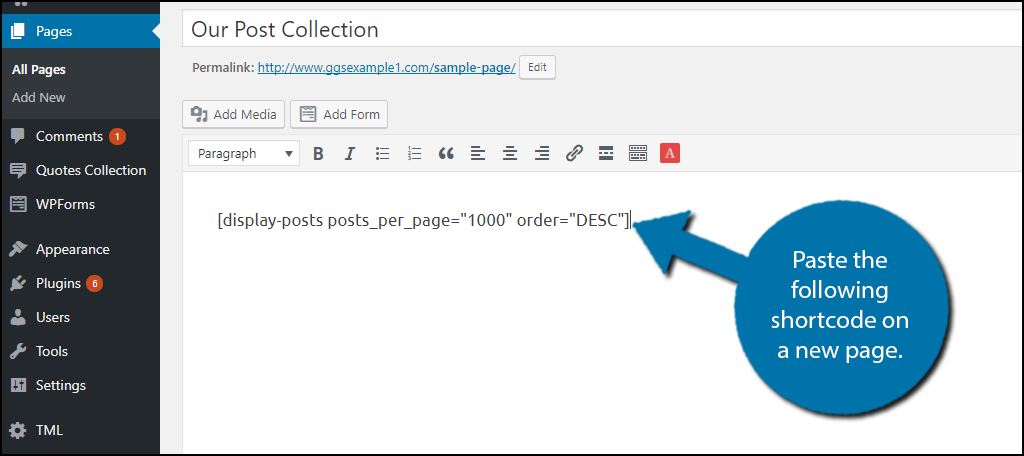
Unlike other plugins, this one does not have a settings page. It works correctly after activation. To use this plugin, simply paste the following shortcode on a new page:[ht_message mstyle=”info” title=”” show_icon=”” id=”” class=”” style=”” ][display-posts posts_per_page=”1000″ order=”DESC”][/ht_message]
It will show 1000 posts, but if you have more, change “1000” to the appropriate number and leave room for new ones. It is in descending order and you can change it to ascending by replacing “DESC” with “ASC” if you wish. Remember to name the new page appropriately.

Congratulations, your page will now display all of your website’s posts. Remember that you can change the order at any time. Descending is recommended because your newest content will appear first.
Page Template Code Method
Before you attempt this, I really need to stress that the process is very tedious and not for beginners. You also need a reasonable level of understanding of code languages like HTML and PHP to ensure no mistakes are made. It is easy to make a mistake and not know where the problem is.
The first thing you need to do is create a custom page template. It is a very involved process, but once it is made you can use the template for almost anything. Please follow this step-by-step guide we have written on the topic.
Once you have your template created, copy and paste the following code into the template:[ht_message mstyle=”info” title=”” show_icon=”” id=”” class=”” style=”” ]
// the post
$all_post = new WP_post(array(‘post_type’=>’post’, ‘post_status’=>’publish’, ‘posts_per_page’=>-1)); ?>
have_posts() ) : ?>
- ”>
have_posts() ) : $all_post->the_post(); ?>
[/ht_message]
This code will simply keep looping until all of your website’s posts are visible. If this code does not make sense to you, don’t worry. I don’t recommend using this method if it doesn’t.
Congratulations, you should have a custom page that displays all of your posts now. Keep in mind the purpose of a custom page template is to edit it to give the page a special appearance. This allows it to stand out from the rest of your website, but make sure it works with the look of your theme.
Keep Your Content Visible
It’s very hard to get a website ranked, which means relying on search engines to pull up your content is not ideal. In fact, usually, only your newest content will appear on search engines. This makes it important to ensure that anyone who finds your website is able to find all of your content. It is very common to have single digit viewers when you start out.
This will make your launch content not get much attention, but that doesn’t mean that content should be hidden. Providing your community with a healthy supply of quality content is a great way to keep viewers on your pages. Of course, make sure you are still producing fresh content for the visitors that have been there from the start.
Which method did you use? Do you like using plugins better than coding solutions?
