Do you want to build a helpful knowledge base to provide support information to your customers? If so, the BetterDocs plugin is the perfect choice for the job. It’s simple to use, stylish, and most importantly, free.
Setting up a knowledge base can help reduce the number of phone calls you receive, which means you don’t need as many support agents. Thus, it will ultimately save you money, and 75% of customers think they are convenient.
Today, I will demonstrate how to build your very own WordPress knowledge base with the BetterDocs plugin.
What is A Knowledge Base?
A knowledge base is a resource customers can use to solve common errors they experience in a service. And unlike calling for customer support, there’s no wait time, as customers can quickly find the answer they are looking for.
Any company worth its salt has a knowledge base for products or services.
In truth, these have become necessary for large companies with millions of customers. It is unrealistic to support millions of customers through a single phone service. Instead, knowledge bases provide a simple, yet effective solution to customers experiencing problems.
And it can help lower the number of employees you higher for direct customer support.
How to Use BetterDocs in WordPress
Step 1: Install BetterDocs
BetterDocs is a comprehensive knowledge base plugin that is completely free and simple to use. It allows users to build large knowledge bases that are easy to navigate. And if you have multiple services or products, don’t fret. The plugin allows you to create multiple knowledge bases on a single site.
Thus, it is a powerful tool in the hands of a developer. The customization options are truly spectacular and there are many options to choose from. As a result, it will be able to fit in on any website with the proper configurations.
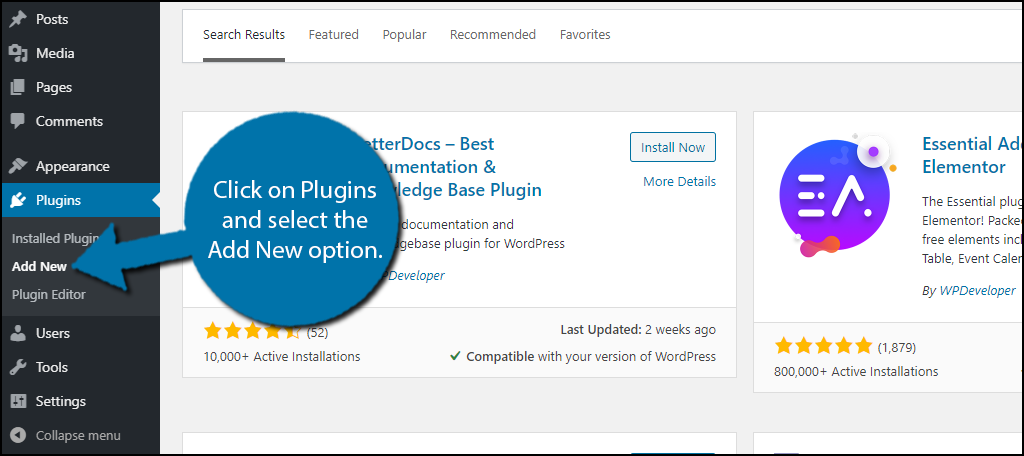
Let’s start by clicking on Plugins and selecting the Add New option on the left-hand admin panel.
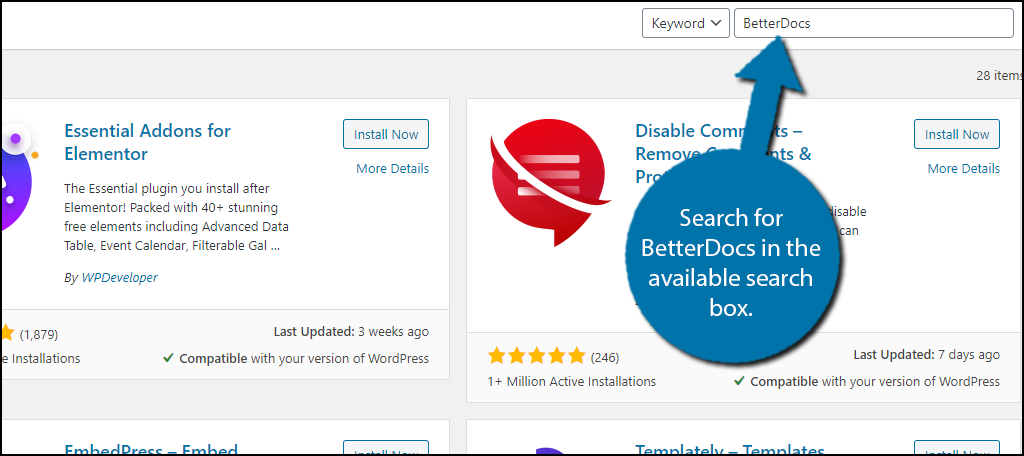
Search for BetterDocs in the available search box. This will pull up additional plugins that you may find helpful.
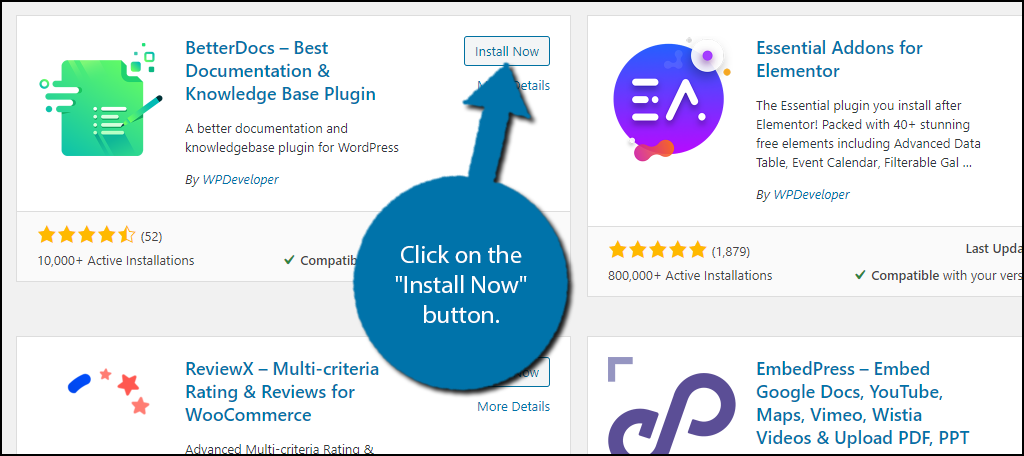
Scroll down until you find the BetterDocs plugin and click on the “Install Now” button and activate the plugin for use.
Upon activation, you will be brought to the Getting Started section of BetterDocs. This will help you begin setting up the plugin, so let’s get started. Keep in mind, I will go into greater detail about everything, so if you are more interested in that feel free to skip this section.
Note: In case you exit the screen, you can access this section by clicking on BetterDocs and selecting the Quick Setup option.
Step 2: Getting Started
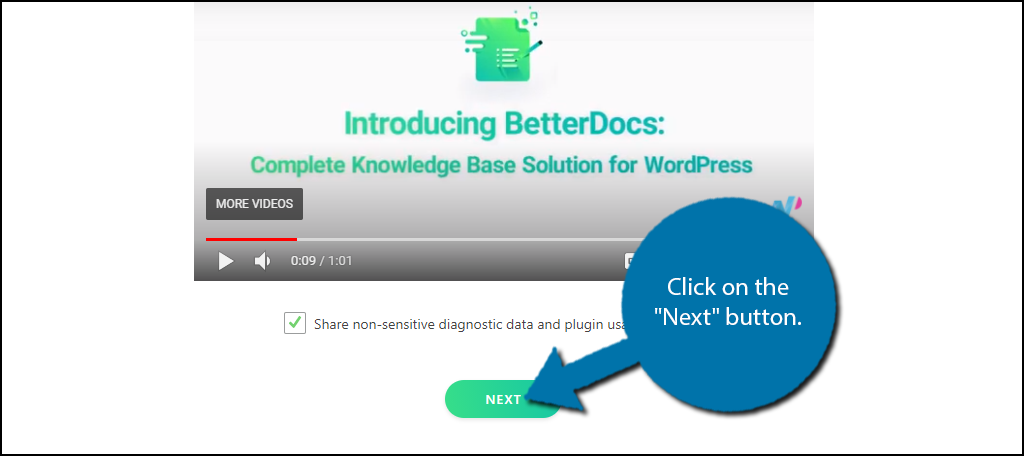
The first part will provide a short overview video that you can watch. It only takes a minute, so you might want to consider viewing it. Click on the “Next” button when you are ready to continue.
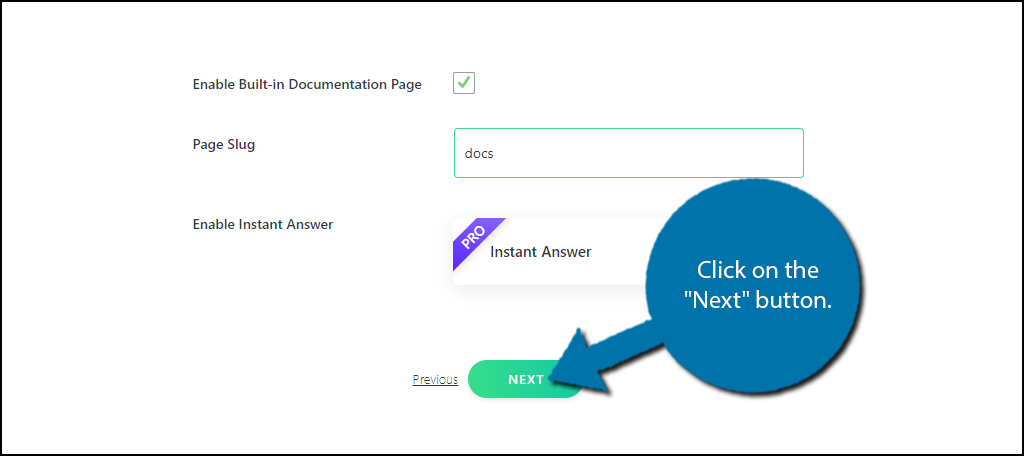
The next section deals with page options. Here, you can decide to enable the built-in documentation page, the page slug, and if you have the pro version, enabling instant answers.
Click on the “Next” button when you are ready.
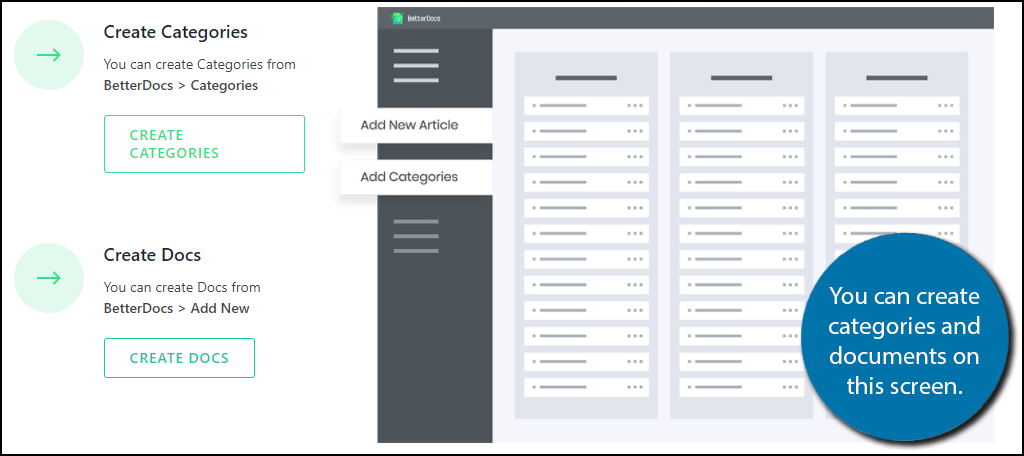
The next section is for creating content. With that said, it is very unlikely that you are ready to do this, but if you are, click on the “Create Categories” button to add categories. You can also click on the “Create Docs” button to begin creating documents.
You can do this at any time, so feel free to skip this at the moment.
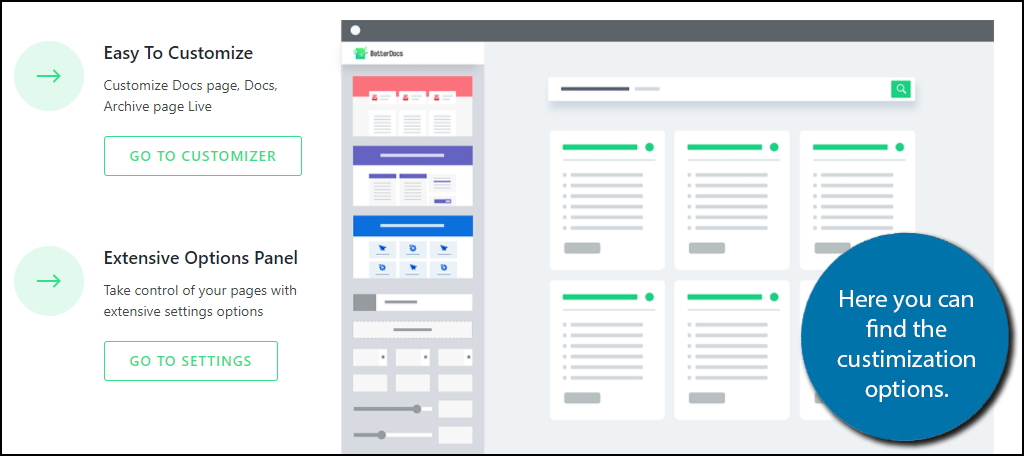
The next section is all about customizing, well, everything. The “Go To Customizer” button will bring you to the customization section of WordPress. You can customize the appearance of everything related to the BetterDocs plugin. And you can see the changes as you make them.
Odds are this may take several minutes, so be patient and make sure it looks good.
The “Go To Settings” button brings to the BetterDocs settings section. Go through all of the tabs and customize the plugin to fit your needs. You can change these at any time.
The last section allows you to review the documentation page you should have created. I will now go into more detail about the crucial sections.
Step 3:Categories & Docs
Without a doubt, the two most important parts of a knowledge base are the categories you create and the documents.
Categories allow you to sort all of the documents you create, and that helps visitors find what they are looking for. After all, if a visitor can’t find what they are looking for, they are going to contact you for support. Because of this, it’s important to get the setup right.
Luckily, it’s really easy to create categories in BetterDocs.
Click on the Categories option within BetterDocs.
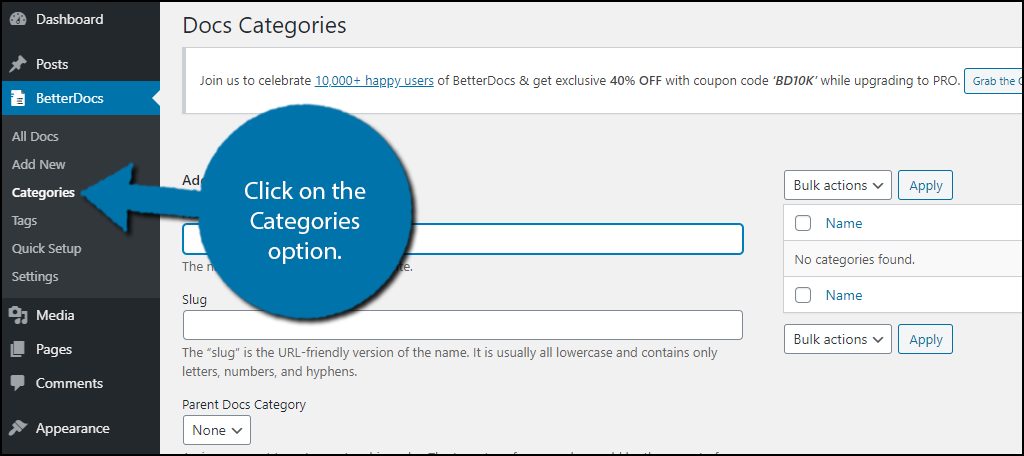
The categories section of BetterDocs should look familiar. It’s identical to the default WordPress categories section. Simply enter a category name, slug, description, order number, category icon, and click on the “Add New Docs Category” button.
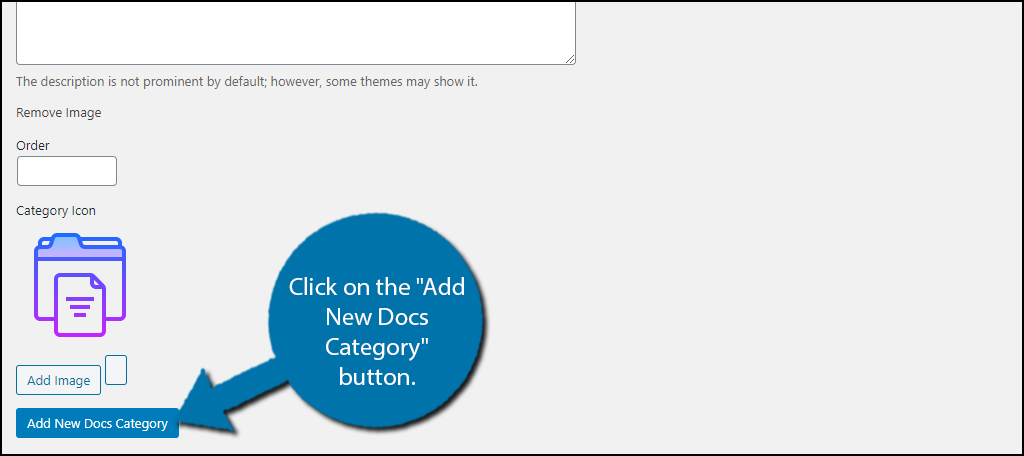
You can create as many categories as necessary. I highly recommend giving this a lot of thought because making navigation easy can significantly improve the user experience.
By clicking on the Add New option within BetterDocs, you will be brought to the WordPress editor you use (Gutenberg or Classic). Creating help documents is no different than regular posts, thus I will not provide an explanation.
However, be sure to assign any documents you create to the appropriate category and make sure they are correct. After all, there’s nothing worse than a knowledge base that gives out the wrong information.
Step 4: Customize the Appearance
You are going to need to make sure the knowledge base matches your website’s design. Although, some website developers like to make it stand out to draw more attention, so the choice is really up to you.
Luckily, BetterDocs is no slouch when it comes to customization options. Everything is done within the customization section of WordPress.
Note: To see the changes in real-time, you need to have at least one document on your website.
Click on Appearance and select the Customize option.

Click on the BetterDocs option.
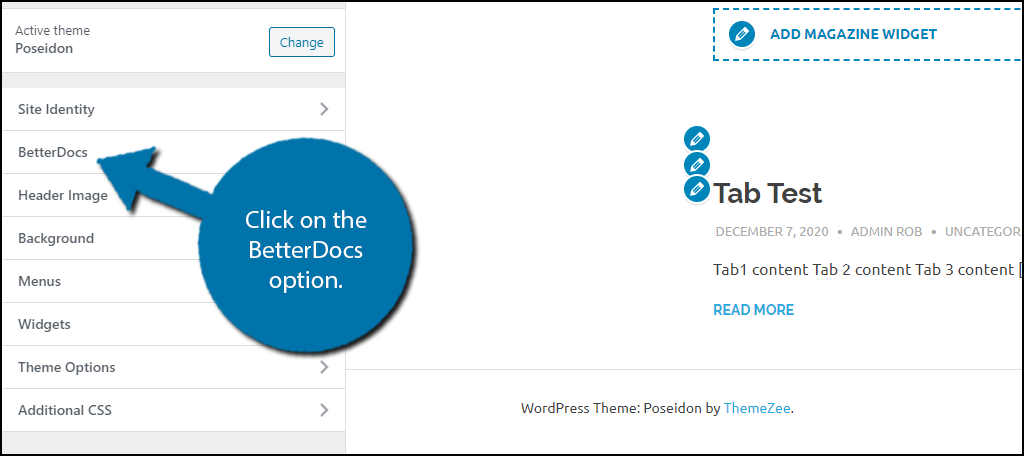
There are multiple options to choose from, but it’s actually really easy to set up since almost all of the choices are in the form of a switch or radio button.
Perhaps the most important choice is what the docs page will look like. Click on Docs Page and select the template you like best.
Note: Two of the options are only available in the free version.
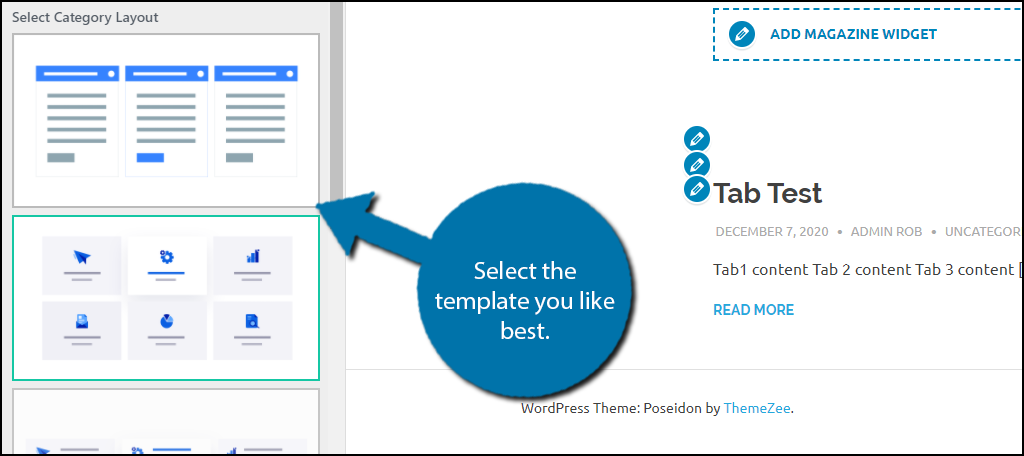
Carefully go through each area and make the best choices possible. That covers the major components of the BetterDocs plugin, congratulations on learning how to create a knowledge base in WordPress.
You Still Need Live Support
While a knowledge base will help alleviate the burden on your support team, it is not a replacement. You should still have live support in some capacity. Luckily there are many forms to choose from like phone support, live chat, or email support.
In fact, the more options you have the better. This not only helps more people get help, but it also helps lessen the burden on phone support. Some people prefer a live chat format, while others are happy to wait for email replies.
Why does your website need a knowledge base? Has adding one improved the customer experience?
