The first day of Winter, Christmas, or any time you feel like cooling off your WordPress site, add some falling snowflakes to set the mood. To invoke the WordPress snowfall effect, we’re going to use the WP Snow plugin. It’s easy to use and provides all the customization your snowy site could need.
“Falling” plugins are popular for many seasons or occasions. Falling leaves, rain, Valentine’s Day hearts – you can even send ghouls tumbling down the page for Halloween. But the free-falling snow effect is probably the most popular, so let’s take a look at how to do it.
How to Add Falling Snowflakes to WordPress
Step 1: Install the WP Snow Plugin
Log in to your WordPress admin panel.
In the left column navigation, mouse over the “Plugins” link and click the “Add New” link.
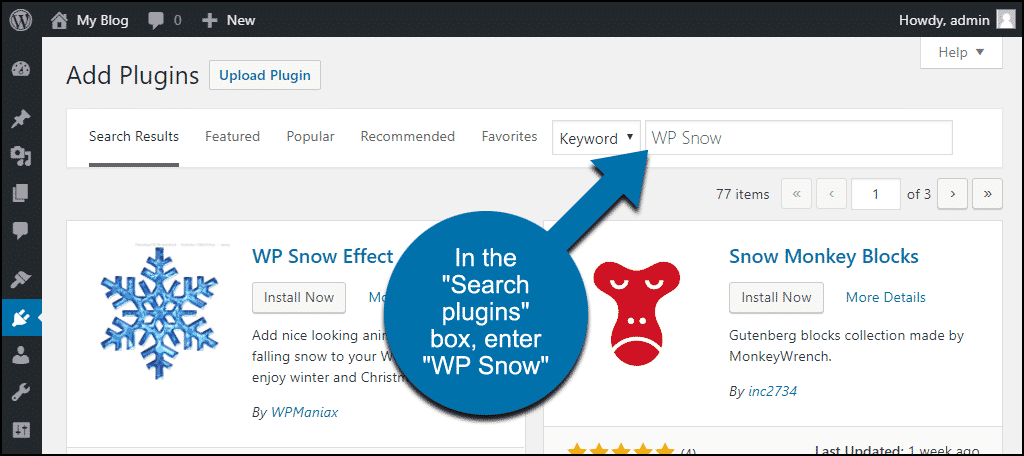
In the “Search plugins…” box, enter “WP Snow.”
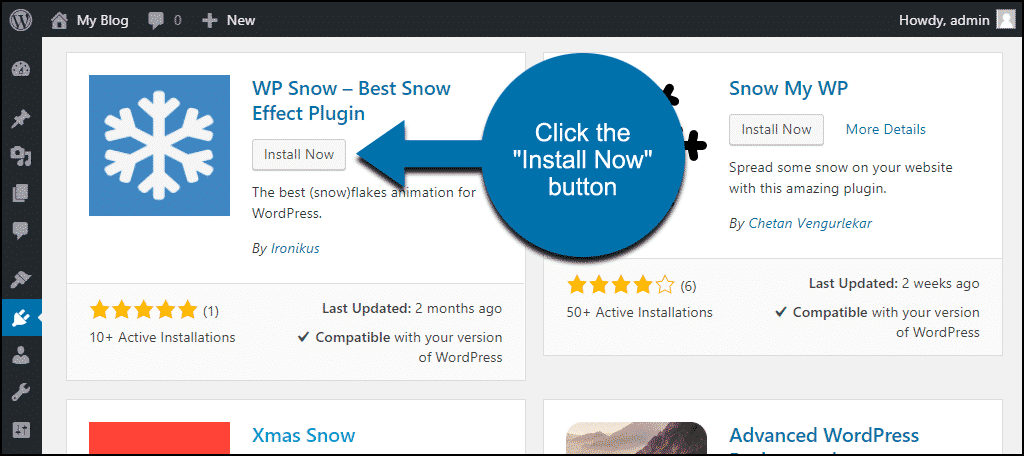
Once you have located the plugin, click the “Install Now” button.
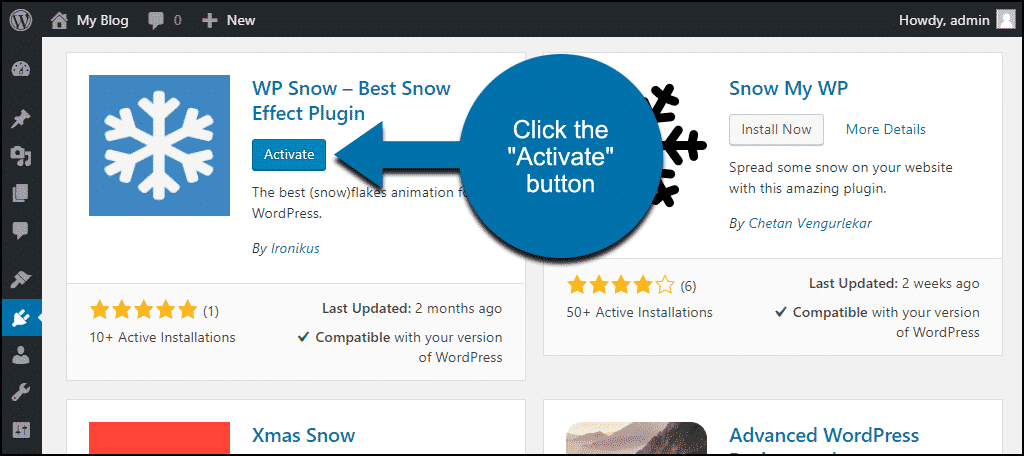
When the plugin has been installed, click the “Activate” button.
Step 2: Configure the Falling Snowflakes
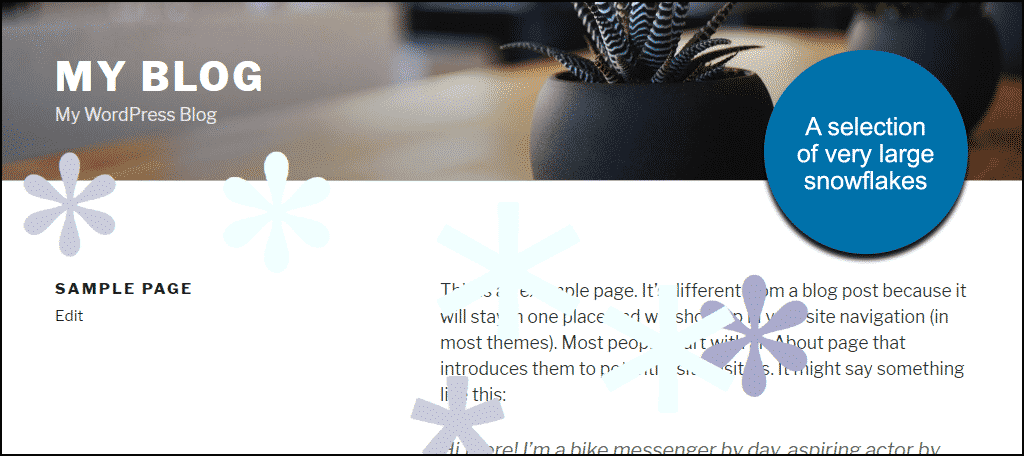
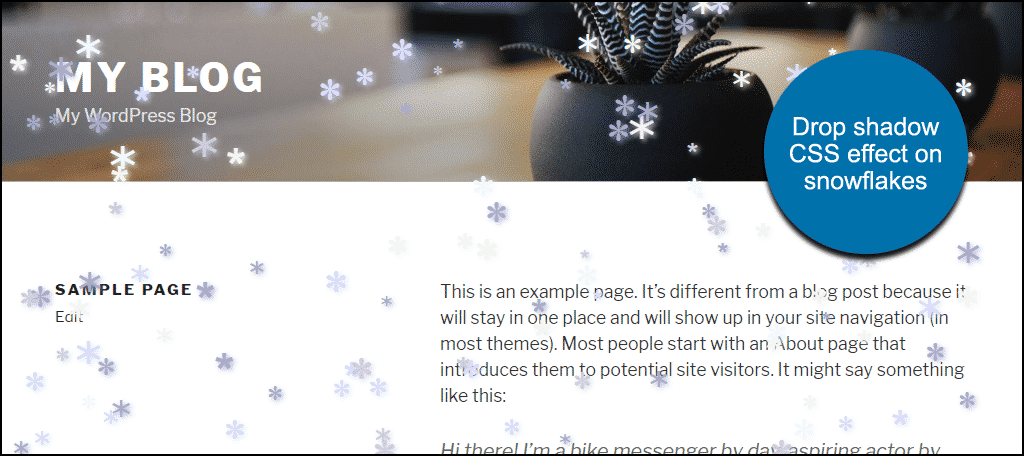
As soon as you activate the plugin, snow begins to fall all over your posts and pages.
It’s visible on both light and dark backgrounds.
But you have control over where the snow shows up and how it looks.
In the left column navigation, mouse over the “Settings” link and click the “WP Snow” link.
Here’s a rundown of the available settings.
Be sure to scroll down and click the “Save” button when you make a change.
Deactivate Snowflakes
Check this box to stop the snowstorm.
Number of flakes
The number you enter here controls the maximum number of snowflakes that are visible on a page at any given time. If you’re tempted to enter a really high value here and create a blizzard, bear in mind that the more snowflakes you display on the screen, the longer the initial page load time.
An extremely high value will crash the page, so keep the snowfall gentle.
Flakes falling speed
The higher the number you enter here, the faster the flakes will fall. It will accept very high values. But if you go too high, the effect becomes less gently falling snow and more strange vision test.
So you probably want to keep the value below 5.0.
Flakes maximum and minimum size
The higher the value here, the larger the potential flakes. Likewise, with the minimum value, that’s your smallest flake.
Flakes refresh time
This is a value in milliseconds that controls the refresh rate for the effect. Entering a lower number here has the same impact as increasing the “Flakes falling speed,” but I suspect it’s more resource-intensive to lower the refresh time.
You may want to leave the default value for this one.
Flakes z-index
If you’re up on your CSS, you know that the z-index controls the vertical stacking order of overlapping elements. The makers of WP Snow say this value controls “the depth of your flakes,” but I didn’t see any changes when entering wildly different values here.
Flakes Entity
Spoiler alert: the default snowflake is just an asterisk. This value will accept any keyboard input, so if you’d like, you can have falling tildes, question marks, or even “RUN FOR YOUR LIFE!” in a menacing crawl down the screen. (The last option is not recommended for business sites.)
Additional Flake Styles
This option lets you apply CSS styling to the flakes. For example, to add a drop shadow effect you could enter: text-shadow: 2px 2px 5px; (don’t forget the semicolon to close the style).
Flakes color
This setting accepts color hex values to set a range of colors for your snowflakes. If you enter one hex value here, all of your flakes will be the same color. Enter a (comma-separated) range of values, and the color of the flakes are randomized.
Flakes Fonts
Similar to the “Flakes color” setting, this lets you choose the font(s) used for the snowflakes. If you enter one font name here, all of your flakes will be the same font. Enter a (comma-separated) range of fonts, and the flakes will randomly take on the different typographies.
Make sure you use web-safe fonts here.
Activate Font Awesome
Okay, this is where it gets weird.
Are falling snowflakes to tame for you? Are descending question marks not quite strange enough?
How about falling bathroom scales?
Or swimming pool ladders?
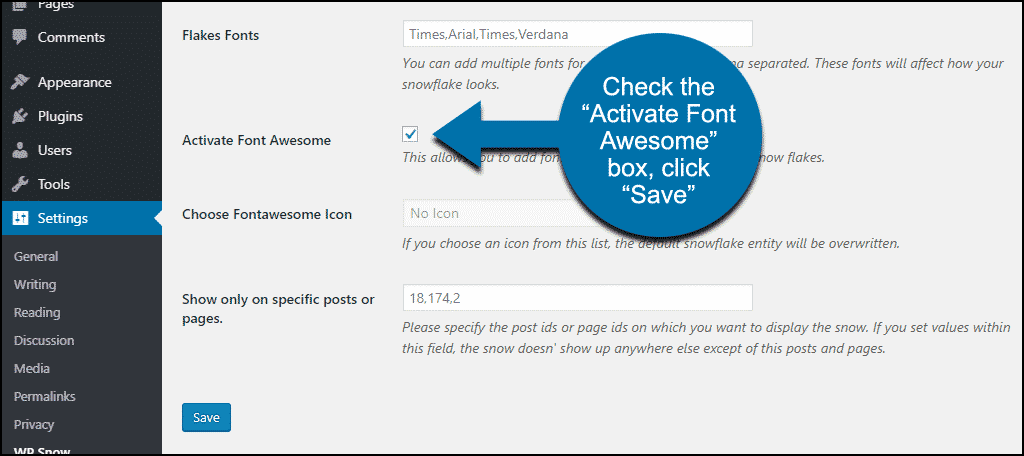
To play around with this function, first, check the “Activate Font Awesome” box and click the “Save” button.
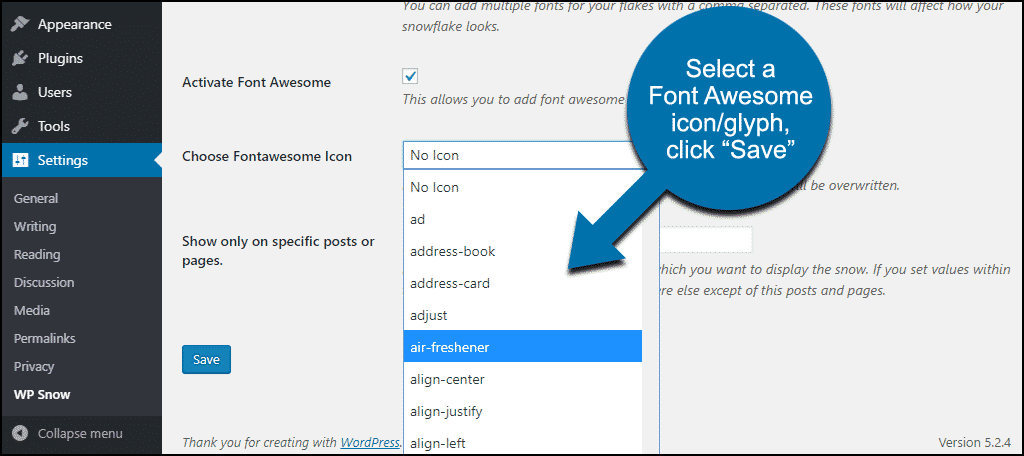
Then in the “Choose Fontawesome Icon” section, select something from the drop-down and click the “Save” button.
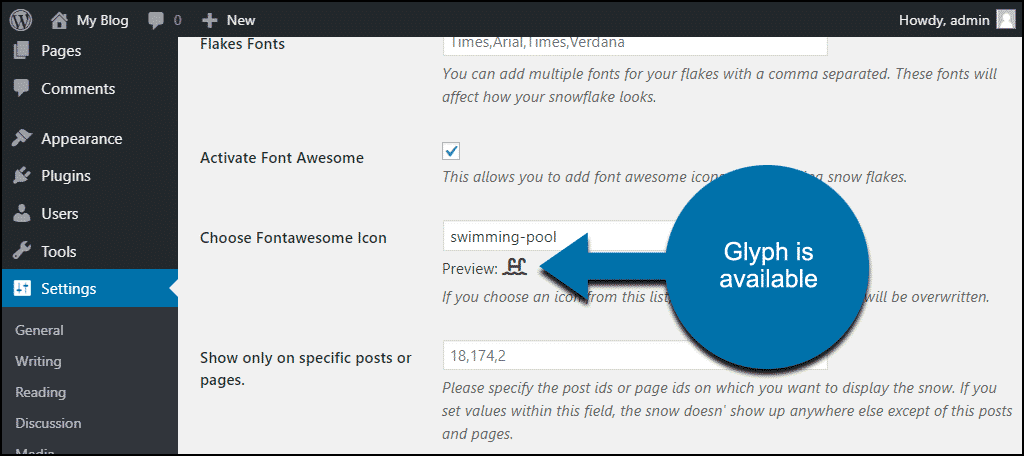
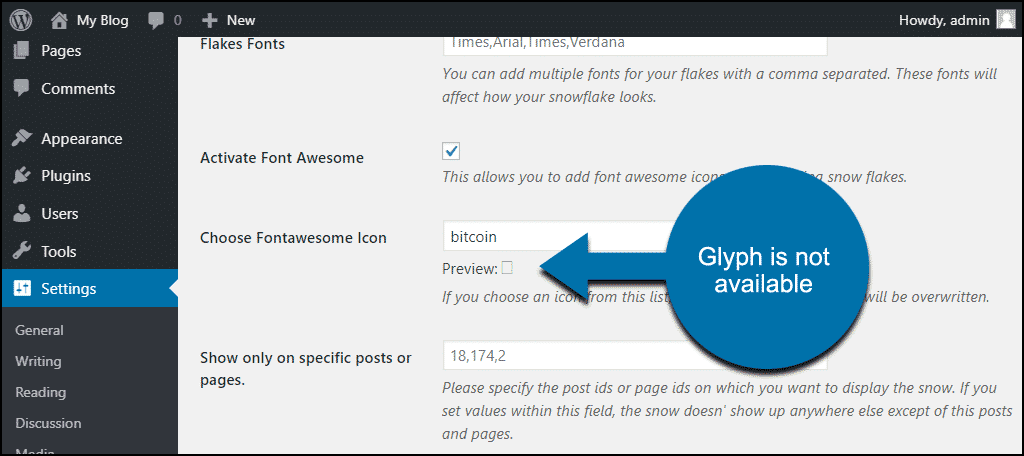
Not all of the Font Awesome glyphs will be available. Some of them will only show up if you have a Font Awesome subscription. You can see a preview after you “Save.”
If the glyph is available, it will show up:
If it’s only available with a subscription, you’ll see an empty box:
As a general rule of thumb, the glyphs listed at the top of the drop-down are available; those at the bottom are not.
Show only on specific posts or pages
Finally, this setting lets you specify which pages or posts where the WordPress snow effect appears. Just enter the page or post IDs, and the effect will appear only on those pages. You can find the page or post ID by looking in your address bar while editing.
Let It Snow
Where I live, there are days during the summer when the temperature creeps above 110 degrees. On those days, I could use the refreshing image of some falling snow on my websites to make things a bit more bearable. But Winter is the time for this effect to shine, so strap on your reindeer ears and give this plugin a spin.
Do you use seasonal decorations on your WordPress site? Can you think of a time when falling swimming pool icons would do the trick?
😉 I can’t, but there’s a lot of fun to be had here.









Snow Effect WordPress is good plugin for snow fall setup in wordpress site on all pages