Having professional bios or author information displayed in WordPress can be very important. It allows you to showcase an author and gives them credit for the work that they have done. This is handled several ways in WordPress, one of which is by using the About Author plugin.
There are a number of different ways to display author information in WordPress. You can use Gravatar, another WordPress authors plugin, or build full bio pages from scratch using the WordPress editor.
Today, I am going to show you how to use a smooth plugin in order to fill out display detailed author profiles on any WordPress post or page.
Why Display Authors in WordPress?
Displaying authors in WordPress has a few different benefits. Not only are you properly giving credit to the author of the post, but you are also allowing them to get their name and information out there for readers to see.
Oftentimes, website owners who hire writers to write content will allow them to submit an author bio that includes things like:
- Headshot
- Website URL
- Social Media Profiles
- Work Info
- Links to Content
Of course, these are just some examples of what can be included in an author’s bio. More complex author bios in WordPress may include a full page of information, background, photos, work history, and much more.
You can create these bios using several different methods as described above. However, today I am going to show you how to do it using a plugin. Let’s dig right in.
About Author

About Author allows you to build full author profiles and display them anywhere on-site using shortcodes that are generated each time you build a profile.
You can build small, compact profiles and show them at the end of articles. However, you can also build full, stylish profiles and add those to any post or page as well.
The plugin allows you to use multiple shortcodes on multiple posts and pages. So, if you want to list several author profiles in one spot, or on one page, then this plugin has you covered. You can also use multiple widgets to display authors in a sidebar or other widget area of your WordPress website.
It is lightweight and will not slow your website. The plugin has quite a bit of functionality built-in. Some of that includes features like:
- Complete Author Profile
- Author Bio
- Author Name
- Description of Author
- Author Website
- 2 Author Templates Built-In
Simply put, this plugin gives you everything you need to create customized bios with tons of features and easily display them on your WordPress website.
Note: The plugin does have a pro version. It does include quite a bit more functionality. If this is something you are interested in, then feel free to give it a look. However, the tutorial below is based on the free version of the plugin.
How to Add a Bio in WordPress
Step 1: Install and Activate the Plugin
In order to use the plugin, you first need to install and activate it. You can do this by jumping over to the Plugins page of the WordPress admin dashboard.
Simply use the search field provided on that page and search the plugin by name. Once you see it pop up, install and activate it from there.
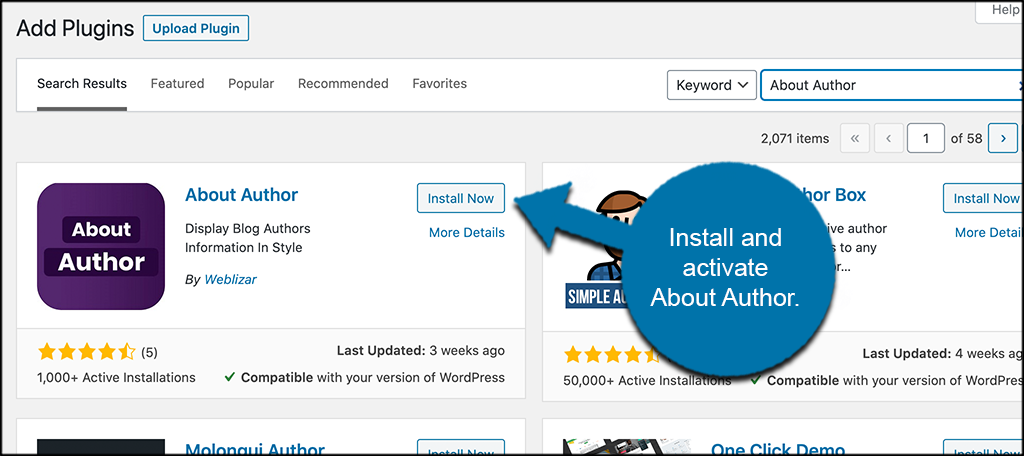
Step 2: Go to Author Settings
Once the plugin has been installed and activated, you need to access the main settings page before you add your first bio in WordPress.
To do this, click on About Author > Author Settings, located on the left-side menu area of the dashboard.
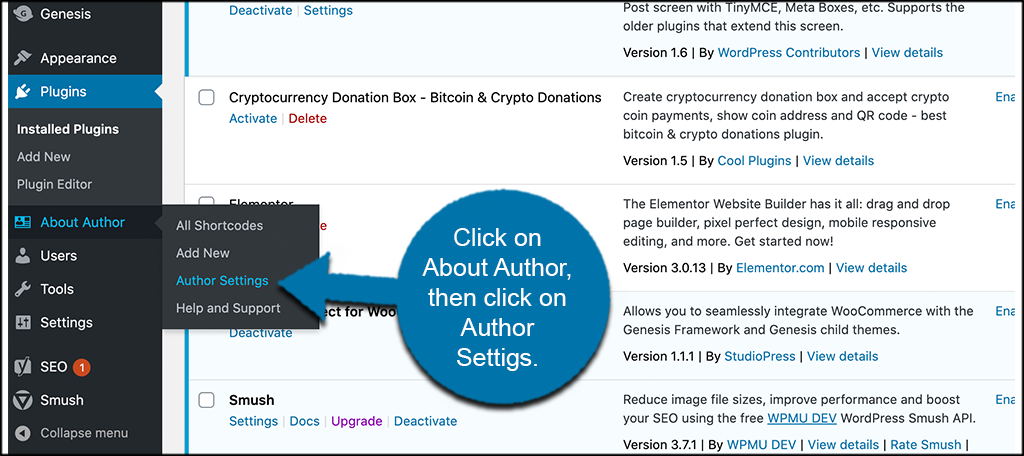
You see that this is now an available option for you after the plugin has been installed and activated.
Step 3: Configure the About Author Settings
At this point, you should be on the main settings page for the plugin. There are just a few things to configure how you want.
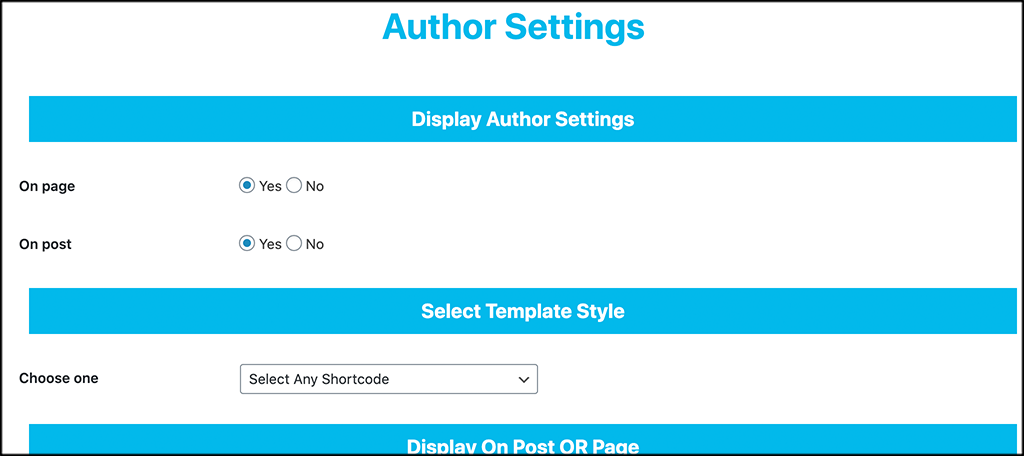
Go ahead and make your author selections and template layout configurations here. These are pretty basic and simply lay the groundwork for using the plugin.
Click the “Save” button when you are finished to apply all the changes.
Step 4: Add a New Author
Now you are ready to add a new author. This will be the first of many you add. Click on the “Add New” tab that is located on the left-side menu under the main plugin menu area.
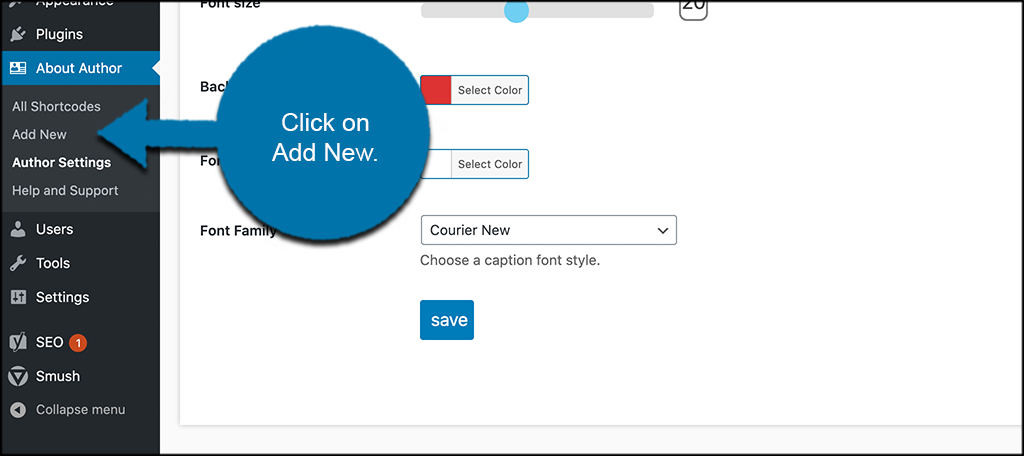
This takes you to the author bio page where you can add a new bio and create your first shortcode to display it.
Step 5: Configure Your Author Bio
You can see that there are several great options available to you on the author bio editor page. Let’s get started.
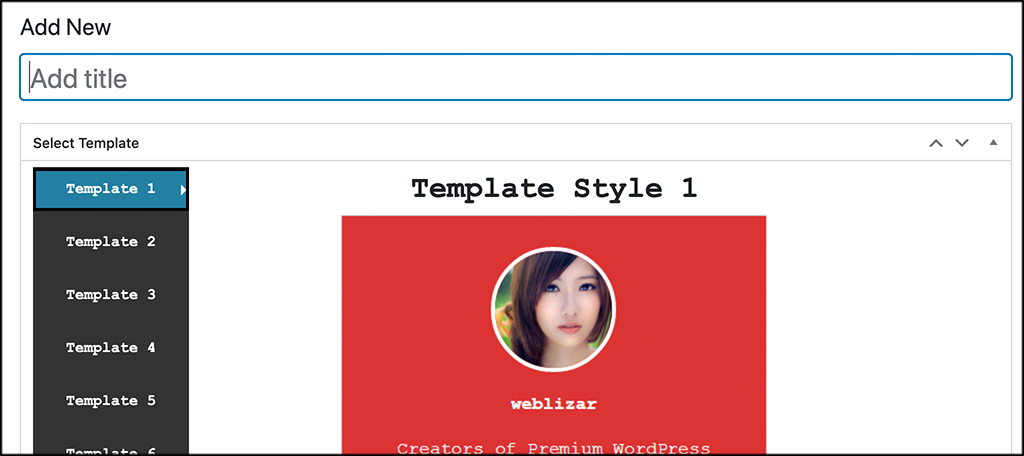
First, add a bio title and select a template.
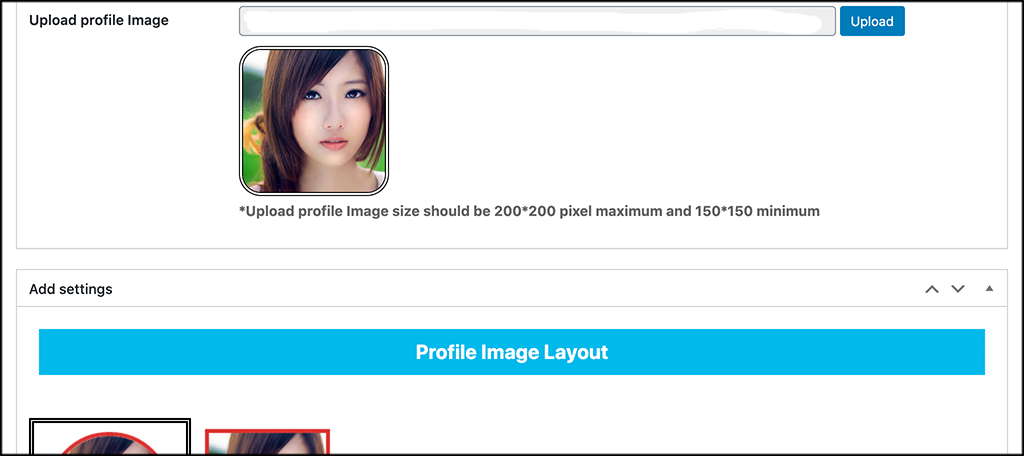
Now, scroll down a little and select the profile image you want to use, along with the layout.
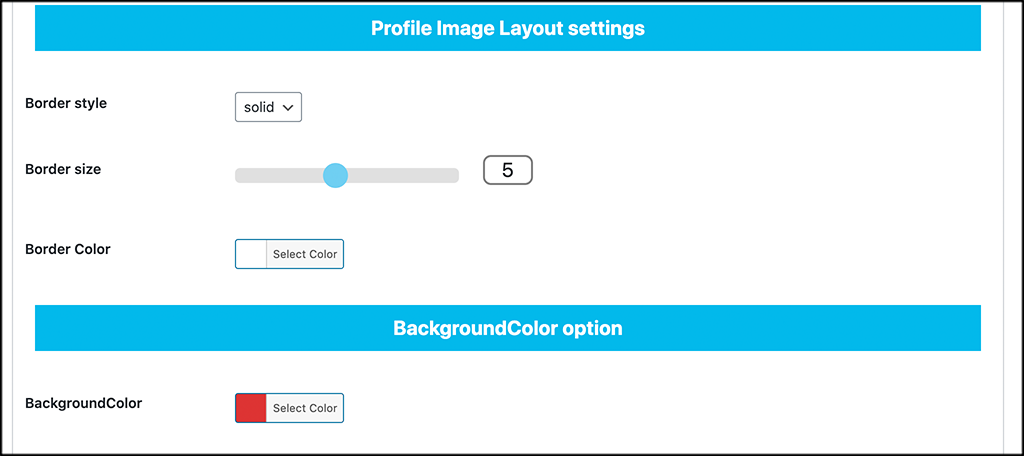
Scrolling down a little more will take you to layout settings, color options, and name text settings.
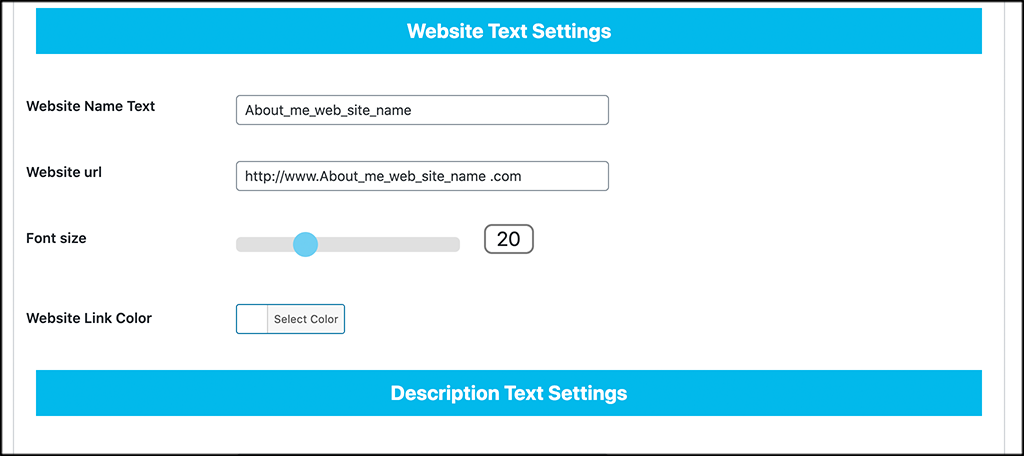
Now go ahead and add the Website Text and Description Text for the bio. This is where a lot of the meat of the bio is handled.
Almost finished.
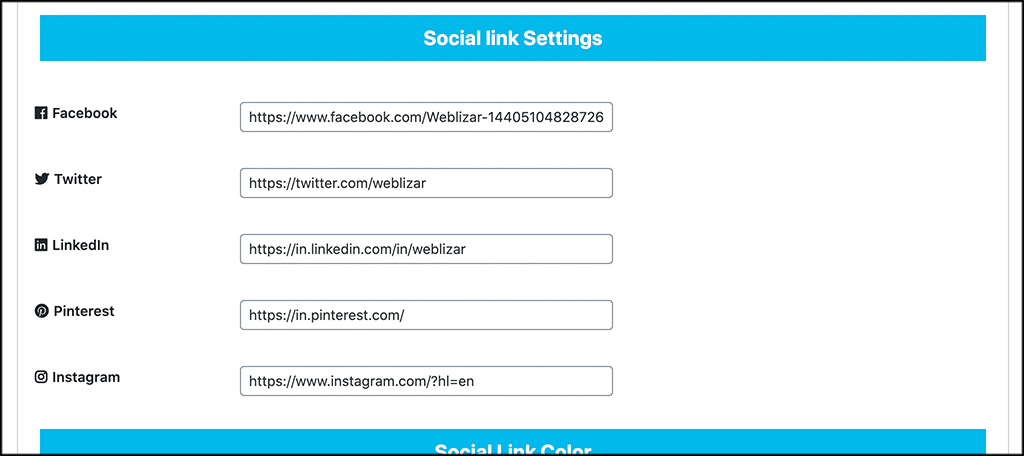
Scrolling down a little more, you will see the social link settings, colors, and size. Go ahead and fill those out appropriately based on what you want to be displayed.
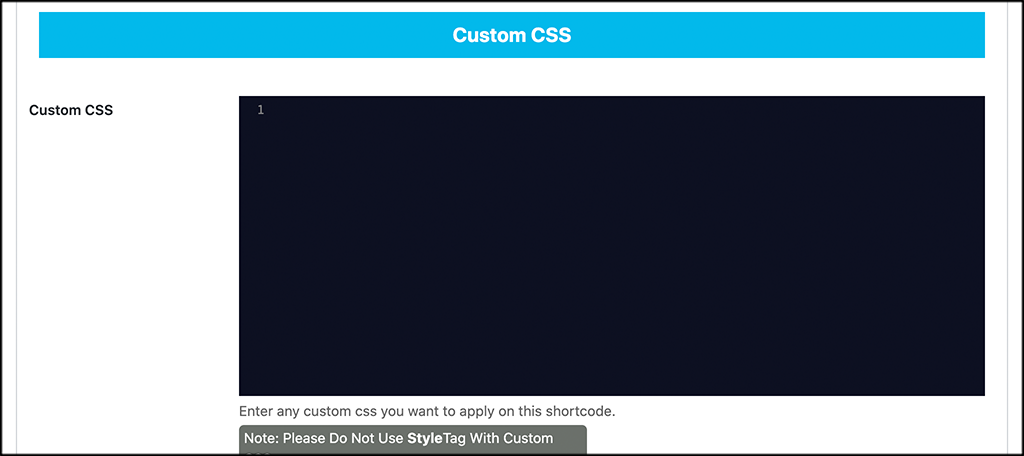
Finally, if you know how to add custom CSS and want to do that, you can use the box at the bottom of the page to do so.
When you are satisfied with how you built your bio, go ahead and publish it to make it live.
That’s it! You have built your first bio. Go ahead and repeat this process as many times as you want to create other bios.
Note: All of your bio shortcodes that are generated will be house under the “All Shortcodes” section of the plugin.
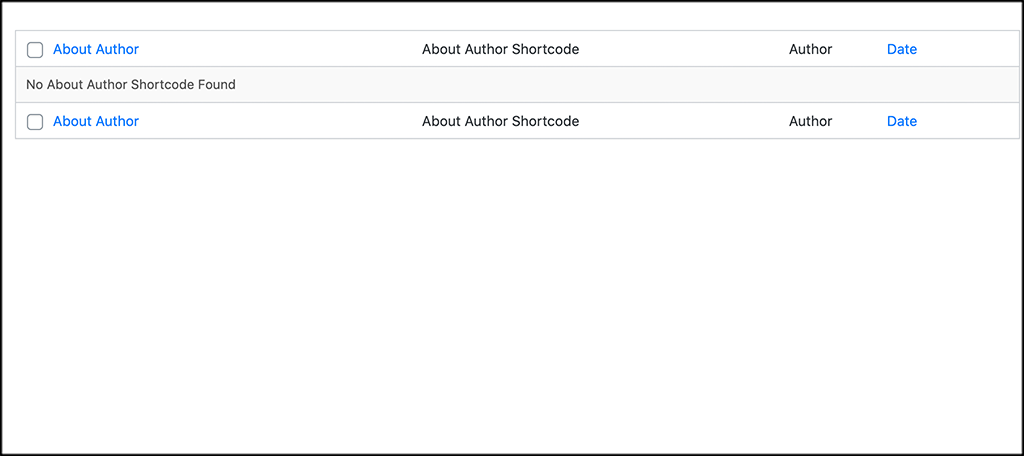
To add a bio anywhere on the site, simply copy and paste the relevant shortcode where you want that bio to display. Easy as that.
What Additions Does About Author Pro Plugin Add?
As I stated above in a brief note, this plugin does have a pro version. The free version does have plenty of options, as we showed above. However, in many cases, the pro version may give you a little something extra that is important to what you are doing.
The main additions to the pro version of this plugin include:
- A Responsive Design
- 10 Author Templates
- 12 Social Media Profiles
- Over 500 Google and Generic Fonts
- Multiple Author Image Layouts
- Tons of Display Options For All Content
- Multiple Widget Display Options
- Live Preview in Admin Dashboard
So, if these are some things you feel are important, then go ahead a take a quick peek at the pro version.
Final Thoughts
Displaying author profiles and bios does not have to be a difficult process. There are multiple solutions, but the About Author plugin makes it simple, easy, and fun. You can build as many author bios as you want and easily display them on a post or page using a generated shortcode.
I hope this tutorial showed you how easy it is to add a professional bio in WordPress using the plugin above. It has everything you need in one place to properly display content.
Have you tried building author bios using different methods? Did you find that using the editor alone was more difficult?
