Did you know that it is possible to create a 3D PDF viewer with the 3D Flipbook plugin? This opens an entirely new dimension to content creators, and many websites will benefit from taking advantage of it.
Using this plugin you can create an interactive 3D flipbook to show off your products or content to visitors in a new dimension. This will perform really well on mobile devices that allow users to turn pages with the swipe of the screen.
Today, I will demonstrate how to add a WordPress 3D flipbook with the 3D Flipbook plugin.
What is A 3D Flipbook?
A 3D flipbook allows you to browse images in either a PDF or HTML format that is typically used to showcase moving objects, like turning a page in a magazine or book. This type of content has become more prevalent thanks to the rise of smartphones.
Instead of simply clicking on the next page, you can swipe the screen to turn the page. This type of interactive content gives visitors a more immersive experience.
A WordPress 3D Flipbook can be used in a variety of ways:
- Magazines
- Books
- Brochures
- Booklets
While it may still seem like a gimmick on a computer, it can have some pretty amazing results if it is used under the right circumstances.
How to Create 3D Flipbooks in WordPress
3D Flipbook is a flipbook WordPress plugin that operates in the third dimension. It allows you to use both PDF and HTML image sources and comes with a variety of templates that you can use.
The attention to detail is truly impressive, and a great example of this is being able to actually select the page thickness. You can even add page-turning sounds! And as you would expect, this plugin is mobile-friendly.
The plugin is very easy to set up, so let’s get right into it.
Step 1: Installing 3D Flipbook
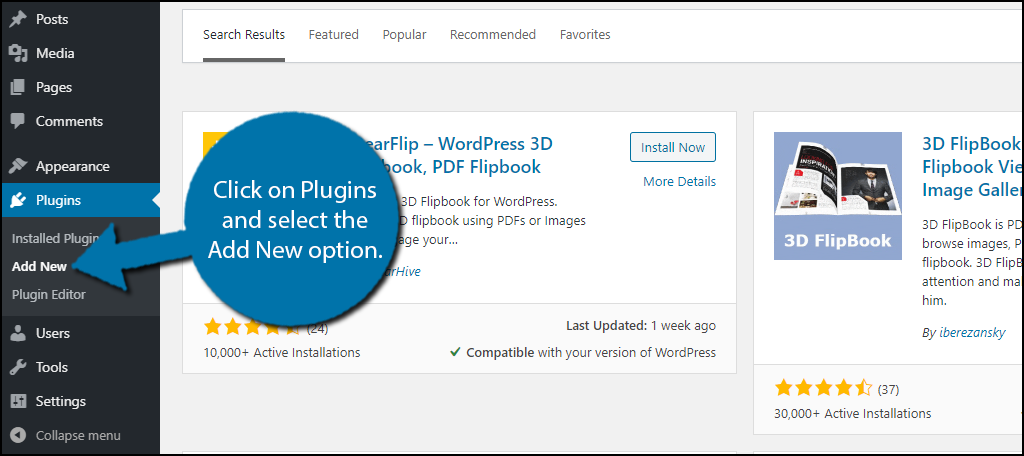
Click on Plugins and select the Add New option on the left-hand admin panel.
Search for 3D Flipbook in the available search box. This will pull up additional plugins that you may find helpful.
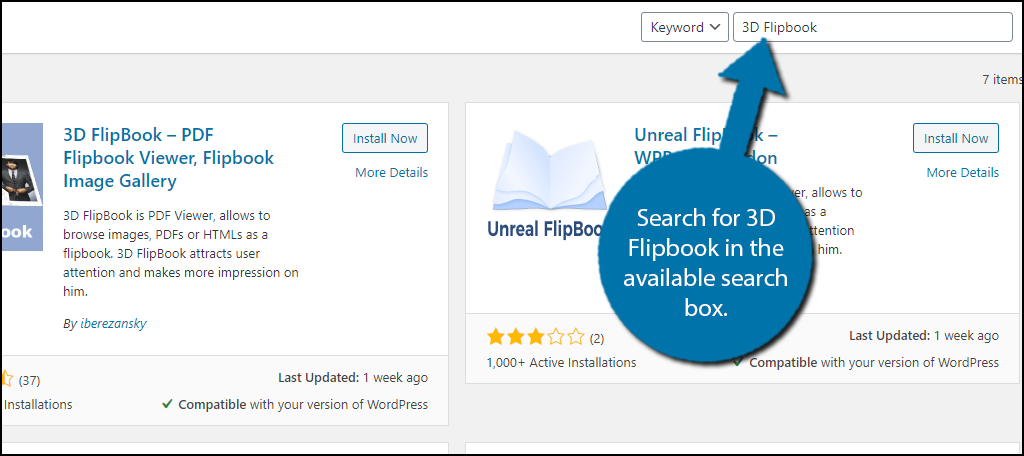
Scroll down until you find the 3D Flipbook plugin and click on the “Install Now” button and activate the plugin for use.

Step 2: Picking A Source
All of the settings are specific to the particular book you create, thus, you’re ready to start building a flipbook.
Note: At the top of the screen you will see a notification highlighting the fact that you are using the free version. The pro version offers a variety of extra features, that you may want if you plan to use this often.
On the left-hand admin panel click on 3D Flipbook and select the Add New option.
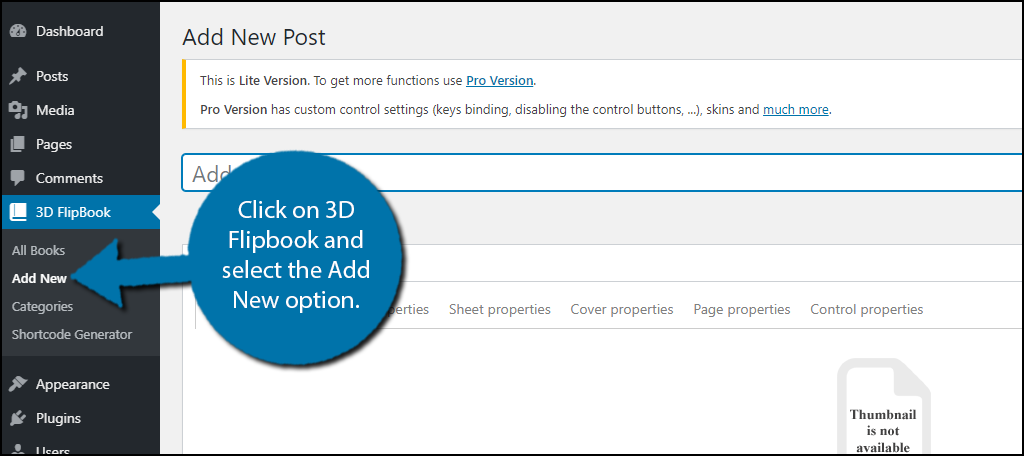
The flipbook’s creation is broken up into multiple tabs. However, you cannot click on all of them at any time. Instead, you need to start on the first tab before the second becomes available.
The General tab is where it all begins. Here you can select if it will use PDF or Images & HTML as the source.
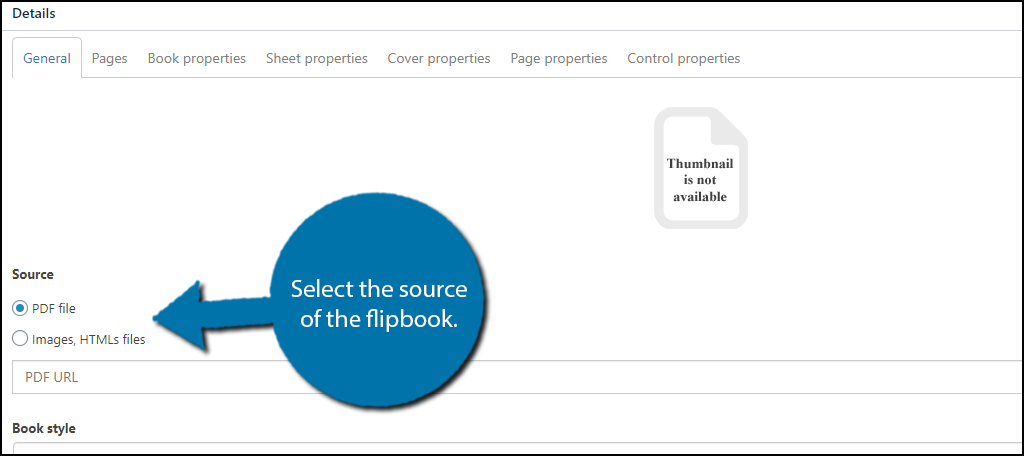
Note: The source will determine what settings are available to you. I will try to highlight the differences, but for the most part, it should be a similar process.
If you pick PDF, you need to upload the PDF URL. Otherwise, you will not be able to use any of the other tabs.
If you choose images, you can add them now by clicking on the “Select Image” option or add them on the following tab.
Afterward. you can also select the book style and the ready function.
You can now click on the Page tab.
Step 3: Customization
If you chose PDF as the source, all you will see is the Page customization option that is set to none by default. You must change this to All to see the options.
If you chose images & HTML as the source, you will now need to add those to the book before you can see the options.
The actual options include adding custom CSS, HTML, or JavaScript to the book. This allows you to customize it to match your website or business design. You can do this for all pages, so you might spend quite a bit of time on this tab.
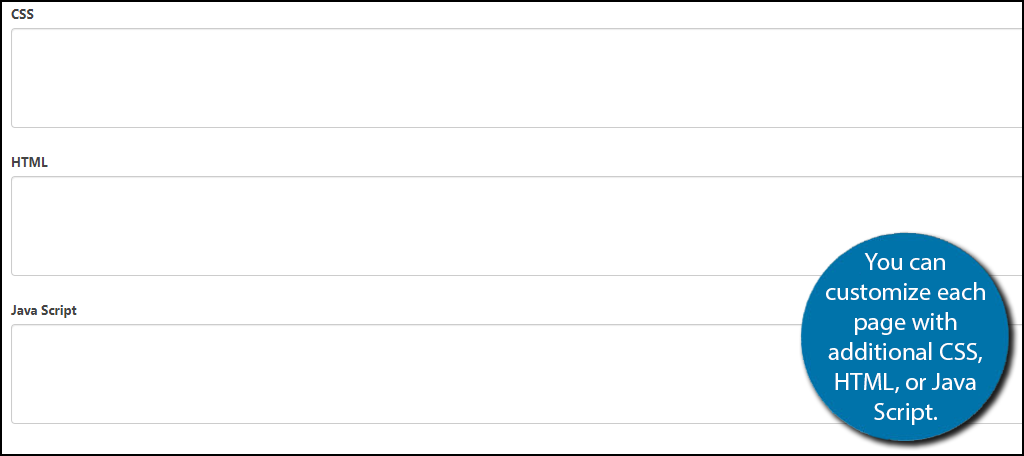
If you chose Images & HTML as the source, the rest of the tabs are now available. Let’s go through them.
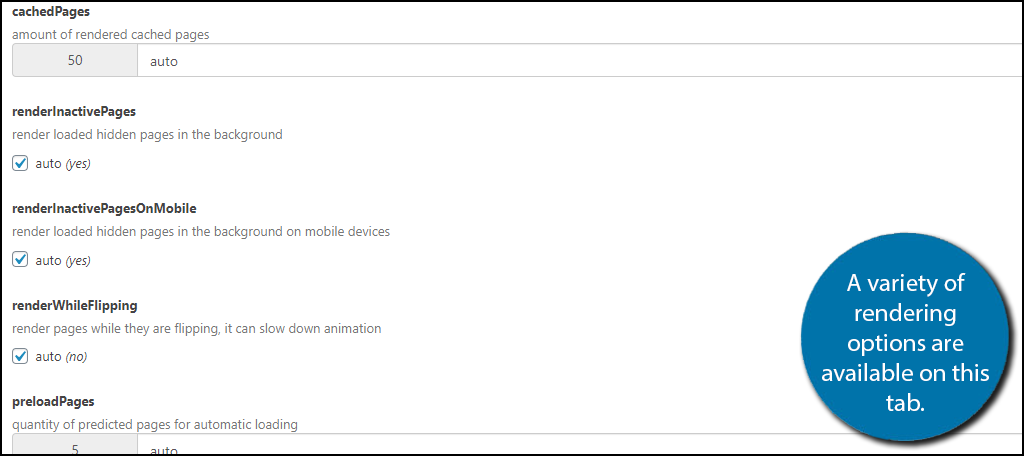
The Book Properties tab provides rendering options. The default options on this page should work for most websites, but if you want to customize it, you can.
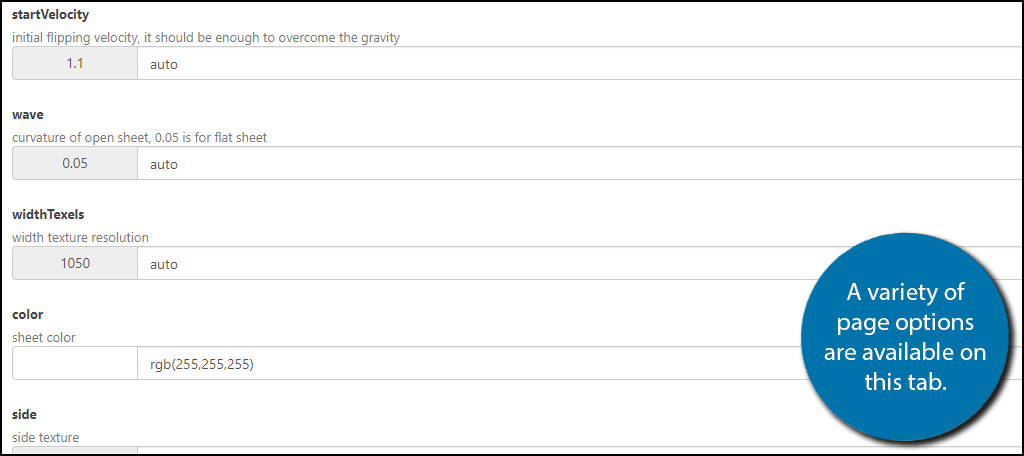
The Sheet Properties tab allows you to customize the thickness of the paper, the page flipping speed, the curvature of the paper, paper color, and if the side of the book is visible. There a lot of really cool things here that you will probably want to customize once you see the actual book in action.
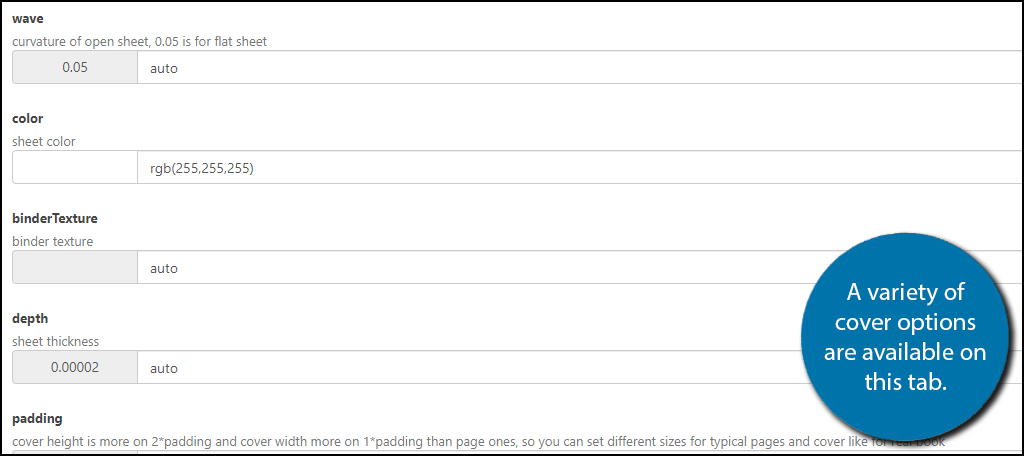
The Cover Properties allow you to customize the appearance of the cover of the book/magazine. These include curvature, color, texture, depth, and padding. Similarly to the last options, you are going to want to check these out in a preview to see what they actually do.
The Page Properties tab is similar to the last and works the same way. Be sure to check the changes in a preview.
Control Properties is our final tab to cover. It controls the option you are giving visitors to have when using the flipbook. These include the ability to save it, print it, and toggle a single page mode (traditional PDF). Simply select the options that work best for your website.
Click on the “Publish” button when you are done.

Note: The Preview option may not work until you add the flipbook shortcode to a specific page.
Step 4: Displaying the 3D Flipbook
Now its time for the easy part, adding the 3D flipbook in WordPress. This plugin utilizes Shortcodes to do the job. You can find the shortcode above where you can save the changes.
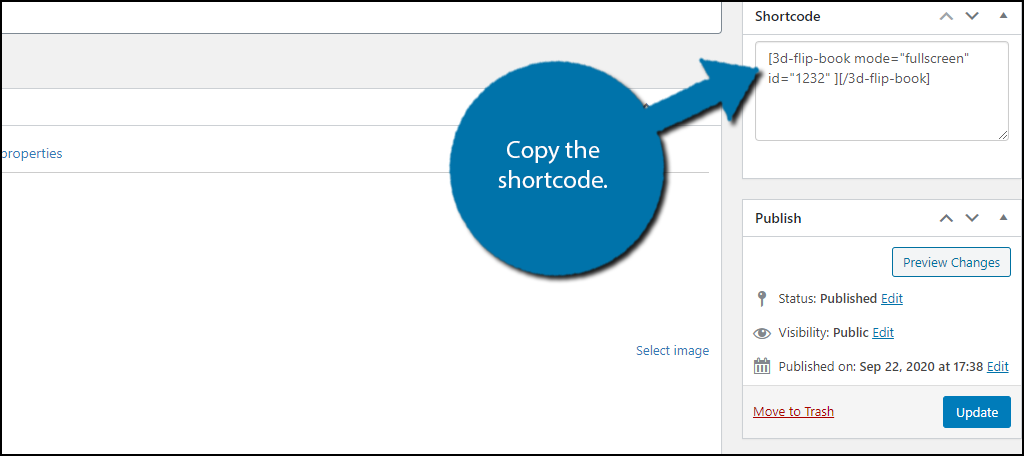
Paste the shortcode into a text or shortcode block in the editor. Both will have the same effect. Save the changes and you can see your 3D flipbook in action.
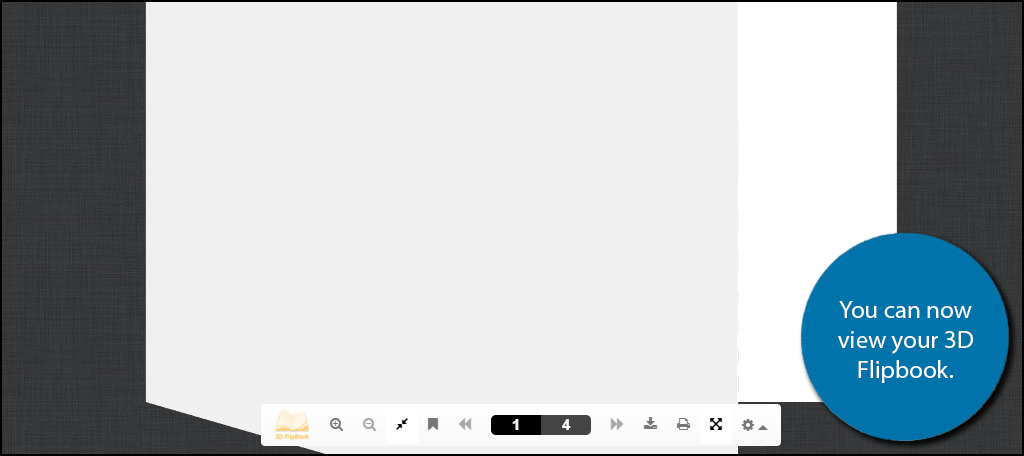
Note: I personally think the effects look better when the document is in full screen. It might be worth making a note of it for visitors on your website.
Congratulations on adding your very first 3D flipbook to WordPress. Remember you can edit the appearance of your flipbook at any time.
Not Every Website Needs 3D
Similar to movies, not every website needs 3D effects. In some cases, it might come off as unprofessional and that can be a serious problem. In fact, you might even lose out on potential customers.
Thus, it is very possible that this style will not suit your website.
Carefully analyze the tone your website is expected to have and ask customers to test it out and give feedback. After all, at the end of the day, the only thing that matters is what the visitor or customer thinks about it.
How easy did you find the plugin to use? Did you find the plugin lacking any customization features? Do you think the plugin should have a live preview option to view changes in real-time?
