Do you need to white-label a WordPress install? Many businesses and freelancers end up building a website for a client to sell their products to under another name. This is referred to as white labeling, and it’s very common in retail and the digital space.
There are many advantages to white labeling in a digital space like saving time or creating another revenue stream. That said, it’s not something every website is going to do. Instead, most try to sell their own products using their own brand.
In any case, I will cover how to white label your WordPress install using the White Label plugin.
This tutorial is for:
WordPress 5.9
Plugin: White Label v2.4.0
What Does White Labeling Mean For A Website?
Many people may be aware of what white labeling is in a retail space. For example, if you go to Walmart, you’ve probably seen products under their Great Value brand. Well, if you thought Walmart actually produces all of those products, I’m here to burst that bubble.
In reality, other companies produce those products on behalf of Walmart. They get the advantage of using Walmart’s brand, and Walmart gets a product.
It’s a win-win situation, and it’s not that different for a website. Essentially, a company will be tasked with creating a website and will do so, but make it seem like the client was the one to build it.
For example, imagine a small web design company. They may have taken way more work than they can handle. To keep up with the work, they may hire someone else to build a website they were tasked to build.
The person they hire would have to make sure it is in line with how the company builds its websites to make it seem like the company did so.
How to White Label a WordPress Install
Step 1: Install White Label
The White Label plugin is an administrator tool that allows you to change all of the branding on your website to match the clients. Essentially, it will remove all of the WordPress branding to help make the website look more professional.
It can also allow you to create your own dashboard widgets to help the client use WordPress for the first time.
This might sound like it will be hard to pull off, but in reality, it’s actually pretty straightforward. You really just need to go into the settings and add the necessary information.
Note: You must be using PHP version 7.4 or higher. If you are running an older version, you will not be able to install this plugin. You may need to change the PHP version of your hosting service.
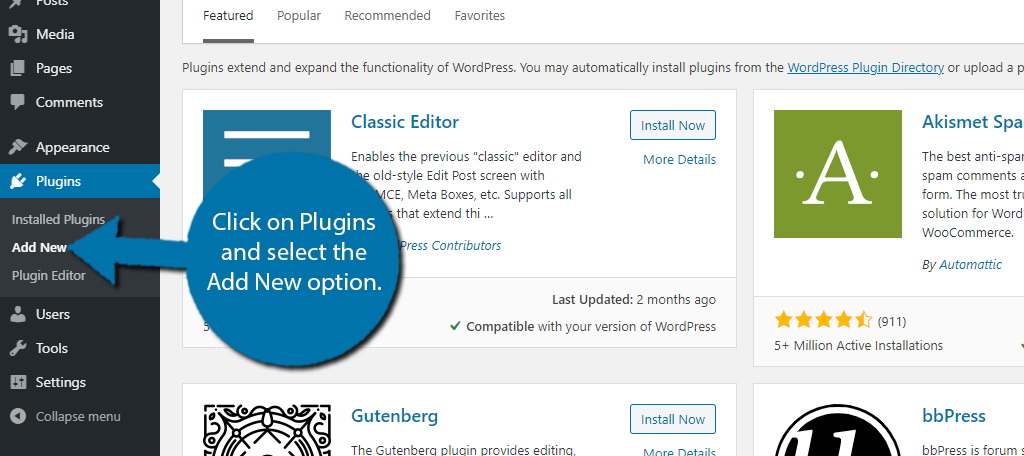
Let’s start by clicking on Plugins and selecting the Add New option on the left-hand admin panel.
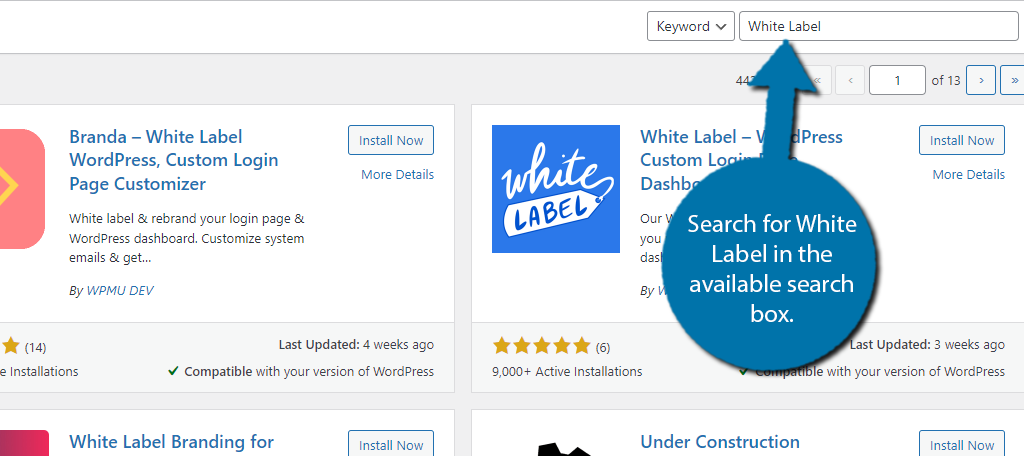
Search for White Label in the available search box. This will pull up additional plugins that you may find helpful.
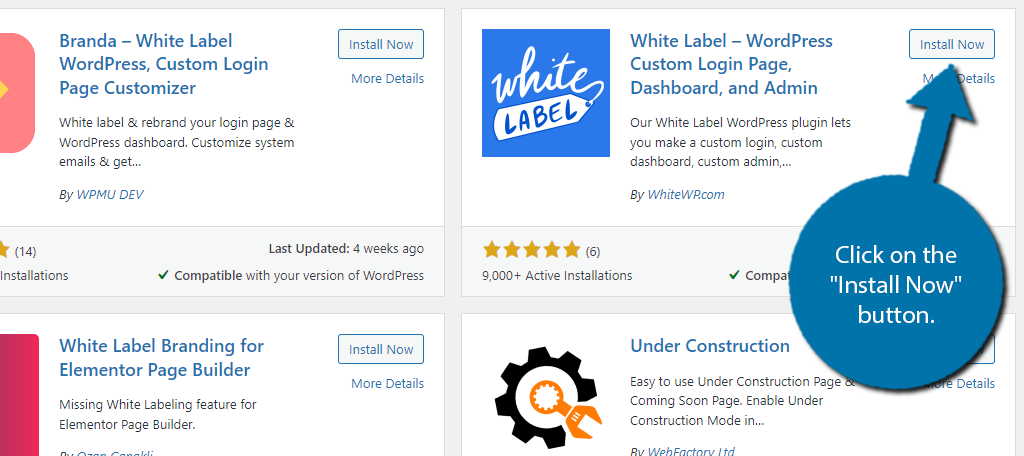
Scroll down until you find the White Label plugin. This tutorial is for the one by WhiteWP.com. Click on the “Install Now” button and activate the plugin for use.
Step 2: Setup White Label
With the plugin installed, it’s time to go through the settings. Luckily, these are pretty straightforward and divided into multiple tabs. It shouldn’t be very difficult to go through them, so let’s begin.
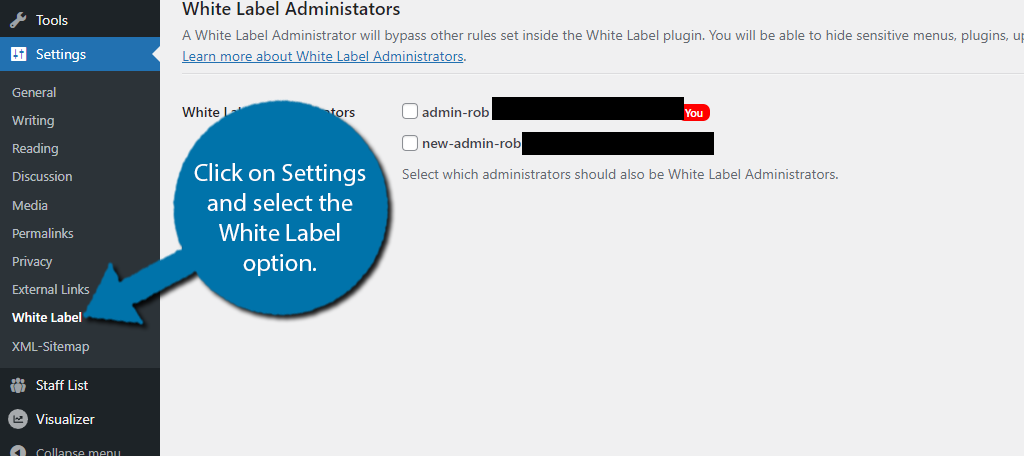
On the left-hand admin panel, click on Settings and select the White Label option.
General & Login Tabs
You will start out on the General tab, which is how you enable White Labeling on the site. However, don’t do that just yet. Instead, you want to go through the settings and add the necessary data to the plugin.
Start by clicking on the Login tab. Here, you will be able to customize the site’s login screen and include all of the site branding you want to use. None of the settings are particularly difficult, so go through each one to customize it to your liking.
Note: There is a preview option on the right-hand side so you can see what everything looks like before you continue.
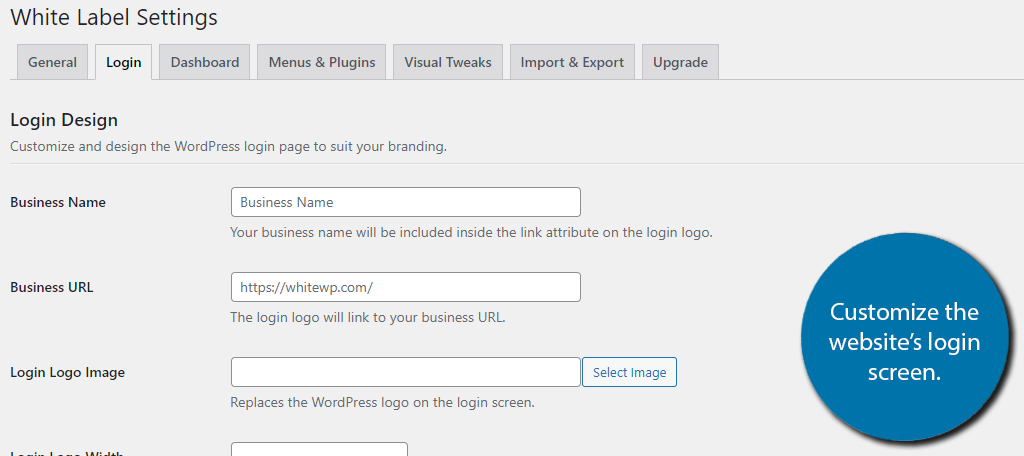
Dashboard & Menus & Plugins Tabs
Next, click on the Dashboard Tab. Here, you can customize the default WordPress dashboard. This is particularly helpful if your website is intended for a beginner.
You can add detailed instructions on how to do specific actions.
For example, if you set up an online store, you could list the steps the client needs to take in order to add a product to WooCommerce. It really depends on the nature of your website.
So again, just go through the settings and add the messages you want to be displayed.

For the next batch of settings, you need to configure them in the Menus & Plugins tab. Here, you can select what plugins are viewable to non-administrator accounts.
This step may be completely unnecessary if the website will only be used by one person.
All you need to do is check the box and that plugin will not be accessible by anyone but the White Label administrator. The same applies to menus.
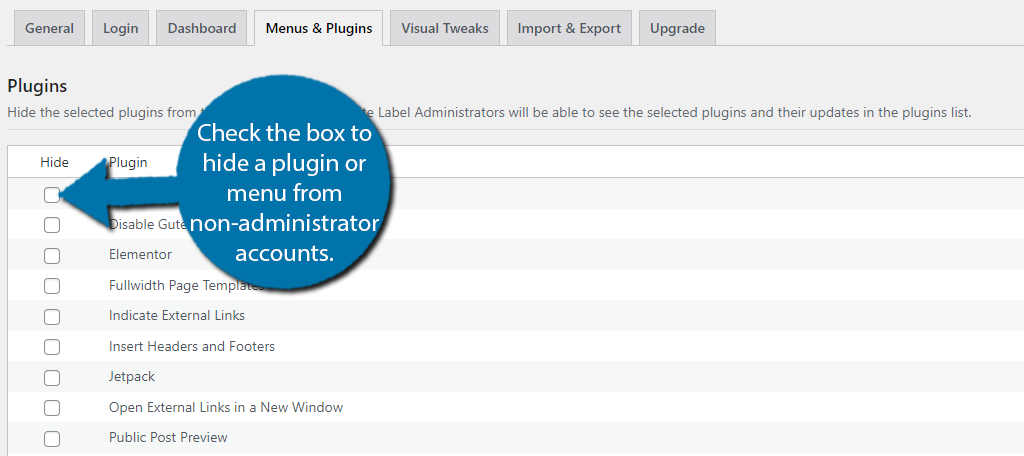
Additional Tabs
In the Visual Tweaks tab, you can change the admin color scheme. Again, just pick the options that match the website’s design. There is also an Export & Import tab that can be used to export & import plugin settings.
This is ideal when you want to set up the same WordPress install every time with the same plugins. It can really save you some time if you do this regularly.
Finally, there is an Upgrade tab. This is just to let you know that the Pro version exists, what it includes, and a link to purchase it.
Step 3: Activate White Label
That covers everything in the settings. All that’s left is to actually activate the plugin. To do so, go back to the General tab.
There are two things you can do on this tab.
The first thing you should do is set up the White Label Administrators. In most cases, you will only have one admin account, but you can select the admin accounts that you want to double as a White Label admin.
Remember how you could hide plugins and menus from non-admin accounts? Well, this is where you choose those admin accounts.
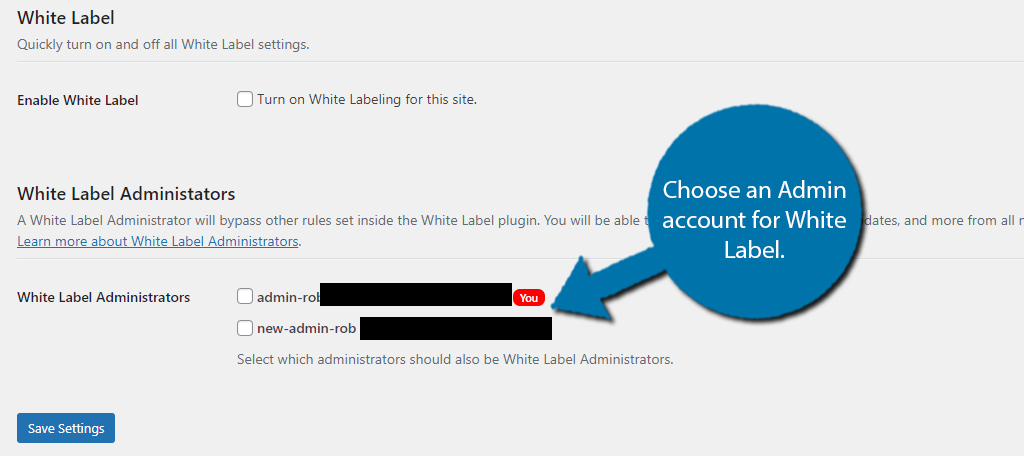
Finally, check the box to enable the White Label Plugin on your WordPress install.
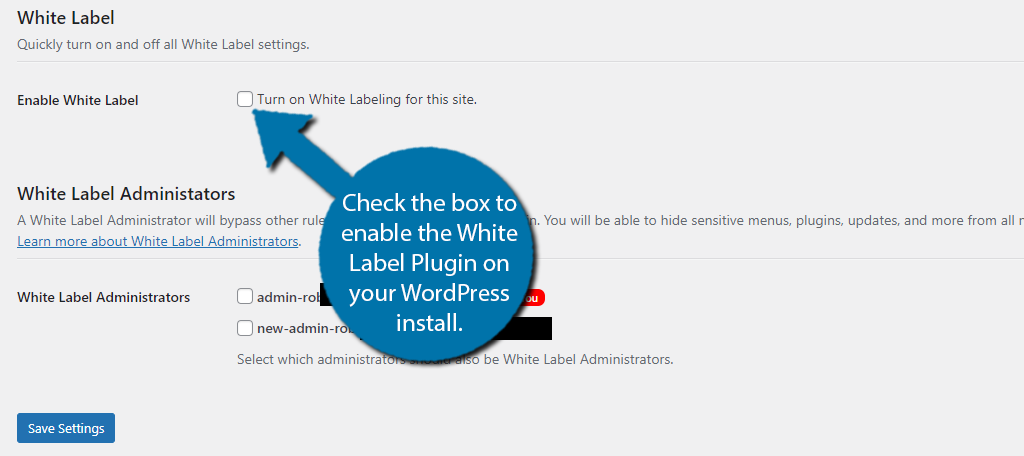
Click on the “Save Settings” button to finish. After that, you can check the website to make sure all the changes are working as intended. If not, just go back into the settings and reconfigure them.
Congratulations on learning how to use the White Label WordPress development tool to customize your install.
Always Customize Your WordPress Install
One of the biggest mistakes beginners make is simply installing WordPress and immediately creating content for their new website. In reality, creating content is one of the last things you will do when creating a website.
Instead, you need to focus on making sure the website has your company branding front and center. Your website is not supposed to advertise WordPress, it is meant to advertise your brand. You can also take time to customize your page layouts.
A White Label plugin is a great tool you can use when building a website for someone else as it ensures the correct branding is in place.
Why did you need to use a White Label plugin in WordPress? Did you find the plugin easy to use?


Hey Robert,
First H2 title reads, “What Is White Labeling Mean For A Website?”
It should read, “What *does* White Labeling Mean for a Website?”
Thought I would pass that note along, have a good one!
Good catch, thank you. Sometimes, they slip through the cracks. lol