The backbone of most WordPress websites is blog posts. Before it became the Swiss Army Knife of website building, WordPress was blogging software.
All these years later, through all the changes on the web and in the WordPress software itself, it still considers itself to be blogging software.
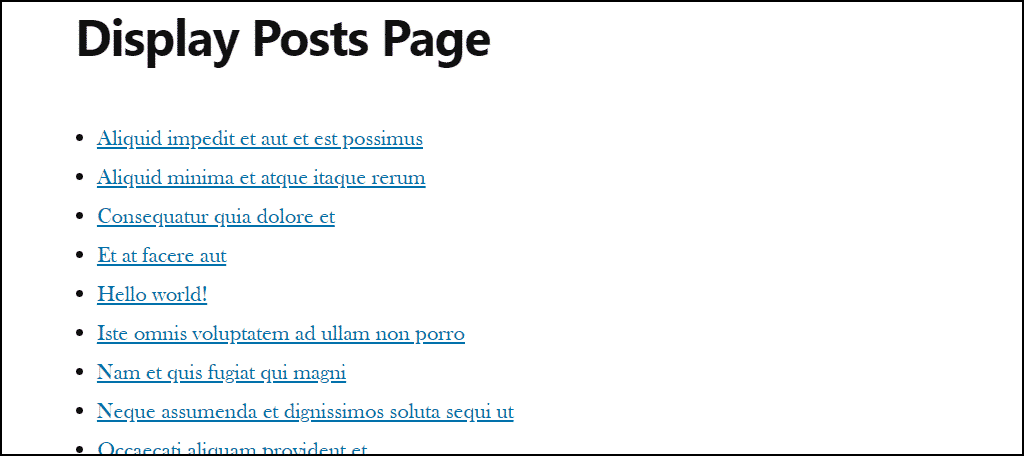
For evidence of that, look no further than the default front page of a WordPress installation: a reverse chronological (newest to oldest) list of the most recent blog posts.
That default latest-posts-in-a-page is a WordPress hallmark, and for good reason. It’s a logical and familiar way to introduce visitors to a site.
But there are times you want to tweak a WordPress page by presenting a list of posts by category, author, or any number of other variable or filters. The core WordPress software doesn’t provide for that kind of flexibility, but that doesn’t mean it isn’t possible.
If you’ve been looking for a way to list posts in WordPress the way you want them to be listed, allow me to introduce a plugin that I think you are going to love: Display Posts – Easy lists, grids, navigation, and more.
Complete Control Over the List of Posts in a Page in WordPress
The plugin we’re using to display blog posts on a page in WordPress is so simple you’ll be using it in minutes. While it’s simple to use, it’s very flexible in what it can do. First things first, let’s install it.
Log in to your WordPress admin panel.
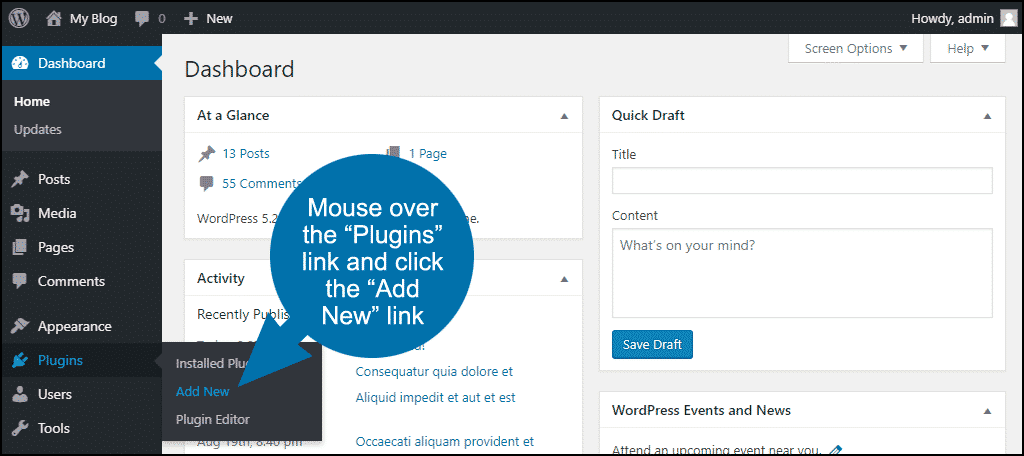
In the left column navigation mouse over the “Plugins” link and click the “Add New” link.
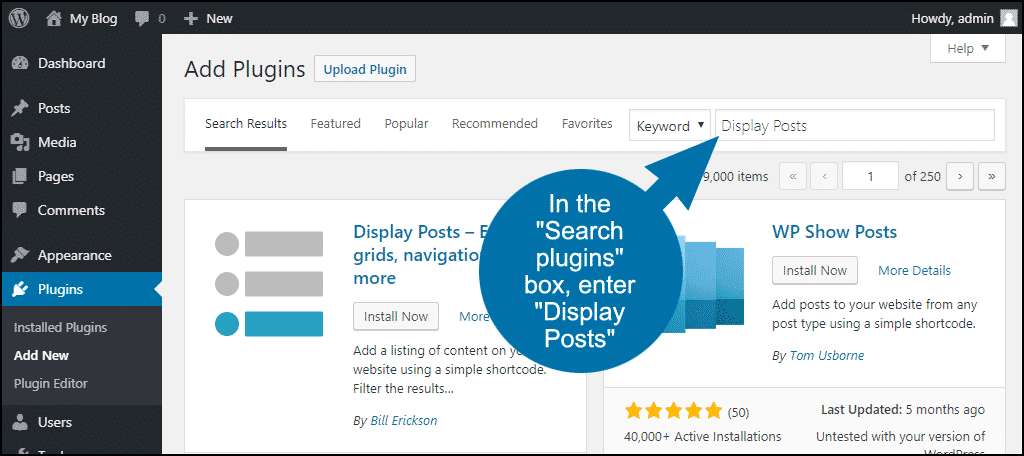
In the “Search plugins…” box, enter “Display Posts.”
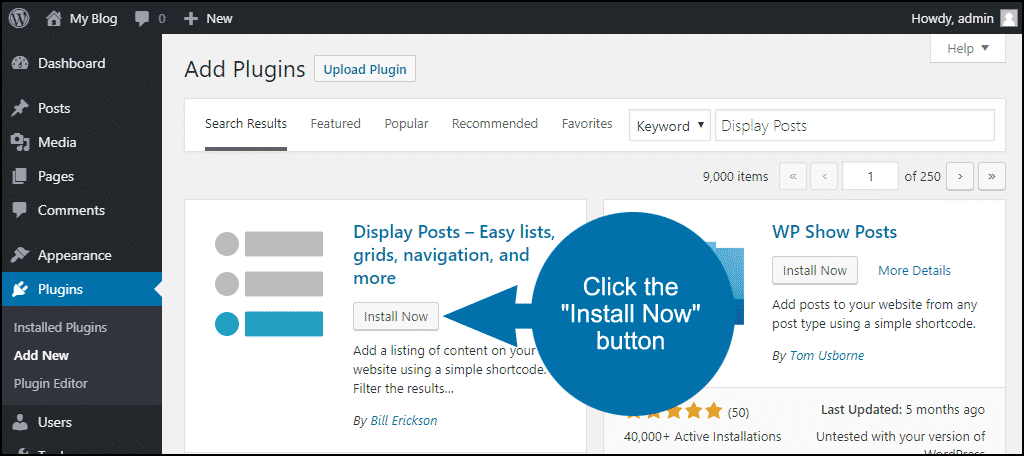
Once you have located the plugin, click the “Install Now” button.
When the plugin has been installed, click the “Activate” button.
Configuring the Display Posts Plugin
Okay, the heading for this section is a bit misleading. That’s because the Display Posts plugin doesn’t require any configuration. Once it’s installed and activated, that’s it.
The magic is performed behind the scenes. All you have to do is use the shortcodes in a WordPress post or page.
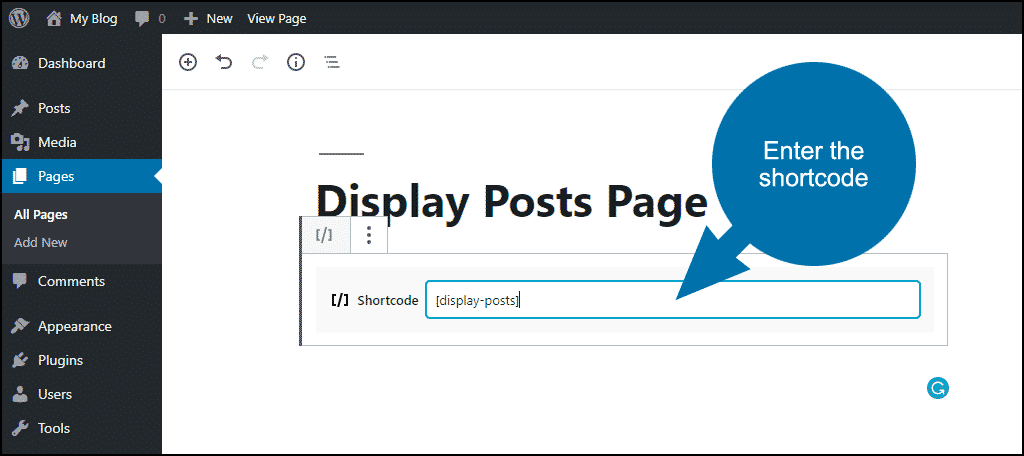
According to WordPress, shortcode = shortcut. That’s a pretty good way to describe them. Shortcodes are bracketed commands, [like-this], that execute a piece of code in the background. The Display Posts plugin uses the shortcode [display-posts].
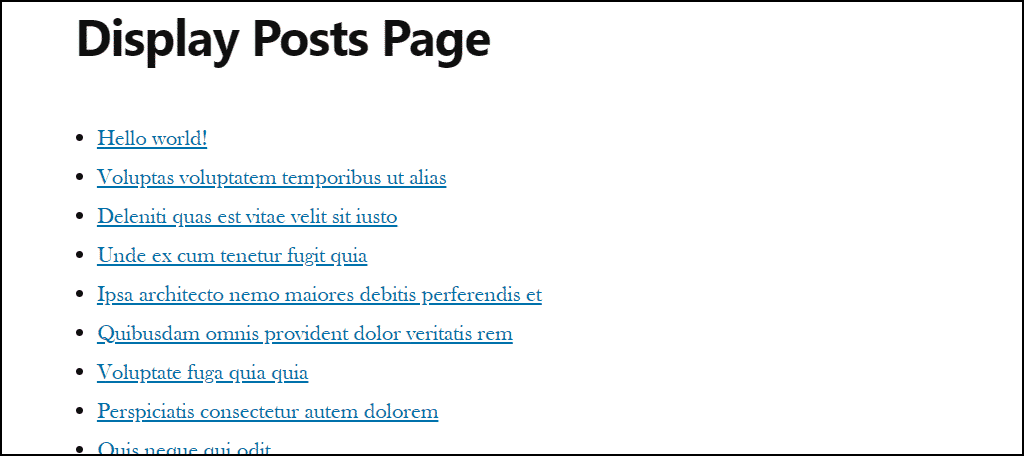
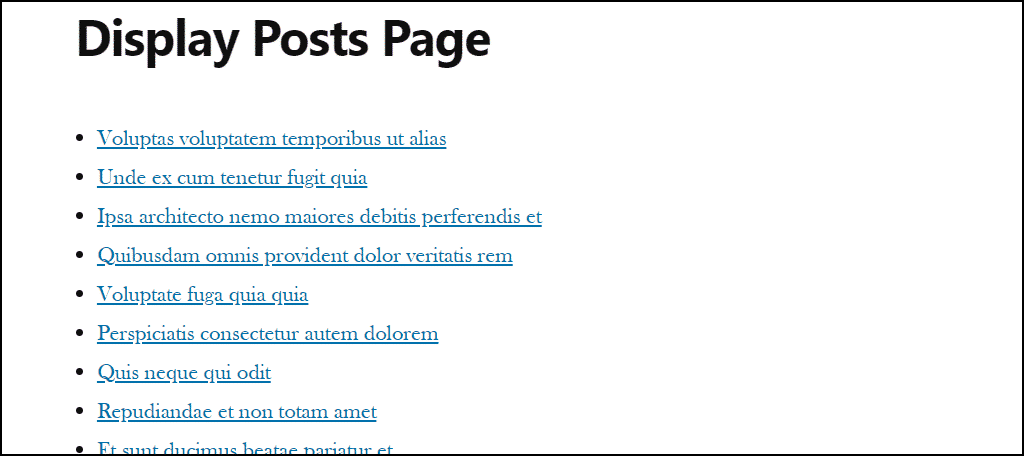
[display-posts] displays a reverse-chronological list of the 10 latest posts, similar to what WordPress does by default.
It’s when you add variables to the shortcode that it really shows what it can do.
How to Put Blog Posts on a Page in WordPress the Right Way
Let’s do a few examples of real-world applications of the Display Posts shortcodes. Remember, all the shortcodes that we’re going to use start with display-posts.
Create a new page or edit an existing page.
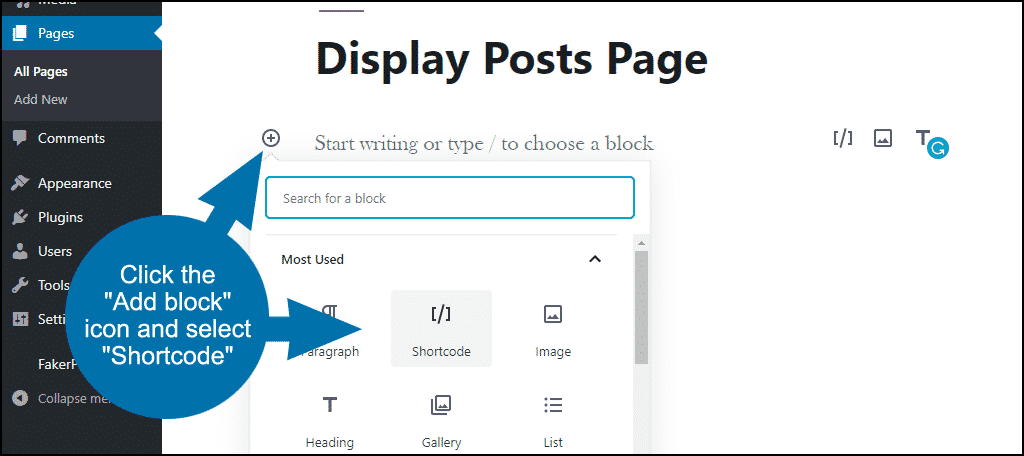
Click the “Add block” icon and select “Shortcode.”
In the old WordPress “classic” editor, just add the shortcode to the page using either “Visual” or “Text” settings.
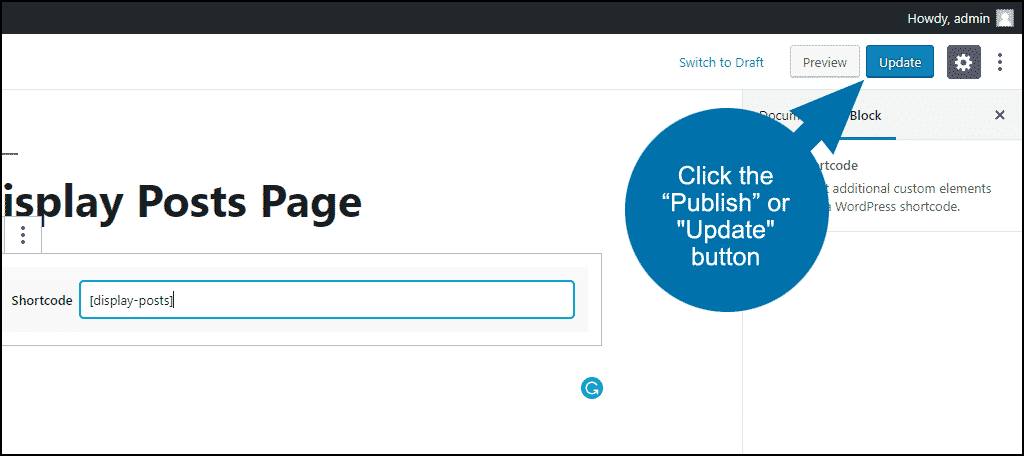
Enter the shortcode and click the “Publish” or “Update” button.
Okay, for starters let’s assume that you’re happy with the default list of the latest posts, but there are a couple of posts you don’t want to appear in the list.
For that, we’ll use exclude followed by the post IDs that we want to exclude (here’s how to find post IDs).
[ht_message mstyle=”info” title=”” show_icon=”” id=”” class=”” style=”” ][display-posts exclude=”1, 54″][/ht_message]
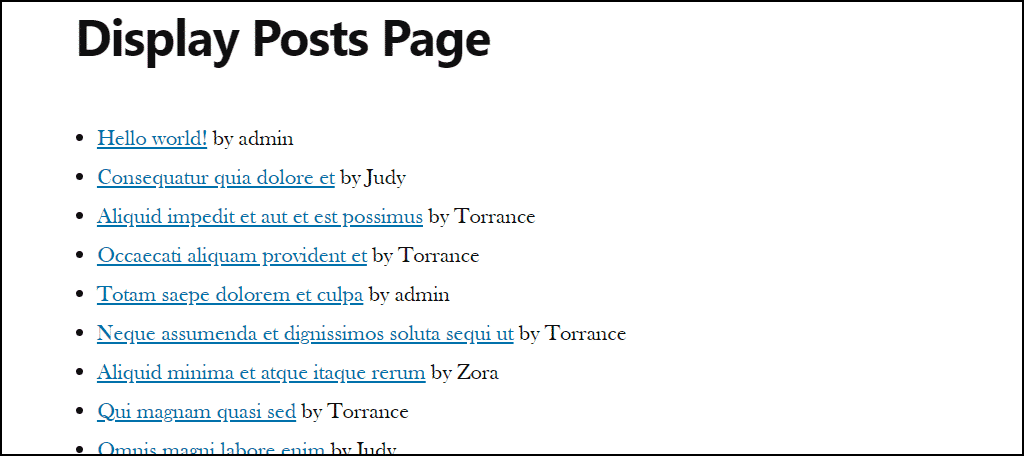
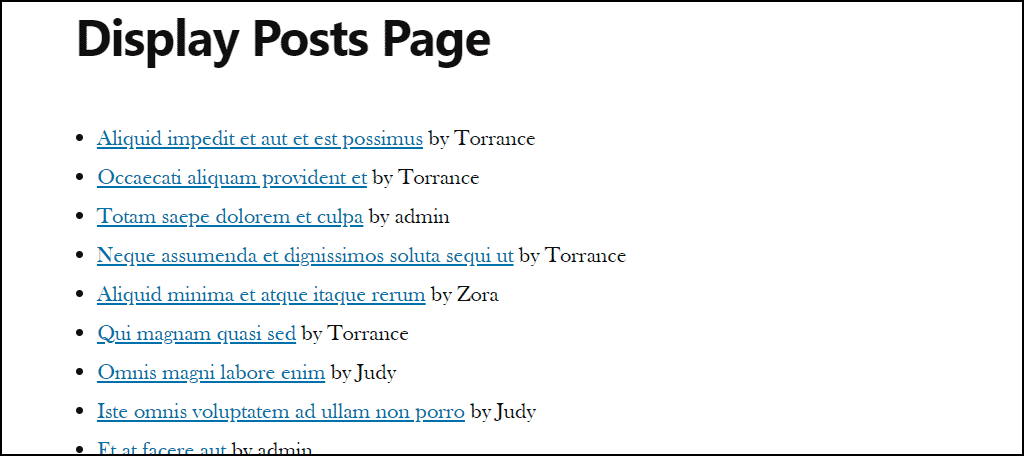
You can see that “Hello World” and “Consequatur quia dolore et” are gone from our demonstration list. (Dummy Lorem Ipsum posts courtesy of the FakerPress plugin.)
Now let’s say we want to include the author of the posts in the list. To do that, add include_author=”true” to the shortcode.
[ht_message mstyle=”info” title=”” show_icon=”” id=”” class=”” style=”” ][display-posts include_author=”true”][/ht_message]
Oops. Notice what happened there?
We included the author names, but now the posts we wanted to exclude before are showing up. We can fix that by adding the exclude parameter along with include_author.
[ht_message mstyle=”info” title=”” show_icon=”” id=”” class=”” style=”” ][display-posts exclude=”1, 54″ include_author=”true”][/ht_message]
You can add as many parameters as you’d like to the shortcode. Just leave a space between each parameter. Let’s keep going with this example and add a 10-word excerpt from the post.
We’ll do that by adding include_excerpt=”true” and excerpt_length=”10″ to the shortcode.
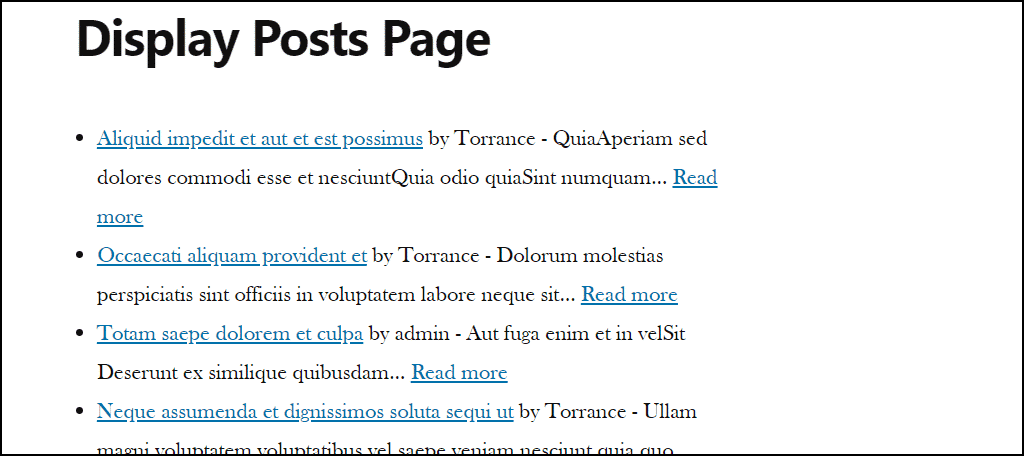
[ht_message mstyle=”info” title=”” show_icon=”” id=”” class=”” style=”” ][display-posts exclude=”1, 54″ include_author=”true” include_excerpt=”true” excerpt_length=”10″][/ht_message]
That’s pretty cool. But how about a “read more” link that takes the visitor to the article?
No problem. Just add excerpt_more=”Read more” and excerpt_more_link=”true” to the shortcode.
[ht_message mstyle=”info” title=”” show_icon=”” id=”” class=”” style=”” ][display-posts exclude=”1, 54″ include_author=”true” include_excerpt=”true” excerpt_length=”10″ excerpt_more=”Read more” excerpt_more_link=”true”][/ht_message]
You can keep adding parameters to the shortcode until it becomes longcode, and it will still work.
(Okay, there is actually no such thing as longcode, but maybe there should be.)
Different Kinds of Parameters
In our examples so far we’ve mixed two different kinds of parameters. Before we go any further, let’s talk about the different kinds of parameters.
There are Query parameters, that control which posts are listed. The exclude=”1, 54″ part of our shortcode is a query parameter because it determines what will be pulled from the WordPress database and displayed on the post page. Our exclude parameter used post IDs, but you can also use categories, authors, dates, etc.
Display parameters control the way the posts are listed. All of the other parameters in our shortcode, like include_author=”true” and include_excerpt, are display parameters. You’re specifying which parts of the query results to display on the page. There are almost 20 display parameters including excerpt, as we’ve seen, and thumbnail, dates, etc.
Finally, there are Markup parameters. Those change the HTML markup of the list. That can even include CSS classes and IDs if you want to change the display to use a special class that isn’t part of your theme’s default appearance.
More Examples to Try
You’ll recall from our first example that the default order for posts in a page in WordPress is descending (DESC). But you can reverse that by adding order=”ASC” (ascending) to the shortcode.
[ht_message mstyle=”info” title=”” show_icon=”” id=”” class=”” style=”” ][display-posts order=”ASC”][/ht_message]
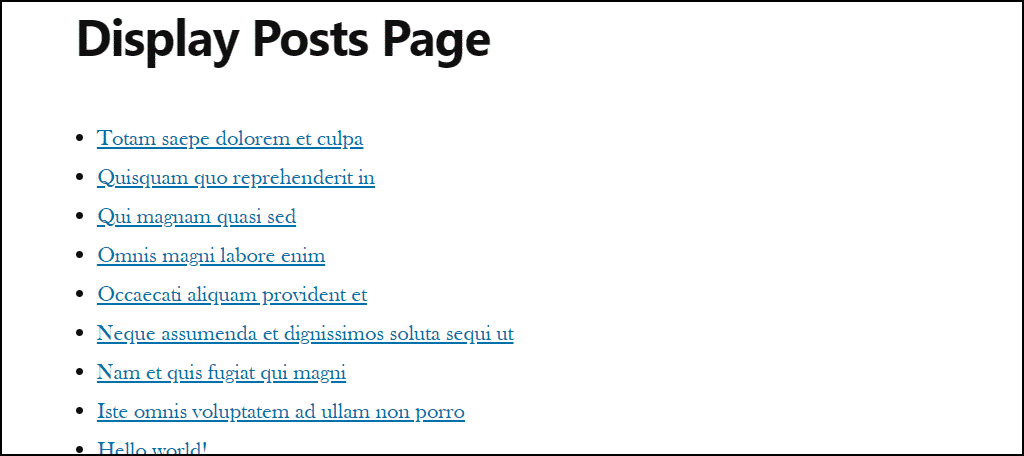
By default, the posts are ordered by date, but you can order them alphabetically by title. Just add orderby=”title” to the shortcode.
[ht_message mstyle=”info” title=”” show_icon=”” id=”” class=”” style=”” ][display-posts orderby=”title”][/ht_message]
The default order is still DESC, but we can list using order=”ASC” too.
[ht_message mstyle=”info” title=”” show_icon=”” id=”” class=”” style=”” ][display-posts orderby=”title” order=”ASC”][/ht_message]
To query on certain categories, use the category parameter.
[ht_message mstyle=”info” title=”” show_icon=”” id=”” class=”” style=”” ][display-posts category=”paper,plastic”][/ht_message]
You can even order by popularity, ordering by the number of comments posts have received.
[ht_message mstyle=”info” title=”” show_icon=”” id=”” class=”” style=”” ][display-posts orderby=”comment_count”][/ht_message]
Wait, There’s More! A Lot More.
We covered a lot of bases here, but even more cool controls remain to be discovered in the documentation for the Display Posts plugin.
And as if that wasn’t enough, there are also a number of extensions you can use. There’s one for pagination, displaying multiple authors per posts, displaying posts in columns, even one that can display posts from a remote WordPress site.
If you want to display posts in a page using WordPress, I don’t think you’ll find a better, easier to use plugin.
Have you ever had to edit a core WordPress file to change the way posts are listed on a page? Have you configured WordPress to use a non-standard home page?

