Using eCommerce has become a huge way for websites to make money. We all know about WooCommerce and what it can deliver to WordPress users, but Joomla also has a solid shopping cart extension that can transform your website into an online store.
If you have a Joomla website and you want to create an online store on the site, then there is a great extension that can help you do so. From the configuration of products to taking payments, the J2Store extension will provide everything you need to build a solid Joomla shopping cart.
Let’s take a look at the plugin and how to set it up for use.
J2Store
J2Store is a very powerful Joomla shopping cart extension that will allow you to set up an eCommerce portion of your website. The extension uses articles and turns them into products.
There is not much overhead to worry about, as J2Store comes ready right out of the box. We will cover the setup below, but it is not difficult. Once you have it in place, customers will be able to add items to their Joomla cart and buy them with relative ease.
This Joomla shopping cart extension is packed with features. There are so many we can’t name them all, but some of the highlights include:
- Use articles as products
- Define zone based tax rules
- Create product variants
- Add advanced pricing by quantity
- Create customer groups
- Sell both physical and digital goods
- Multilingual
- Payment gateways
And that’s just the tip of the iceberg. The J2Store shopping cart extension is feature-rich and you will have a solid eCommerce store launched on your website in no time at all.
Let’s take a look at how to install and enable the extension for use.
Install and Enable J2Store
In order to use the J2Store extension to create an eCommerce site, you first have to install and enable it on your Joomla website. You can do this by downloading it off the extension homepage onto your machine.
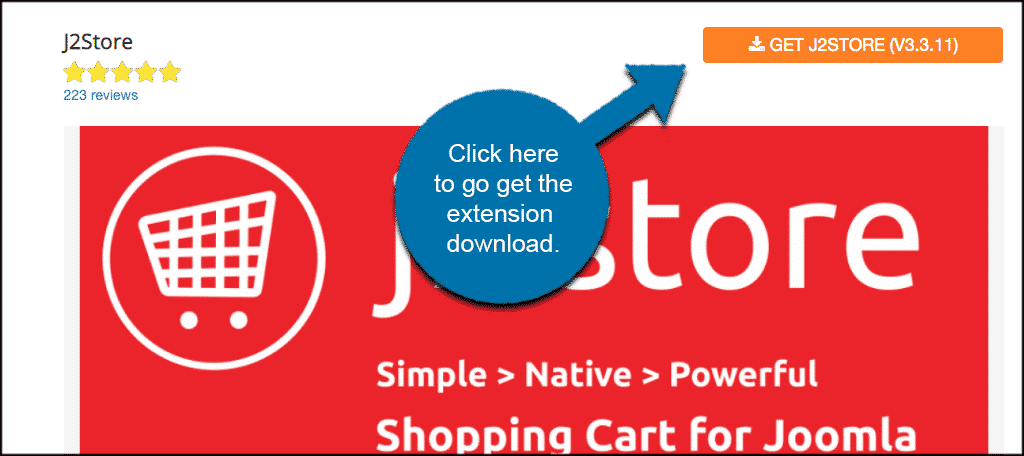
When you click on the download button, you will be taken to the J2Store extension main page. You will see that they also offer a pro version of the extension. However, the free version offers everything you need to get up and running, and that is the one we are downloading today.

Note: You can upgrade later if needed.
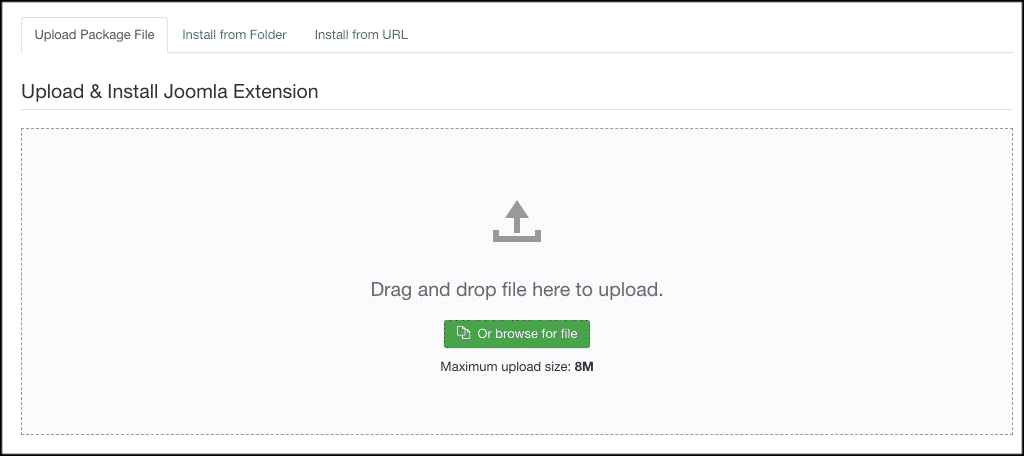
Once you have downloaded the J2Store download extension to your machine, go ahead and drag and drop it into the file upload box located in your Joomla control panel area. Simply click on the “Install Extensions” tab located in the left sidebar area of the control panel.
Note: You can also browse for the file and upload it that way if you prefer. Joomla also gives options to install from a folder or from a URL, but the process below is easiest.
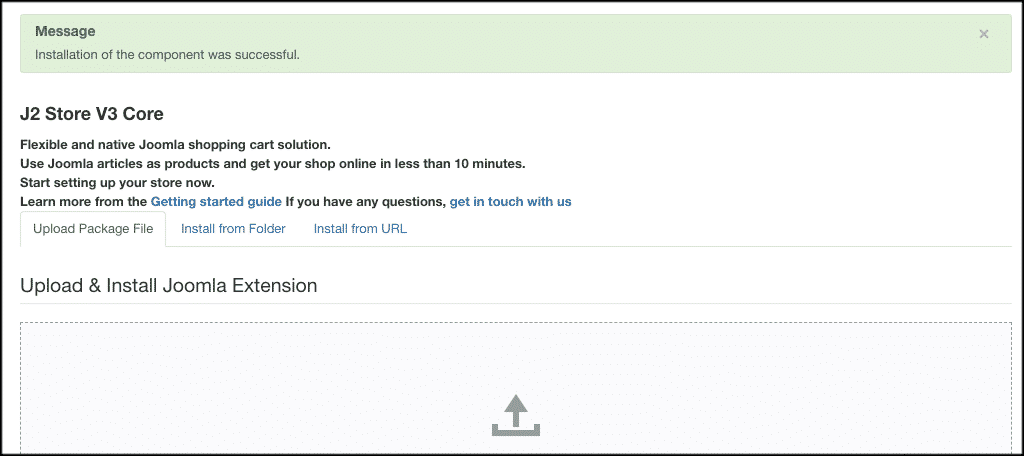
Once the extension has been installed, you will get a green box message telling you the extension was successfully installed.
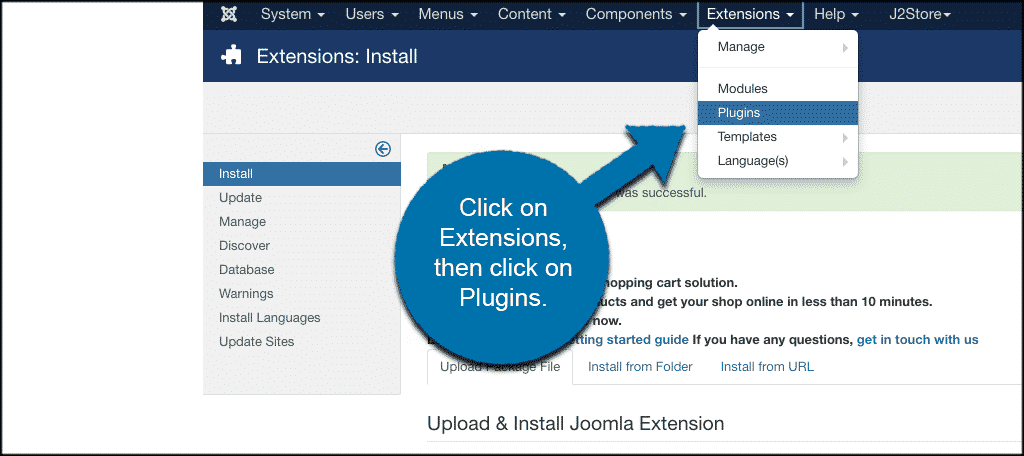
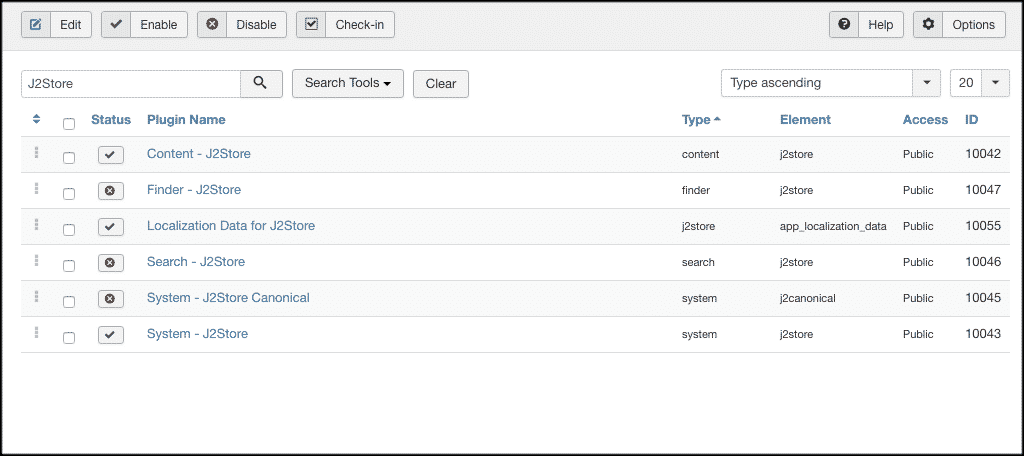
Now that the extension has been installed, you have to activate it. On the top menu bar, click on Extensions > Plugins. Search for the J2Store extension you just installed.
If it has a red circle with a white “x” in it, click the icon to enable the plugin. If the icon has a green checkmark, it means it’s already enabled and the extension is live on the site.
Note: You will see several parts of this extension. Go ahead and enable all the ones you want. For this tutorial, we are going to set up the actual shopping cart part of the store. So click on the “Content – J2Store” link to open that up.
Configure Main Shopping Cart Settings
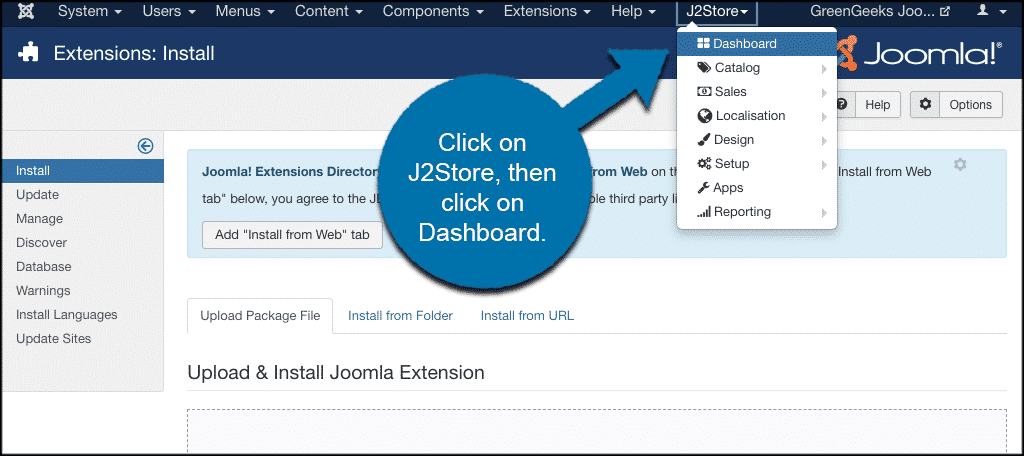
From here we can go through the extension together and look at the setup options. You will see that a J2Store tab has been added to the main menu on the top of your website. Click on the tab and in the dropdown menu, click on “Dashboard.”
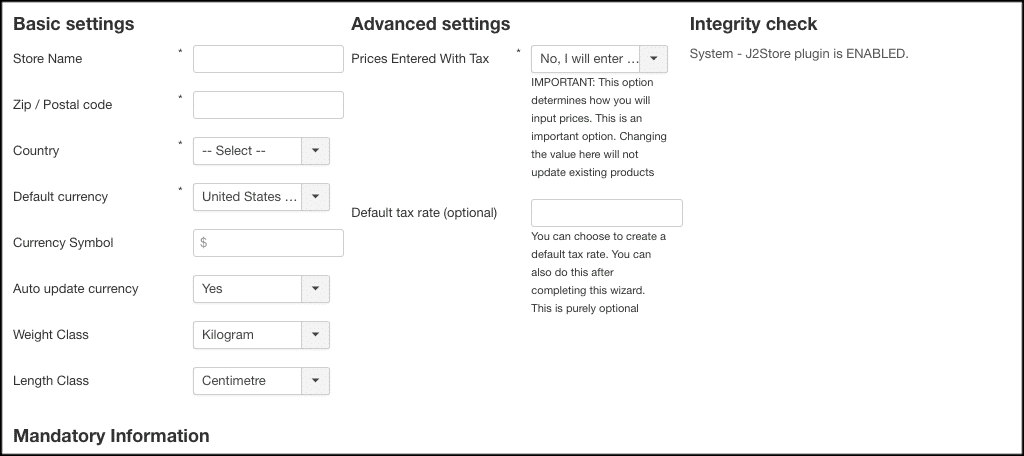
You will see a congratulations message prompting you to go forward with the extension configuration. Let’s take a look together at the main settings in the dashboard.
These are all the basic and advanced settings for how the Joomla shopping cart will perform and display overall on your website. Go ahead and go through them and set them up how you see fit.
When you are finished click on the green “Save and Proceed” button and move on. Let’s take a look at all the options for setup now that you are in the main dashboard where you can add all your content for the Joomla shopping cart.
Different Tab Sections in Dashboard
You have now been taken to the main dashboard and you are ready to add products, track payments and sales, and play with all of the design and configuration options for the J2Store extension.
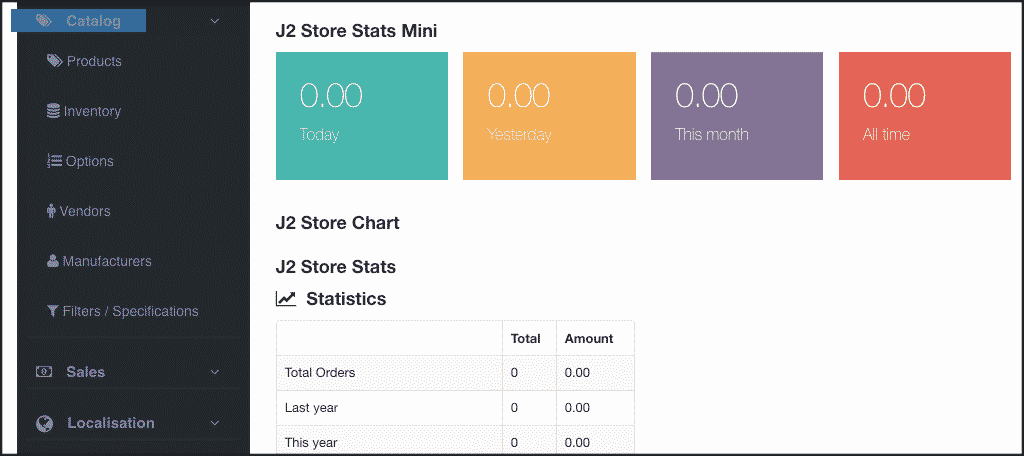
Catalog
The catalog tab is where you will add products, manage inventory, manage vendors, and also deal with manufacturers. This is the heart of the shopping cart.
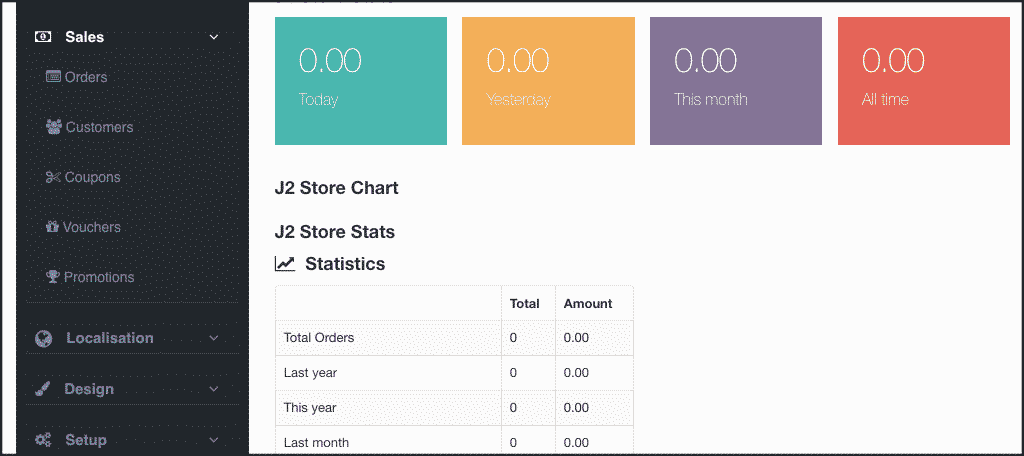
Sales
If you click on the Sales tab, then you will see a dropdown come out. Here is where you will manage all your orders, customers, coupons, and vouchers. You can also deal with promotions from this area.
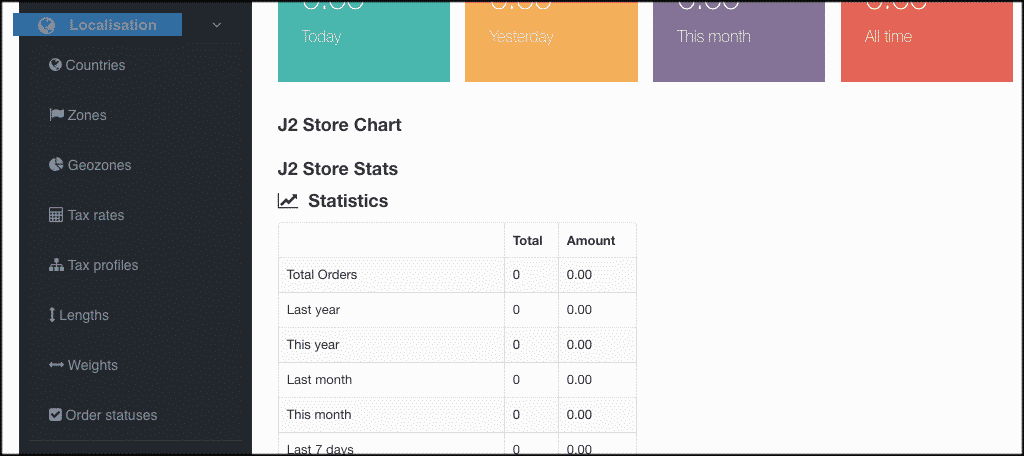
Localization
Click on the localization tab to manage your countries, zones, tax rates, and tax profiles. This is where you make sure you are setting up sales and taxes correctly.
Design
You can open up and design your email and invoice templates how you would like them to look and display to customers.
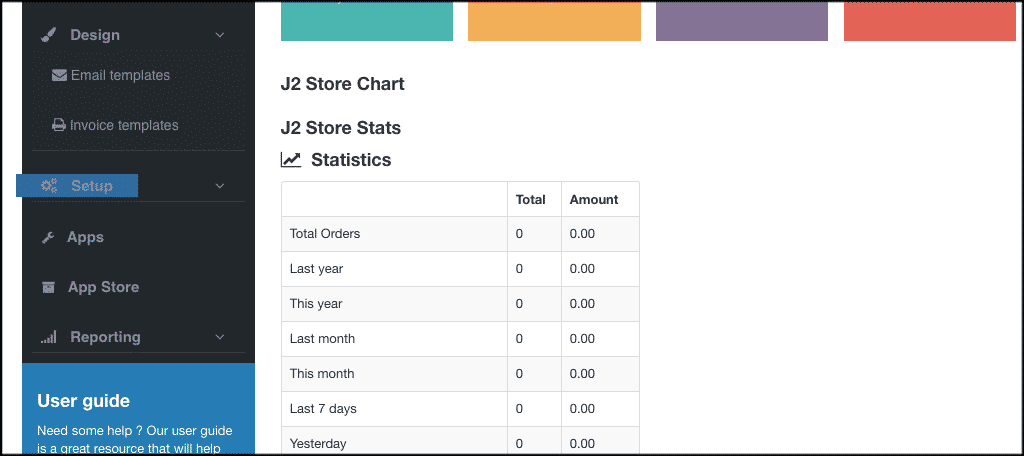
Setup
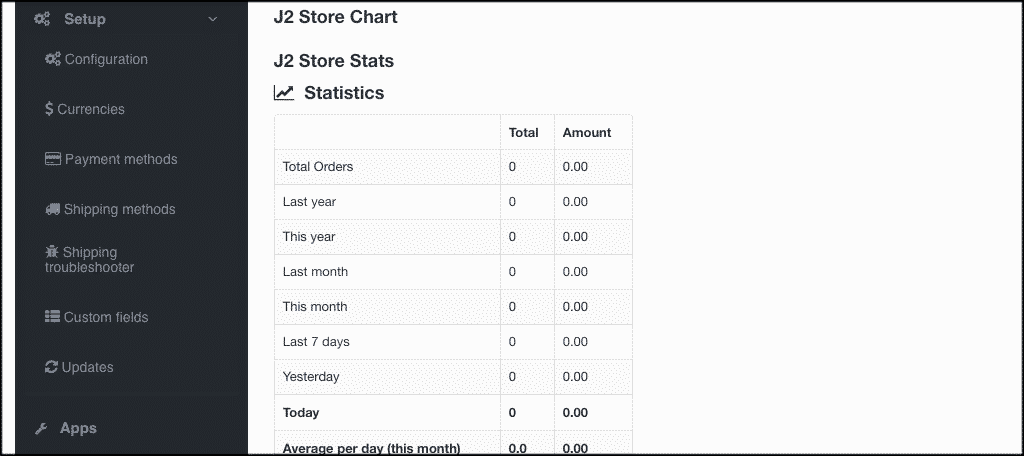
The setup tab actually contains a lot of the shopping cart set up within it. Here is where you will set up and configure the layout of everything. There are dozens of options to go over. The extension allows for some really great customization.
You can also set up and deal with currencies, payment and shipping methods, add custom fields, and perform updates.
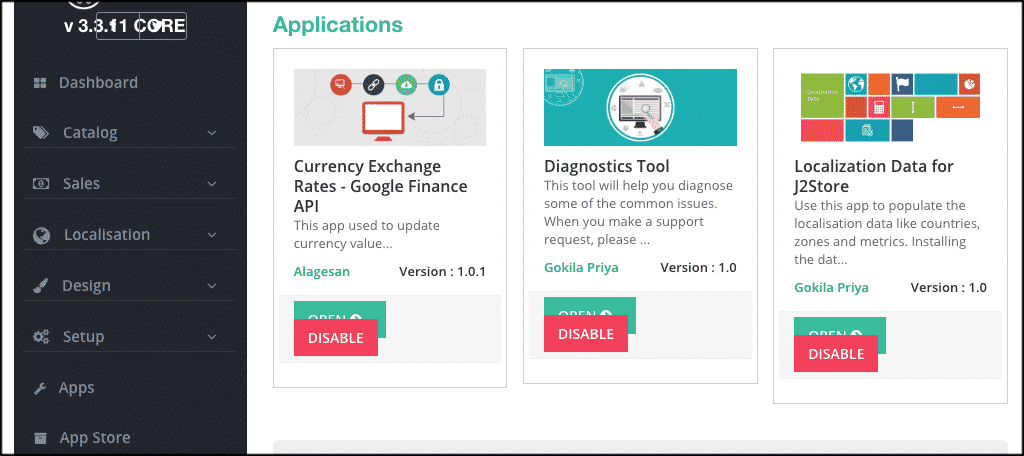
Apps and App Store
The apps and app store tabs give you access to other apps you may want to integrate with your Joomla shopping cart setup. You can go check all of them out and decide which ones you may have a need for or want to use down the road.
Reports
Finally, you have the reports tab. This is where you can view all of the reports over time.
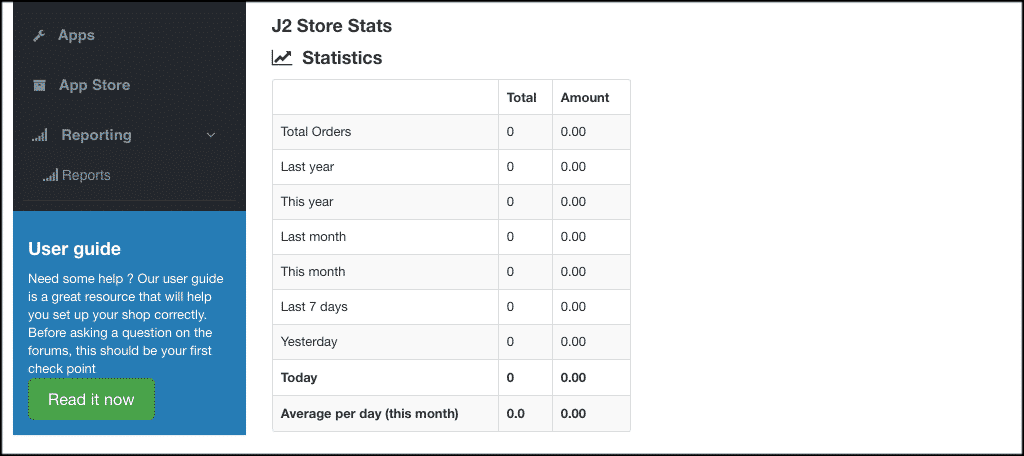
Note: You will notice there is also a link to the developer’s main user guide. If you are have some trouble with anything, then they make it easy for you to access the guide and troubleshoot.
That’s it! At this point, you have successfully installed and enabled the Joomla shopping cart extension. You have been shown all the tabs and what they do. Feel free to go back and play with all the setup options.
Final Thoughts
Adding a shopping cart to your Joomla website is a fantastic way to easily sell both physical and digital goods online. This use to be much more difficult, but with an extension like J2Store, doing this is much easier.
Everything will be in one place in the back end of your Joomla control panel for you to access, configure, and control.
Have you ever used the J2Store extension? Have you found another one that you think works better for eCommerce in Joomla?
