By default, the content on your WordPress website is accessible to everyone without any restriction. However, some developers may want to restrict user access to their WordPress content based on several factors.
For example, you may want only users who have created an account to be able to read your content. You may also want to restrict certain countries from accessing your content to block spam or for legal reasons.
Regardless of the reason, this is possible and easy to set up in WordPress if you use the right tool. Today, I will demonstrate how to restrict user access to WordPress content with the Restricted Site Access plugin.
Why Restrict User Access in WordPress?
The goal of every website is to have as many people view their content as possible. So, it may seem counter-intuitive to restrict user access in WordPress, but there are several reasons why sites do this.
First and foremost, restricting user access is a great way to avoid spambots from accessing your website. Spambots will crawl through a site until they find areas they can interact with like the login area, registration form, comment section, and so on.
If you identify a specific country that these bots originate from, you can restrict access from that country.
In some cases, the content on a website is not suitable for all ages. As such, you may want to ensure users have created an account where they may need to verify their age. You can restrict access to users that are not logged in to prevent them from seeing the content.
Membership websites work similarly to this but instead require a payment from the user to view the material. However, you are better off using a dedicated membership plugin than a restriction plugin as this tutorial will cover.
How to Restrict User Access in WordPress
The Restricted Site Access plugin is one of the easiest ways to restrict user access in WordPress. It only requires you to access the settings and check a box to add a restriction on who can view your site’s content.
As such, you can set this plugin up in a matter of minutes at any skill level.
Step 1: Install Restricted Site Access
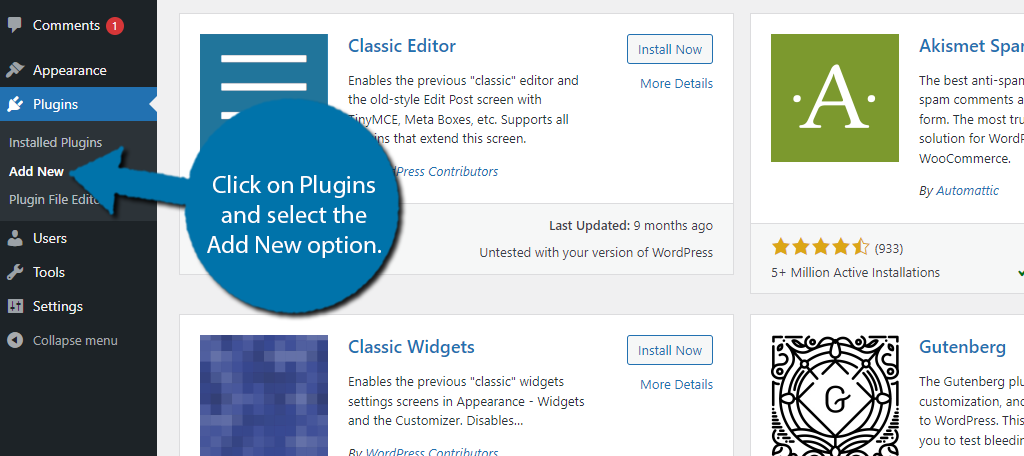
Let’s start by clicking on Plugins and selecting the Add New option on the left-hand admin panel.
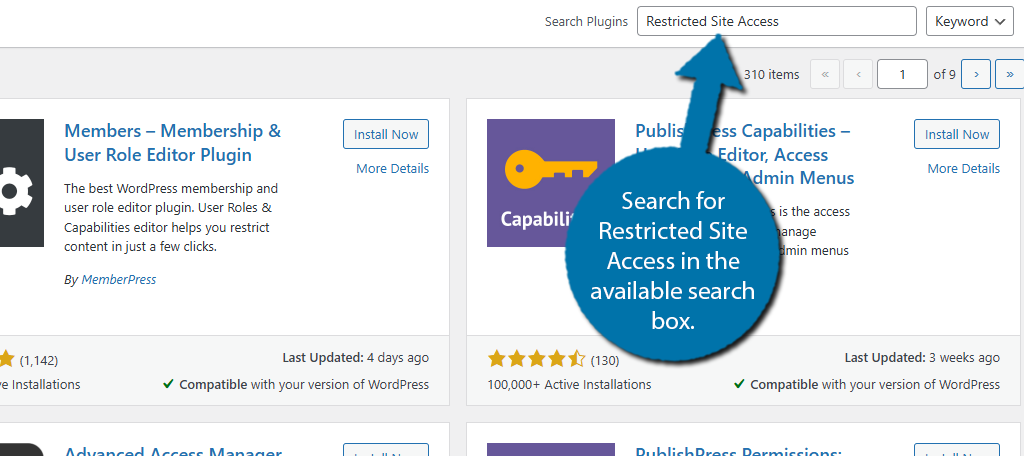
Search for Restricted Site Access in the available search box. This will pull up additional plugins that you may find helpful.
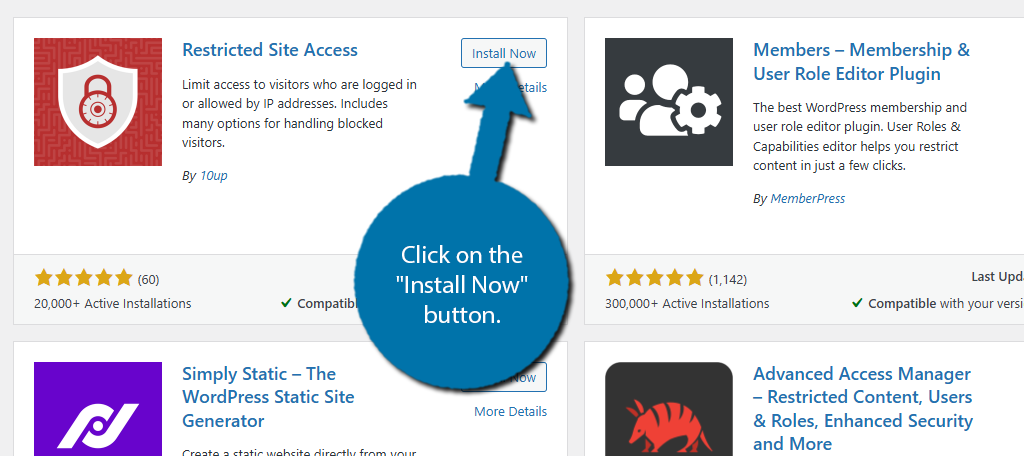
Scroll down until you find the Restricted Site Access plugin, click on the “Install Now” button, and activate the plugin for use.
Step 2: Configure the Settings
The only real step you need to take when setting this plugin up is to configure the settings. Luckily, there’s not much you actually need to do other than check a box and add some IP addresses to block if you desire.
To find the settings for this plugin, click on Settings and select the Reading option.
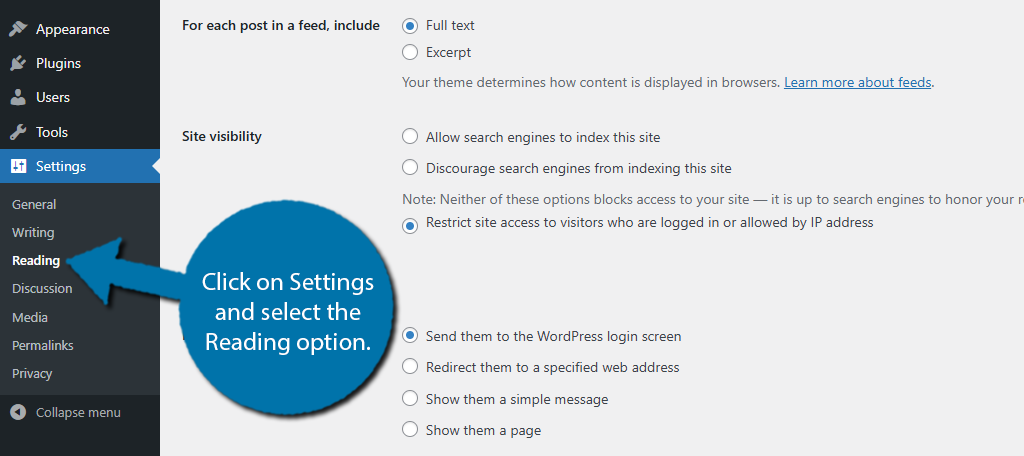
Realistically, the plugin is already working but currently, it is not restricting anything because you have not entered any information. By default, the plugin will automatically restrict content to users who are logged in.
The rest of the options only appear if this option is selected. If you want to disable this, simply choose a different option above it.
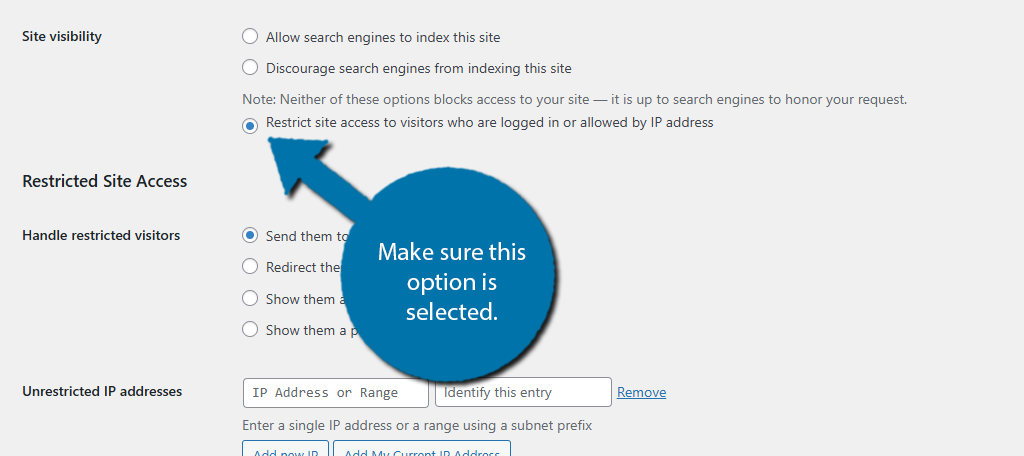
With that option enabled, let’s select what happens to the user when they try to access restricted content.
You will see a series of radio buttons that you can choose from. The options include:
- Send them to the WordPress login screen
- Redirect them to a specified web address
- Show them a simple message
- Show them a page
Simply select the option you want to use. Depending on your choice, more options will appear allowing you to add more information, like the URL you wish to send them.
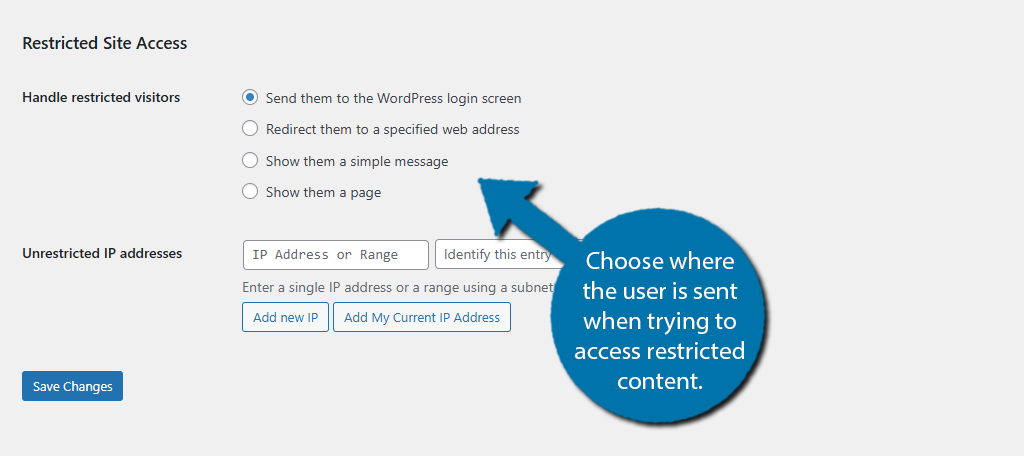
My recommendation is to send them to a dedicated page that informs the user that the content is restricted and how they can get past the restriction. For instance, something like “You must create an account to view this content” with a sign-up button.
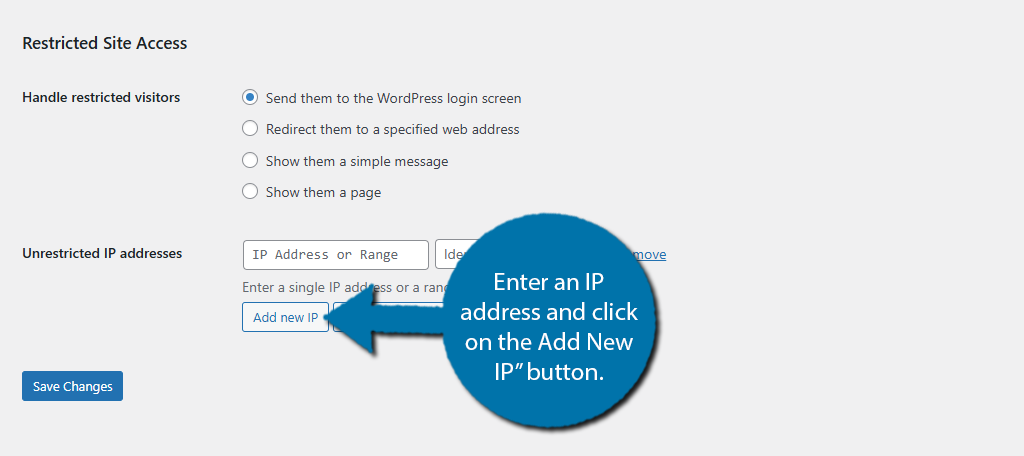
In any case, the choice is yours. Below this is where you can block specific IP addresses or country IP ranges. Next to it is an additional text box that allows you to identify the IP address. You can use this to enter the user you are blocking or the country.
Simply enter the IP address you want to block into the box and click on the “Add New IP” button next to it.
Note: You will need to search for country IP ranges that you want to block. These are updated regularly, so make sure you check regularly to include new ones.
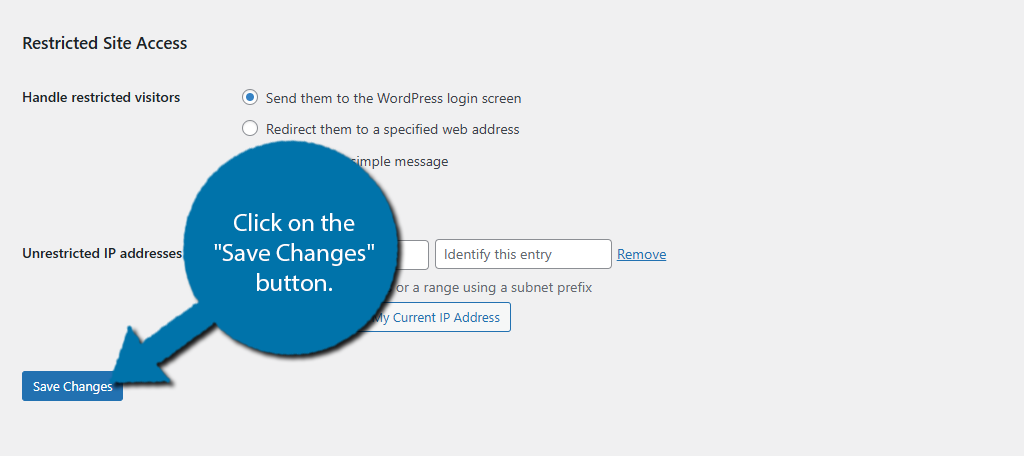
That covers the plugin setup. Simply click on the “Save Changes” button at the bottom to save the changes.
And that’s it. You can test to make sure your country’s IP bans are working by setting up a VPN and attempting to access the website from that location.
Other Plugins to Restrict User Access
Naturally, the Restricted Site Access plugin is not the only plugin that does this for WordPress. Let’s look at a few alternatives you can try if you are looking for other features for your site.
Restrict User Access
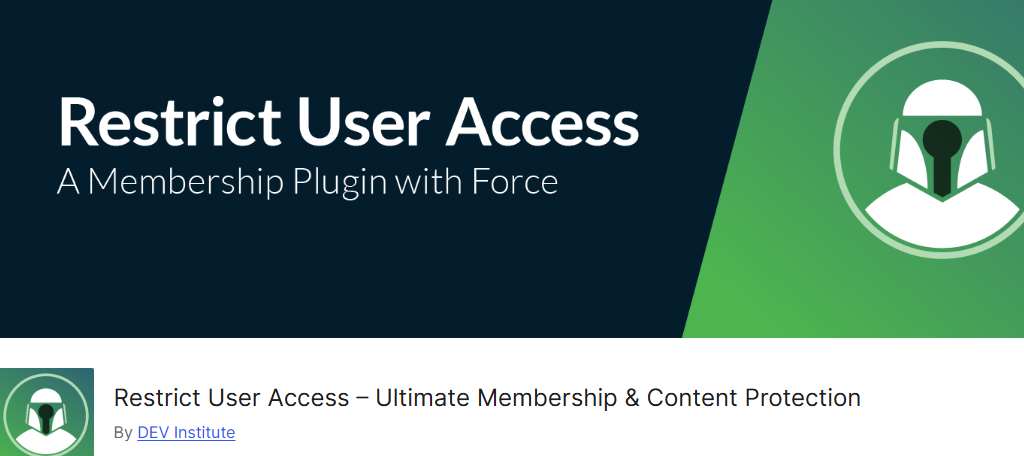
The Restrict User Access plugin is a more robust tool that also works as a membership plugin. You can create roles and memberships that are assigned to users. Then, simply mark the content as accessible to specific roles.
It has more functionality than what we covered above, but that also means it is more complicated to set up and get working. That said, as far as membership plugins go, it is easy to use. And yes, you can make free membership roles.
Content Control
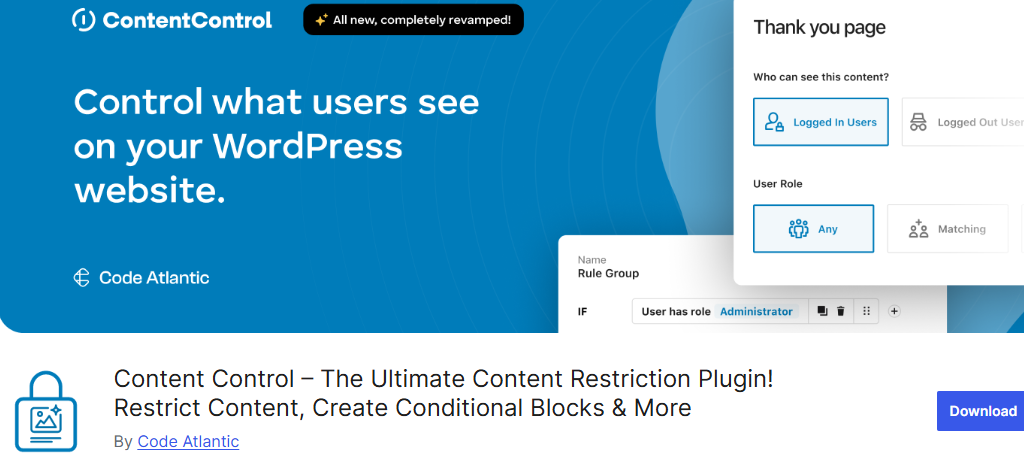
Content Control is another excellent restriction plugin to protect your content. This plugin gives you complete control over every piece of content on your website. You can individually create rules for each post or page on your site.
As such, it can take a lot longer to set up as you need to go into each one individually to set up. That said, the options themselves are very easy to configure, so it is still a perfect choice for beginners.
Restrict for Elementor
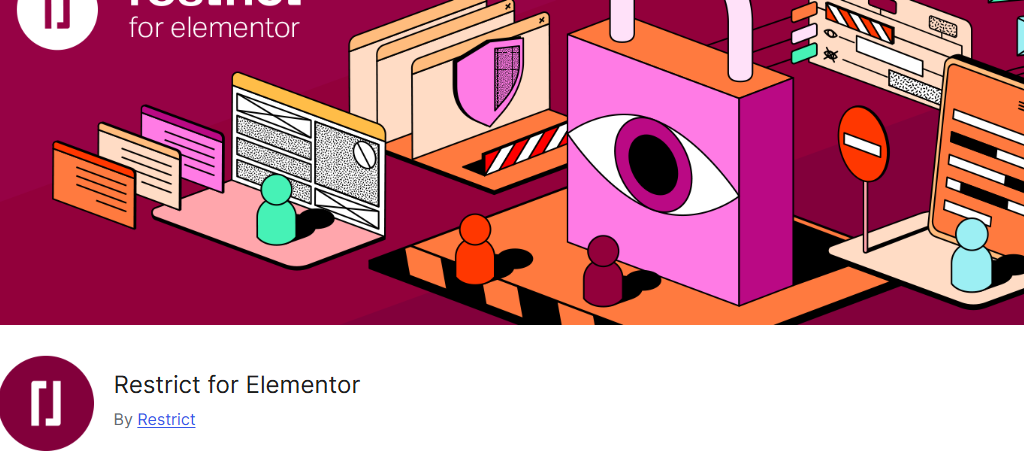
If you are one of the millions of users that use the Elementor Page Builder, then you can install the Restrict for Elementor add-on to add restriction capabilities to your site. This gives you more control over what content is visible to what users.
You can select individual Elementor widgets and choose their visibility options. This can help you deliver exclusive content to certain user roles. As far as complexity goes, it works like the rest of Elementor, so if you can build a page with Elementor, you can use this.
Restrict User Access In WordPress Today
There are many reasons why you may want to restrict access to your WordPress website, and with the right plugin, you can do just that without much trouble. With that said, make sure to verify you are blocking the right users.
It is very easy to enter the wrong IP address range into the plugin and mistakenly block the wrong country from accessing your website. This can hurt your revenue, so I strongly recommend verifying the restrictions yourself.
Which WordPress plugin do you use to restrict user access? Has using this plugin helped you reduce the amount of spam you receive?

