Are you looking for additional customization options for the Gutenberg editor? If so, you need to try the Gutenberg Template Library & Redux Framework plugin. It adds over 1000 templates that you can use to create custom pages in seconds.
Some of the framework templates will need additional plugins to use, but you can install everything you need directly in the Gutenberg editor. And if you’re not a fan of adding more plugins, you can filter the templates to see the ones you can use without adding them.
Today, I will demonstrate how to utilize the Redux Framework plugin to add more customization in WordPress.
More Customization Is Always A Good Thing
Redux framework is hands down one of the best editor extensions WordPress has to offer. The only competition it has is from full-fledged page builder plugins like Elementor.
That’s why it also has over one million active installs.
You might be wondering if this plugin is compatible with your theme. Fear not, if the plugin isn’t, you can use the custom page templates option. This will allow you to override any theme and create your own custom pages to ensure you can take advantage of any template.
In this function, it is similar to a page builder. It boasts a clean code design, and you can verify it through the documentation provided by the plugin.
How to Improve Customization in WordPress with Redux Framework
Step 1: Install Redux Framework
Redux Framework is a template library for the Gutenberg editor. Everything can be done directly in the Gutenberg editor including adding page templates, previewing them on demo sites, installing additional plugins when necessary, and more.
It’s comparable to a page-builder plugin but offers way more ready-to-use templates than any other tool in WordPress.
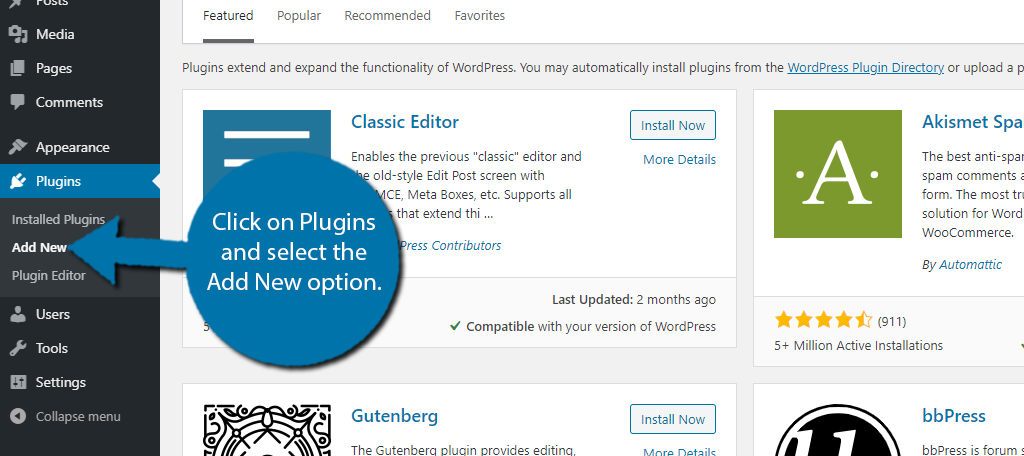
Let’s start by clicking on Plugins and selecting the Add New option on the left-hand admin panel.
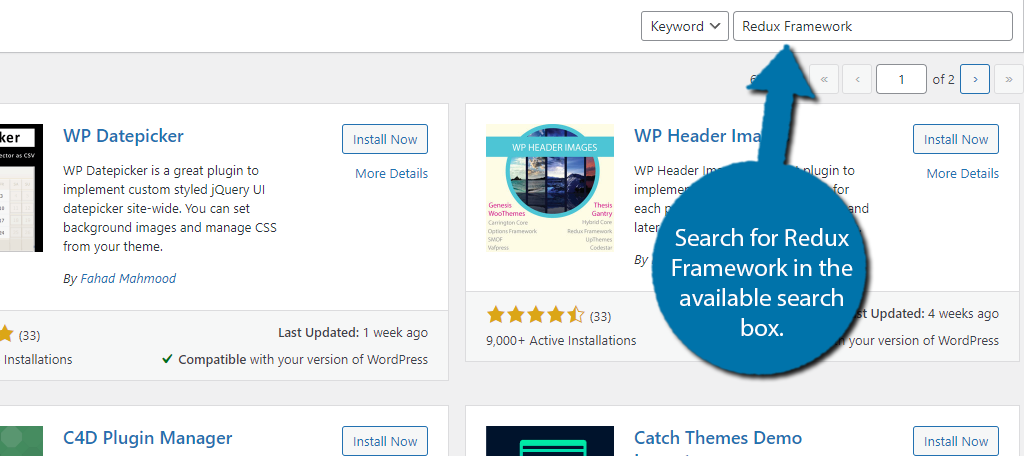
Search for Redux Framework in the available search box. This will pull up additional plugins that you may find helpful.
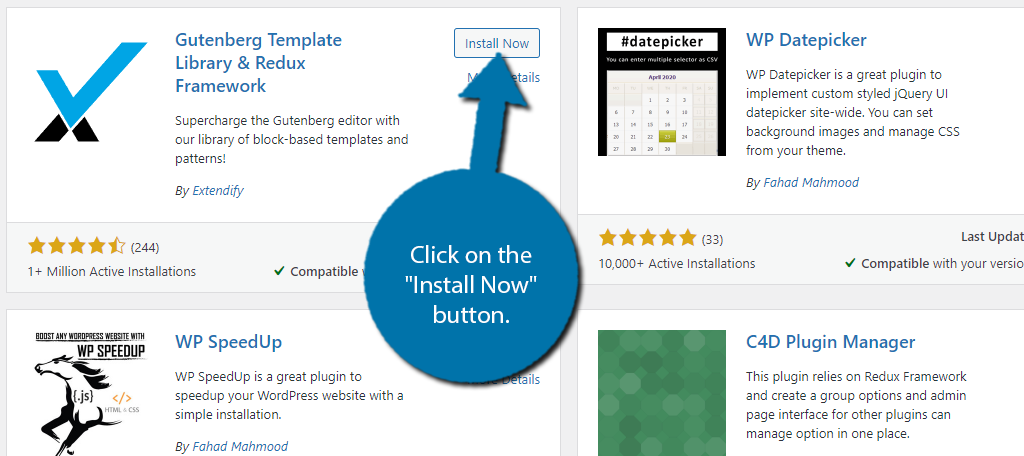
Scroll down until you find the Redux Framework plugin and click on the “Install Now” button and activate the plugin for use.
Once the plugin is activated, it’s ready for use. While there is a settings page, the only option available is to enable legacy templates. You are free to do so, but since they are older, they are not coded the same way, thus they may not have the same performance as new ones.
This could lead to compatibility issues in WordPress.
Step 2: Patterns
Go to any post or page on WordPress. I would recommend starting a new one for testing purposes before trying this on a live page.
Not that it is hard, but you should get a feel of how everything works, that way you get the best results.
Once there, click on the “Library” button.

The library is broken up into two tabs: Patterns and Page Templates. Let’s begin with patterns.
A pattern is a part of a page template that you can add anywhere on a post or page. For example, you could add a Contact Pattern, which will give you a space to add contact information and store hours.
The plugin gives you two filtering options. The first is to select a category. They have all of the main ones like retail, weddings, education, and more. Many of these categories will also have subcategories to give you even more options.
Basically, pick the category that your website falls under.
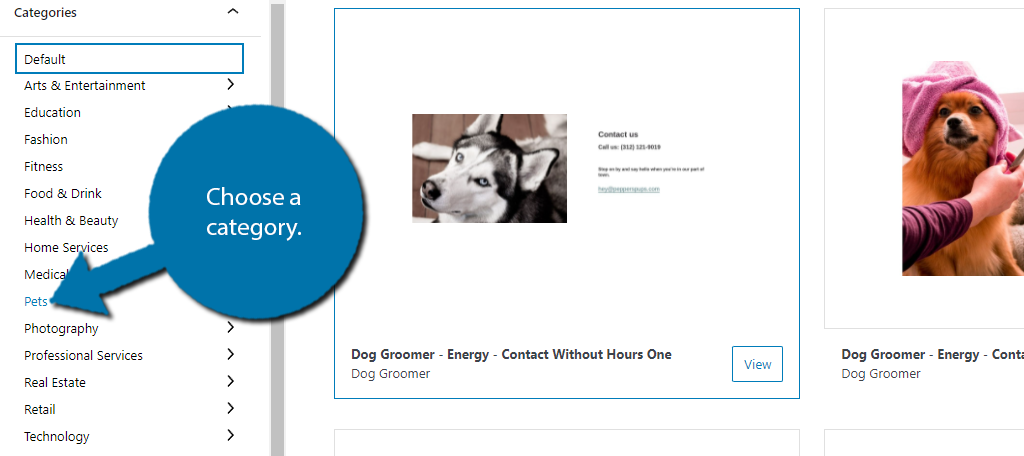
If there are any subcategories, they will appear after clicking on the category. Choose one if applicable.
Note: The category will determine the design of your pattern. There may be times where a different category is a better match. So, don’t be afraid to look around.
Now you simply need to choose a pattern to use. These are broken down into their own categories like testimonials, logo, gallery, etc. You just need to click on one of them to view what options are available.
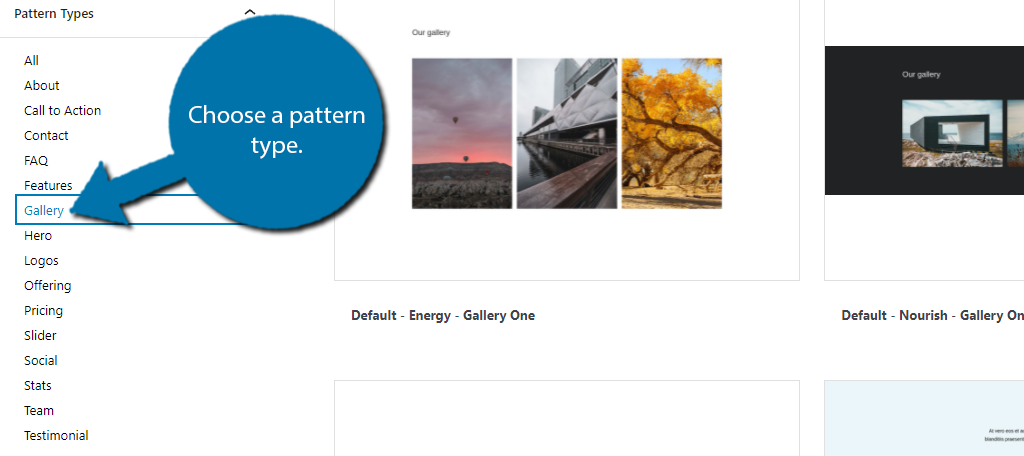
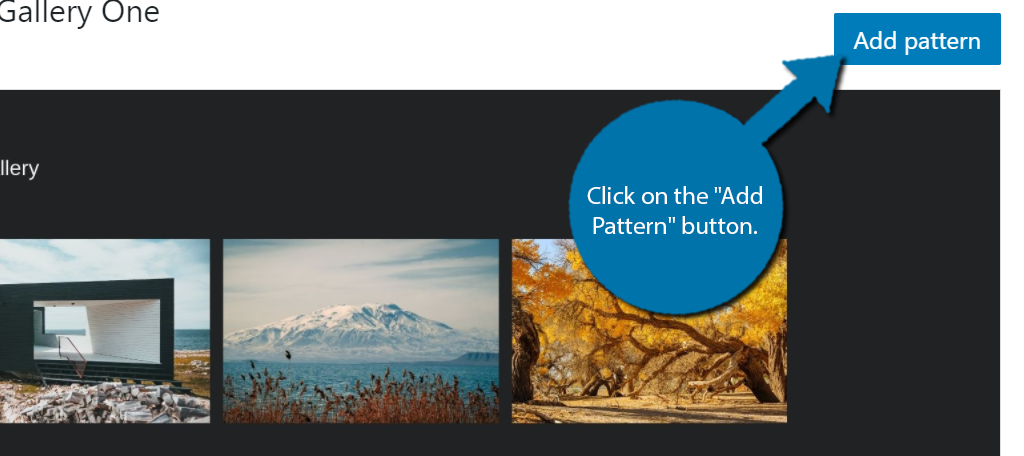
On the right side, you will see all of the options you can modify. Click on the one you want to add. This will open up a sample to view and a link to a demo site that uses it.
Click on the “Add Pattern” button.
A small pop-up will appear asking for you to subscribe for email updates. Feel free to skip or accept, it will not have an impact on the plugin.
Step 3: Customize the Pattern
Once you add your pattern to Gutenberg, you can customize it like any other block. Now, what you can do to customize it largely depends on the Pattern itself.
Each one is unique and you just need to click on it to begin editing.
I selected a Gallery pattern, so I can click on the stock photos and replace them with my own.
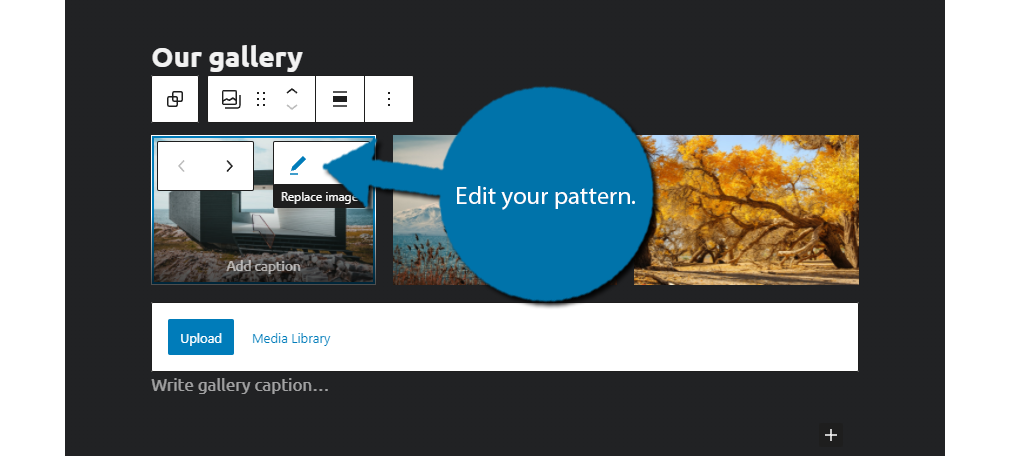
Since this is no different than editing a regular block, I’ll leave this part up to you. But I assure you that everything about the pattern is customizable.
Step 4: Page Templates
The good news is that Page Templates work identical to Patterns, but the difference is that it’s the full template instead of a piece.
Click on the Page Templates tab.
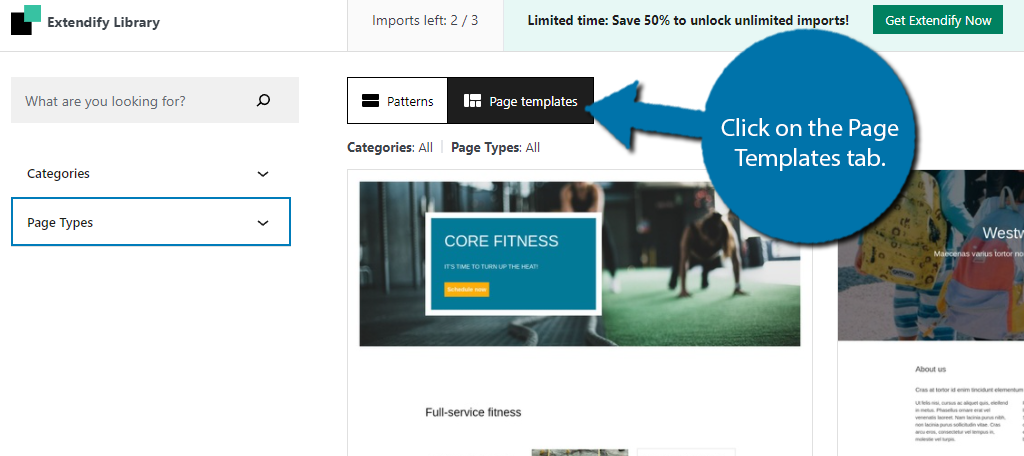
Once again, you will have two filtering options Categories and Page Types. These work identically to the patterns; simply select a category that your website fits into and then select the page type.
However, the choices here are for pages instead of patterns.
Click on the template you want to use.
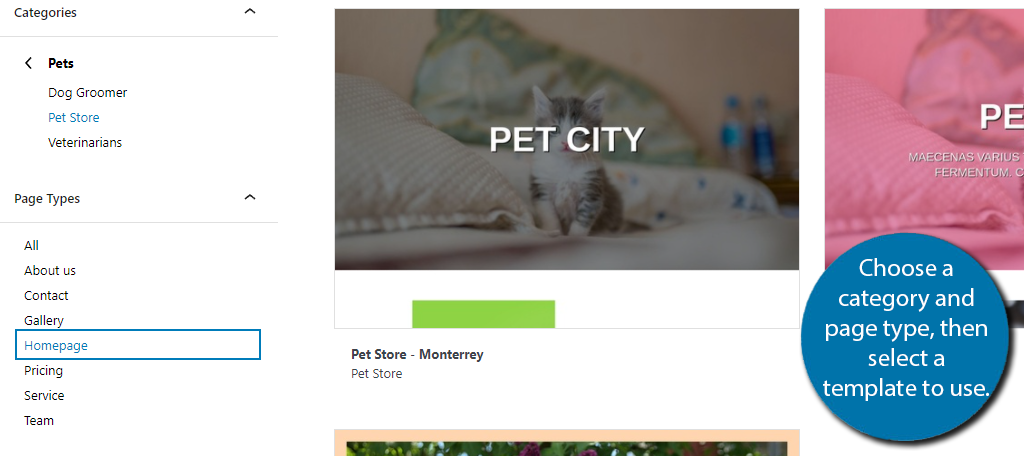
You will be able to preview the template and even view a demo site that uses it. If you want to use it, click on the “Add Template” button. If not, keep looking.
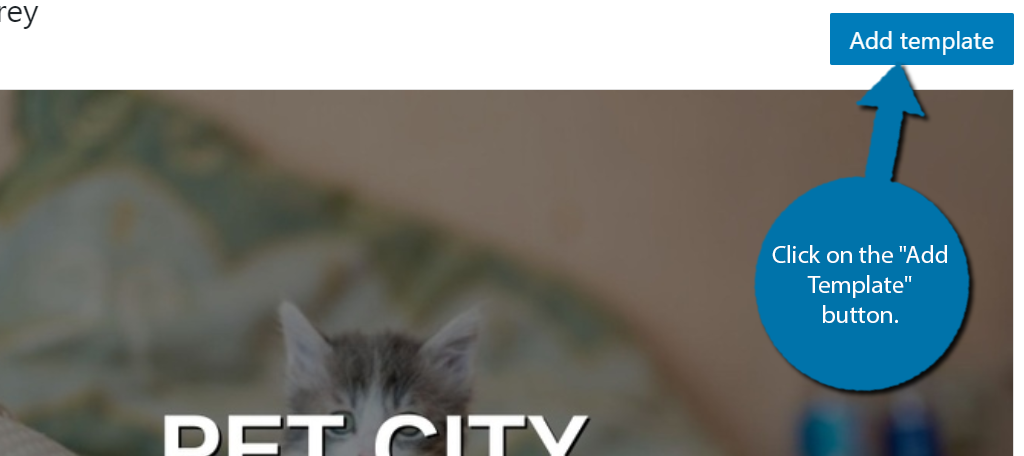
Again, you will be asked to subscribe with an email, feel free to agree or not, but be warned that this will be asked every time you add a template or pattern.
The template will appear as a series of blocks in the WordPress editor. Each one can be edited similarly to any other block in Gutenberg. So all that’s really left is to go through the editing process, which I will leave to you.
Just be aware that you can remove blocks in the template and replace them with patterns that you like instead. Or, just remove them entirely without replacing them.
You really do have full control over what you design.
Congratulations on using the Redux Framework plugin to add more options to the Gutenberg editor.
Build the Pages You Want to Build
Web development is all about utilizing the options the platform provides in a creative way. In the case of WordPress, you have the complete freedom to build a website any way you want. And the Redux Framework plugin is the perfect example of that.
With it, you can utilize templates as a starting point and edit them accordingly. You could choose to replace parts of a template with a specific pattern, or alternatively, you can create your own template by putting together different patterns.
The point is, you have full creative freedom in WordPress, and you should take advantage of it.
Did you make your own template with patterns or edit an existing one? Did you need to download any additional plugins to utilize the template of your choice?

