When you are working on a new post or you had already published one, you might notice on the edit post screen – you have several publishing options. These can be found in the upper-right side of the screen.
I am going to go through each one, to explain how they can be used:
Save Draft Button
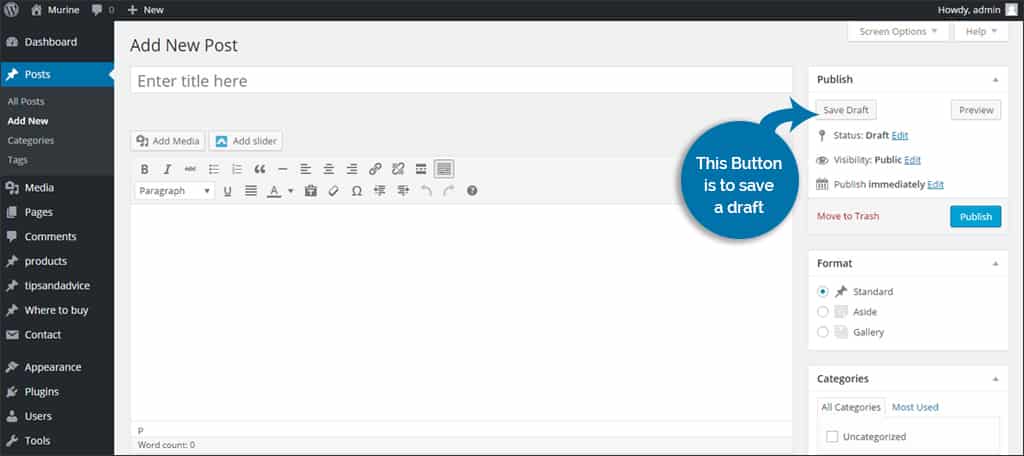
This button’s purpose is to save a draft version of whatever you have typed up thus far. It is always good to remember to save early and save often. You never know when you might accidently close the page, have the power knocked off or well, insert any other negative situation here that could keep you from saving your work.
Preview Button

The preview button does exactly what you would expect. It allows you to preview your post without publishing it. You will be taken to a preview version of the post on your WordPress-powered website.
Status

The status option allows you to adjust the status of your WordPress post. You have the option of selecting, Published, Pending Review or Draft. Published means the post can be seen by the public. Draft means that the post has been saved but cannot be seen by the public yet. Pending Review is an option you can use when you have multiple authors that may or may not have the option avaliable to publish posts themselves.
Visibility
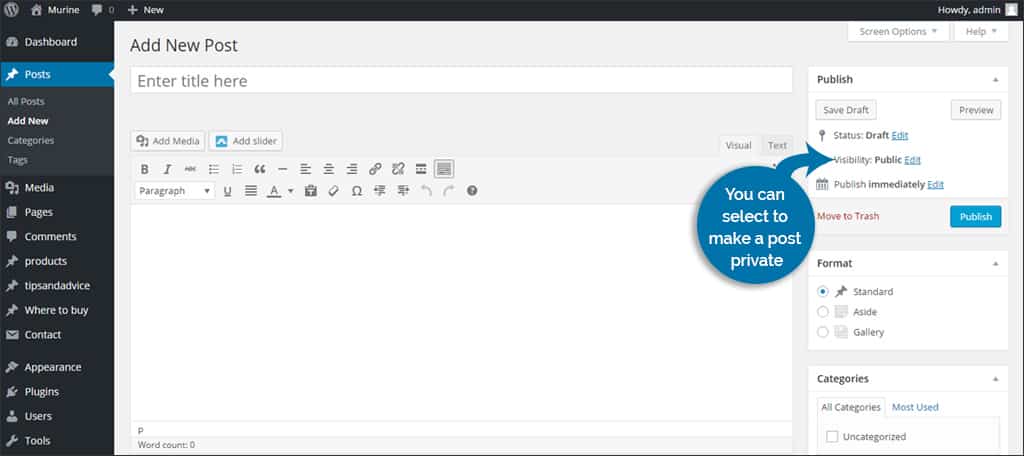
The visibility options kind of works hand-in-hand with the Status options above. Here you can select to make a post private. This means nobody but you can see the post. You can also password protect a post too. The third option you have here is to make the post sticky on the front page. This means the post will show up on top until you unsticky it.
Revisions
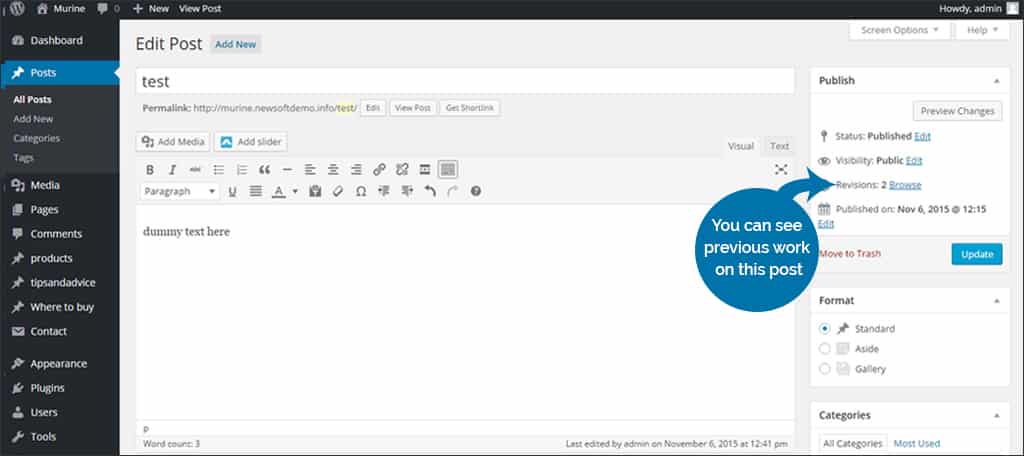
You may or may not see an option for revisions. This is more dependent on if you have multiple drafts saved of the same post. By clicking on this WordPress publishing option, you can choose to view side-by-side comparisons of your previous work on this one post.
Publish Time
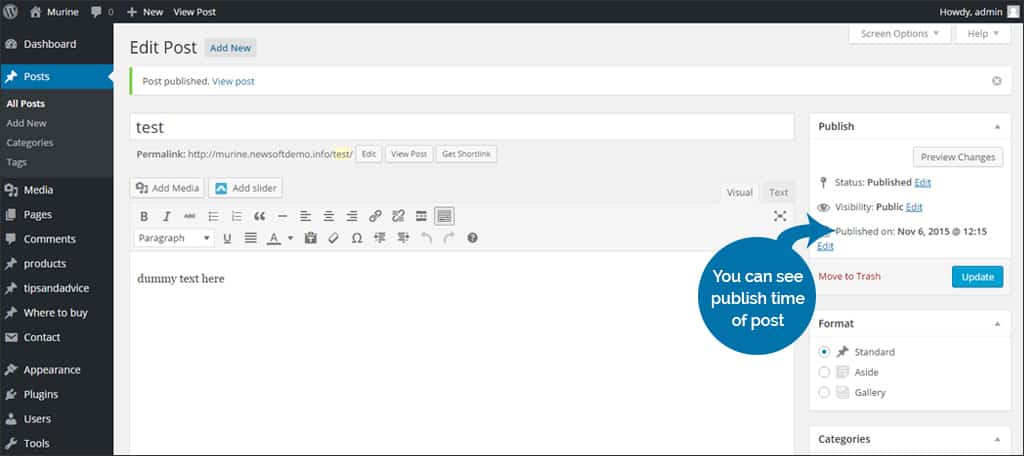
The publishing time option in WordPress lets you set the time and date you want the post you are working on to publish. You can adjust the month, day, year and time that this post goes live. If you need to do some writing before you head out on vacation, this is a great way to schedule posts to be released before you leave town.
Move to Trash
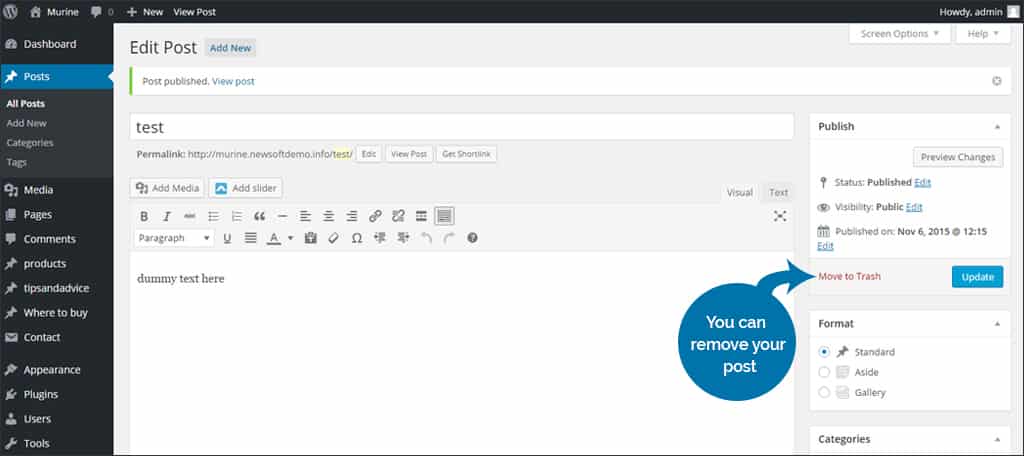
At the bottom of the publishing options, there is red text that reads, “Move to Trash”. Once you click this link, your post will be removed. However you can recover it, if you wish, from the All Posts screen from within WordPress. That is a great option, just in case you accidentally delete a post.
Publish Button

The publish button (or sometimes it says, “Update”) is the final WordPress publishing option we will cover. This button is the one you hit when you are done adjusting all the options we have covered in this post. Once you click this button, whatever settings you have set will go live on your WordPress website.
Hopefully, this quick run-through of all the WordPress publishing options will help you out in the future. When it comes to publishing a post in WordPress you do have a lot of options. This allows you to set up or schedule your content to be released when it is the most convenient for you.
