One of the most important aspects of building a WordPress website is optimization. Oftentimes, a smooth, clean site is built. However, an actual WordPress website optimization is left out of the process for one reason or another.
Maybe the website designer just doesn’t understand WordPress optimization, or maybe they think it just doesn’t matter. Whatever the reason, WordPress website optimization is a must.
What is WordPress Website Optimization?
When I speak about WordPress optimization I am talking about a number of things that are tied together to make a website run better. Certain things you want to optimize on any site include:
- Aggregate, Minify & Cache Scripts & Styles
- Inject CSS in Page Head
- Inline CSS
- Move & Defer Scripts to Footer
- Minify HTML
- Optimize Images
- Lazy Load Images
- Optimize Google Fonts
- Async Non-Aggregated JavaScript
- Remove WordPress Core Emoji Cruft
More than likely, the list above has a lot of stuff in it that you do not understand and that’s okay. Unless you are a developer, optimizing the issues above will be passed up and never get done.
That being said, I have found a great plugin that can perform all the above and get your WordPress website optimization done with just a few clicks. In most instances, the process will increase performance. And this is ideal for both visitor and search engine alike.
Let’s take a look at how to optimize a WordPress website using the Autoptimize WordPress plugin.
Optimize WordPress Website With Autoptimize
The Autoptimize plugin is an all-in-one WordPress website optimization plugin. This is a fantastic way to optimize your site, especially if you don’t understand the terms from above.
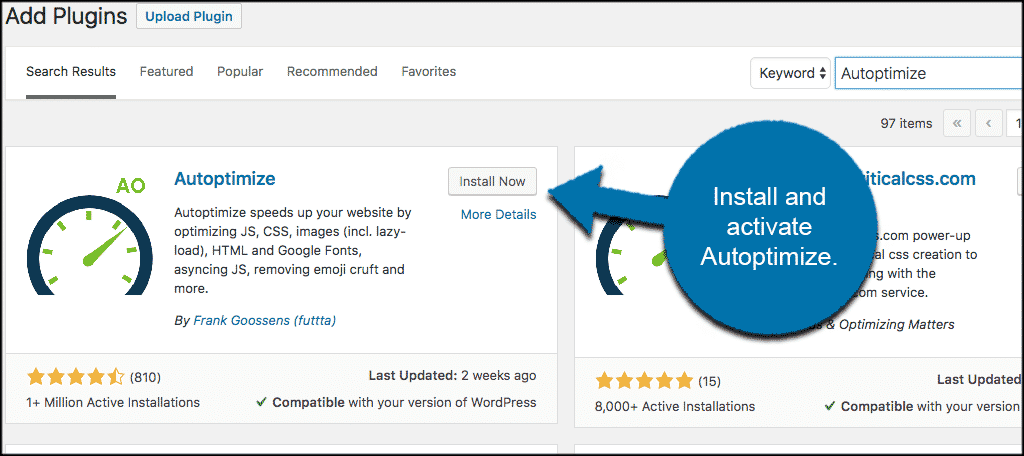
First, you want to install and activate the Autoptimize plugin from your WordPress admin dashboard.
Once the plugin has been installed and activated click on Settings > Autoptimize and that will take you to the setting’s page for the optimization plugin.
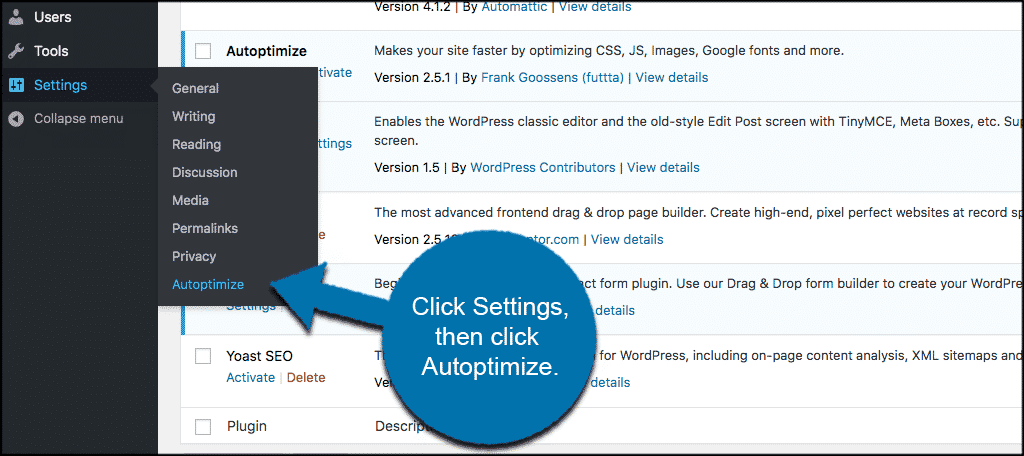
Now that you are on the main setup page for the Autoptimize plugin let’s take a look at how the setup should look.
Autoptimize Plugin Setup
The setup page provides a lot of options for the plugin, How you fill it out and what you decide to do will be based on what you want. There is not really a wrong way to fill the settings out. It is a matter of how you want WordPress to perform.
Feel free to play around with the settings until you get them exactly how you want.
When you arrive on the main setting’s page, you will see four tabs:
- JS, CSS, & HTML
- Images
- Extra
- Optimize More
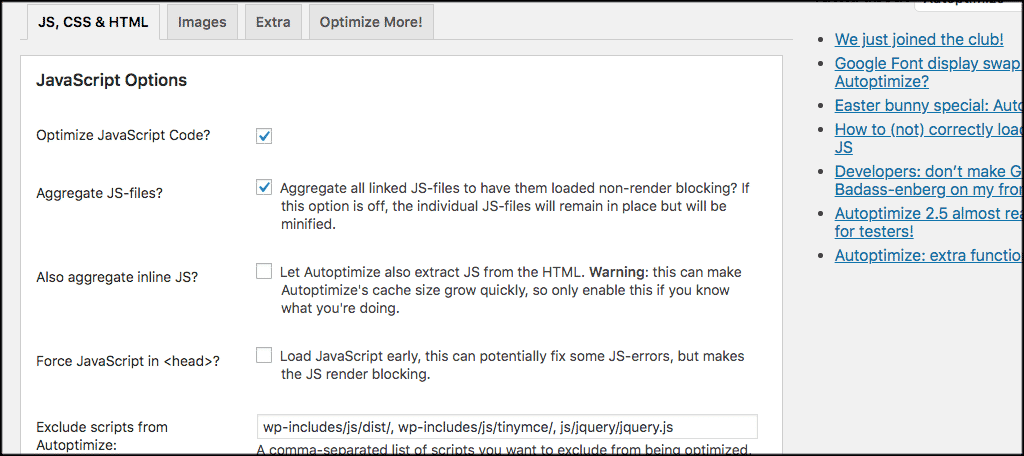
JavaScript Options
Click on the JS, CSS, & HTML tab to start. The first box presents you with JavaScript options. These include the ability to optimize JavaScript code by:
- Aggregating JS-Files
- Aggregating Inline JS
- Forcing JavaScript in <head>
- The Ability to Exclude Scripts
- Adding “Try-Catch” Wrapping
Check the box titled “Optimize JavaScript Code” and the rest of the options will open up for you to work with.
CSS Options
Scroll down a little to the CSS Options and click on the “Optimize CSS Code” to enable it. You will see options that include:
- Aggregate CSS Files
- Aggregate Inline CSS
- Generate Data: URIs For Images
- Inline & Defer CSS
- Inline All CSS
- Exclude CSS From Autoptimize
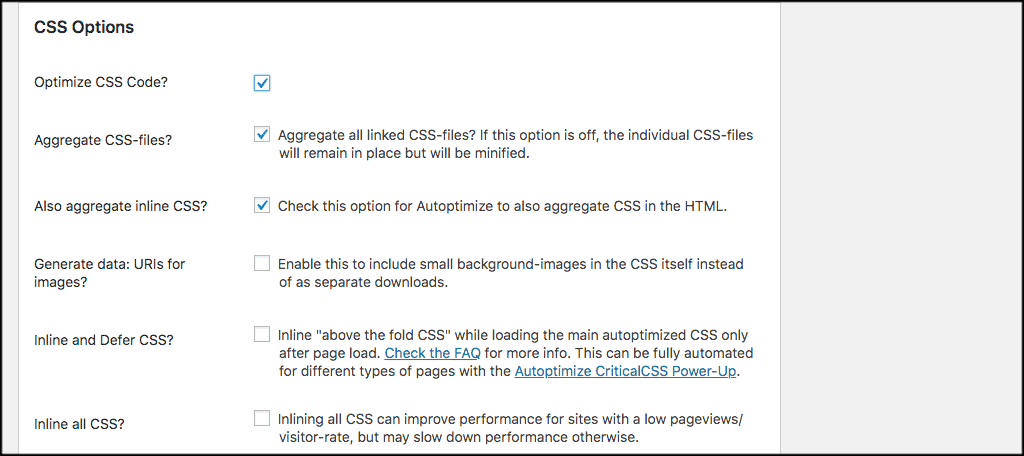
Again, you can fill this area out how you see fit. A couple of things to remember though when filling out the CSS Options of the plugin:
- Not all the options are good for sites that are bigger. For smaller sites, yes. For larger sites with a lot of traffic, it’s probably a good idea to not enable the “Inline CSS” options.
- You probably shouldn’t enable the “Generate Data: URIs For Images” option. This can actually result in a decreased number of requests when your website is loading but will force images to be served through your hosting server instead of a CDN.
HTML and CDN Options
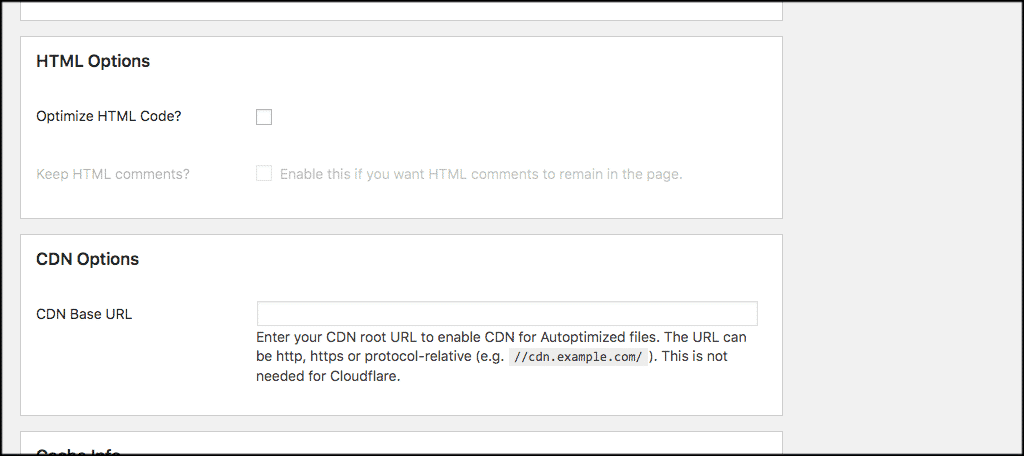
Scroll down a little more and you will see two more option areas for the plugin: the HTML and CDN Options. These two boxes are pretty self explanatory.
For the HTML area, you can either choose to enable this and optimize the HTML code or leave it off. The CDN option allows you to Enter your CDN root URL to enable CDN for Autoptimized files. If you choose to do this, go ahead and fill in that URL.
Cache Info and Misc Options
The final two option areas for this particular tab include the Cache Info and the Misc Options section. The Cache Info area simply shows the current cache information. The Misc Options has a choice of three more selections to choose from. Enable or disable the ones you want.
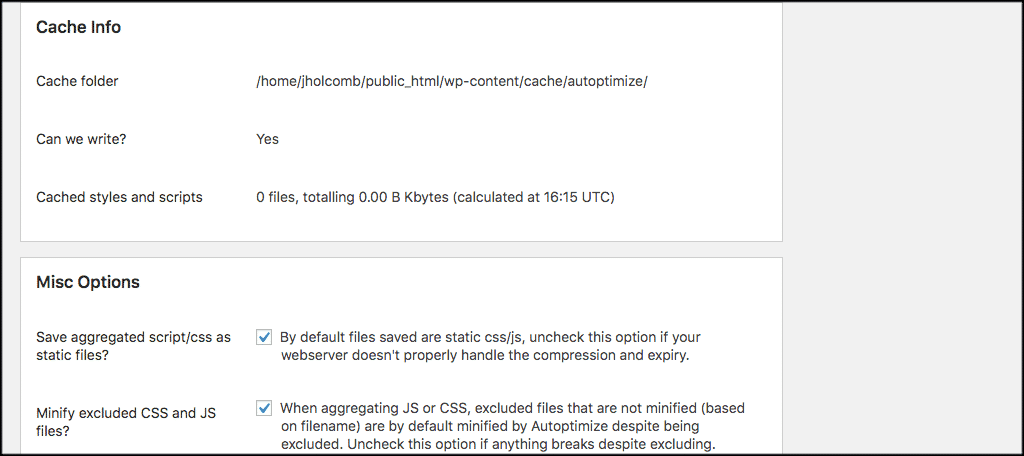
Note: Don’t forget to click on “Save Changes” or “Save Changes and Empty Cache” to make sure all your selected options take hold.
Images
Now click on the “Images” tab to move to the area where you can optimize WordPress images using the Autoptimize plugin. You will see there are two sections.
- Optimize Images
- Lazy Load Images
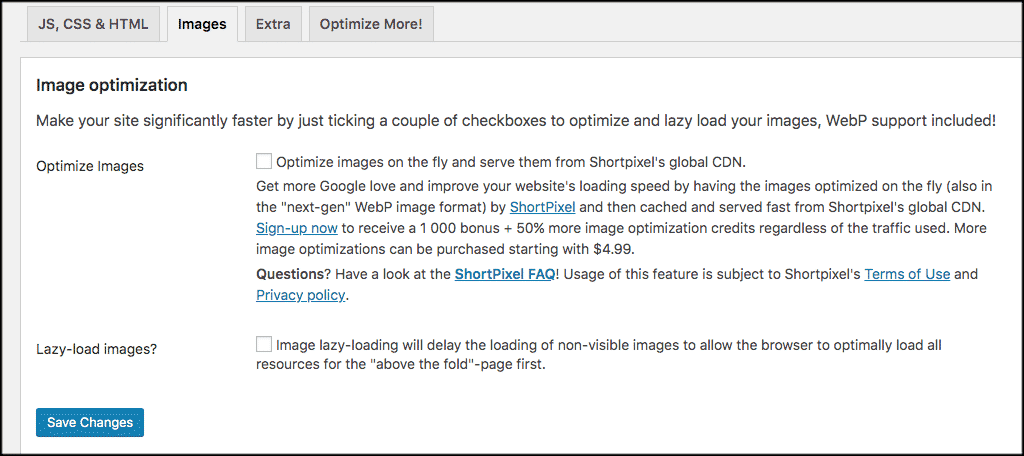
Go ahead and make your selections and move on.
Extras
If you are interested in some of the extra options this plugin provides, then click on the “Extras” tab and take a look to see if there is anything you want to enable.
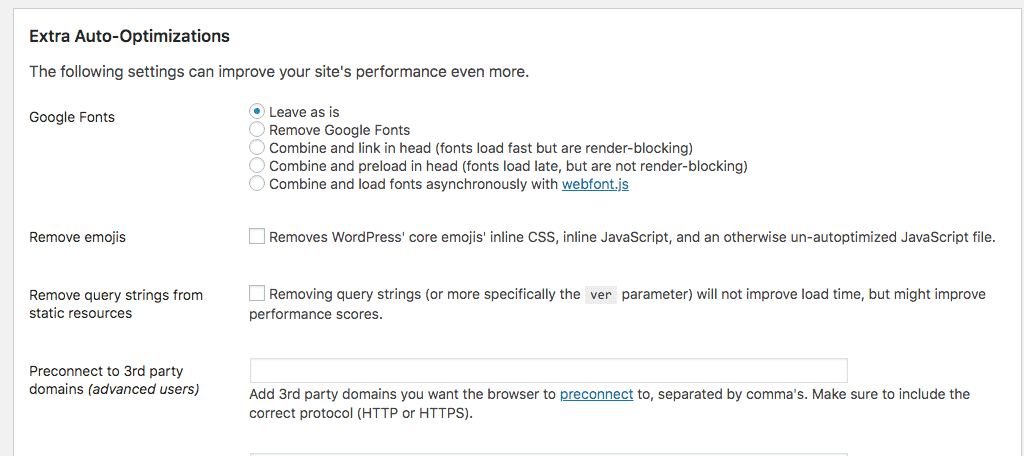
Optimizing Google Fonts is never a bad idea, nor is removing WordPress core emojis. Both of these options will speed up the website.
Optimize More
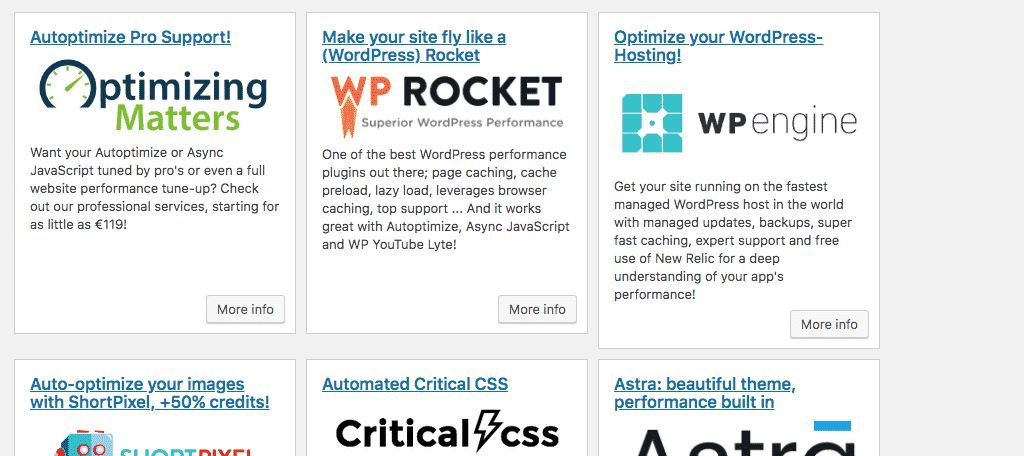
If you are interested, the “Optimize More” tab will show you other plugin add-ons and selections that will make Autoptimize more powerful when integrated. These will improve WordPress website optimization even further.
Optimizing WordPress performance does not have to be difficult. You simply need the right tools and a few clicks to accomplish WordPress website optimization.
I hope this article showed you how easy it can be to optimize your WordPress website. Have you optimized your WordPress site already? What other optimization tools have you used in the past?
