Health and fitness is an important aspect of everyday life. Everywhere you turn, there are places that have products to help you along the journey. If you have a WordPress website and want to help people along with their fitness journey, then having a meal tracker is a good start.
A WordPress food tracker allows someone to use your website to put together meal plans, track goals, and create a diet that works for them. This is an important part of any health and fitness program.
What is a Meal Tracker?
A meal tracker (often called a food tracker or food diary) is something that helps you build meals and track food and drink items that you consume daily. A really good daily diet tracker will help you understand your eating habits and apply better practices to everyday life.
By using a meal tracker, you can see everything you eat, when you eat it, how much you take in, and use the results to improve your health. You can even go over them with your doctor. Providing these types of items and information to your doctor can really help them build a better fitness program for you in the long run.
There are a lot of different meal trackers out there. Today, I am going to show you how to get one up and running on your WordPress site so that your users can have access to it.
Let’s take a look at the plugin we are going to use today and see all that it has to offer.
Meal Tracker
![]()
Meal Tracker is a smooth plugin that will allow your site users to track their meal and calorie intake directly from your website. You can set certain calorie targets, or let your users set them on their own.
The plugin comes with some pretty good functionality. It is also lightweight, so it will not slow your website down. Some of the main features of this meal tracker for WordPress include:
- Users can log meal and calorie intake
- Visual graph to show users percentage of daily allowance used
- Add all meals and snacks throughout the day
- View total calorie intake for the entire day
- Each user can have their own meal collection
- Users can create and edit al their meals
The Meal Tracker plugin gives you everything you need to create a solid food planning option on your site. Let’s get the plugin installed and running together.
Note: There is a premium version of this plugin. It does unlock quite a bit of functionality, and it might be something to look into. If you think this is something you might be interested in, then feel free to check it out. The tutorial below is based on the free version of the plugin.
How to Add a Meal Tracker to WordPress
Step 1: Install and Activate the Plugin
In order to add a daily diet tracker to your WordPress website, you first need to install and activate the plugin. You can easily do this by heading over to the Plugins page of the WordPress admin dashboard.
Simply use the search field to search the plugin by name and when it pops up and install and activate it right from there.
![]()
Step 2: Access the Setup Wizard
This particular plugin comes with a setup wizard. It is a good idea to access that area first before going to the settings page.
Click on Meal Tracker > Setup Wizard, located on the left menu area of the dashboard.
![]()
You can see that this is now an available option after you activated the plugin for use.
Step 3: Go Through the Setup Wizard Information
Once on the setup wizard page, you will see that there are 4 tabs available to go through. These include:
- Introduction
- Setup
- Admin Interface
- Customizations
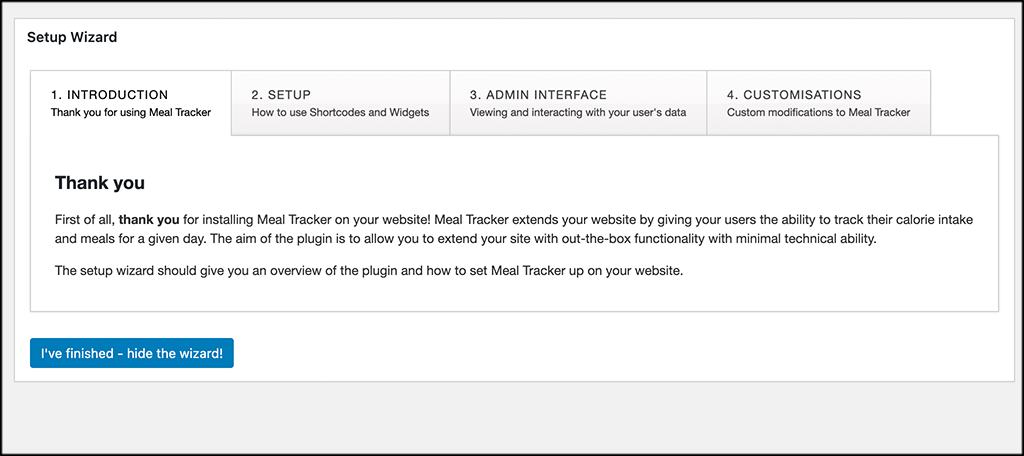
Introduction
The introduction tab simply has information in it about the meal tracker and a welcome message for you.
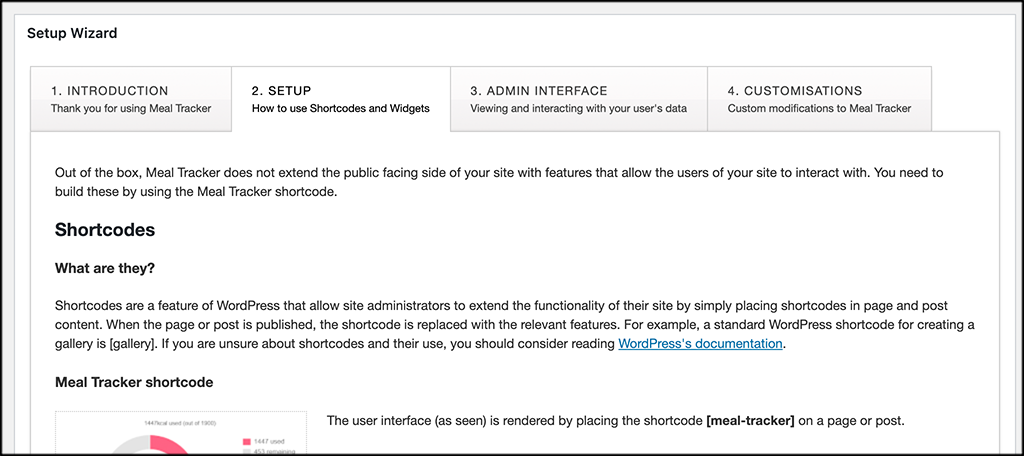
Setup
The setup tab gives information on shortcodes and how to use them in regards to the plugin.
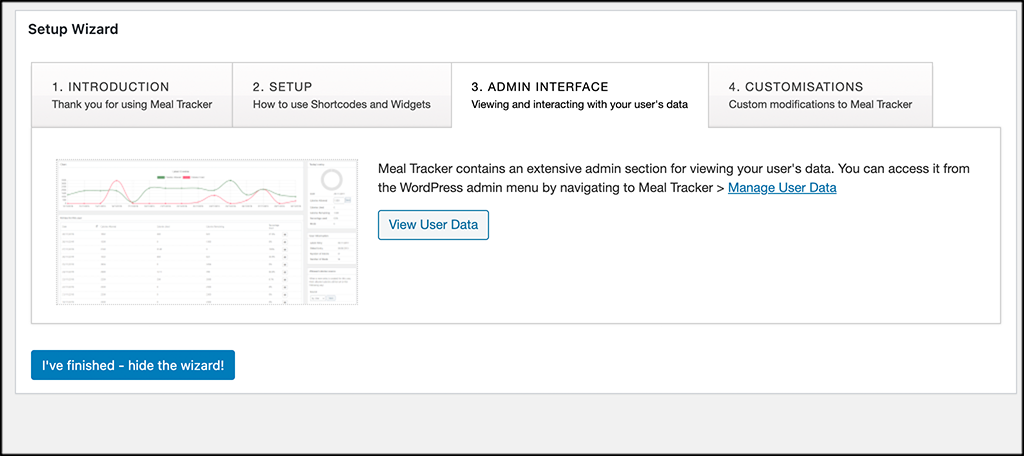
Admin Interface
This section talks about how to access and view all the user data that builds up over time.
Customizations
If you are looking for specific customizations to add to the meal tracker, then this is the place to get in touch with the developers of it and see what they offer.
Step 4: Go Configure the Plugin
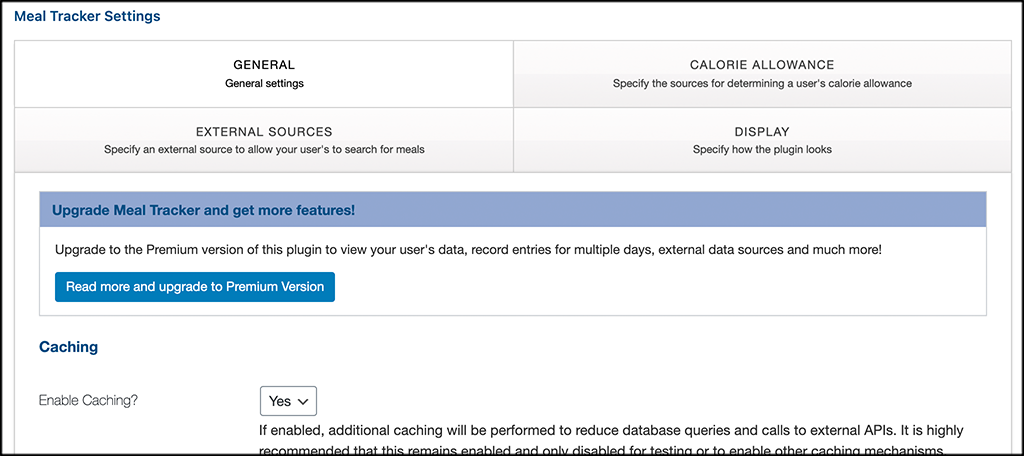
At this point, you can head over to the settings page for the plugin and configure it how you want. Once there, you will see four main tabs.
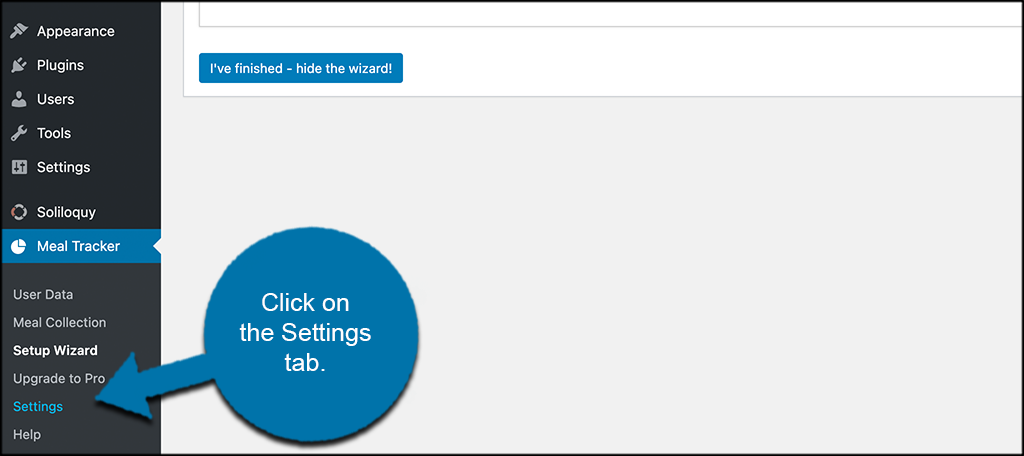
Go through these and configure the settings how you see fit. These tabs include:
- General
- Calorie Allowance
- External Sources
- Display
Note: You will see a lot of grayed out items throughout the configurations. These are only available in the premium version of the plugin.
General
These are the general settings for the plugin. Go through them and set them all how you want for your website.
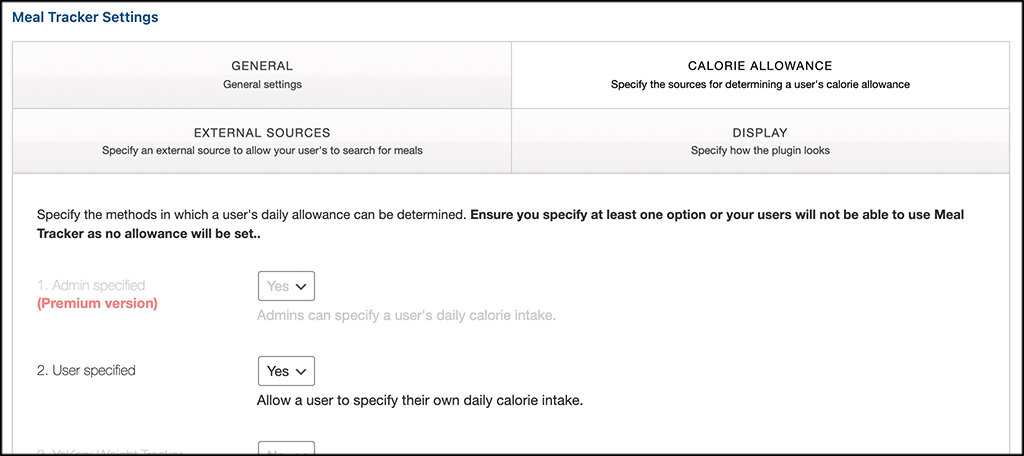
Calorie Allowance
Set the calorie allowance options how you would like them. If you have the free version, then your only option is to allow or disallow user-specified calorie allowances.
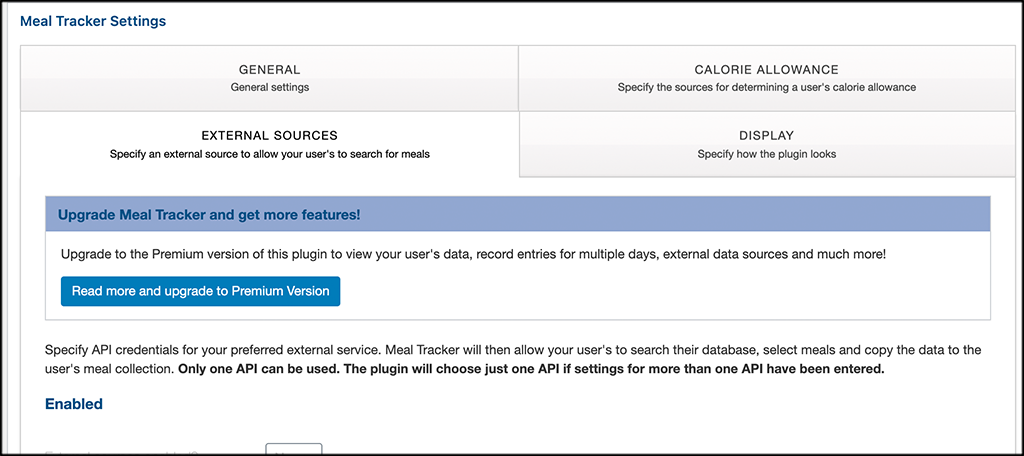
External Sources
The Meal Tracker plugin allows you to attach some external sources to it for more options. This is where you can do that if you choose to do so.
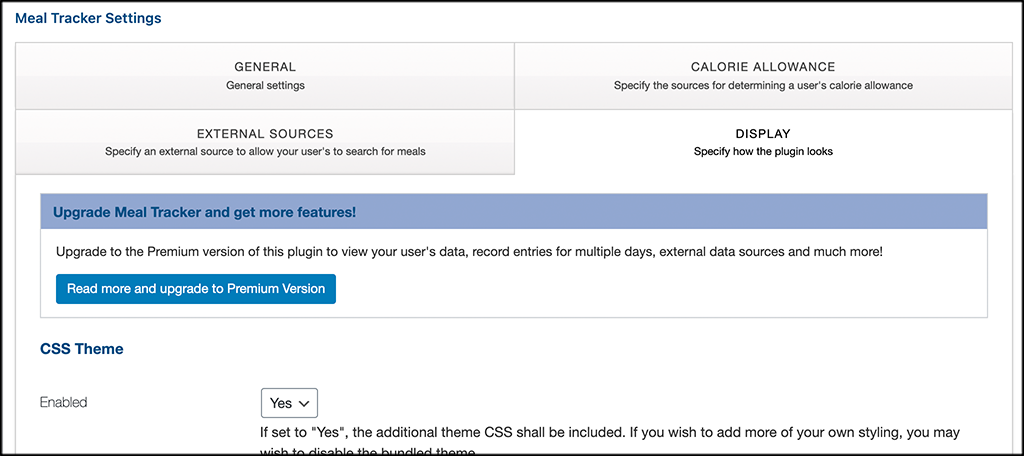
Display
Select the display options you want to show from this area.
Step 5: Add the Shortcode to Any Page
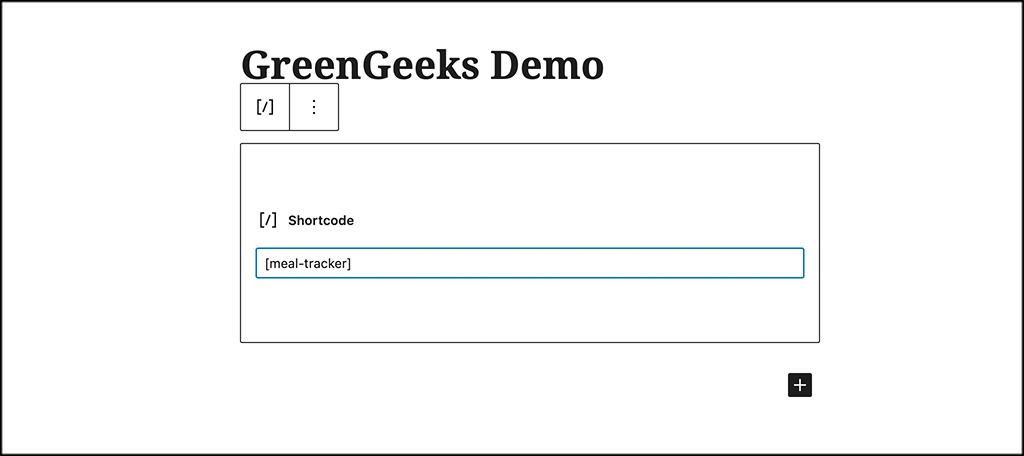
All that is left to do is to add the relevant shortcode to the page you want the meal tracker to display on. The built-in shortcode is [meal-tracker]. Copy and paste that into any page and click on the “Update” or “Publish” button.
Step 6: View the Tracker Live
At this point, the tracker is live on the page you published it on. From here, you can view the tracker in action on your site.
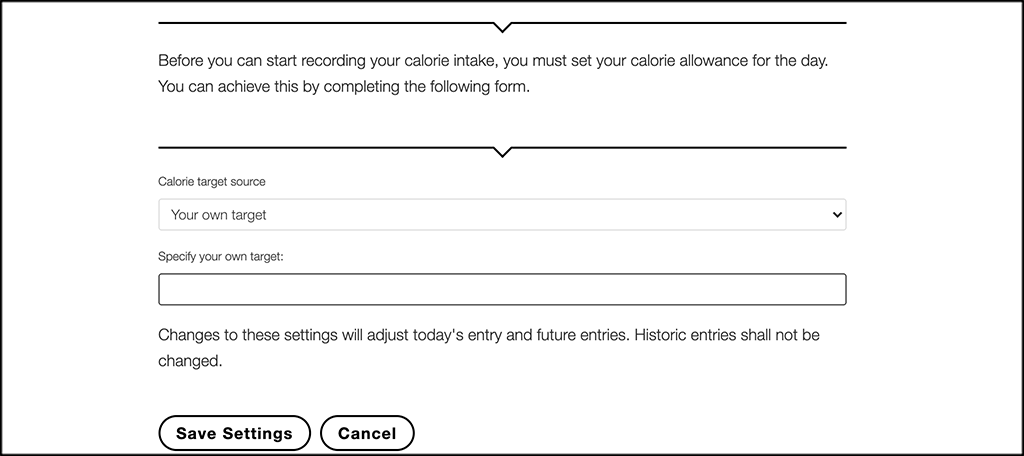
Remember, your meal tracker will look different based on the option you chose during the configuration process.
That’s it! You are now running a fully functioning meal tracker on your website.
Other Options
The Meal Tracker plugin has some other areas you can visit as well. You will find them under the main Meal Tracker tab on the left side of the dashboard.
These include areas like Meal Collection and User Data. You can view these at any point to see all that is happening over time.
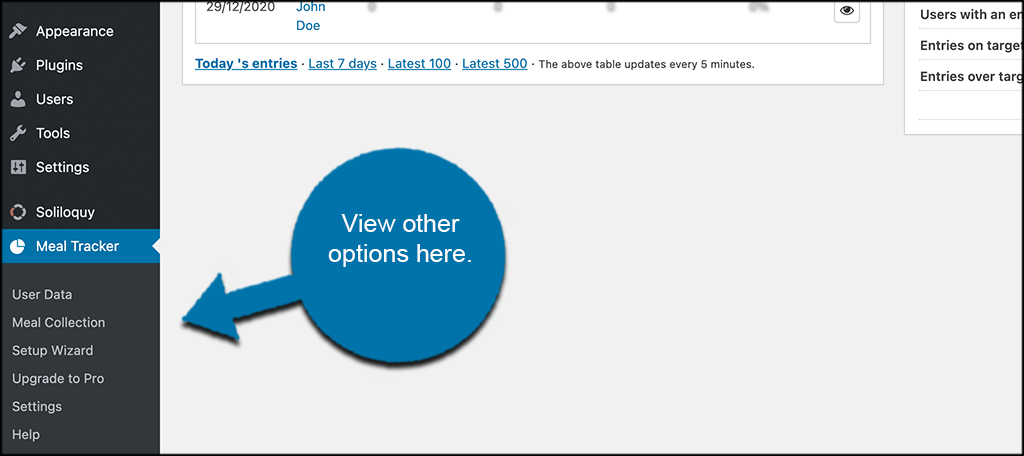
Note: These areas will fill over time based on users and the data that they put into the meal tracker on your site.
Final Thoughts
If you have a health and fitness website and have been looking at different ways to add user functionality, then the Meal Tracker plugin for WordPress may be exactly what you are looking for.
I hope this tutorial was able to show you how easy it is to get a meal tracker up and running on a WordPress website. As long as you have the right plugin and the instructions, then implementing it should not be a difficult task at all.
Have you tried building a food tracker for your site on your own? Is there another plugin that you prefer using?

Thanks for the great article about setting my plugin up!