Although “Hot or Not” website platforms are not as profound as they were prior to 2012, image gallery rating systems are still quite popular. Think of it like a review system for those willing to upload photos or even artwork. So, what can you do to add image rating to WordPress for users?
In this tutorial, I’ll show you how to create a system similar to Hot or Not and allow others to vote on user uploads.
Why Add Image Rating to WordPress?
These kinds of websites do two major things: create interaction with visitors and drive reoccurring visits. Either of these are reason enough to add something similar if your trying to grow traffic.
Adding plugins to make the site interactive gives guests something more to do than just read content. They have potential to boost retention rates by keeping visitors on your site for as long as possible.
People like recognition and the sense of being popular among the crowd. It can often improve self-esteem while keeping the audience engaged.
Using the Contest Gallery Plugin
Today, I’ll show you a bit of what Contest Gallery can do for you and why you want to consider using it.
The plugin gives you a platform in which registered users can upload and vote on images offered by others. This means it helps you grow a community, which is helpful depending on your marketing strategies.
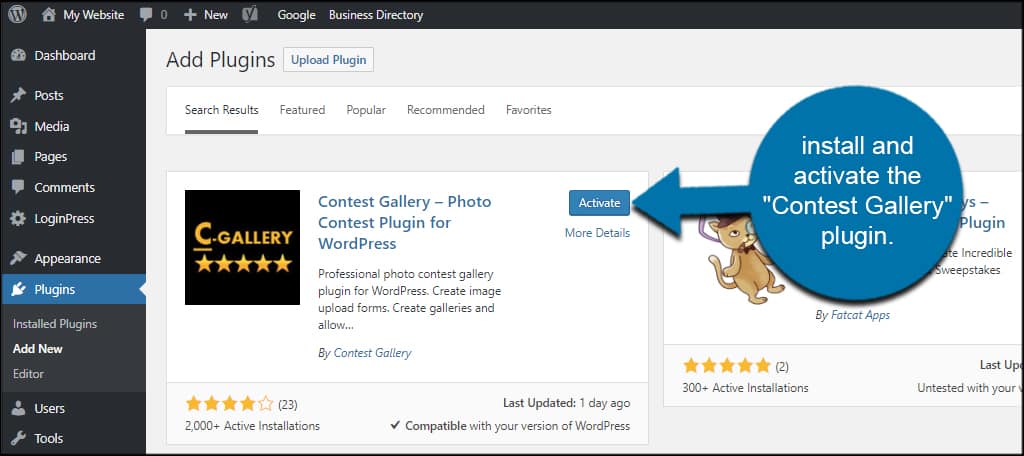
First, install and activate the “Contest Gallery” plugin.
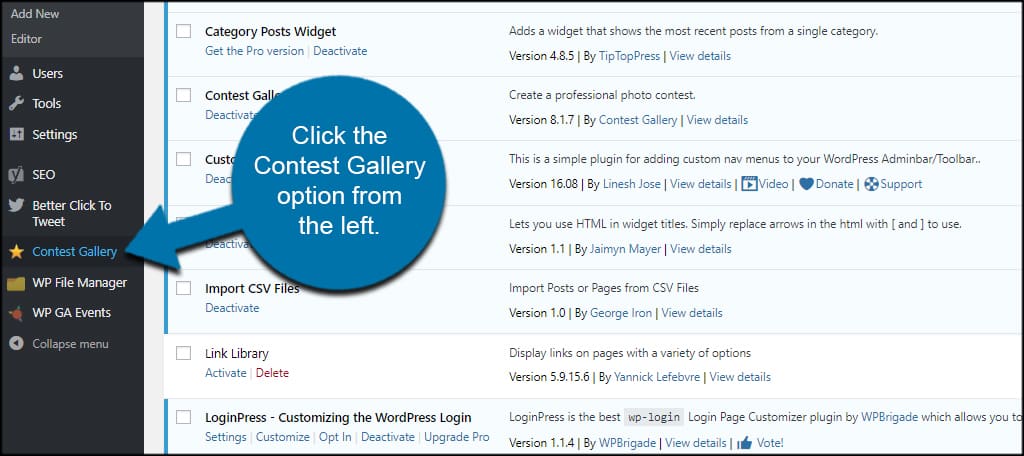
Click the Contest Gallery option from the left.
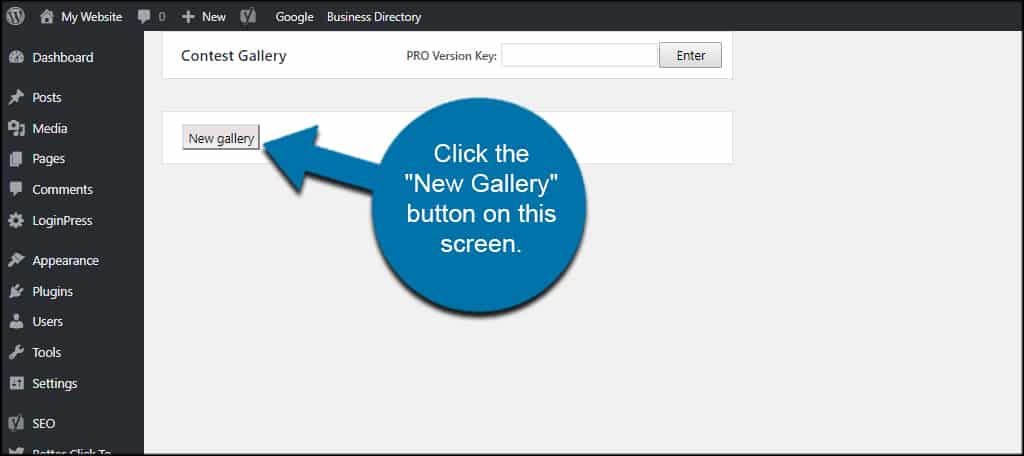
Click the “New Gallery” button on this screen.
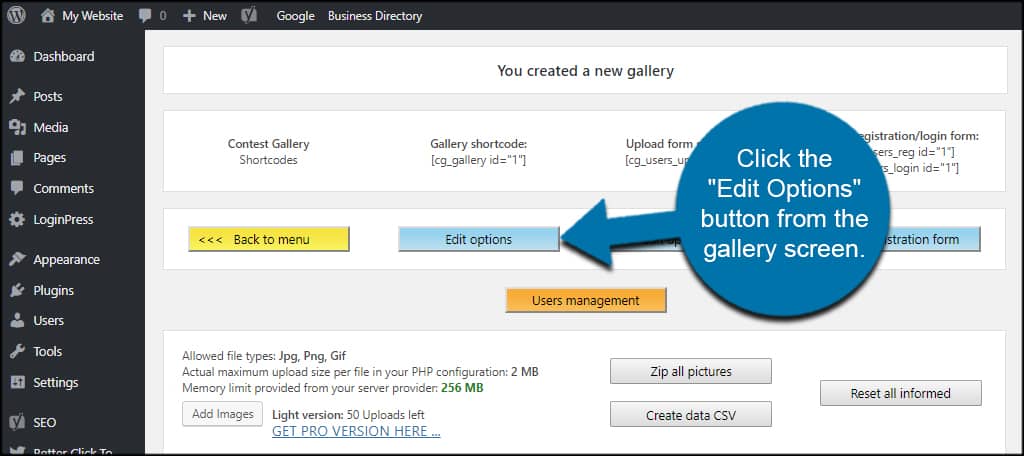
After creating the new gallery, the plugin will display the shortcodes you’ll use in WordPress. This includes the gallery itself, the upload form and the user registration and login forms.
You can also upload your own images, which is useful if you want to create a portfolio of your own photos and art without allowing others to upload.
Unfortunately, the free version of this plugin only gives you a total of 50 uploads. You may want to buy the “Pro” version later to accommodate more pictures.
Let’s take a look at some of the options you have available.
Edit Options
Click the “Edit Options” button from the gallery screen.
A new screen will show giving you a lot of customization options ranging from how multiple pictures are handled to email confirmations.
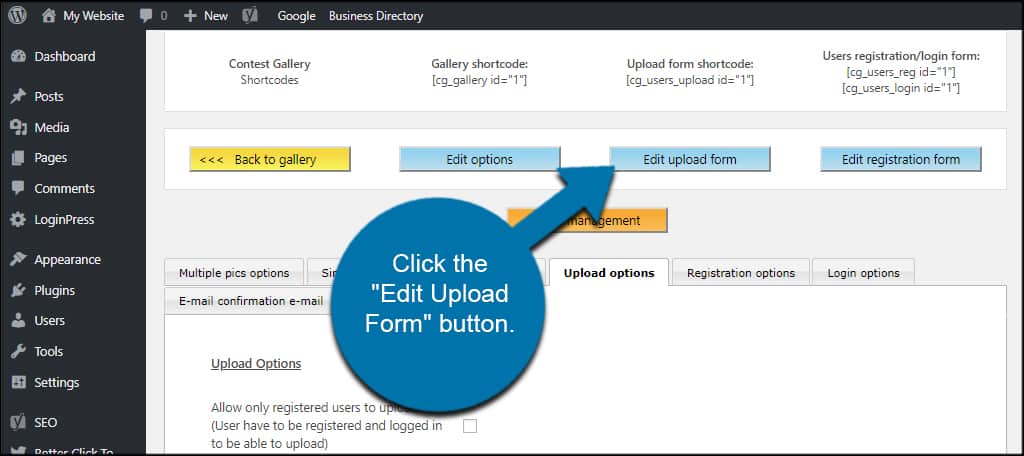
You’ll need to spend some time configuring these settings to fit your website design. For example, user upload is disabled by default. If you want to create a site similar to Hot or Not, you’ll need to enable features in “Upload options.”
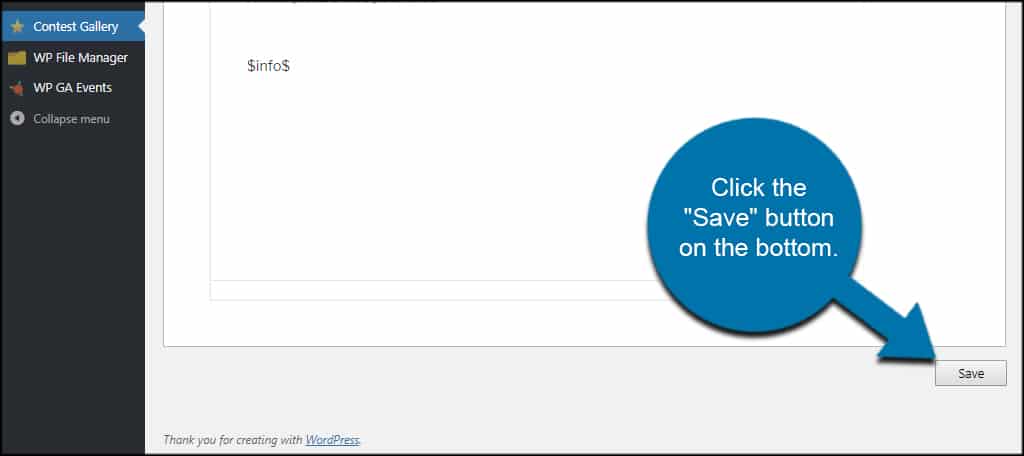
Once you’re done configuring the gallery, click the “Save” button on the bottom.
Edit Upload Form
Click the “Edit Upload Form” button.
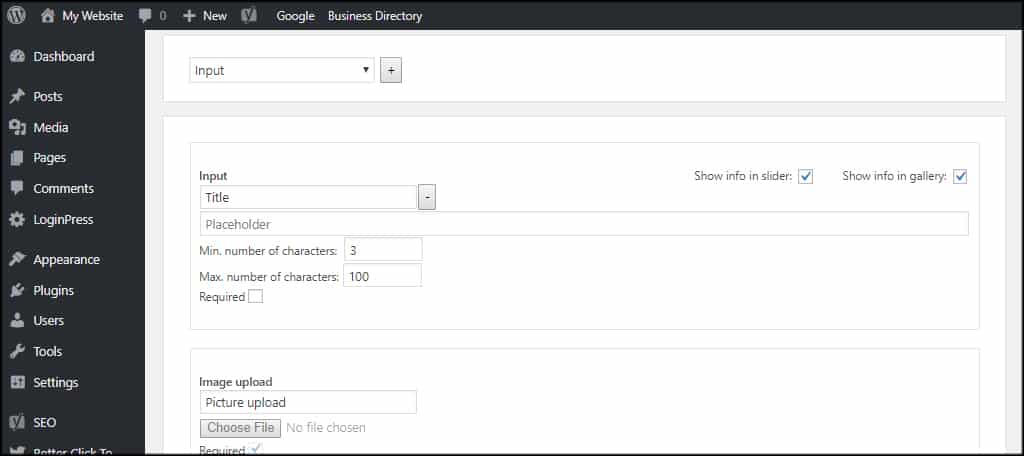
In this section, you can add various fields when someone uploads an image. You can include text areas for descriptions, make certain fields a requirement and add URLs to the upload if you want to give users a backlink to resources.
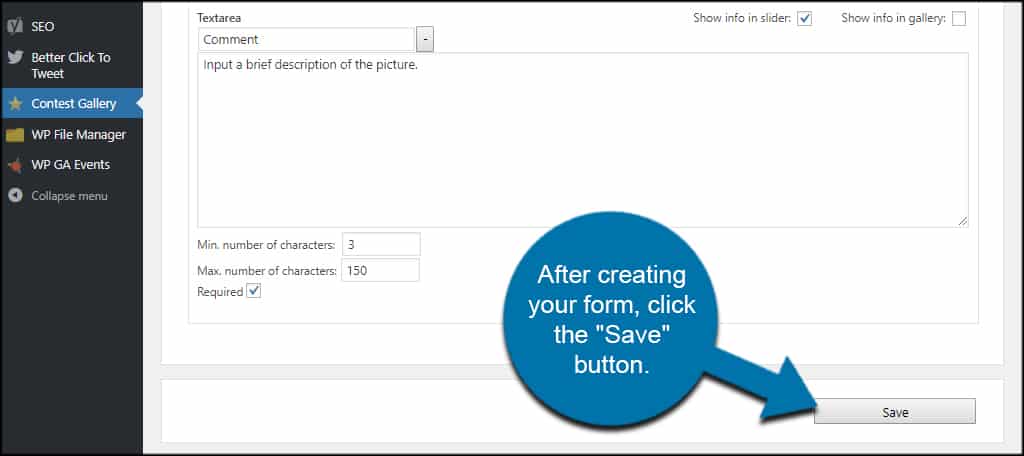
After creating your form, click the “Save” button.
Edit Registration Form
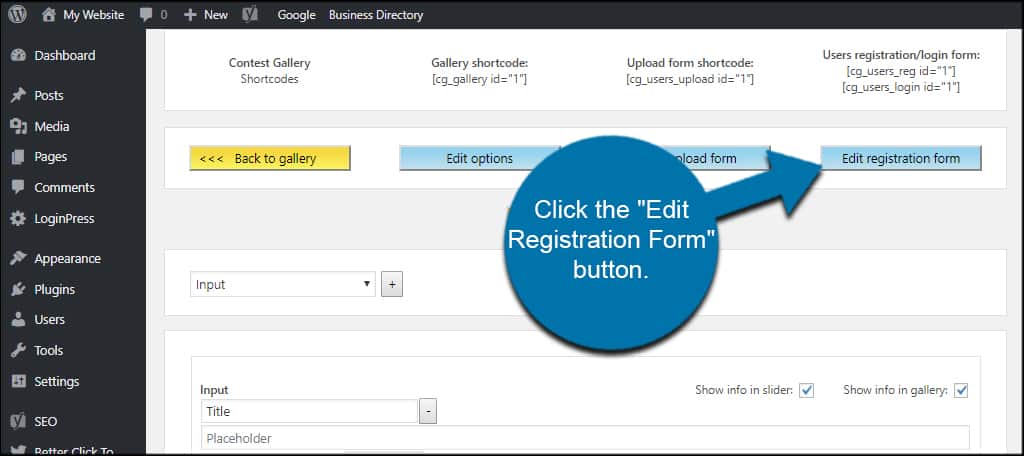
Now comes one of the most important aspects of Contest Gallery. Click the “Edit Registration Form” button.
Although Contest Gallery doesn’t have a lot of options for user registration, what is available is customizable. You can add Captcha to the form to help reduce spam or even add your own HTML code if you have other security tools you want to use.
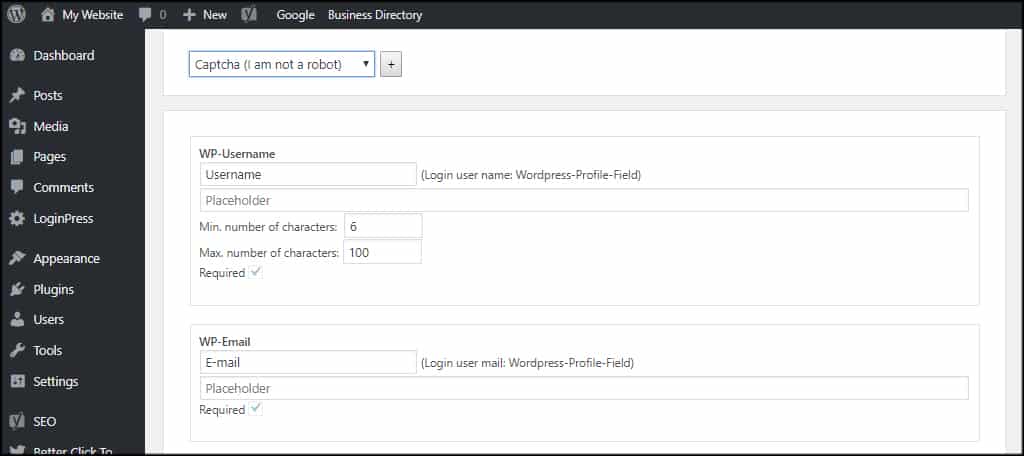
After setting up the registration form, don’t forget to click the save button on the bottom.
Placing Contest Gallery on Your Site
Contest Gallery centers around placing shortcodes to operate. This means you’ll need pages or posts to house the forms. I suggest using WordPress pages as they are easier to maintain for this specific purpose.
For one thing, you can easily add the page to the navigation bar and keep the gallery separate from your other types of content.
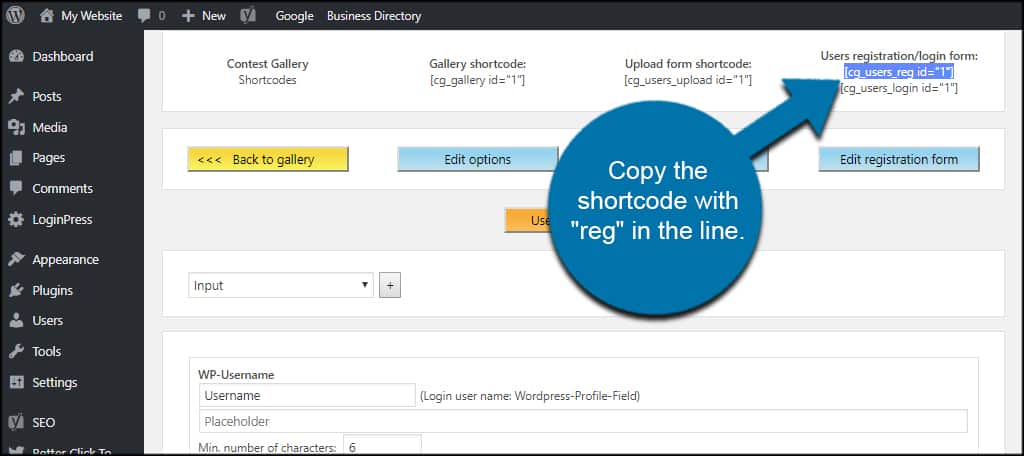
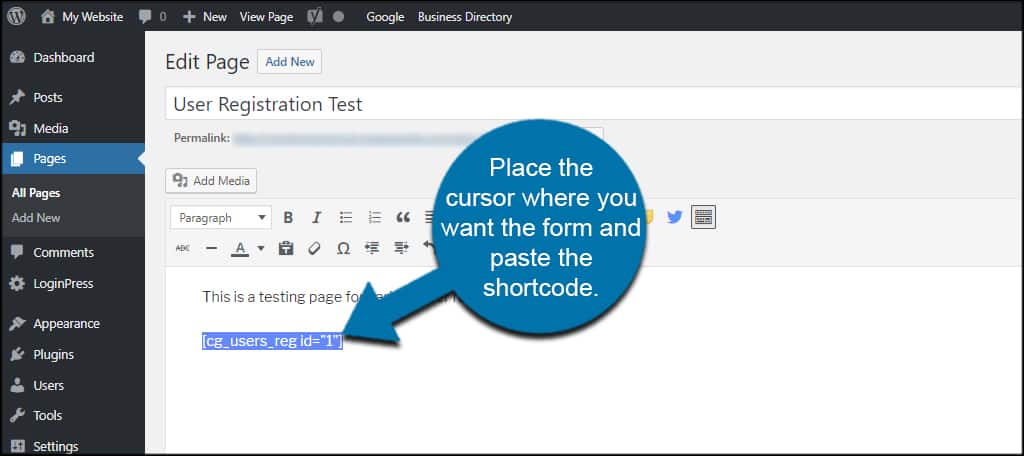
Let’s start by creating a user registration page. Copy the shortcode with “reg” in the line.
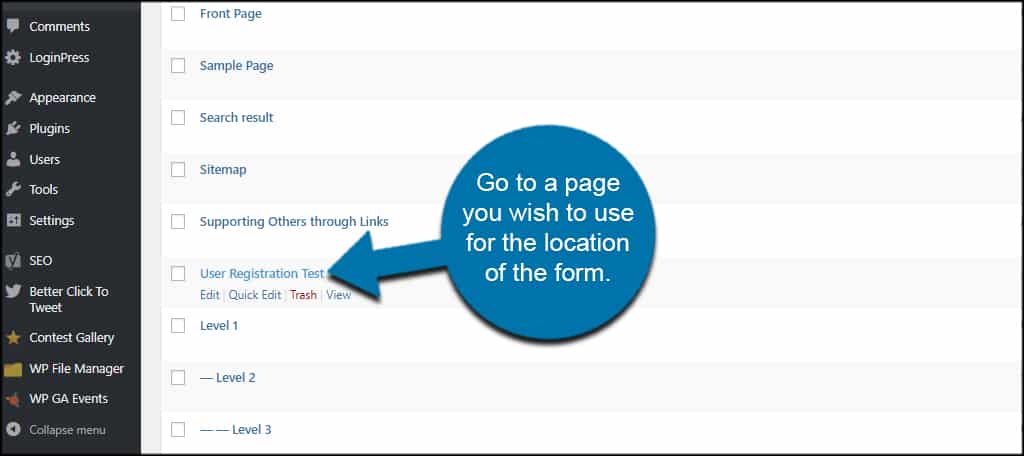
Go to a page you wish to use for the location of the form. I already have a “registration” page created, so I will use it.
Place the cursor where you want the form and paste the shortcode.
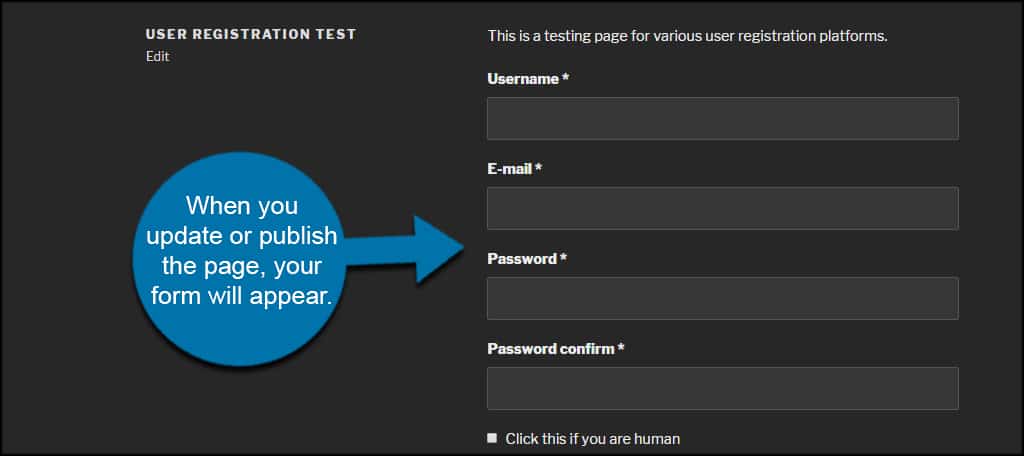
When you update or publish the page, your form will appear.
Add the shortcodes from the gallery to any post or page you wish on the site. This is completely up to how you want to show off the images, and it relies on your own design ideas.
Just copy and paste the codes; that’s all there is to it.
I suggest creating separate pages for these elements and creating a custom menu item from the navigation bar. It makes finding the images easy for guests while giving the site an extra tool outside of regular posts.
Interaction is a Key Element
Things like image rating in WordPress give guests a reasons to return to the site. It’s all about offering an interactive layout that is memorable and engaging. Plus, there’s a lot you can do with a photo rating contest…even if it’s just to show off your artwork.
What do you offer on your site in terms of interaction? In what ways do you promote your online portfolio from WordPress?
