Providing information about the products and services your business provides is necessary for a variety of reasons. Building a knowledge base can not only help deliver this information but also reduce the number of questions you receive from customers.
As such, having a great knowledge base can actually save you a lot of money as you may not need a big support team if users can easily access the information and answer their own questions. That said, building one in WordPress can be hard.
That is if you are not using a plugin built specifically for such a task. In this case, we are going to be taking a look at using the Knowledge Base plugin for WordPress to make the process as simple as possible.
This tutorial is for:WordPress 6.6Plugin: Knowledge Base v12.31.0
What Is A Knowledge Base?
A knowledge base is a library of information about a specific subject, product, or service that users can use to answer frequently asked questions and obtain a deeper understanding of the tools they have at their disposal.
Most businesses have a detailed knowledge base section because it has become a normal part of selling services and products to customers. A great way to think of it is as the instruction manual for that product or service.
It should cover all relevant instructions and topics users may need to learn about.
However, unlike traditional instruction manuals, you can expand the information as needed in response to questions you receive from customers. Thus, you can provide a better experience to customers based on the type of questions your support team is asked.
Or in the case of software, you can update it as different versions are released.
How to Use the Knowledge Base Plugin
The Knowledge Base plugin is easy to use and offers a variety of customization options for users, and it is free to use. With it, you can choose from several layouts and customize each one to fit your needs.
Essentially, you just need to add the content to the plugin and choose how it is displayed. While using the plugin itself is easy and quick, it is worth pointing out that constructing all of the content can take a lot of work.
As such, be sure to plan accordingly. You do not want to rush it as you want this content to be accurate and easy to understand.
Step 1: Install Knowledge Base
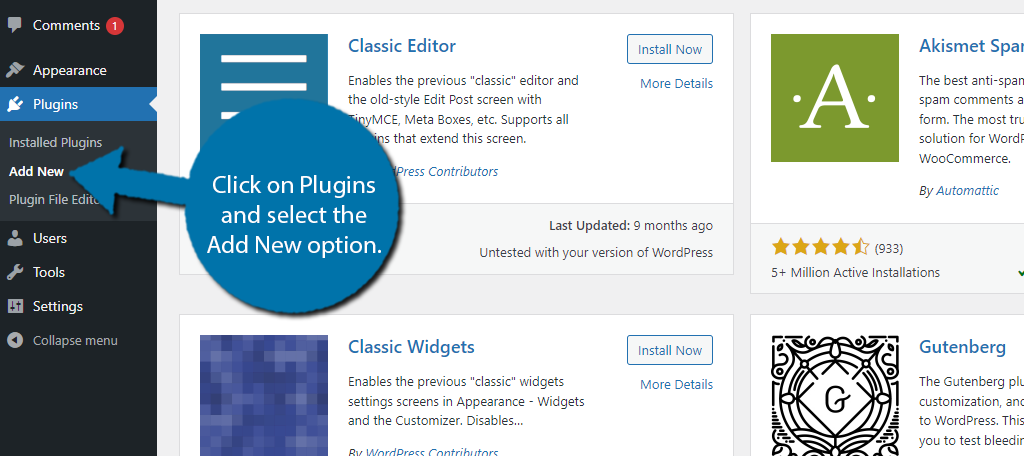
Let’s start by clicking on Plugins and selecting the Add New option on the left-hand admin panel.
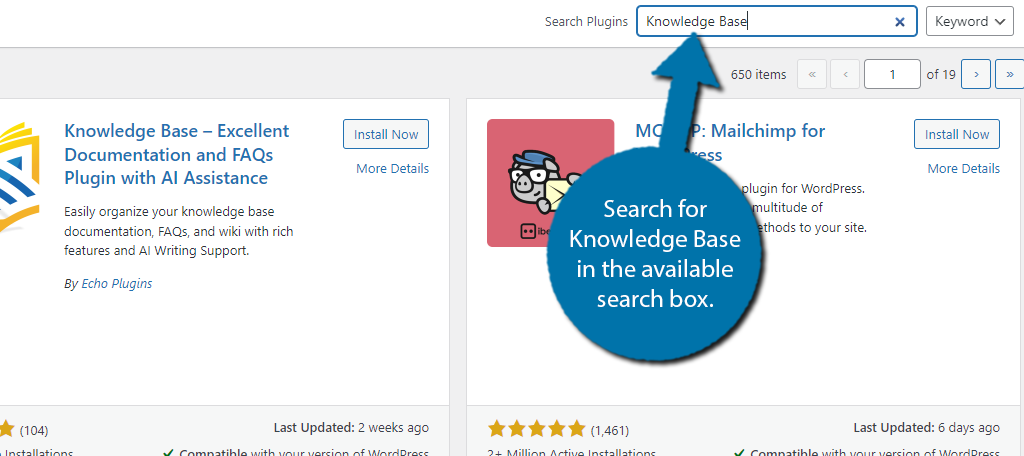
Search for Knowledge Base in the available search box. This will pull up additional plugins that you may find helpful.
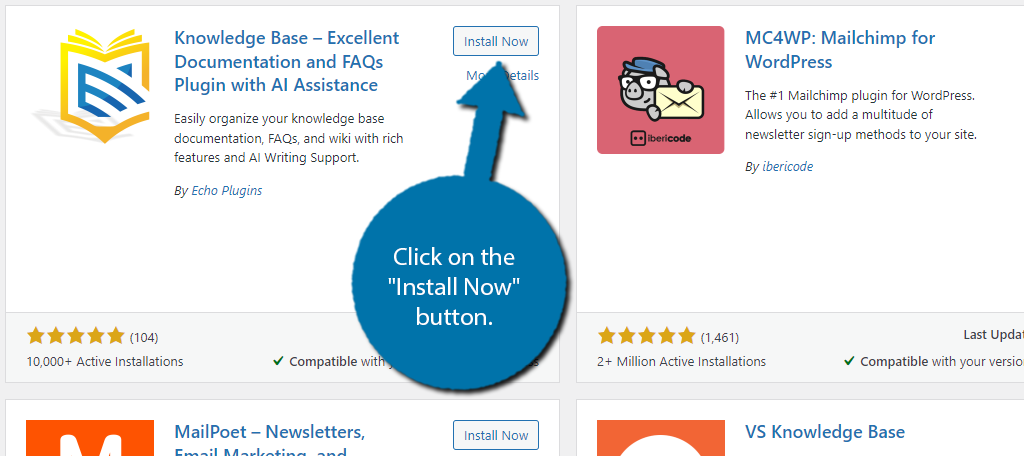
Scroll down until you find the Knowledge Base plugin and click on the “Install Now” button and activate the plugin for use.
Step 2: Run the Setup Wizard
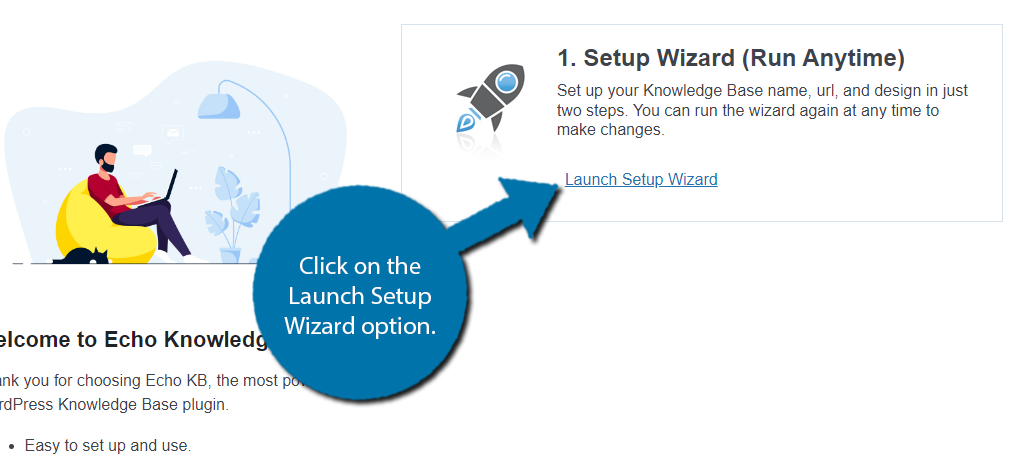
The best starting point of this plugin is to run the setup wizard. To find it, click on Knowledge Base and select the Get Started option.

Click on the Launch Setup Wizard option.
The first part of the wizard will ask you to customize the URL. By default, it will be “www.YouDomainName.com/Knowledge-Base” which works great for most sites, but feel free to change it.
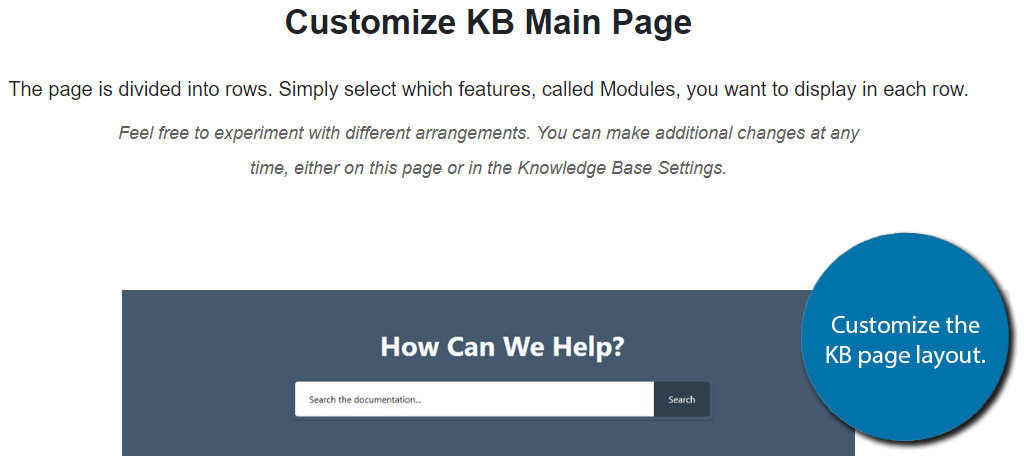
After this, you can customize the KB main page. Use the arrows to rearrange the page as necessary, or you can click on the “-” to hide that element. Simply configure the layout as you see fit.
Next, you can select a KB layout. Each one has a demo that you can check out to see it in action. Pick the one that best suits your needs.
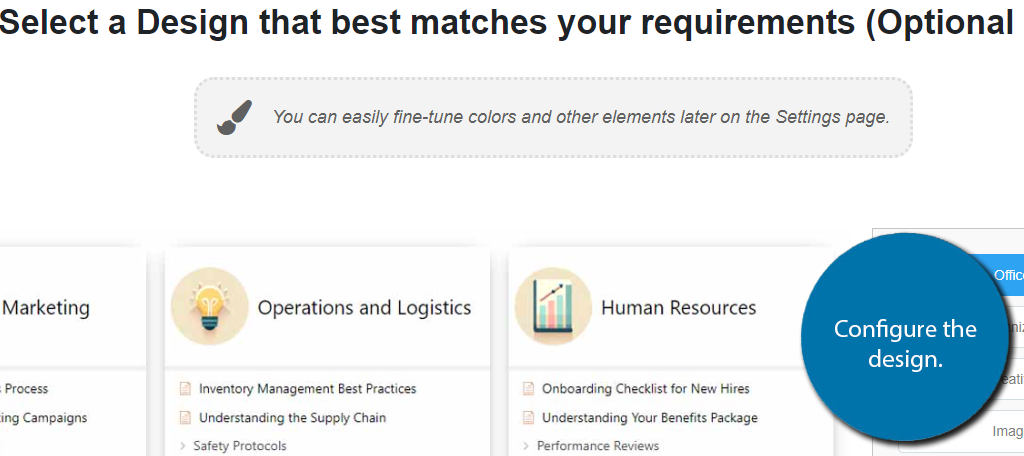
The following section allows you to customize that layout. This is where you can edit the colors, font, and so on to match the rest of your site. Simply configure it until you are happy.
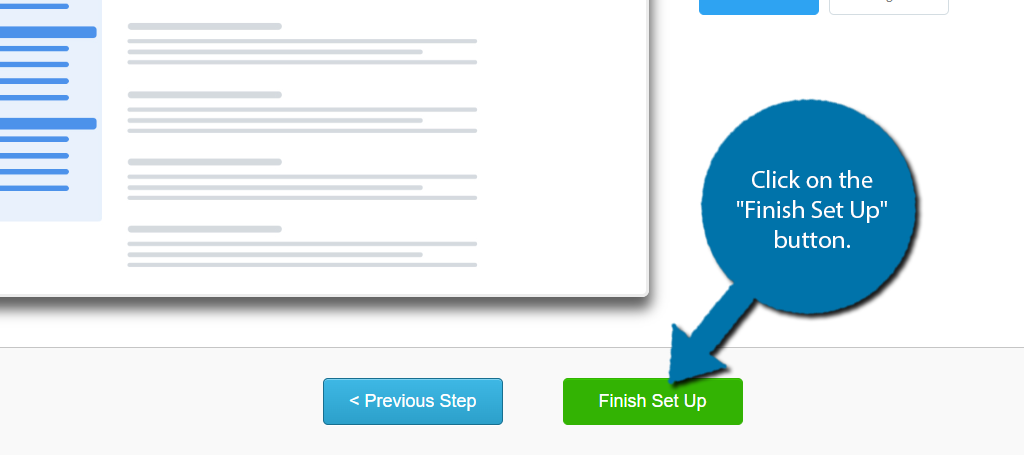
Finally, you can configure the layout of the article page. This really just boils down to choosing which side of the page you want the KB navigation section to go. Once you are done, click on the “Finish Set Up” button.
Step 3: Create Categories
A knowledge base must be easy to navigate and intuitive so that users know where to look. As such, the categories you create for this KB are going to be critical. And just to be clear the categories you create here are separate from the rest of your site.
To find the categories, click on the Categories option.
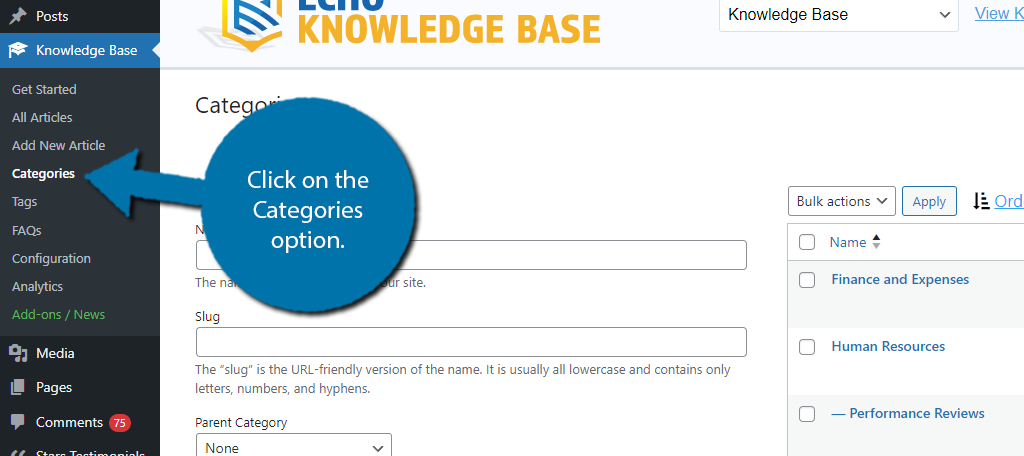
The plugin will create some generic categories you may find useful. If you want to keep them, great. If not, hover over them and click on the Delete option that appears. You can also use the Bulk Actions to delete them all at once.

Add new categories is identical to WordPress. Simply add a name and a description of that category. The only difference is that you now have an option to add an icon or image to that category. This can help with navigation.
That said, you can also choose to leave this option blank. Click on the “Add New Category” button when done.
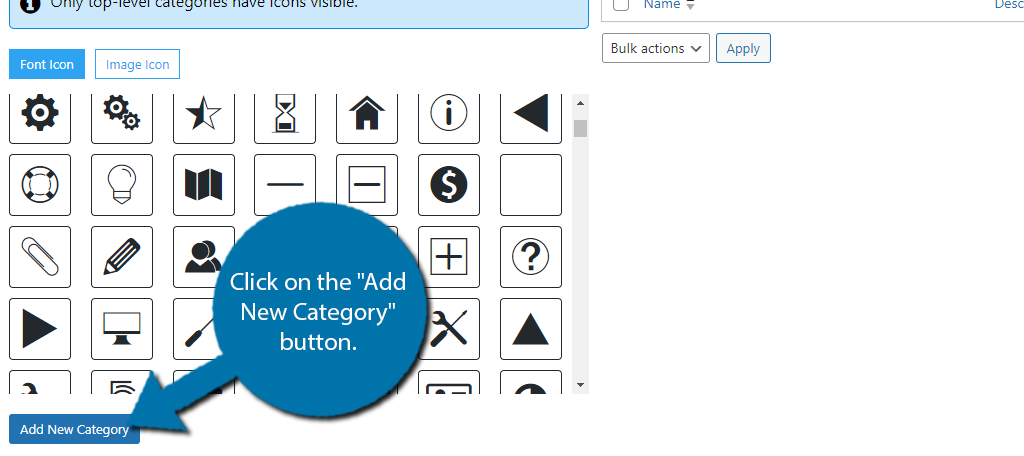
Simply repeat this step to create as many categories as necessary. You can always come back if forget to add one or realize you need another. There is also a Tags section that is identical to this if you want to configure it as well.
Step 4: Create Content
The next step is to just create the content for your KB. Since this is extremely specific to your website, there’s not much I can really say about it other than providing a few guidelines to follow.
First and foremost, the content you create should be extremely simple to follow. If you are making a set of instructions, show every single step with appropriate screenshots. And be sure to test it out after you finish.
Next, be sure to keep it brief. The goal of a KB is to provide a quick answer that informs the user of everything they need to know. Do not elaborate on topics or features that are not necessary. Doing so can lead to more confusion than being helpful.
Shorter more concise articles in your KB will be much more popular and helpful than longer ones.
Consider including video tutorials if possible. For example, if you are selling a piece of software, having video guides that outline the setup process and configuration options may be more valuable than a text guide.
That said, you should have both a video and text if you go down this route.
And that’s most of the generic tips I can provide. Consider looking at your competitor’s knowledge base and use that as a source of reference. With that, you know how to do everything the plugin offers.
Create A Knowledge Base Today
As you can see, it is rather simple to create a knowledge base in WordPress. Doing so can really help your customer base learn how to use the product, and more importantly, solve any problems they run into themselves.
This can help companies reduce the size of their support team or reduce the number of requests so the team can respond to requests quickly. You may want to enable comments on the KB to receive feedback.
I hope you found this tutorial helpful in learning how to add a company knowledge base to WordPress.
How has adding a KB in WordPress impacted your support team? Did you find the plugin easy to use?


