When creating a website, it’s all about delivering a great user experience. This is why a lot of web designers implement the small things that engage the visitor. For example, adding attachment file type icons to links will help those understand what they are downloading.
For the most part, humanity is a visual species. It is easier for most of us to associate certain things with a graphic or image. So, implementing icons that resemble specifics helps reduce confusion when downloading.
Think about it. When you look at an icon with a white page and a big blue “W” in the corner, what do you assume? Many of you would recognize the graphic to simulate a Word document. An obvious conclusion for many would mean that the link is a document download that is used in the Word application.
Today, I’m going to show you how to include these small graphics in your downloadable attachments in WordPress. It’s a simple process that helps visitors interact with your site. As a result, they may feel they are getting a better user experience.
Why Are Attachment File Type Icons Important?
By engaging those who come to the site, using file-type icons can be very beneficial. Because a large portion of people will scan through content instead of reading it, it’s much easier to identify a graphic when it comes to finding a specific download.
Here’s an example.
For the sake of argument, let’s say that you create a resume file that others can download and use. Perhaps you have this file available for download as PDF, DOCX, and ODS file types. While you could use the file within the link itself, using a graphic icon for each file makes it easier to identify. In turn, the user has a better experience because there is less effort to get the file he or she wants.
Using file-type icons for downloadable links simply makes the site more visually appealing and easier to manage. It’s the small things like these that improve retention rates and return visits.
Some people have a degree of success using font icons or images in WordPress. However, these methods are a bit more involved because you need to add those graphics manually. What if there was an easier way to add images to file downloads?
How to Add Icons to Attachments with Plugins
Method 1: Using MimeTypes Link Icons
Step 1: Install MimeTypes Link Icons
For this tutorial, I’m going to use the MimeTypes Link Icons plugin. This is a great addition for those who have a large number of downloadable files on the website. This tool will automatically place the correct icon next to those links when someone visits the post or page.
Not only does this plugin help the site look more appealing, but it will also save time in hunting down all of those links and placing the image manually.
To install this plugin:
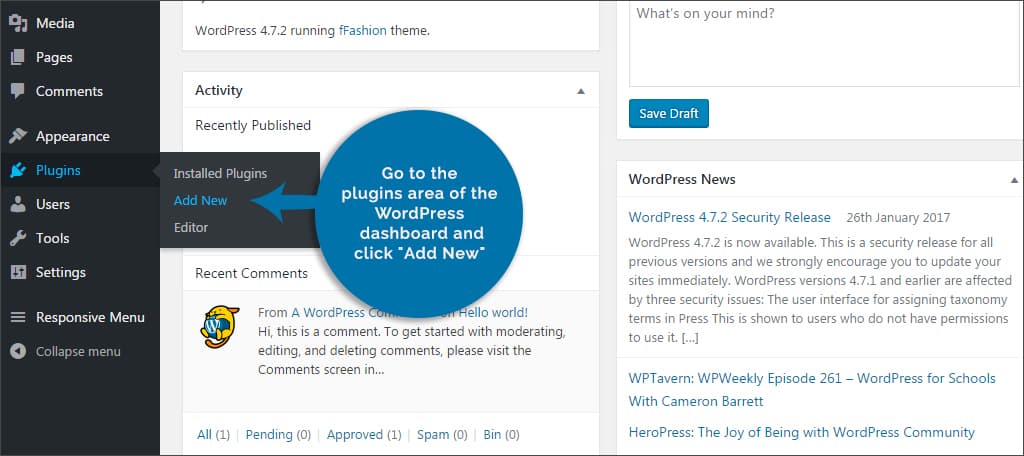
Go to the plugins area of the WordPress dashboard and click “Add New.”
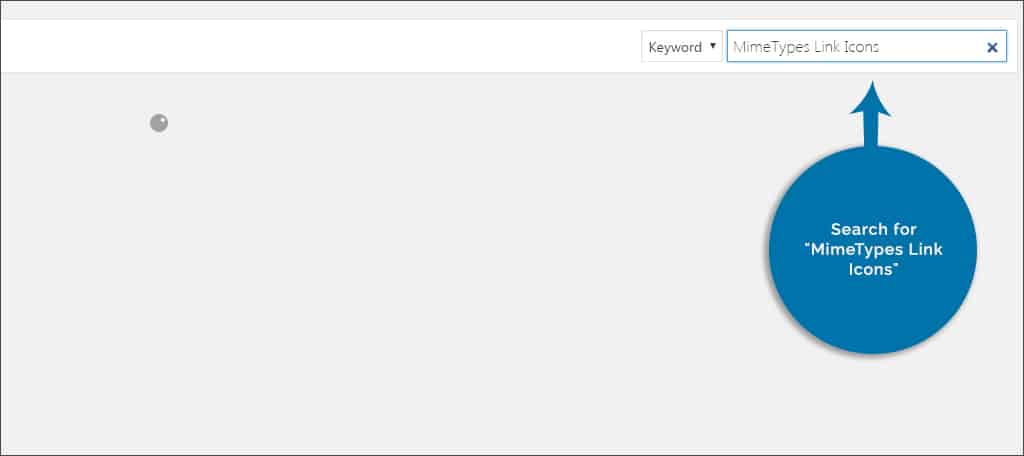
Search for “MimeTypes Link Icons.”
Install and activate the plugin.

Step 2: Configure the Settings
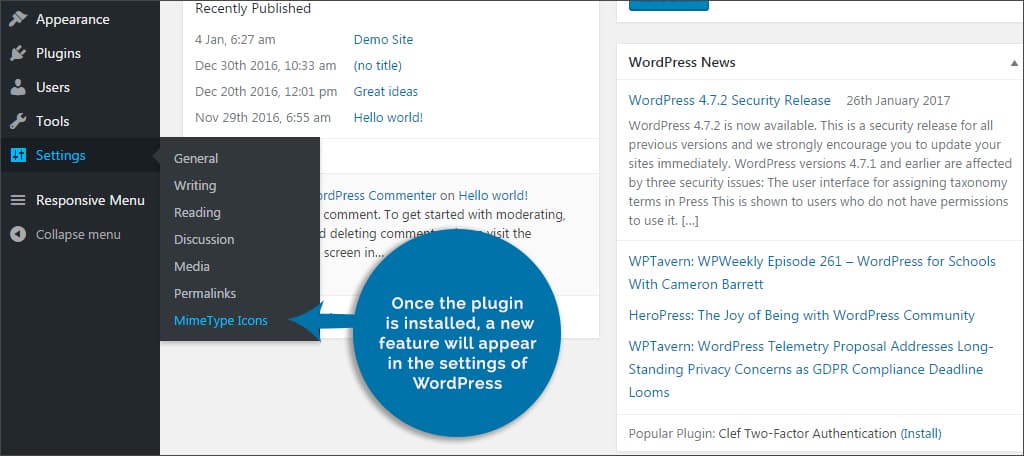
Once the plugin is installed, a new feature will appear in the settings of WordPress. Go to Settings and click the link for, “MimeType Icons.”
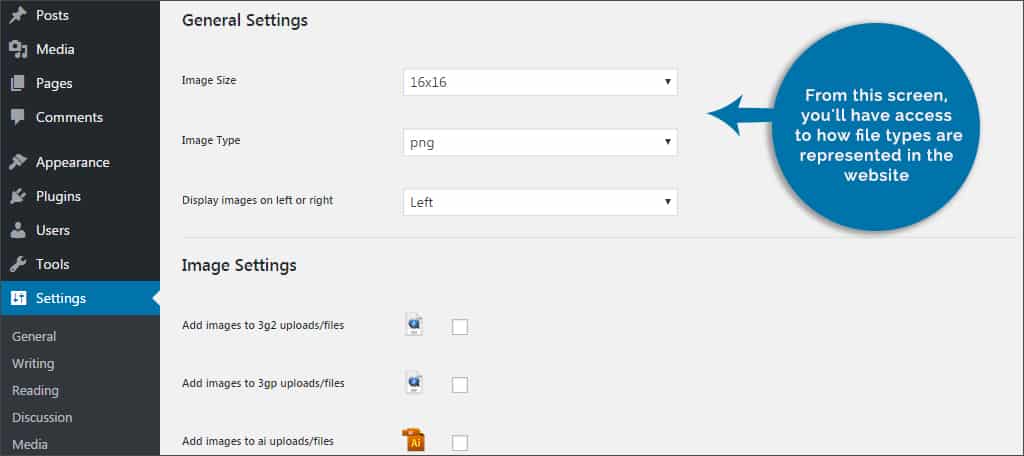
From this screen, you’ll have access to how file types are represented on the website.
General Settings: Choose the size, image type, and position of the icon. In this plugin, images are provided in both PNG and GIF types.
Image Settings: MimeTypes accommodates icons for more than 80 different file types. Select all that apply to you by checking each box. You can also click the “Check all” link to select all types of icons.
Advanced Settings: MimeTypes allows the use of CSS class names to hide icons, the ability to show file sizes, and enables asynchronous replacements which use JavaScript instead of PHP. For now, let’s leave these advanced settings be. Later, you may find this section useful especially if you want to show file sizes to your visitors.
Step 3: Save Your Changes
Once your selections are made, click the “Save Changes” button at the bottom of the screen.
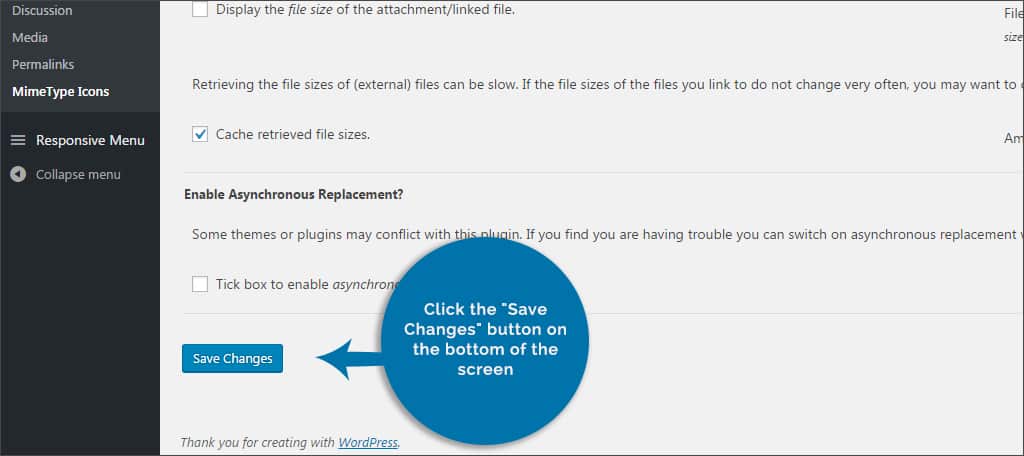
After you save, MimeTypes will now include the link icon for any files you have that are downloadable. This is an automatic process, and it doesn’t require extra graphics or shortcodes for you to use.
Should you choose the file size option, the size will automatically be included in parenthesis after the link.
Method 2: Using Download Attachments
Step 1: Install Download Attachments
Another good tool I’ll feature today is Download Attachments. This plugin is a bit more involved than MimeTypes but delivers a great interface when you want to support downloading files on the website.
To use this plugin:
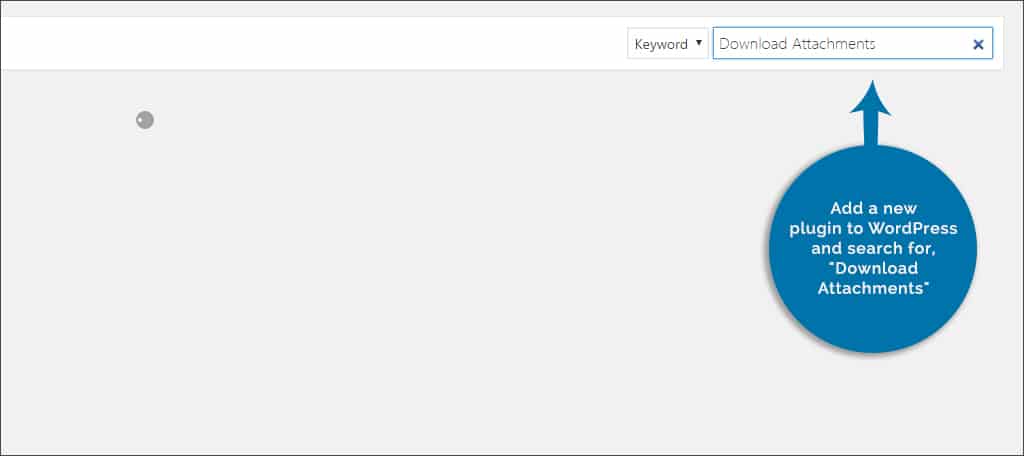
Add a new plugin to WordPress and search for, “Download Attachments.”
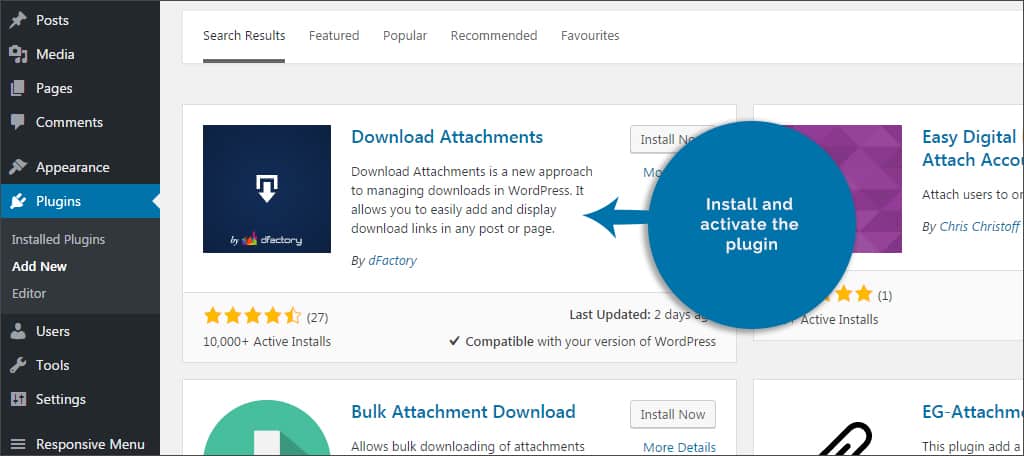
Install and activate the plugin.
Step 2: Configure the Settings
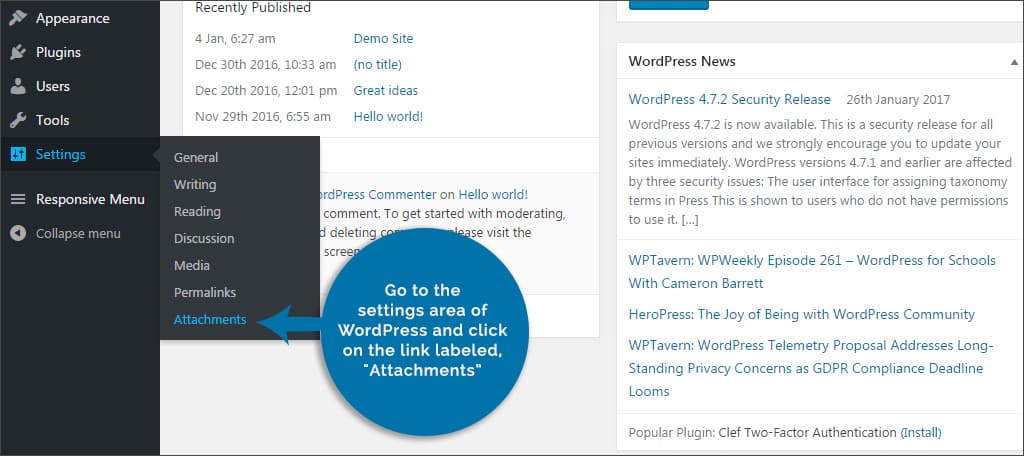
Go to the settings area of WordPress and click on the link labeled, “Attachments.”
There are three tabs available for managing this plugin.
General: This allows you to configure who can add attachments according to user roles in WordPress. You also have control over how the section appears in posts and pages and the URLs for those links.
Display Settings: In this section, you can check what fields are visible such as icon and file size, offer download captions, use CSS styles, and change how the attachments are delivered such as in a list or in a table.
Admin Settings: In the admin area, you can change how the media library is delivered, enable download counts, and control attachment links.
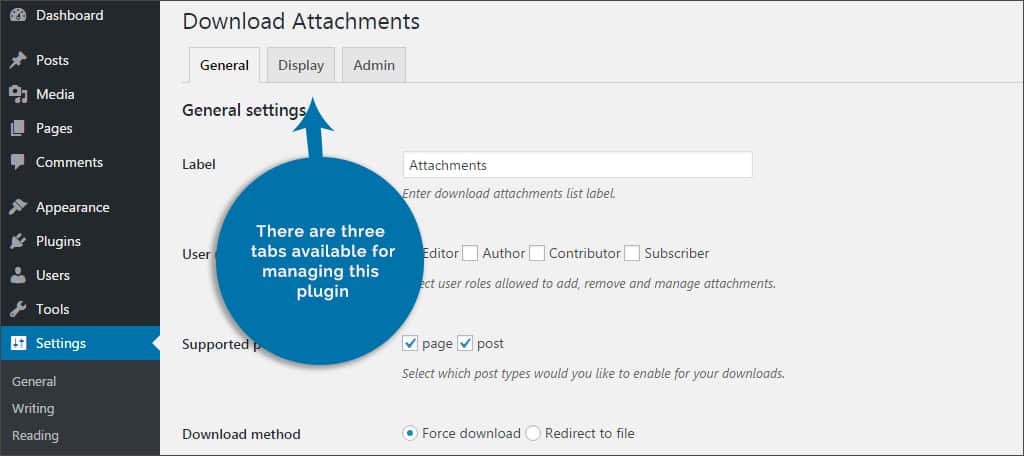
For now, let’s leave these settings as they are and click the “Save Changes” button.

Step 3: Add File Type Icons to Attachments
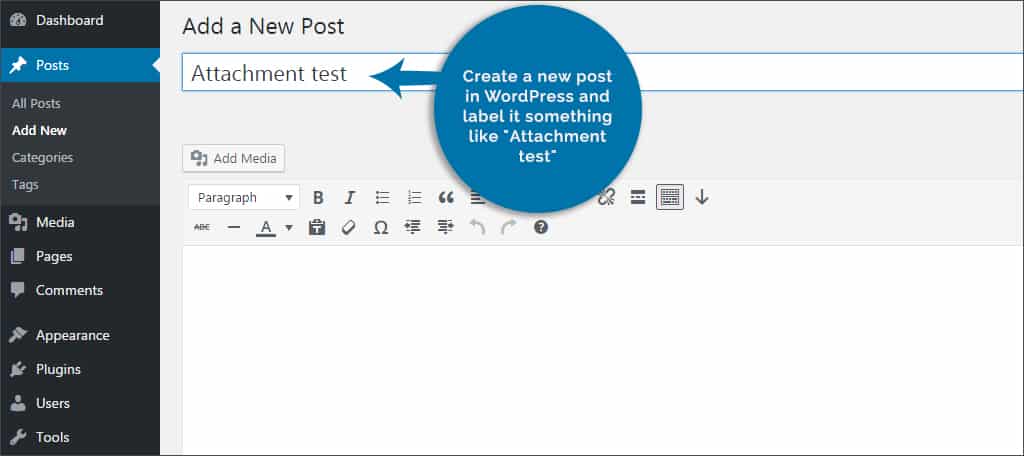
Create a new post in WordPress and label it something like “Attachment test.”
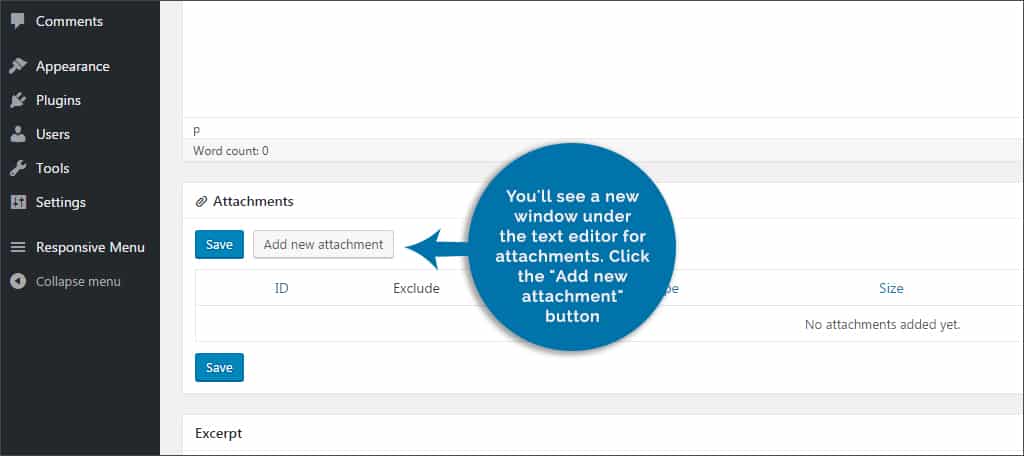
You’ll see a new window under the text editor for attachments. Click the “Add new attachment” button. This will bring up the media library for WordPress. Because you can literally upload any file type into this folder, it can be a good place to store your downloadable files. When testing this system, I used the PDF file of my resume. You can simply use an image you have saved if you want to see how this tool works.
NOTE: Currently, this plugin does not support the use of external media libraries. Files will need to be stored directly on your WordPress website.
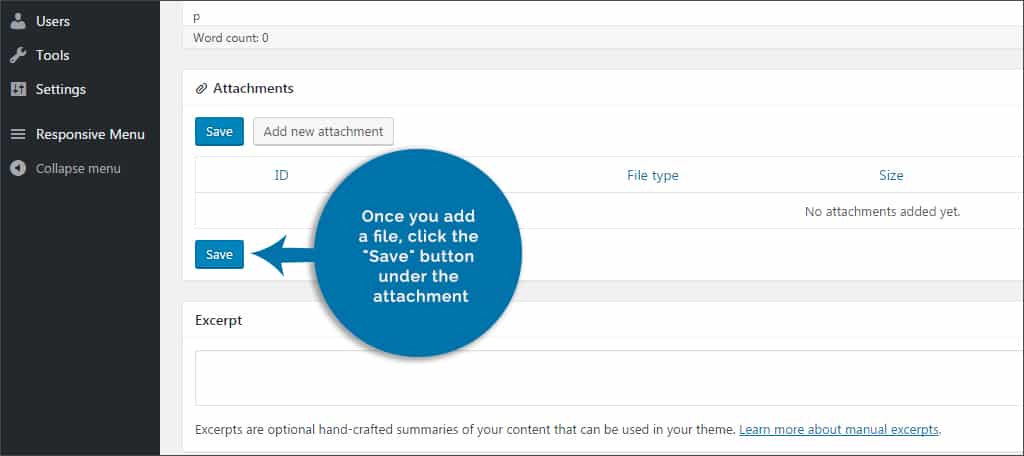
Once you add a file, click the “Save” button under the attachment.
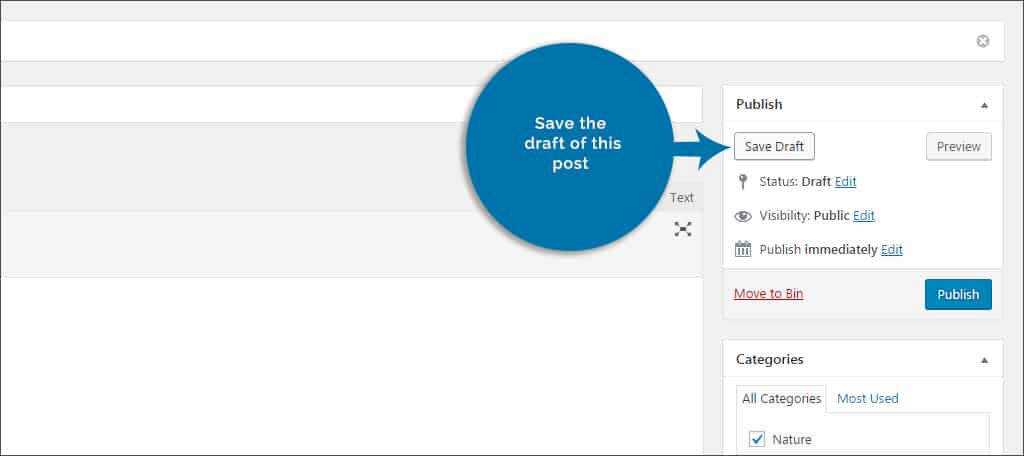
Save the draft of this post.
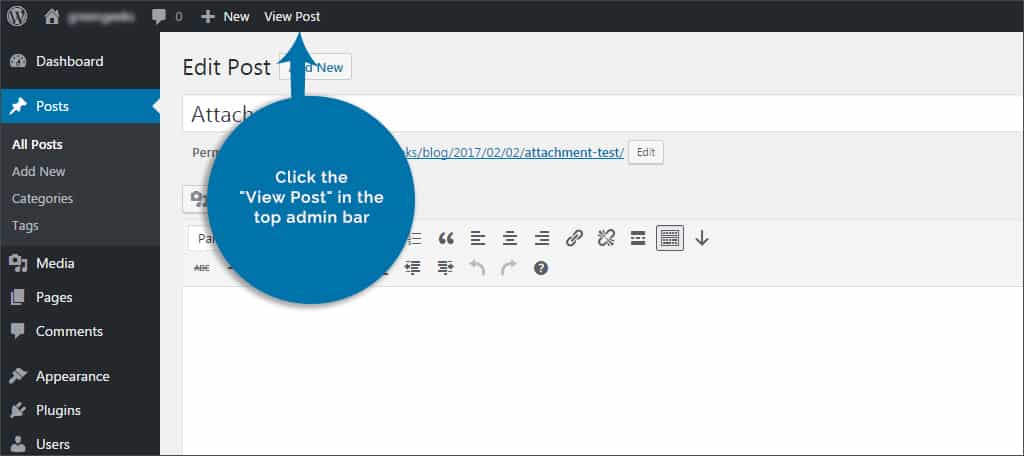
Click the “View Post” in the top admin bar. This will open the post as it would look on your site. Don’t worry, it’s not live.
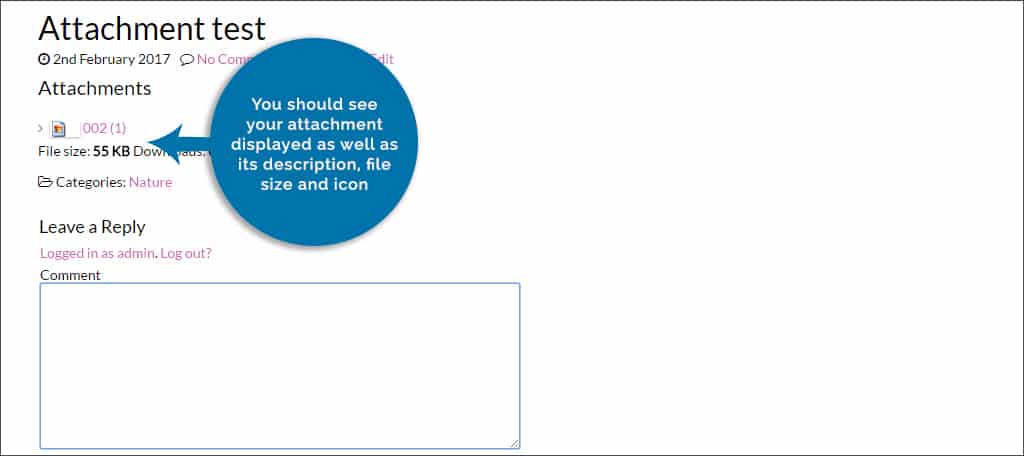
You should see your attachment displayed as well as its description, file size, and icon. Go back to the WordPress dashboard.
The only real drawback to this plugin is that it’s not automatic like MimeTypes. If you have attachments on other areas of the site, you will have to go back and add the section to each post or page.
However, this would make an incredible addition if you have a static page set in your menus specifically for downloadable content. The plugin will recognize most file types, which means the icons will be immediately available.
Another nice feature of this plugin is that it records how many downloads each file has received. This will help you determine which downloads are the most important to your visitors.
Add File Icons to Improve the User Experience Today
Adding attachment file type icons is an easy process in WordPress. Whether you want an automatic and stress-free approach or a more involved way to control presenting files, either way, will add more appeal to your site.
Take WordPress further and create a memorable experience for anyone browsing your pages. Sometimes even small graphics can make a big impact on visitors.
What kinds of small additions have you put into your website for visitors? What is your favorite tool for sharing files in WordPress?

How to add a download arrow image with a pdf image in the case of a pdf link
Pdf image icon is not showing in the case of custom field links.