By default, WordPress places images in succession. Unless you have an understanding of HTML, it can be difficult to get images to appear in columns and rows. Luckily, this problem is relatively easy to fix. In fact, it doesn’t take a lot of effort at all to show WordPress photos in columns and rows.
One workaround is to place the images in a table within the post or page. While this can work for what you’re trying to do, it’s also more difficult for some.
Today, I am going to show you how to set up WordPress photos to appear in a grid formation. This way, you can place more images in a smaller space within your posts and pages.
Why Should You Place WordPress Photos in Columns and Rows?
Many people like to use their websites to show off their photographs and artwork. This has great potential to act as an online resume which displays the developer’s talent. As a result, the website developer wants these images to be arranged in a clean and easy-to-see manner.
Creating a WordPress image gallery is an excellent way for artists to show off their skills. Whether it’s for fun or being used professionally, these images are an attraction for the website. Some may even be used to make money from the site depending on your strategies.
Method 1: Using WordPress Image Gallery
In this method, you won’t need to install a new plugin. This is something WordPress can handle on its own. However, it doesn’t have a lot of the flashy tools that some gallery plugins have. I’ll get into one of those later.
For now, go to Posts and click the “Add New” link.
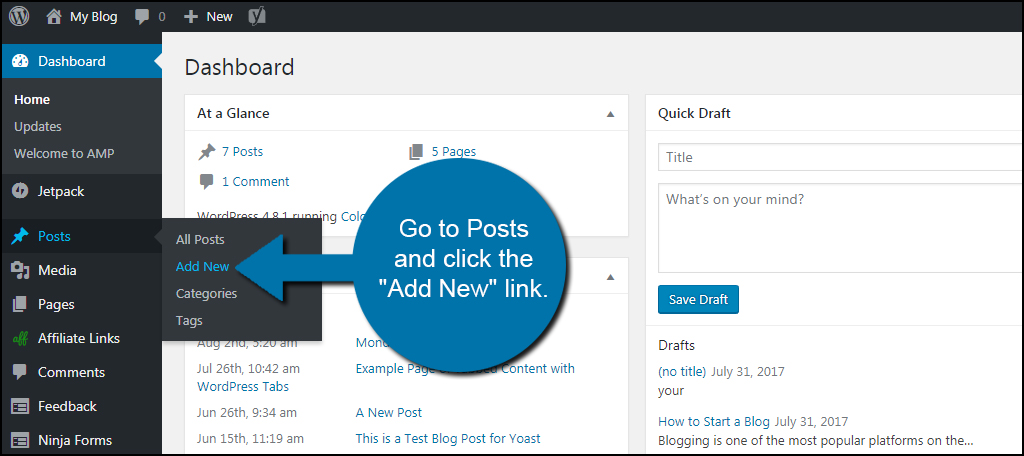
It doesn’t matter what you name this post. It’s only going to be used as an example so you can see how this is done. For this tutorial, I’m simply labeling it as “Testing Images.”
Click the “Add Media” button above the content editor.
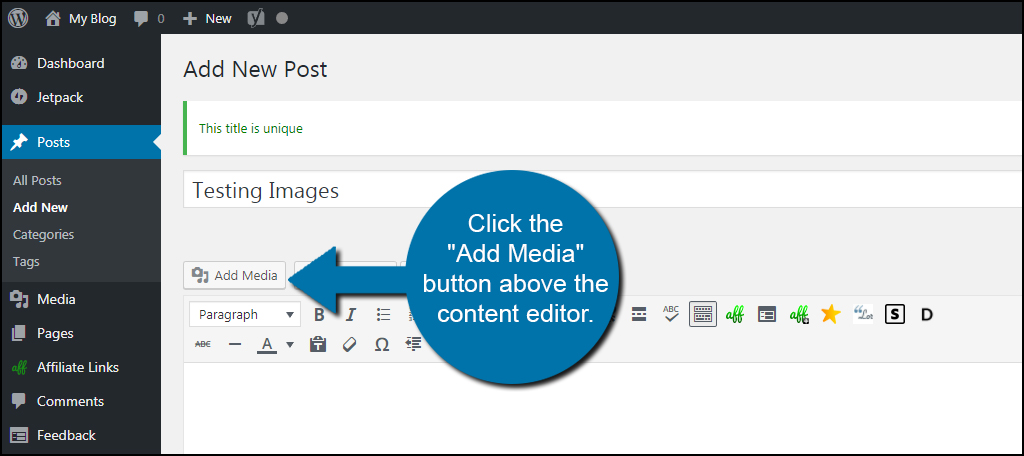
Upload any additional photos you want to add to your gallery. In this tutorial, I am just going to use the ones I already have.
In the image display, select the pictures you want to add to the gallery by clicking them. You can do this by holding down CTRL on your keyboard as you click. If you have a Mac, it’s the Command key you press. Added photos will be marked with a black check mark in the corner.
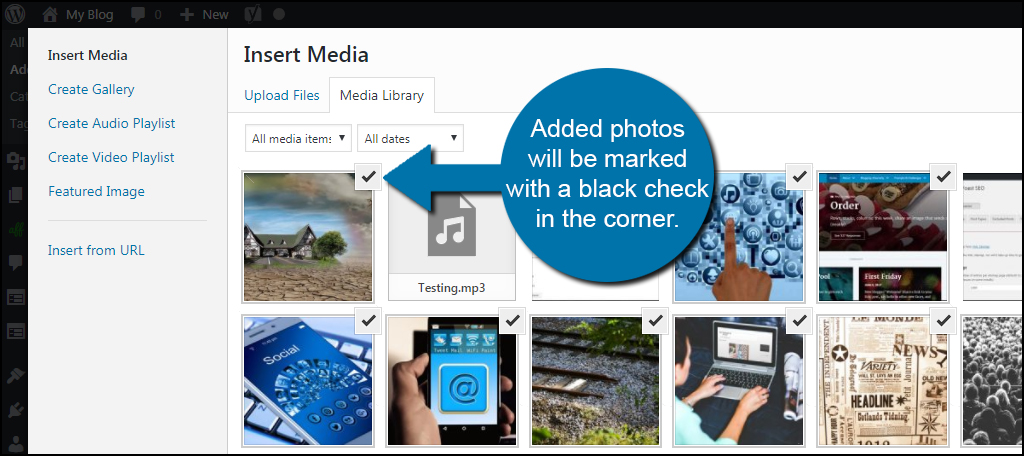
With the images ready, click the “Create Gallery” link in the top left of the Media screen.
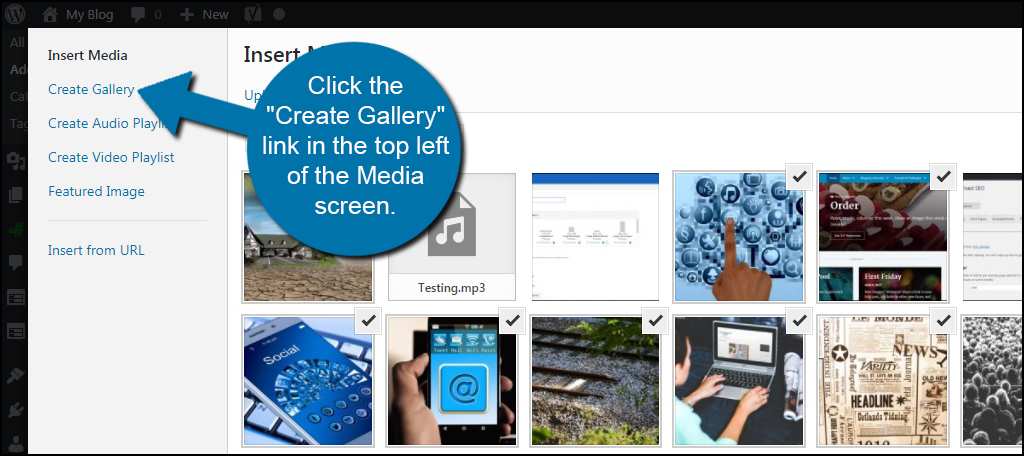
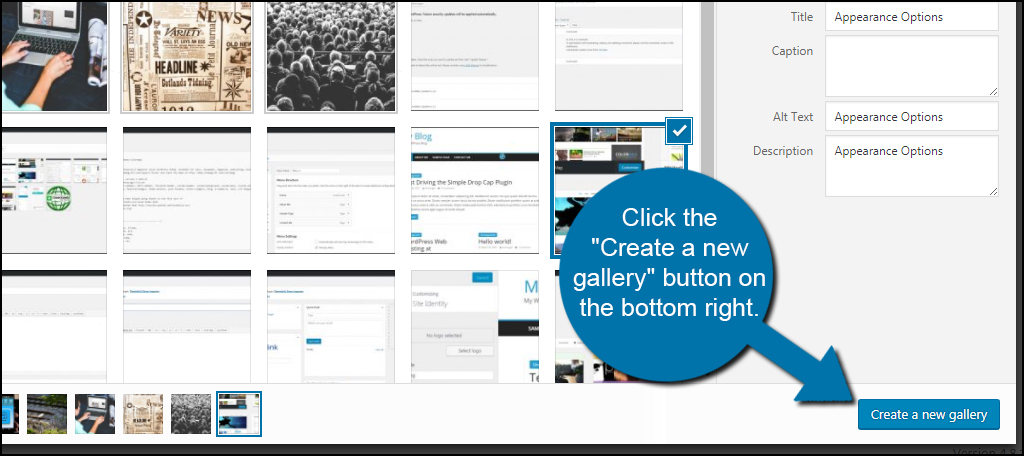
Verify you have all the images you want uploaded to WordPress. Click the “Create a new gallery” button on the bottom right.
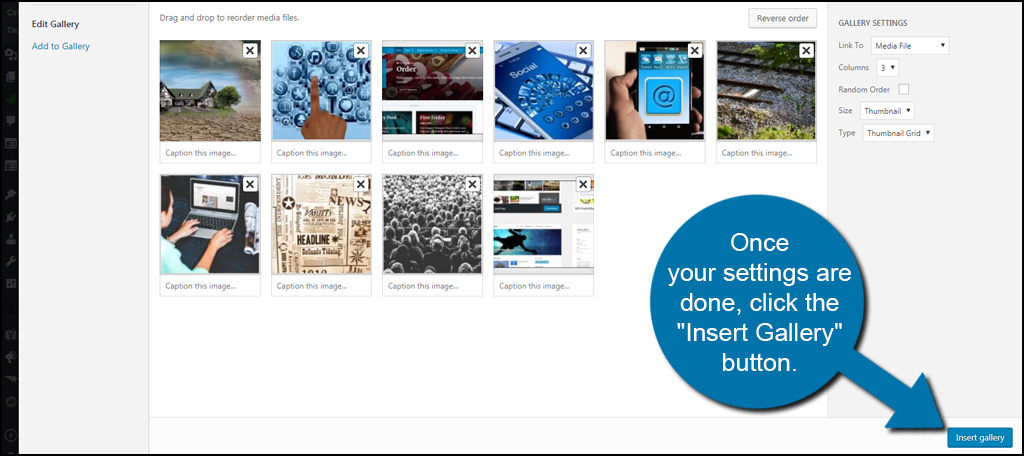
The display will change and only show the images you selected from before. On the right side, you will see controls for editing how the gallery appears on the site.
- Link to: This is what the gallery will link to if someone clicks an image. For this tutorial, set it to “Media File.”
- Columns: This is the number of columns the gallery will display. It will automatically create its own rows depending on how many images you want to show going horizontal. Let’s set this to “3” if it’s not already set by default.
- Random Order: Click this checkbox if you want the images to show randomly each time.
- Size: You can determine how the images are displayed according to their size. Because some images are incredibly large, I would suggest keeping this set to “Thumbnail.” Since we have are linking to the media file, people will see the full-sized image if they click on the gallery.
- Type: WordPress has two default gallery types. You can set this for a thumbnail grid or show the gallery in a slideshow. For now, leave this set for “Thumbnail Grid.”
Once your settings are done, click the “Insert Gallery” button.
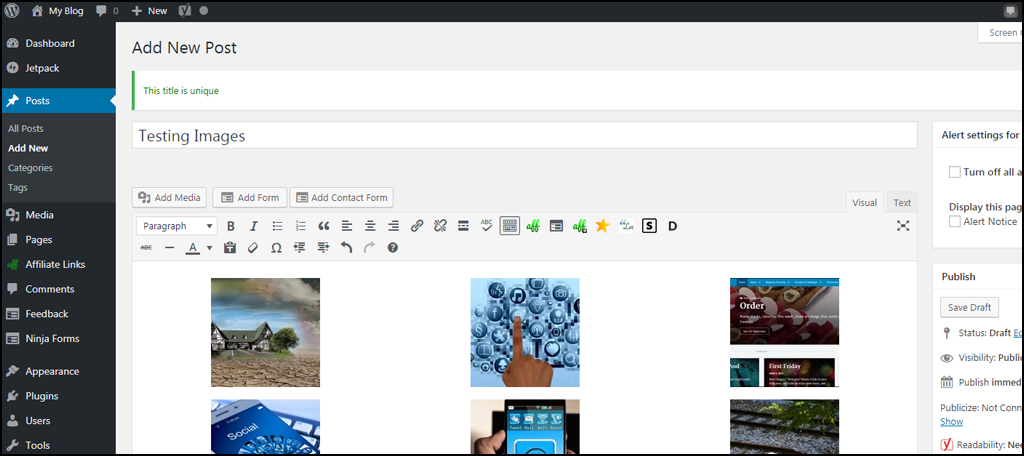
Images will then be displayed evenly across the width of the website’s post.
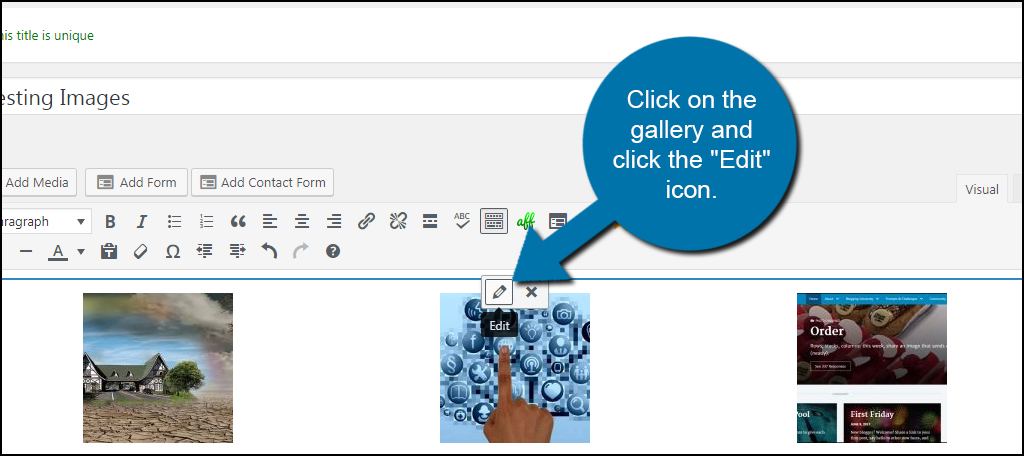
If you ever need to edit or add images, click on the gallery and click the “Edit” icon. It’s the graphic that looks like a pencil.
After your gallery is set up, update or publish your post.
While this is a quick and easy method to show off images, it lacks a lot of the features that you may want in terms of an actual professional gallery. For instance, images won’t open in a light box or have annotations to describe each one.
If you want something more flashy, you’ll have to use a plugin like Envira Gallery.
Method 2: Using Envira Gallery.
Envira Gallery has a lot of bells and whistles that give the site more visual appeal. It’s an easy system to use once you get the hang of it. Envira can seem intimidating at first because of the number of customization options you have, but it’s worth learning how to use.
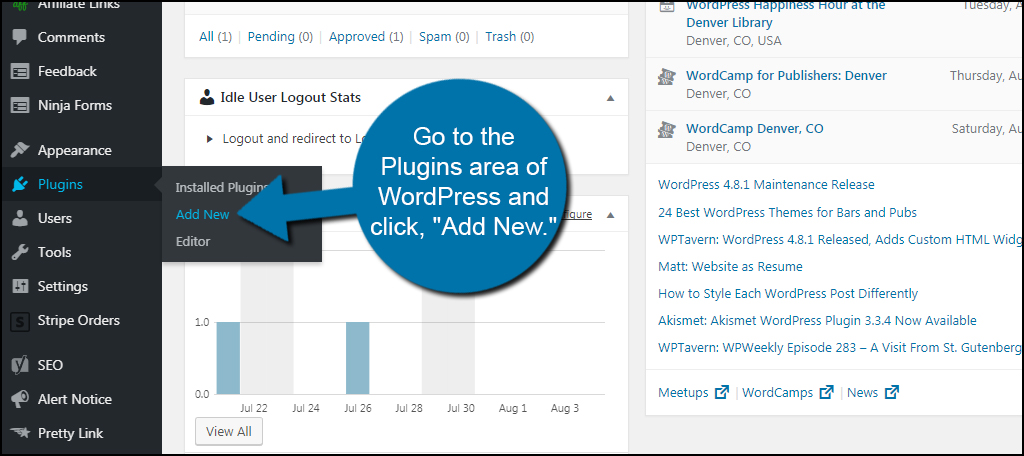
Go to the Plugins area of WordPress and click, “Add New.”
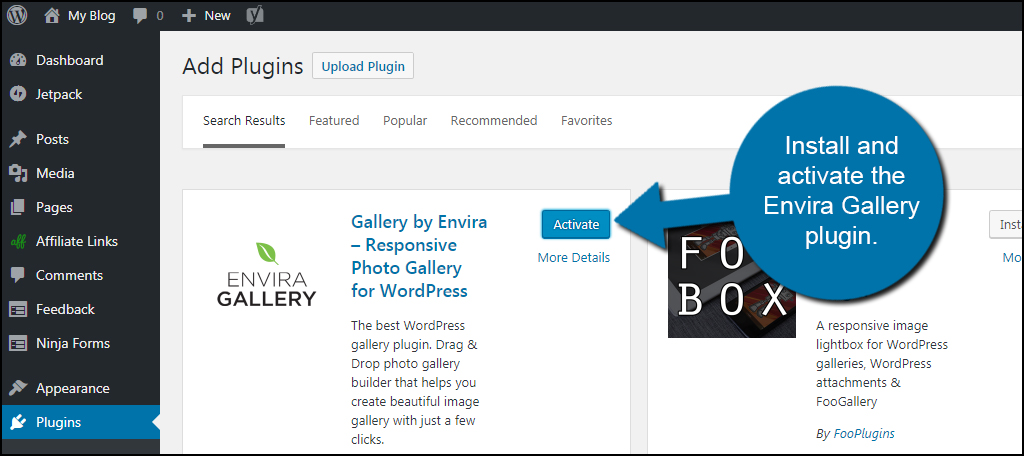
Install and activate the Envira Gallery plugin.
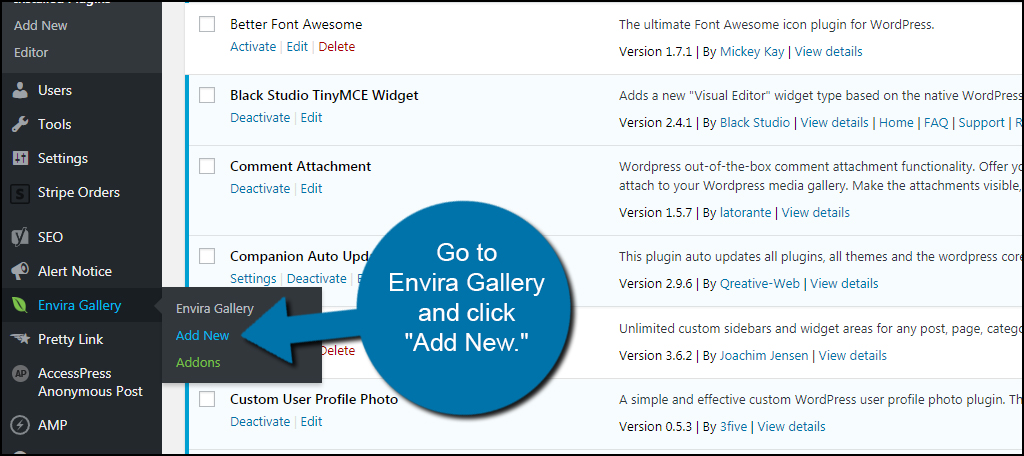
In the left column of WordPress, go to Envira Gallery and click “Add New.”
Give your new gallery a title. I’m simply naming this one “Testing Images.”
Envira Gallery can pull images form your computer or from other sources. In this tutorial, I’m going to use the images I already have in WordPress.
Click the Button to “Select Files from Other Sources.”
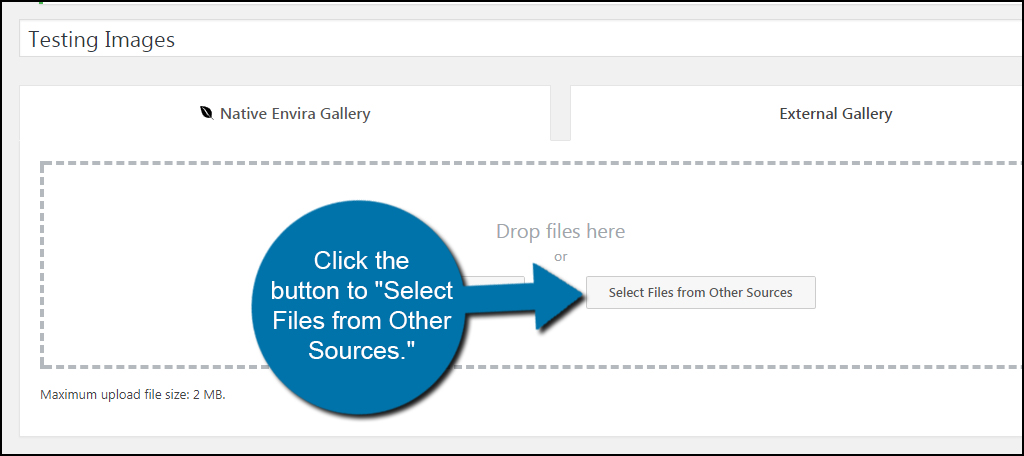
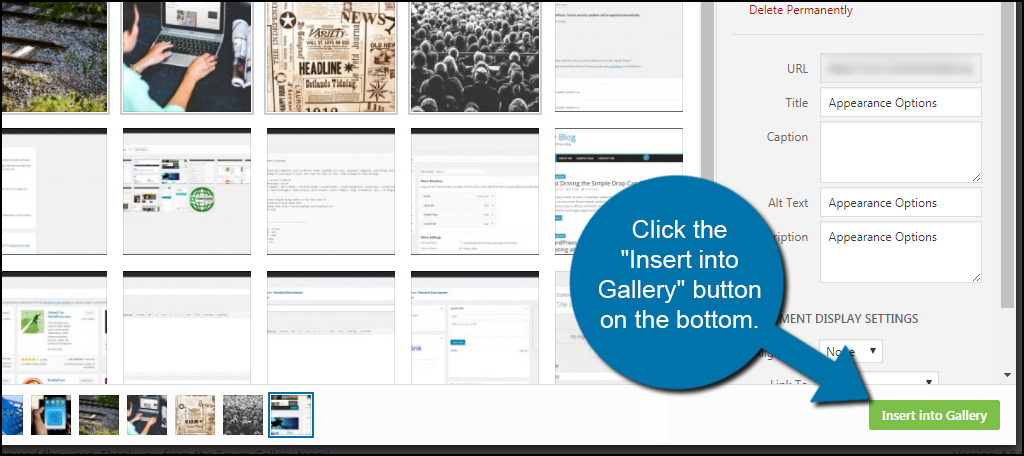
This will bring up the Media folder in WordPress. Click on the images you want to add to Envira. Remember to hold down CTRL or Command to select multiple images. Once you’re done, click the “Insert into Gallery” button on the bottom.
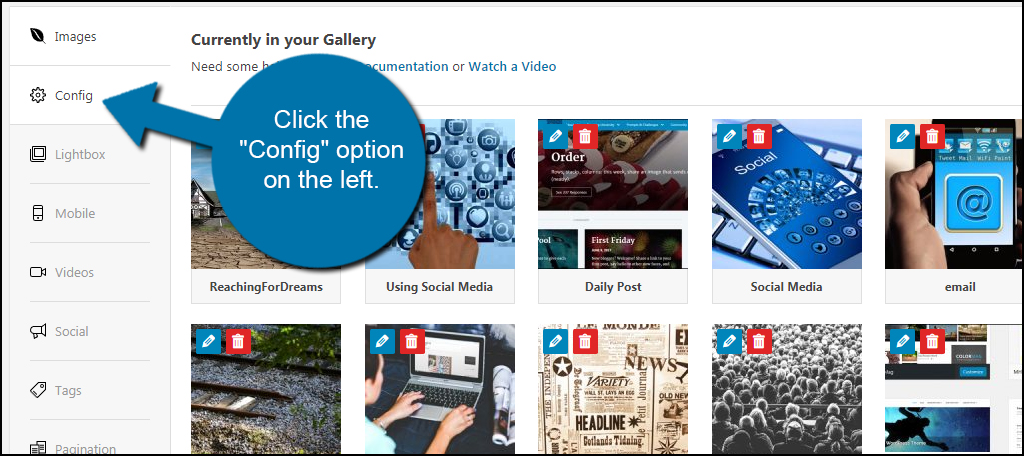
With the images added, click the “Config” option on the left.
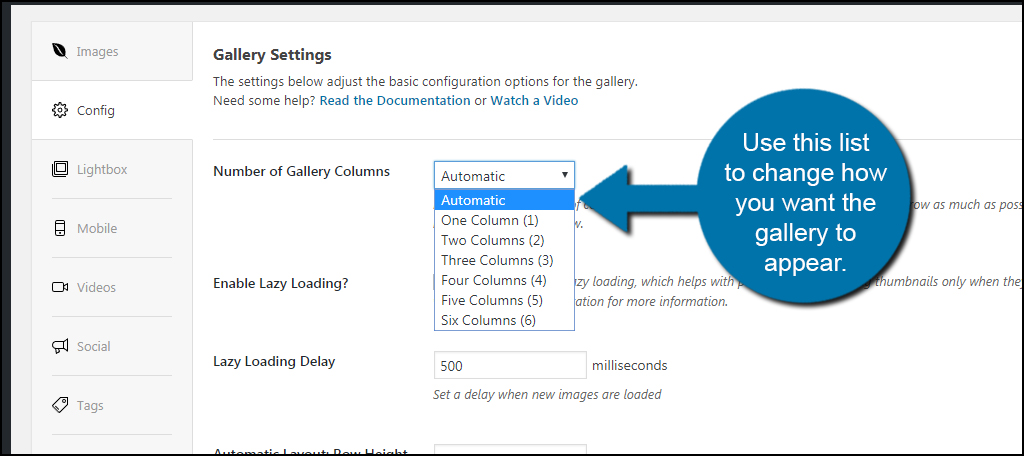
Envira will automatically adjust how many columns and rows you’ll need based on the image size and the amount of space on the post or page. However, you can change this manually using the drop down for “Number of Gallery Columns.”
Use this list to change how you want the gallery to appear. For now, I’m going to leave it for automatic adjustments.
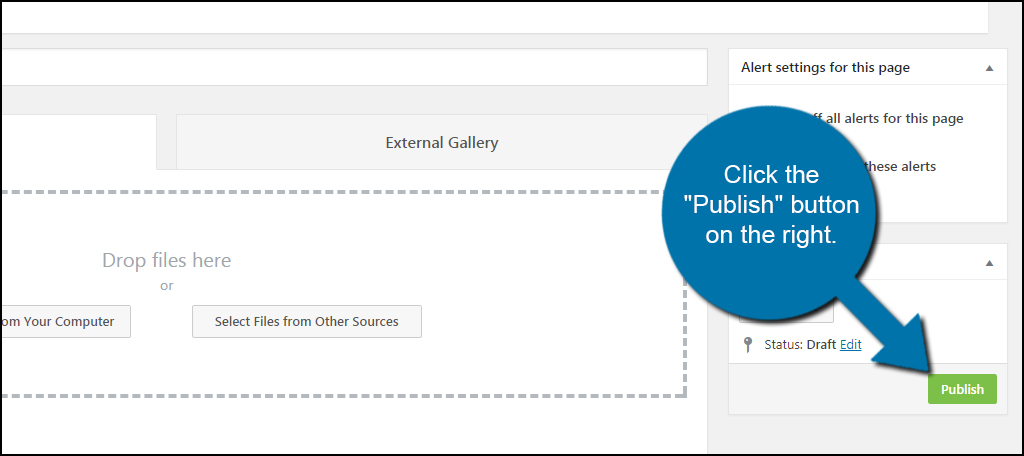
When you’re done with your adjustments, click the “Publish” button on the right.
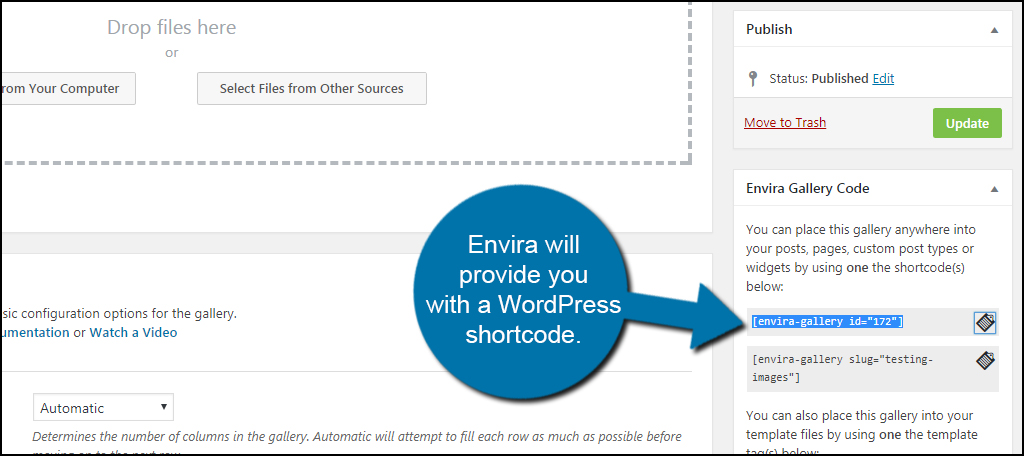
Once your gallery has been published, Envira will provide you with a WordPress shortcode and coding if you want to edit your template files. If you don’t know much about editing HTML, PHP or CSS, I’d suggest pasting the available shortcode.
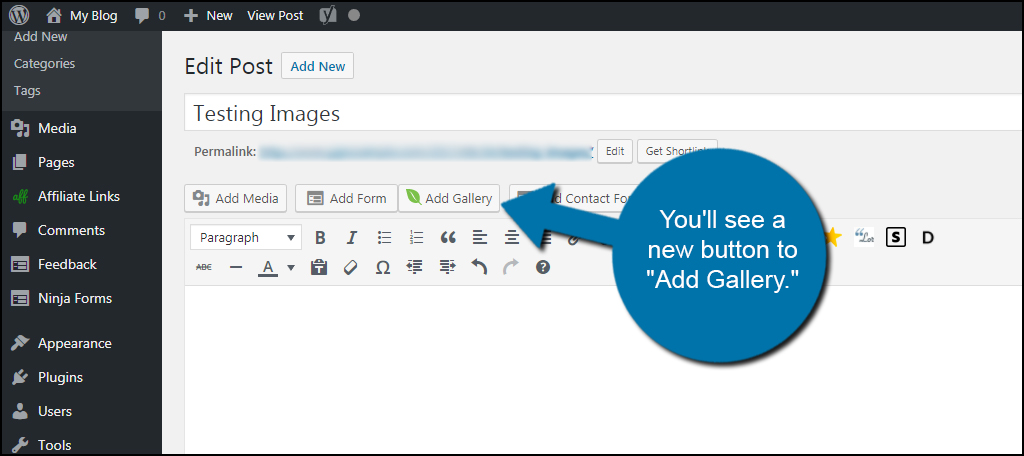
Coding isn’t the only way you can use Envira. Let’s go back to the post I made earlier. In your posts and pages, you’ll see a new button to “Add Gallery.” When you click this button, you’ll be able to see all of the galleries you’ve made in Envira and insert them.
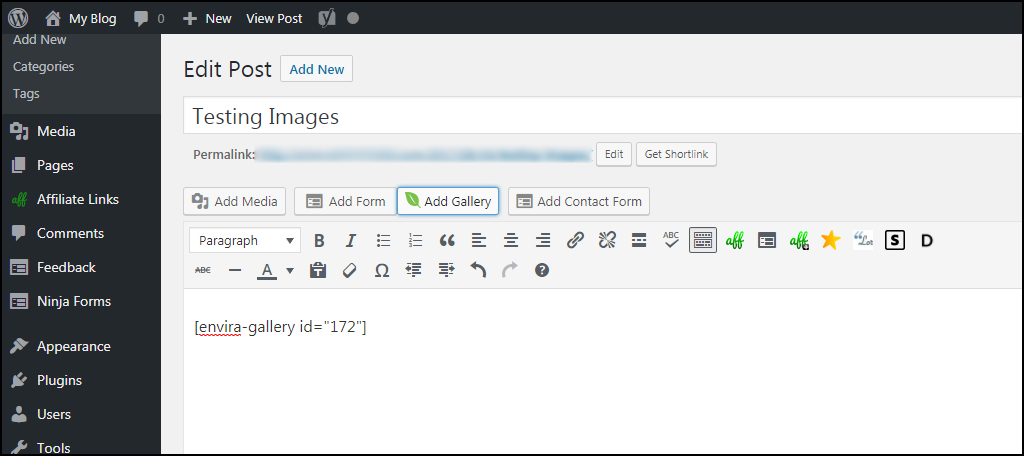
When you choose the gallery you want, the system will automatically add the shortcode for you.
Envira has a lot of options available for customizing the experience. You can change image sizes, configure the lightbox and even add a social element to the imagery if you pay for the premium service. But in the free version, you still have quite a few options available for perfecting your own gallery.
The Power of Galleries
Image galleries can be quite effective at engaging an audience. Many people will use them as part of their marketing tools to help boost visitation and improve audience retention. Either way, they add more color and interaction for your website. Experiment with your own gallery and explore what it may do for engagement on your website.
What kind of extras do you have on your website to engage the audience? Do you find images to work well for keeping people on your site longer?

thanks for this article, its was very informative to resolve my problem.