Are you looking for a way to hide dashboard widgets for specific user roles in WordPress? While dashboard widgets can be extremely useful for administrators and other user roles to monitor website activities, not every user needs to see them.
In those cases, you can hide them from the user to clean up the WordPress dashboard.
Keep in mind that visitors will never be able to see your website’s dashboard. So, if you are looking to hide it from them, don’t worry. WordPress took care of that already. Also, keep in mind that any code you use will need modifications to hide custom dashboard widgets.
Today, I will demonstrate how to hide dashboard widgets in WordPress for any user role using two methods.
Why Hide Dashboard Widgets in WordPress
When users log into their WordPress account, the dashboard is the first thing they see. You can easily clutter the screen when you add extra widgets in addition to the default ones. Not only can you add custom dashboard widgets, but plugins will sometimes automatically add their own.
As a result, the dashboard can get cluttered very quickly.
To stop this from happening, hiding dashboard widgets from users can easily fix the problem. What you want to hide is different for every website. Depending on what your dashboard widgets are, you may want to hide some of them from certain users.
Most web developers focus on the design of the front end of their website. But remember, that cleaning up the back end can save you time and make working easier for everyone.
How to Hide Dashboard Widgets in WordPress
There are two ways to go about hiding dashboard widgets in WordPress, plugins, and code.
For the plugin approach, I will be utilizing the Ultimate Dashboard plugin. This makes it easy to customize what appears on your dashboard with a drag and drop interface. If you are interested in dashboard widgets from a specific role, that is available in the pro edition.
The coding method does not require any advanced coding techniques. Instead, you will simply need to copy and paste some code into your functions.php file. The WordPress.org website provides the code necessary to hide all default dashboard widgets. The plugin uses the term “remove” instead of “hide.”
But rest assured you are not actually deleting them. They’re just hiding.
Whenever you are editing code, no matter how simple it may be, it is a good idea to create a backup of your website. This will ensure that if anything goes wrong, you can use it to revert your website before the changes.
Method 1: Ultimate Dashboard
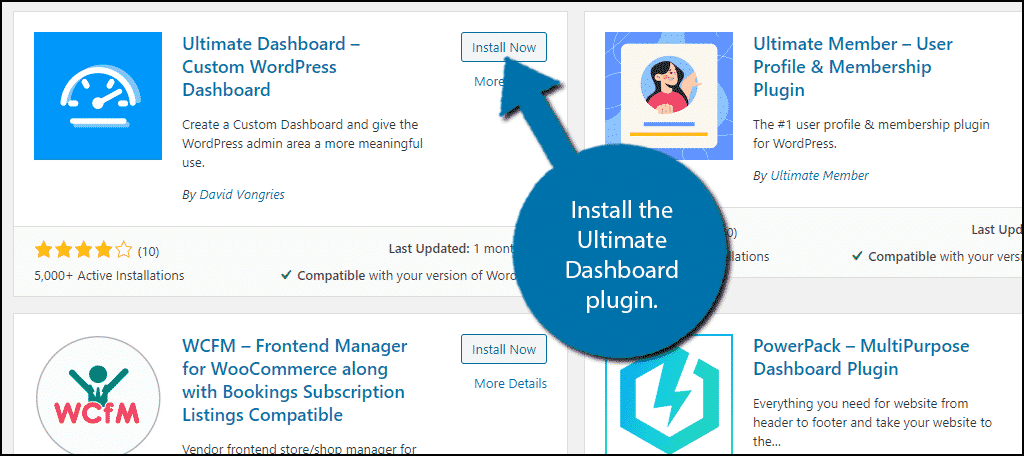
First, install the Ultimate Dashboard plugin.
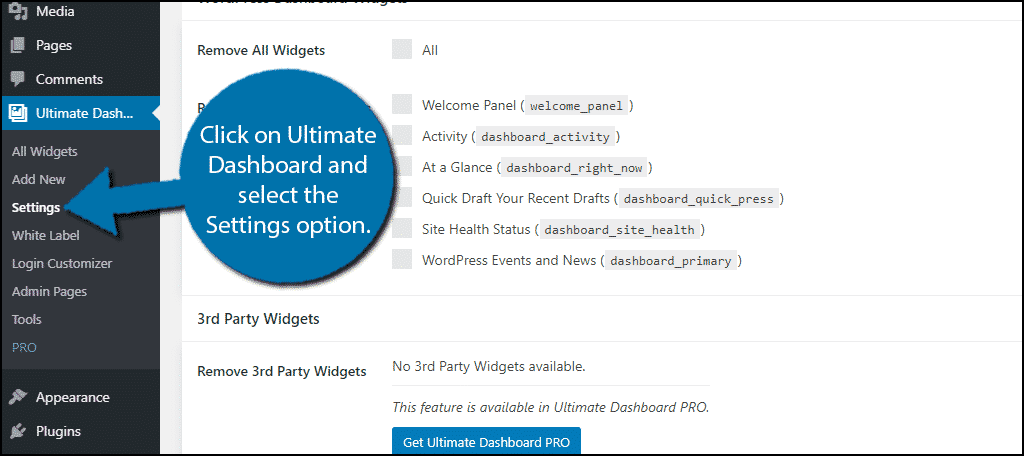
Click on Ultimate Dashboard and select the Settings option.
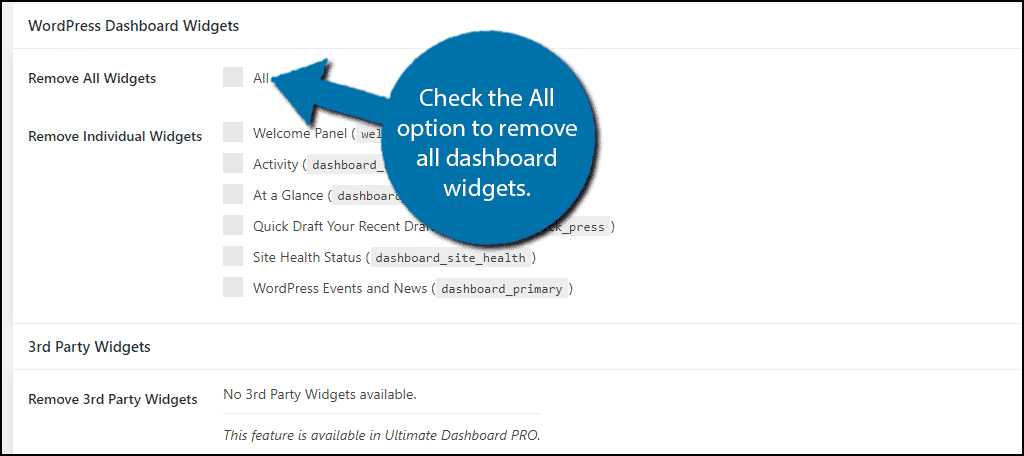
If your goal is to remove dashboard widgets, it doesn’t get any easier than this. At the top, you have an option to remove all dashboard widgets. Simply check the box to do so.
Alternatively, you can individually remove dashboard widgets by clicking their respective checkboxes.
Note: Although the plugin uses the term “remove,” it will not actually delete widgets. Instead, it is just hiding them from view and they can be enabled at any time.
This plugin will not remove 3rd party dashboard widgets. This means it doesn’t affect widgets that come from plugins. Instead, you will have to manually do that or you can upgrade to the pro version to unlock the feature.
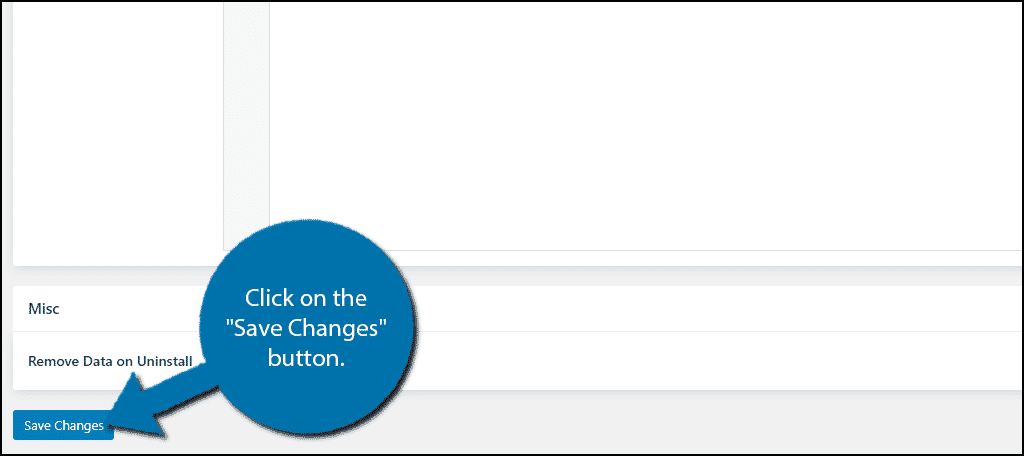
The other settings on this page include hiding other things from view and styling. I suggest going through all of the options and seeing what they do by trial and error. Click on the “Save Changes” button after making your adjustments.
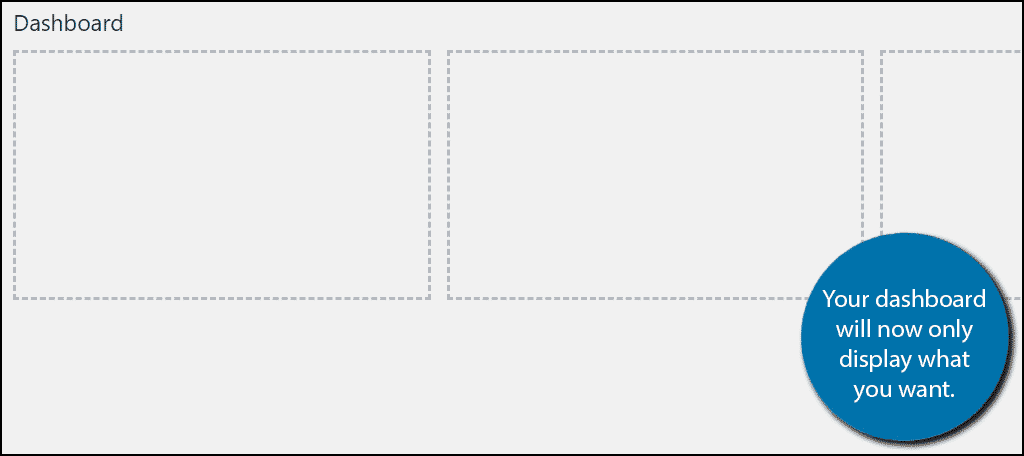
Your dashboard should now be clear of the default dashboard widgets.
If you want to add dashboard widgets, you can do that by clicking on Ultimate Dashboard -> Add New and simply filling in the necessary information.
All this includes is selecting an icon, tooltip or description, and a URL. This is useful for getting to the area of your website as fast as possible when logging in.
If you want more control over what specific user roles see, you’re going to want to use the coding below.
Method 2: Coding
Let’s start by logging into the cPanel and clicking on the File Manager option. The File Manager will allow you to access all of the files related to your website.

You need to locate your theme’s functions.php file. Click on the public_html directory, then click on the wp-content folder. Inside this folder, you will find all of the content related to your website.
Click on the themes folder and enter the folder of the theme you are currently using. Finally, right-click on the functions.php file and select the Edit option.

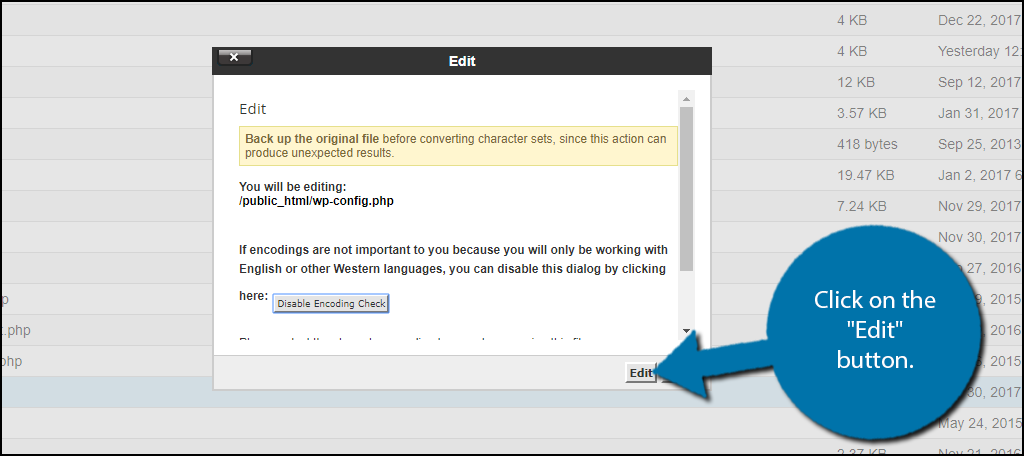
A pop-up window will show up. This box will warn you to create a backup of your files before editing anything. This will ensure that you can revert your website back to when it was working if something goes wrong.
Click on the “Edit” button. A new tab will open containing all of the code from the file.
Adding the Code
Scroll down to the bottom of the functions.php file and copy and paste the following code into it:
[ht_message mstyle=”info” title=”” show_icon=”” id=”” class=”” style=”” ]function remove_dashboard_meta() {
remove_meta_box( ‘dashboard_incoming_links’, ‘dashboard’, ‘normal’ );
remove_meta_box( ‘dashboard_plugins’, ‘dashboard’, ‘normal’ );
remove_meta_box( ‘dashboard_primary’, ‘dashboard’, ‘side’ );
remove_meta_box( ‘dashboard_secondary’, ‘dashboard’, ‘normal’ );
remove_meta_box( ‘dashboard_quick_press’, ‘dashboard’, ‘side’ );
remove_meta_box( ‘dashboard_recent_drafts’, ‘dashboard’, ‘side’ );
remove_meta_box( ‘dashboard_recent_comments’, ‘dashboard’, ‘normal’ );
remove_meta_box( ‘dashboard_right_now’, ‘dashboard’, ‘normal’ );
remove_meta_box( ‘dashboard_activity’, ‘dashboard’, ‘normal’);//since 3.8
}
add_action( ‘admin_init’, ‘remove_dashboard_meta’ );
[/ht_message]
This code will remove/hide all of the default dashboard widgets from all users including the admins. If you have custom widgets, you will need to alter the code to include them.
However, if you want to still show the widgets for admin accounts, it requires a bit of alteration. The following code will not affect administrator accounts:
[ht_message mstyle=”info” title=”” show_icon=”” id=”” class=”” style=”” ]function remove_dashboard_meta() {
remove_meta_box( ‘dashboard_incoming_links’, ‘dashboard’, ‘normal’ );
remove_meta_box( ‘dashboard_plugins’, ‘dashboard’, ‘normal’ );
remove_meta_box( ‘dashboard_primary’, ‘dashboard’, ‘side’ );
remove_meta_box( ‘dashboard_secondary’, ‘dashboard’, ‘normal’ );
remove_meta_box( ‘dashboard_quick_press’, ‘dashboard’, ‘side’ );
remove_meta_box( ‘dashboard_recent_drafts’, ‘dashboard’, ‘side’ );
remove_meta_box( ‘dashboard_recent_comments’, ‘dashboard’, ‘normal’ );
remove_meta_box( ‘dashboard_right_now’, ‘dashboard’, ‘normal’ );
remove_meta_box( ‘dashboard_activity’, ‘dashboard’, ‘normal’);//since 3.8
}
if (!current_user_can(‘manage_options’)) {
add_action(‘admin_init’, ‘remove_dashboard_meta’ );
}[/ht_message]
The difference is the “If” statement at the bottom. You can edit this statement to allow other user roles to see dashboard widgets if necessary.
Once you have inserted the code into the functions.php file, click on the “Save Changes” button to finish.

Congratulations, your WordPress dashboard will now be empty. Remember that this code only hides the default dashboard widgets. Any custom widgets will require new code lines to address them. If at any time you would like to undo these changes, simply delete the code you added.
Keep Your Dashboard Organized
The dashboard can be an extremely useful tool for websites if used correctly. For example, after disabling the default widgets, you could add your own. This custom widget can show tasks that need to be completed by staff members. The only real limiting factor is your imagination and coding experience. Otherwise, the possibilities are endless.
Just remember to always keep your dashboard clean. The fewer the items you have on it, the better. It will make the items you do have on it seem more important.
Why do you want to hide dashboard widgets in WordPress? Do you have any custom widgets?
