Do you currently use or want to use the All in One SEO Pack plugin? If you answered yes to either question you are going to want more information on the product. This plugin has over 3 million active installs with a 4.5-star rating. It is a free plugin, but to get more features you may consider upgrading to the pro version for $79.99 per year.
There are many good sources of information like the plugin page or support forums, but it does take time to find what your looking for. Depending on whether you are using the free version or the pro version, there could be different alternatives. Think of this as an All in One SEO Pack for beginners and today I will show you what each area of the plugin can do for your website.
Why Use the All in One SEO Pack
SEO plugins are what I consider to be necessary plugins that all websites should have installed along with a security plugin and a backup plugin. SEO, in particular, is extremely important because it directly affects the amount of traffic your website can see and how fast it can grow. SEO plugins, like the All in One SEO Pack, help optimize your website so it will rank higher in search engines like Google and Bing. This is crucial to bringing in new traffic to your website and let’s face it, who clicks on a Google result located on the twentieth page?
In particular, this plugin will help you avoid duplicate titles, set up meta tags, categories and subcategories, and just about anything that can help your SEO ranking. After all, it is an All in One SEO pack. Of course, some of these features may be locked behind the pro version and if you are not willing to pay there are plenty of SEO plugins that may have the feature for free.
How to Find Information about WordPress’ All in One SEO Pack
Today I will show you what each area of the plugin can do for your website. Keep in mind there are many great SEO plugins to choose from. You will need to download the plugin to try it out yourself. If this is your first time using it, read through each section to find out what you can do and tune the settings to what you feel works best for your website. Keep in mind that not all of the features are available in the free version and you may need to upgrade if you want to use certain features. Here is a guide on how to install All in One SEO Pack plugin.
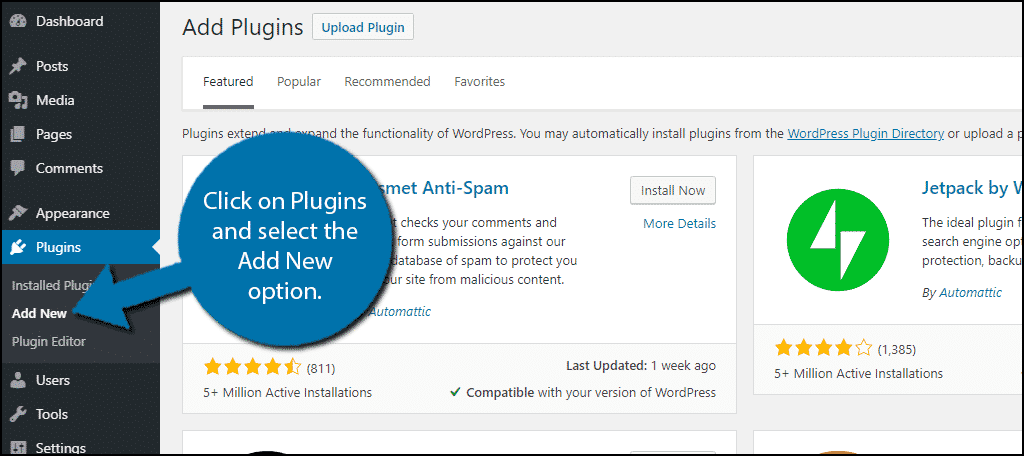
Click on Plugins and select the Add New option on the left-hand admin panel.
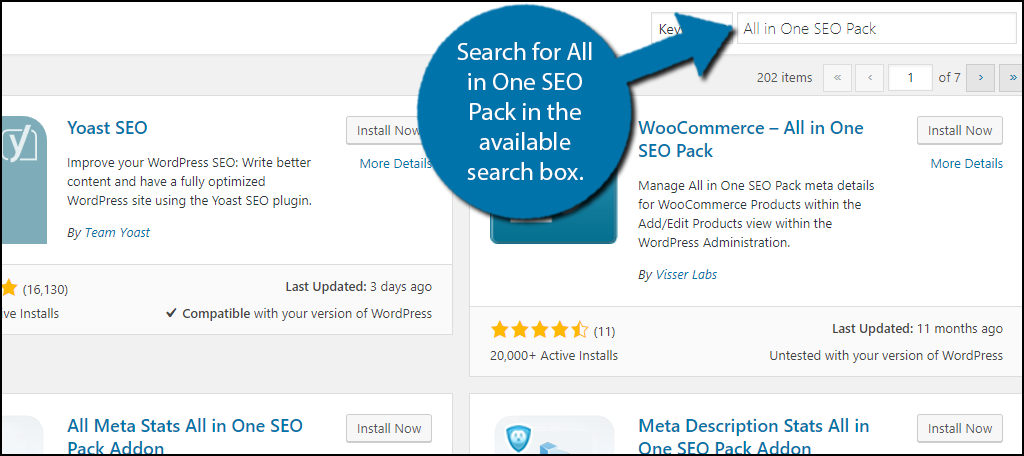
Search for All in One SEO Pack in the available search box. This will pull up additional plugins that you may find helpful.
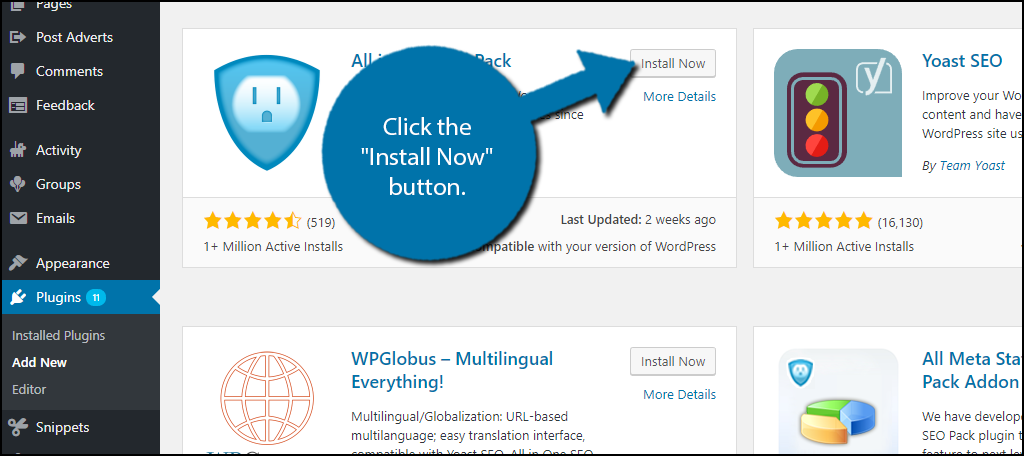
Scroll down until you find the All in One SEO Pack plugin and click the “Install Now” button and activate the plugin for use.
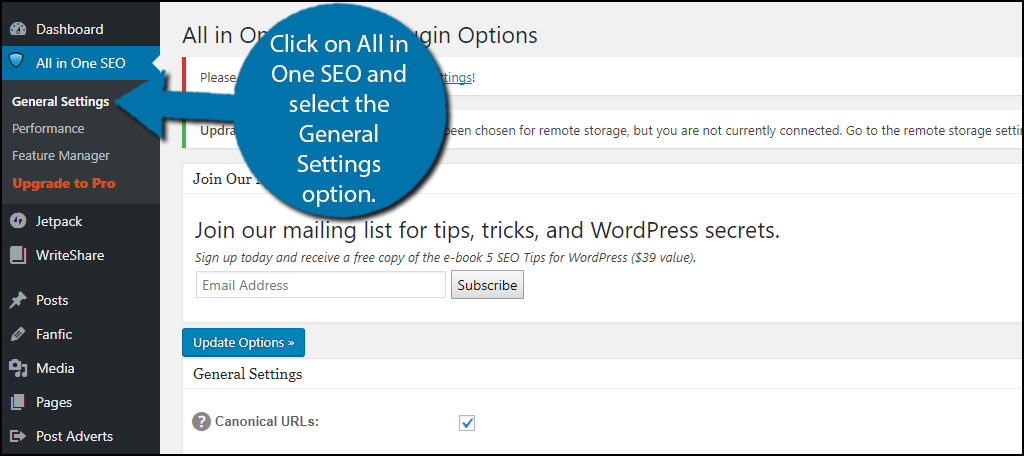
On the left-hand admin panel click on All in One SEO and select the General Settings option. This will pull up the main settings page.
We will now examine each section of the settings and see what you can change in every area. Keep in mind you can click on any item that has a question mark and you will receive a brief explanation of what it does. Here is a guide for the All in One SEO Pack plugin’s settings.
General Settings
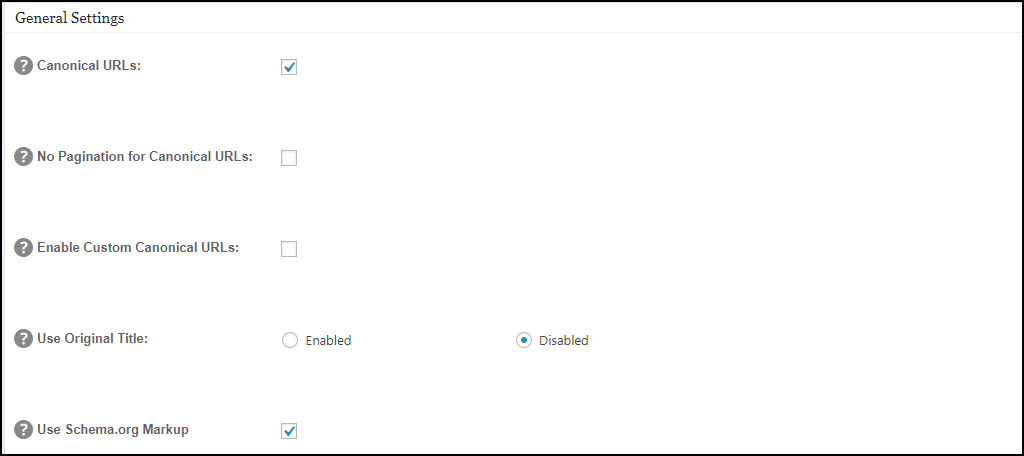
The general settings section of the general settings page contains what you would expect. There are two settings enabled by default. Canonical URLs is the first option and it will prevent publishing duplicate content. The second is Use Schema.org Markup option. The Schema.org format is considered the best format for websites seeking the best SEO. There are other options that you can read about, but in most cases, they will not be used. Click on the question mark to learn more about them.
Home Page Settings
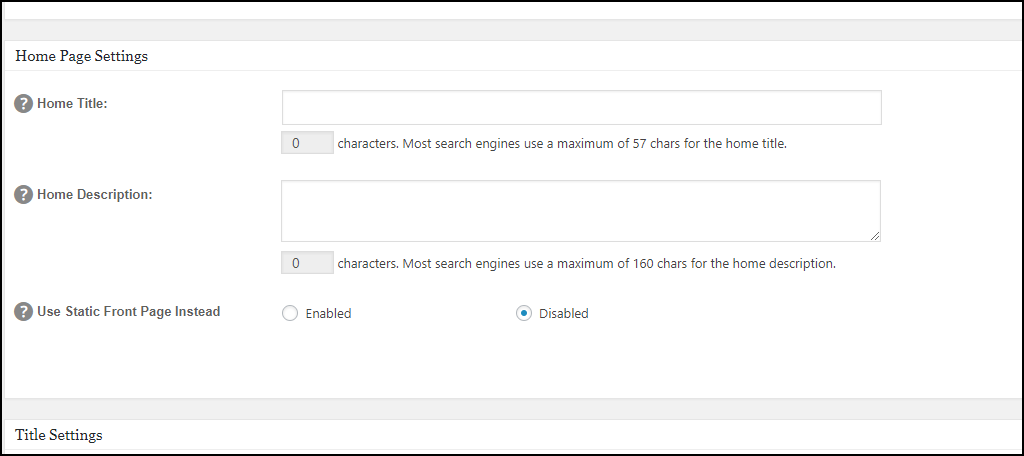
This is a smaller section and all fields are left blank by default but don’t let that fool you about its importance. The first option allows you to name your websites home page. It can be different from your website’s name and you should try to fit some of your website’s keywords into the title, but remember, you need to make it sound good. The next box allows for you to create a description of the homepage using 156 characters. Again try to use keywords, but remember to make it readable and not written for search engines, but for people using a search engine. The final option should only be enabled if you are using a static home page, if not leave it disabled.
Title Settings
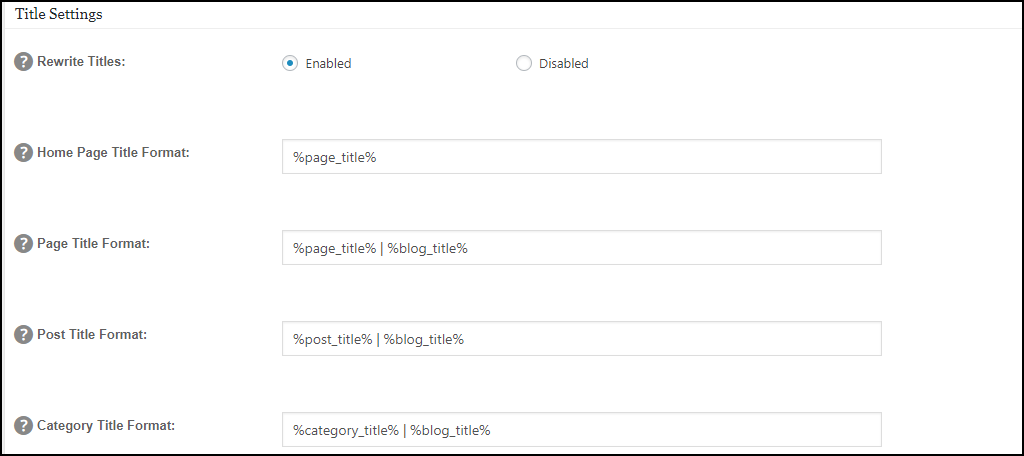
Title Settings has the largest section of settings. You need to carefully read through each description before making any changes. There are over 13 settings you can change in this section. The end goal of this area is changing the default settings that WordPress uses and put them into a more SEO friendly format. The first option is possibly the most important because it allows the plugin to change the titles stored in your theme’s settings and is enabled by default. These settings are optimized by default, but feel free to change them if you believe there is a more optimal way. Remember however to read what each setting does.
Custom Post Type Settings
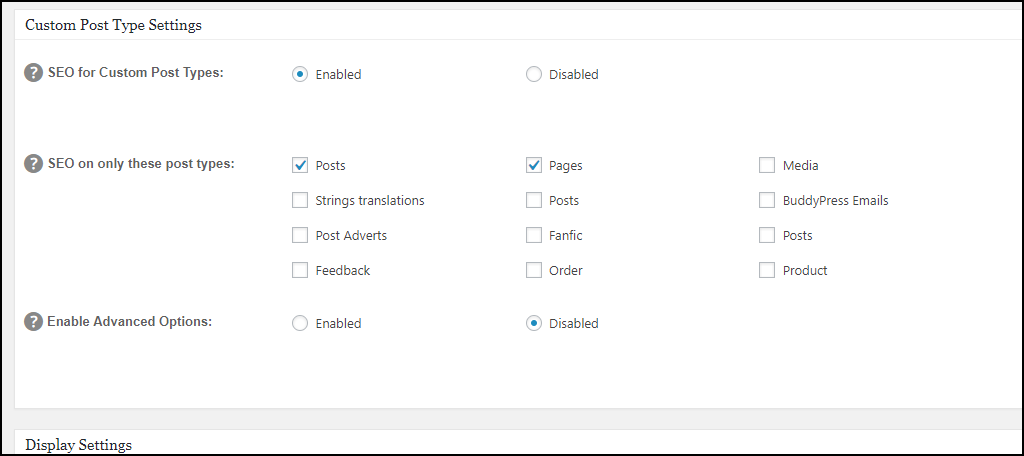
This section is only useful if you have custom post types on your website. If you do not, then this section does not pertain to your website and is safe to skip. If you have products on your website, they would fall under this category and it is important to optimize their posts since you want your products to appear on search engines.
Display Settings
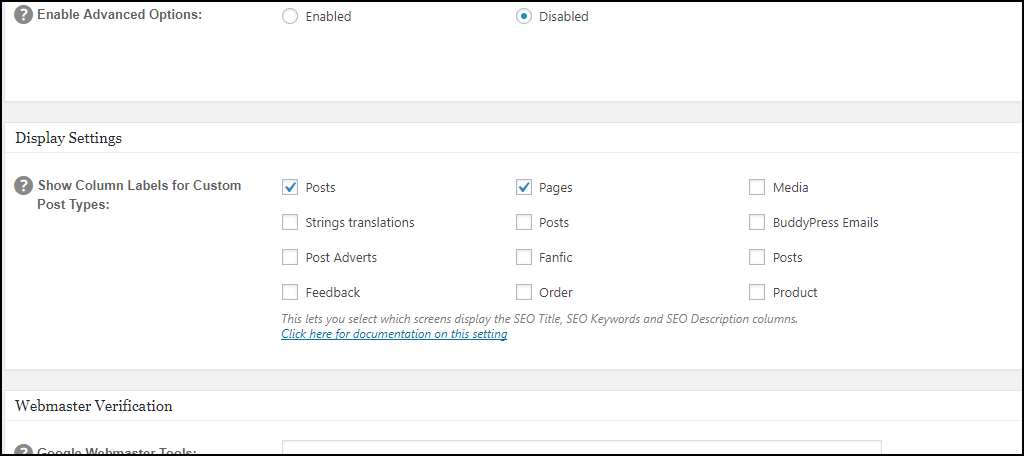
This is a very simple section that allows you to display SEO titles and keywords on your pages. I would recommend leaving it as enabled, which is the default option.
Webmaster Verification Settings
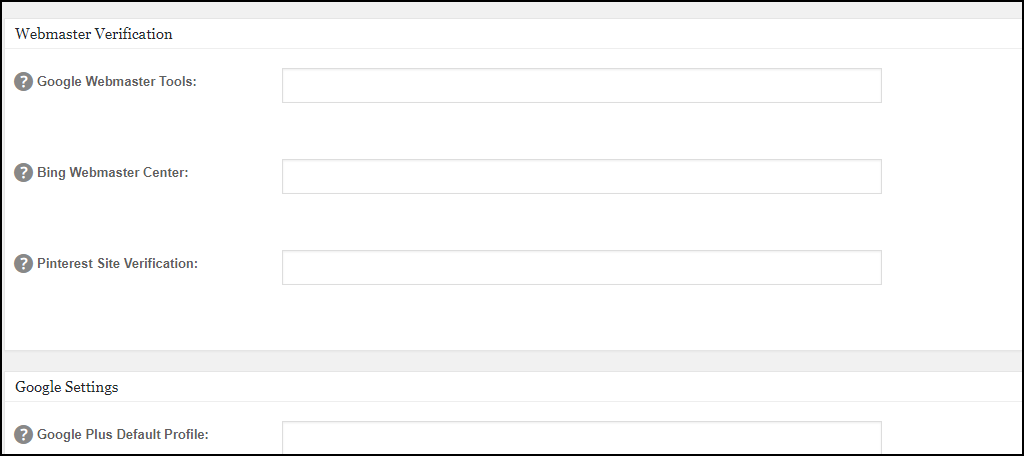
You have 3 options here and you should enlist in Google and Bing Webmaster tools since they are the major search engines people will find your website through. The third option is Pinterest and if that is something you want to be optimized for your site, you should also enlist. These verification codes directly connect you with their respective websites. This is very beneficial and any website should take the time to do this whether you pick this plugin or not. You will be directly notified whenever something is wrong with your website when it is detected by Google and Bing.
Google Settings
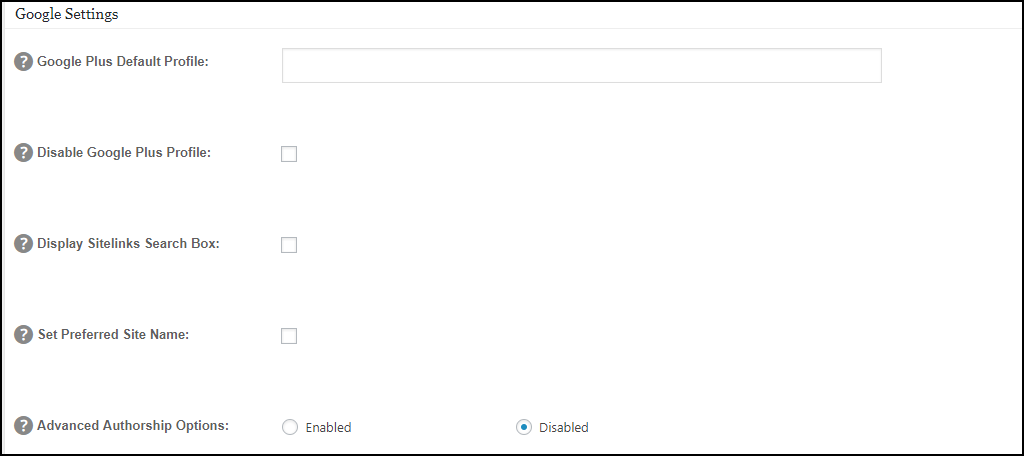
Yes, the most popular search engine has its own settings section in this plugin and for a good reason. Google offers many services and one of them is Google Analytics. You can input your Google Analytics code and the plugin will automatically add your website’s data to analytics. The other service is Google+, which has fallen out of popularity. If you have an account, there is no harm in adding the information, but there is no benefit according to most SEO experts and services.
Noindex Settings
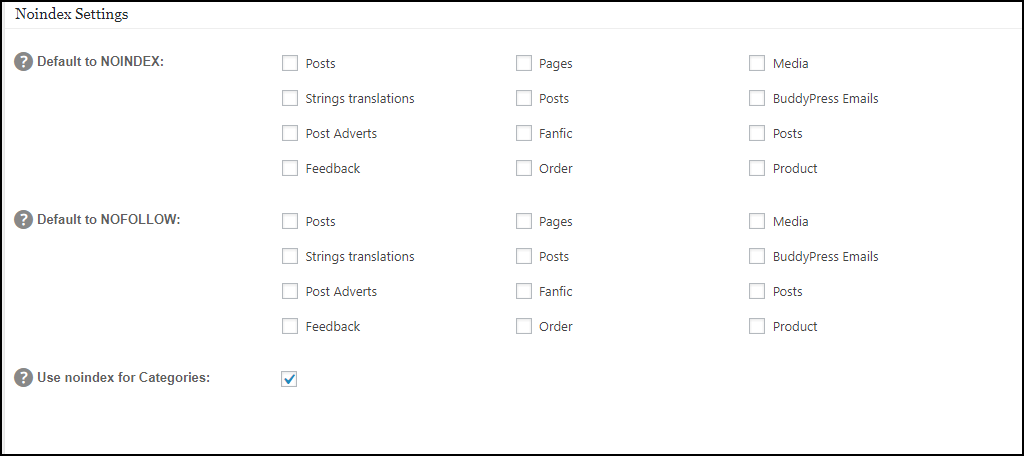
This setting focuses on your website’s indexing. This is important because many experts believe that indexing archives and categories are duplicate content and should not be done. Since duplicate content is considered harmful to SEO, it is best not to index, but at the same time, important or popular archive pages are quite useful to visitors. You must consider what is best for your website’s visitors before deciding, but be aware you can change these settings at any time.
Advanced Settings
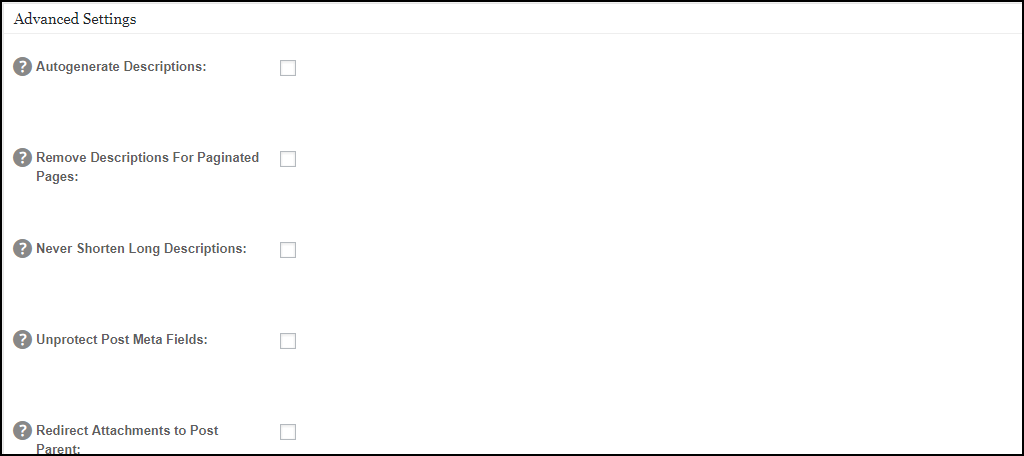
This section should only be touched if you are very experienced and understand SEO and website development. Nothing is enabled by default and unless you know what you are doing I would encourage you to leave it that way.
Keyword Settings
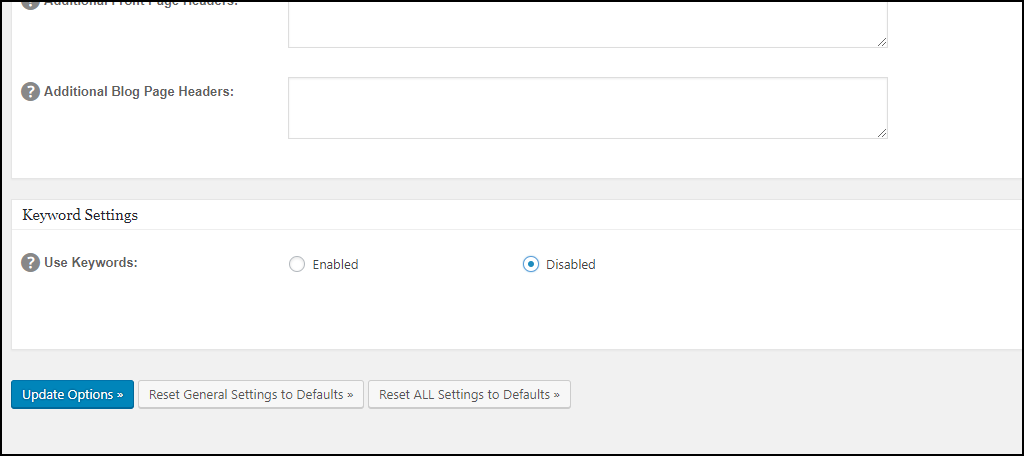
Last, but not least, is the Keyword Settings. There is only one option that is disabled by default. Feel free to enable it if you desire, but most experts believe there is little benefit to using meta keywords.
Keep Your Settings Up to Date
There are many settings that can be changed freely, but remember to always put your visitors first.Your website is not made for search engine bots, it is made for real people and if you feel like you wouldn’t like the way your website looks or behaves, chances are neither will they. Ranking highly is pointless if your website is not visited and if you don’t have good structure and content your site will fail.
Did you feel overwhelmed by the number of settings available in this plugin? How many settings did you end up changing from default and why?
