
Making sure spelling and grammar are correct is an important part of delivering quality content. Unfortunately, it’s incredibly difficult to stay on top of all the rules in regards to specific styles of writing.
That’s when you use a WordPress spell check and grammar function.
Even some of the most talented writers need help tightening their work now and then. A tool to help you deliver more clear and precise work can be monumental for engaging an audience.
In this article, we’re going to show you how to find grammar mistakes and use spell check to clarify your work. After all, you don’t want your visitors to get the wrong impression about what you’re trying to convey.
Why should you use a spell check and grammar feature?
When you’re trying to deliver information to prospective readers, you want to be seen as an expert. It’s the professionalism of your work that can resonate within someone. When words are misspelled or incorrect grammar is used, it takes away from that ambiance.
Having clear grammar can also make vast differences in understanding a piece of content. For example, take a look at the comma use in the following two sentences:
- Let’s eat, Mom.
- Let’s eat Mom.
As you can see, the sentence takes on a whole new meaning when you’re missing a simple comma.
Setting aside cannibalistic tendencies, it’s easy for good sentences to become something completely different when words are misspelled or bad grammar is used. This is why proofreading capabilities are quite useful when writing content.
Installing a WordPress Spell Check and Grammar Checker
For this tutorial, we’re going to use the Spelling and Grammar module in the Jetpack plugin. This is only one tool out of many that are available through Jetpack. Originally, this module was a stand-alone platform for WordPress. However, it is no longer necessary to install since Jetpack has long since incorporated TinyMCE Spellcheck into its own plugin.
Jetpack is a collection of the most common tools in WordPress. Each module can be turned on or off depending on your needs. The only drawback to using Jetpack is that you have to create an account on WordPress.com. However, this is free and gives you access to all kinds of nice features for your site.
Many installations of WordPress will come with Jetpack already installed. If you don’t have it, you can install Jetpack as a plugin. Simply go to the plugins area of WordPress and add the new plugin, “Jetpack.”
After installing and activating Jetpack:
Step 1: Click the control on the top left side of your WordPress admin panel labeled, “Jetpack.”

Step 2: Under the Jetpack control in the left admin panel, click the settings link.
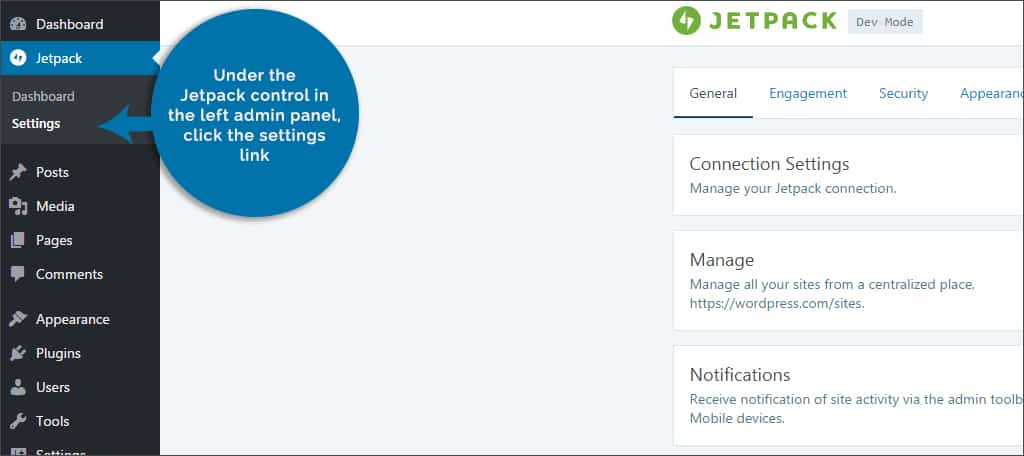
Step 3: In this settings window, find the link on the top for “Writing” and click it. It should be the last one in the list.

Step 4: This will show you all of the current modules available for writing. Scroll down until you find “Spelling and Grammar.”

Step 5: Click the slider on the right-hand side of this module to activate it. It will be blue if it is already turned on.
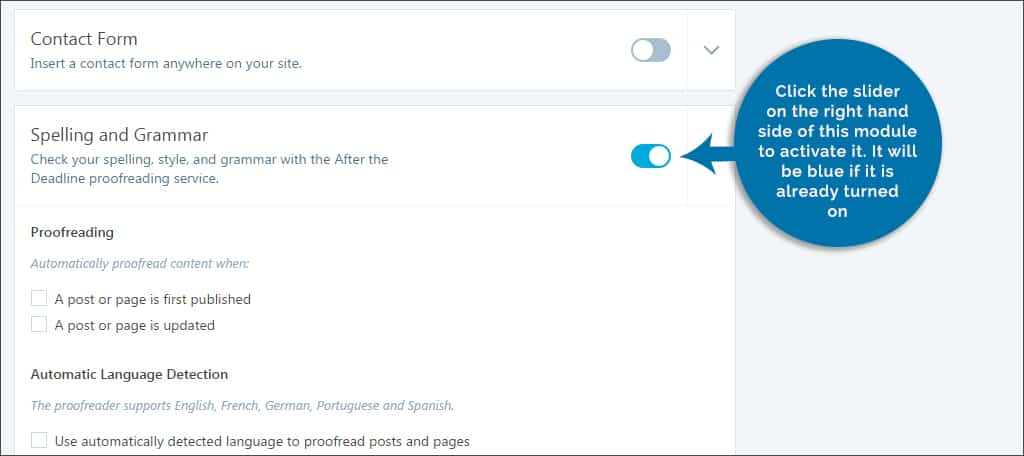
Step 6: Click the name of the module to expand the settings of Spelling and Grammar.
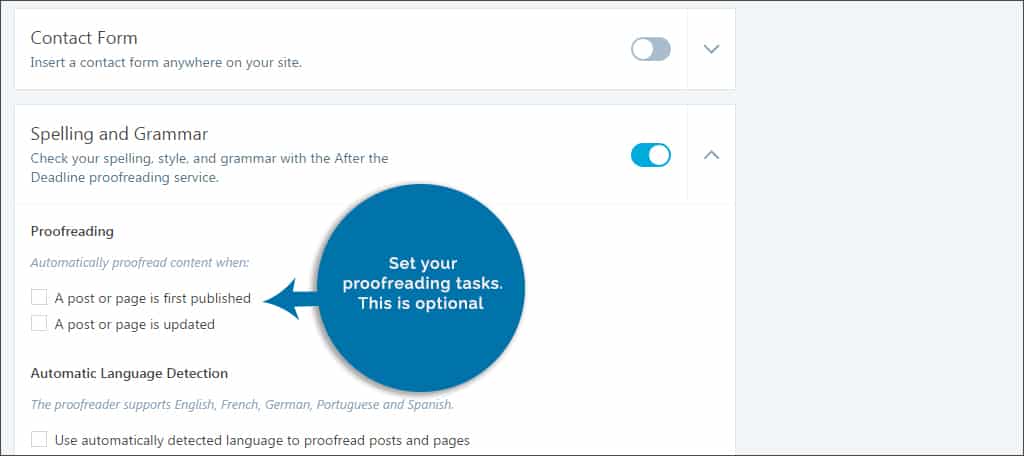
Step 7: Set your proofreading tasks. This is optional. You can choose to let WordPress proofread your material when a post or page is published or updated. However, the spell check button will still be available in the WordPress editor regardless.
Step 8: Jetpack can autodetect certain languages when proofreading. By selecting this box, the system will use supported formats for languages like French, German and Spanish. Choose this option if you write in other languages on your site.
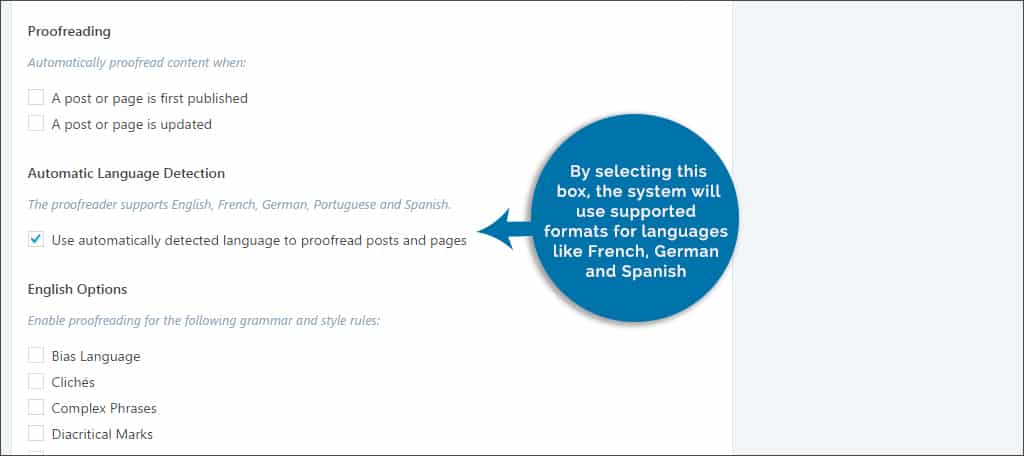
Step 9: Set your English options. This is where the module shines. You can set WordPress to look for the most common problems in terms of grammar. Passive voice, double negatives, jargon and even phrases to avoid can all be scanned. Select all that you want the system to cover.

Step 10: Set the phrases you wish to ignore. Some phrases may not be grammatically correct but you want to use anyway. Put these phrases in the text box provided.
Step 11: Click the “Save Settings” button on the bottom right.

Step 12: Edit or create a new post or page.
Step 13: In the visual editor of the WordPress post or page, you’ll see a new button with “ABC” and a check mark. That is your proofreading function. At any time you can click this and WordPress will scan through the document. If you click on the “Text” tab of the editor, you’ll see a button called, “proofread.” This is the same tool.
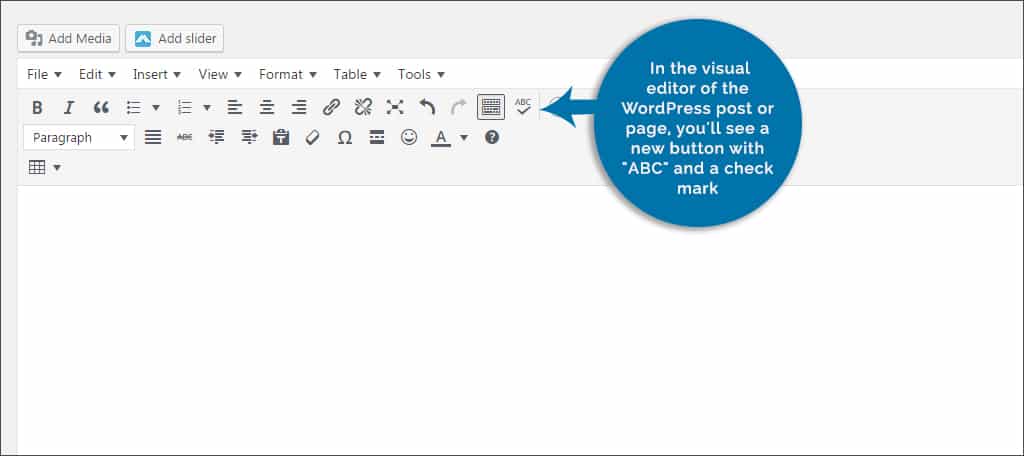
When you proofread the post or page, WordPress will highlight errors and fixes using a color-coordinated function. For example, misspellings will have a red underline while grammatical fixes will be underlined in blue or green.
Each function of the spell check will have a different color and may help you write better content as you learn the key differences.
To edit the content to make fixes, simply click on the word. WordPress will open a new small window that will give you options regarding how to proceed.
Once all of your edits are complete, click the “edit text” button that replaces the proofreading one. After that, you can save your work as normal.
Using PrePost SEO
PrePost SEO is a nice tool to have as it does a wide scope of things for your content to succeed. It has a built-in spell check as well as grammar scanning. You can also check your material for plagiarism and how the content scores according to search engine optimization.
PrePost SEO can be added by going to your plugin area of WordPress, adding new and then searching for it by name. Once you have it installed, you’ll find a new tool on the left admin panel in WordPress labeled, “PrePost SEO.”
To use this tool, you’ll need an API key directly from the developer. This is a free account that limits you to 500 queries regarding your website. You’ll then have access to reports generated by PrePost to give you insight about how the content looks from a search engine perspective.
Once you sign up for an account, the system will give you an API key that you place in the plugin’s control setting on the left.
Other Grammar and Spellcheck Plugins
Just Writing
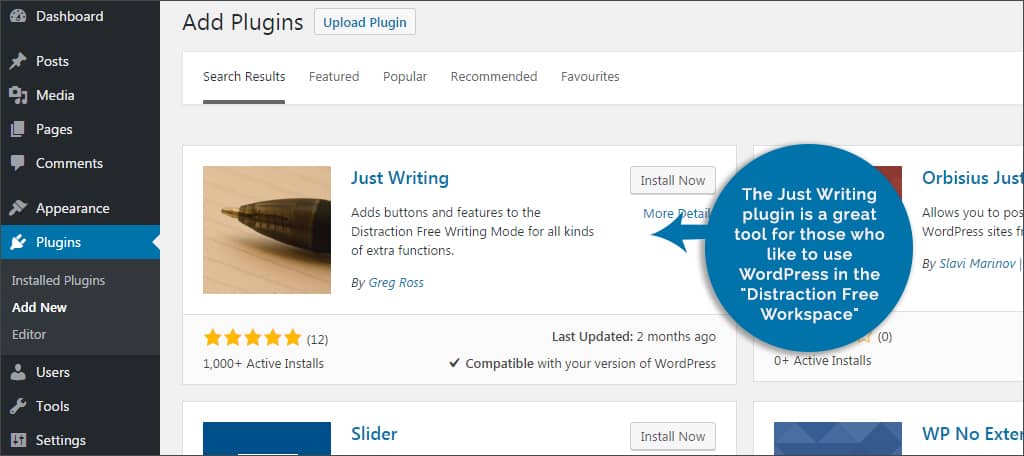
The Just Writing plugin is a great tool for those who like to use WordPress in the “Distraction Free Workspace.” It adds all of your most used tools including the ability to spell check your work. In some ways, it behaves much like the TinyMCE Advanced plugin by adding the most common word processing commands.
Atomic Writer
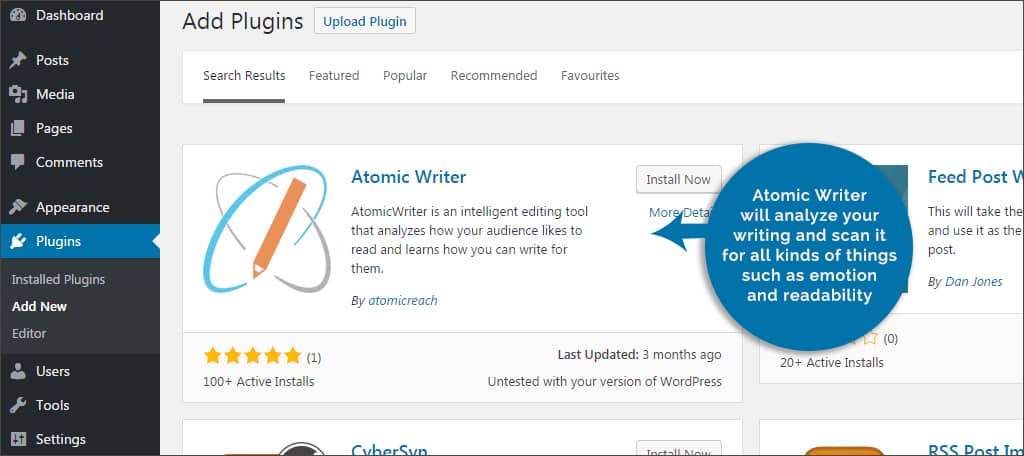
Writing content for your target audience can be hit and miss sometimes. Atomic Writer will analyze your writing and scan it for all kinds of things such as emotion and readability. It will help you determine the most efficient language to use on your site by analyzing all of your content.
WP Spell Check
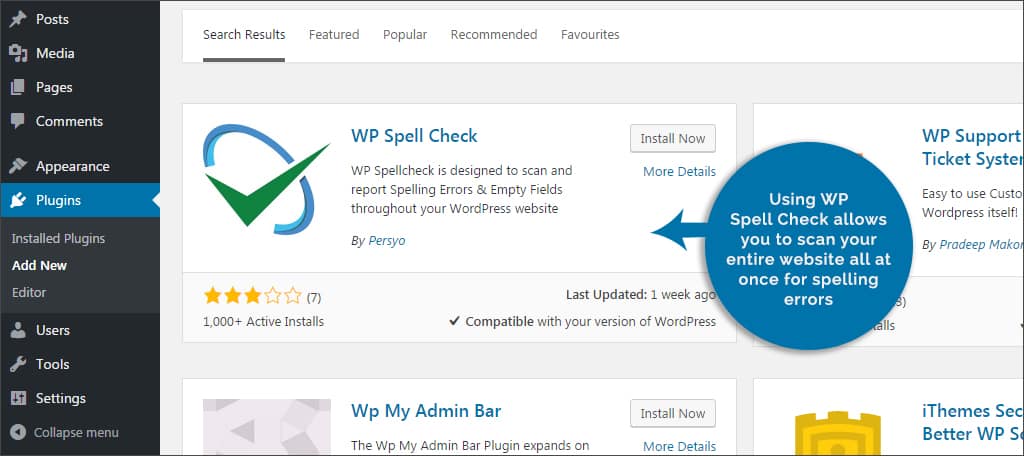
Using WP Spell Check allows you to scan your entire website all at once for spelling errors. Unfortunately, the free version only allows for up to 500 posts and pages. You would need the premium version to scan the site entirely. This may be good or bad depending on how much content you have.
Using a WordPress spell check plugin can save you a great deal of time and embarrassment when developing your content. Although you may try your best to avoid errors, sometimes things can get through. Keep your content tight and use tools that will boost your success. You may find your visitors spending more time on your content than they have been.
What kind of tools do you use to write content in WordPress? How often have you come across spelling or grammar errors in past posts?

So does things like social media activity now count for
search engine optimisation? I read they do after the Panda
algorithm refresh
p.s Don’t take advice from the Warrior Forums haha
Hi Vanita,
Yes, social media does influence search engine ranking. Here’s an article that we wrote as to the importance of Social Media.