Want to work on your WordPress website without logging in on a browser? In some situations, an app may be more ideal for editing the content. Using the WordPress desktop editor is often a good choice under certain circumstances.
The application gives you control over your content, updating plugins and even responding to visitor comments without actually accessing the site itself. It’s all self-contained on your computer system.
And to top it all off, the app is available for Windows, OSX and Linux.
In this tutorial, I’ll show you how to use the WordPress desktop client to manage your self-hosted websites.
Installing Jetpack
Jetpack is a multi-functional plugin you can install for free. It’s used to connect your website to the WordPress.com platform. This is a free service, and it comes with a wide range of useful tools.
Install and activate the “Jetpack” plugin.
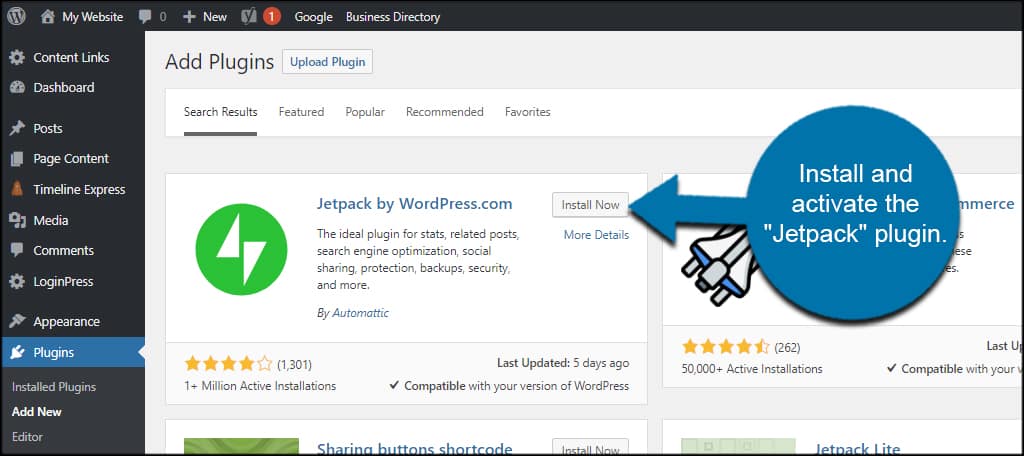
Once activated, Jetpack will load a new window to connect your site to WordPress.com. Like I said, this is a free account and comes with a variety of valuable modules such as proofreading, social links, lazy loading and visitor statistics.
Click the “Set up Jetpack” button on the screen.
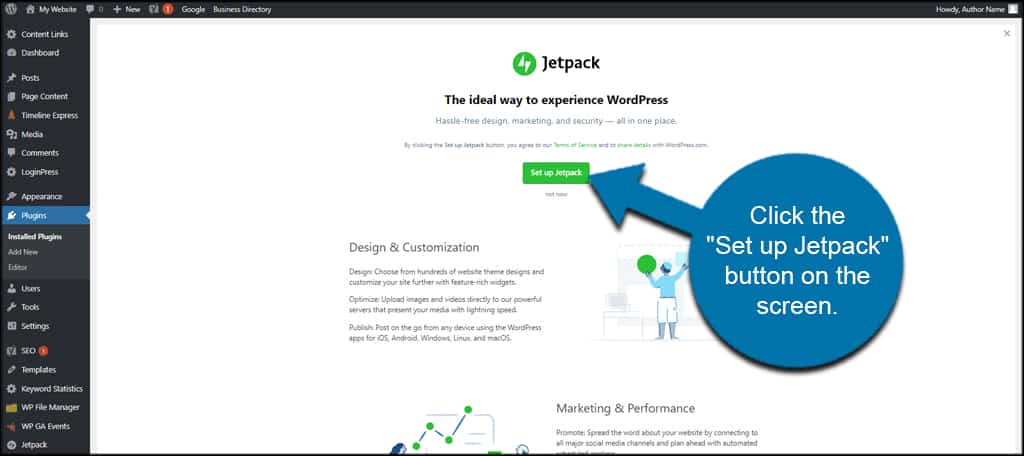
Go through the process of creating a new account. You can also use your existing account if you already have one at WordPress.com.
If you’re creating a new account, make sure you choose the “Start with free” option.
Once this is all complete, you should be redirected back to your website.
Installing the WordPress Desktop App
After setting up your account, you can now download and install the WordPress app.
Go to the app’s website and click the OS button. The WordPress app download should automatically detect your operating system and show you the correct one to save. You can also click the links for various OS types if you want to install it on something else.
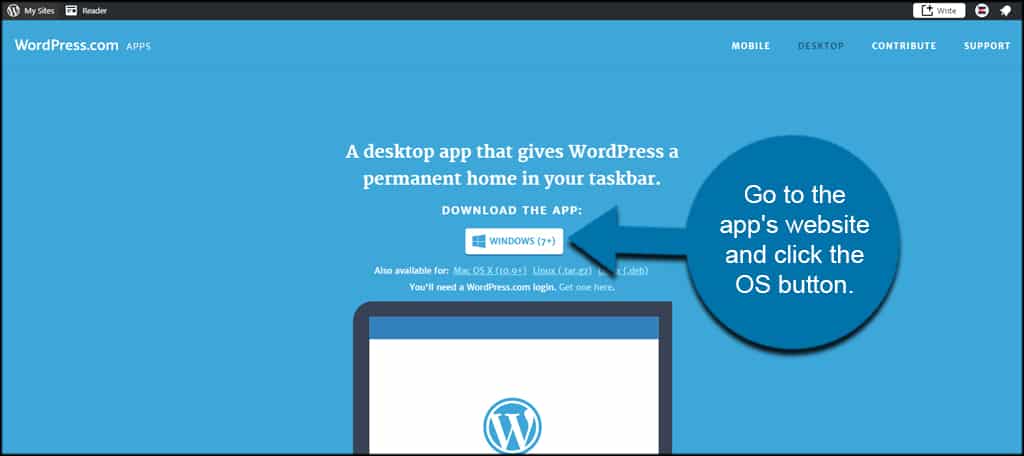
Save the installation file to your computer. I usually have things like this download to the desktop as it’s easier to find. However, where you save the file is up to you.
Install the application as you would any other program on your computer.
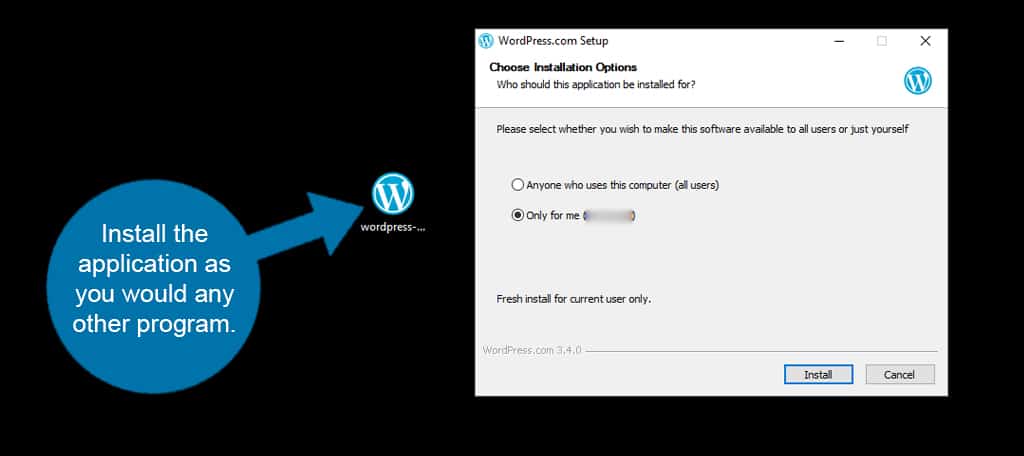
After installing the app, log in with your info from creating the WordPres.com account.
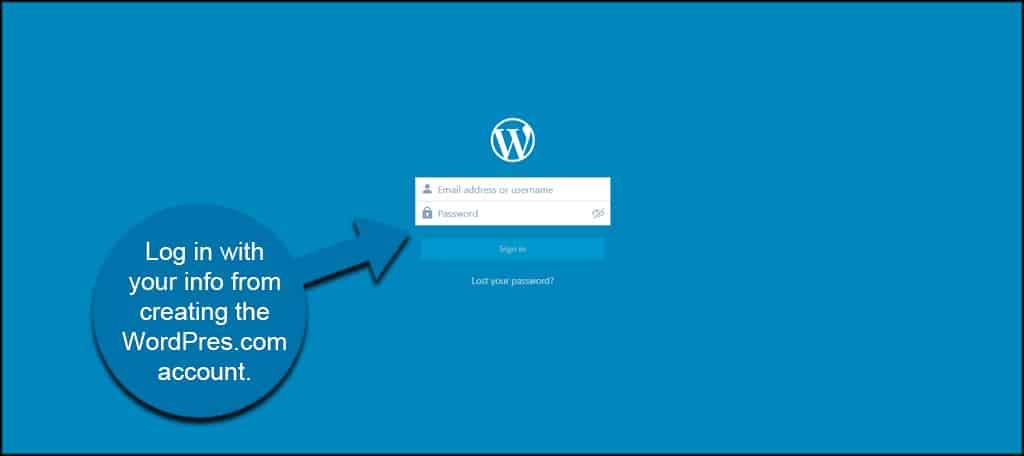
Using the WordPress Desktop Editor
By default, the WordPress desktop editor will show you any sites your account currently follows. If any of these sites produce new content, you’ll see it listed here.
Click the “My Sites” button on the top left.
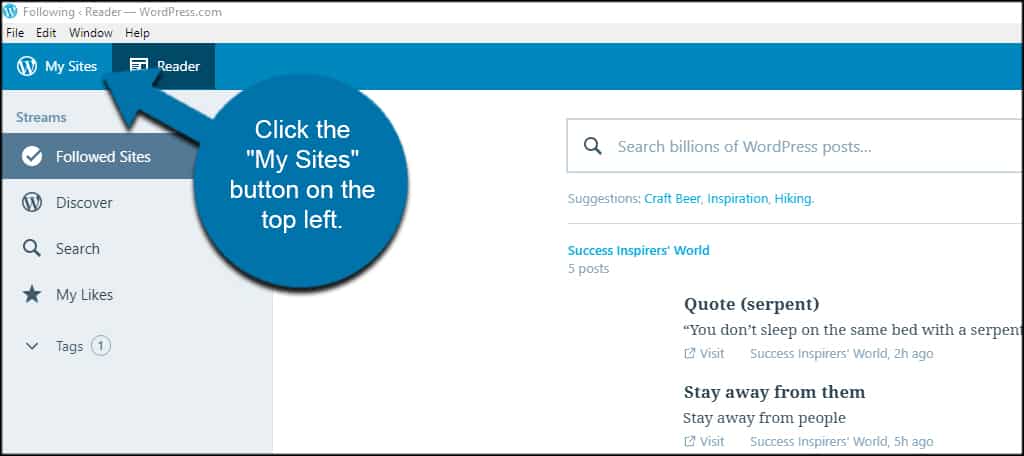
Your website name should appear near the top left. You’ll see traffic statistics in the right panel.
From here, you have all sort of control over your website. It’s important to note that some plugins you install will also have functions listed under the Manage area. For example, some FAQ plugins will be featured here.
Let’s take a look at some of the more important features under the “Manage” section.
Site Pages
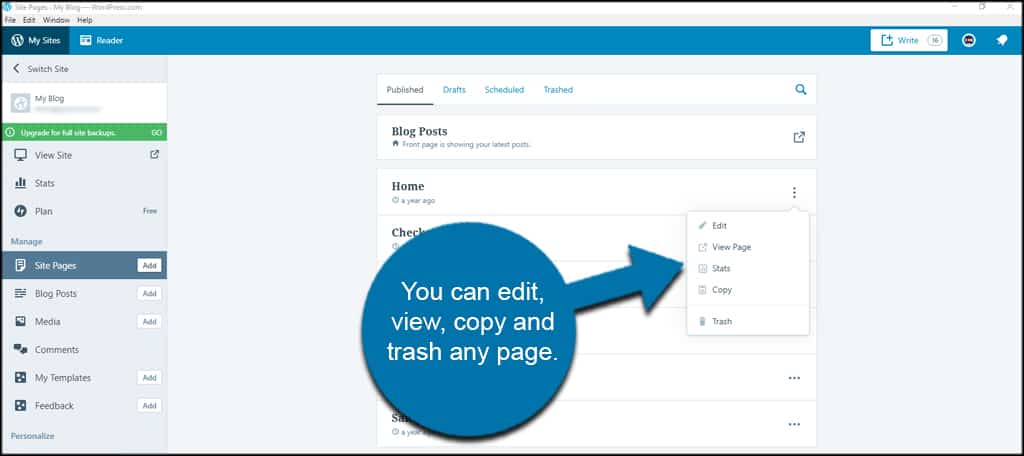
From Site Pages, you can edit, view, copy and trash any page on your website. You can also look at a specific page’s statistics such as visitor traffic.
Blog Posts
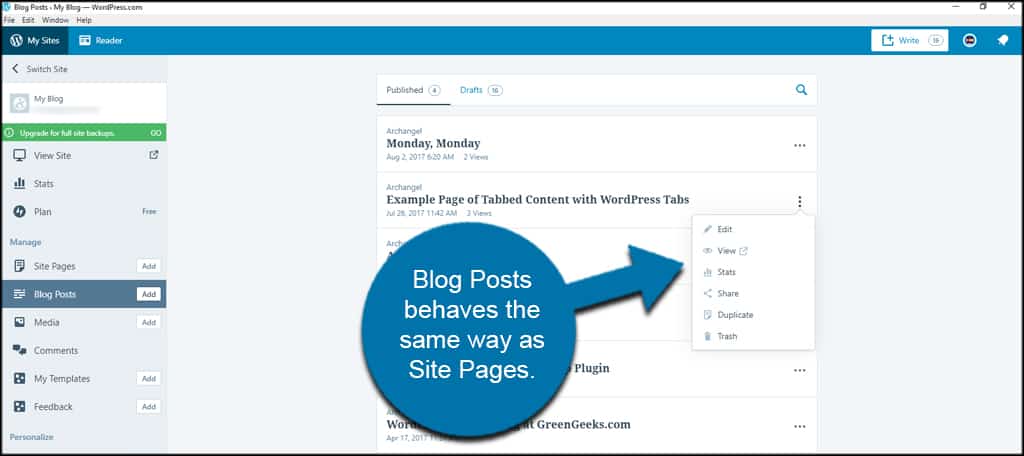
Blog Posts behaves the same way as Site Pages. The biggest difference is the ability to share your posts. If you connect social media to your website, you can send the links to your posts directly from this area.
Media
The Media area is where your images are stored. You can access any graphics, documents, videos and audio you have uploaded to your site. You can add media either by directly uploading or through URLs on the Internet.

Comments
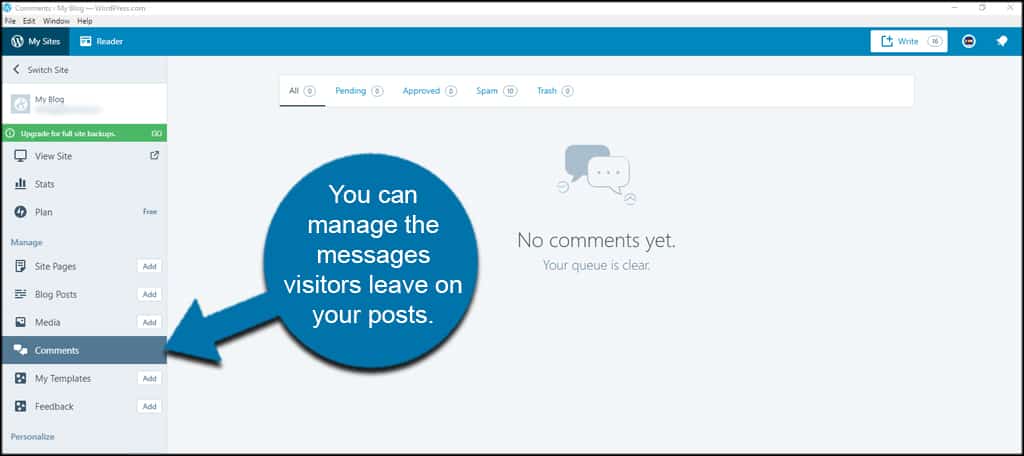
In the Comments section, you can manage the messages visitors leave on your posts. This includes approving, making them as spam or deleting any that are posted.
Feedback
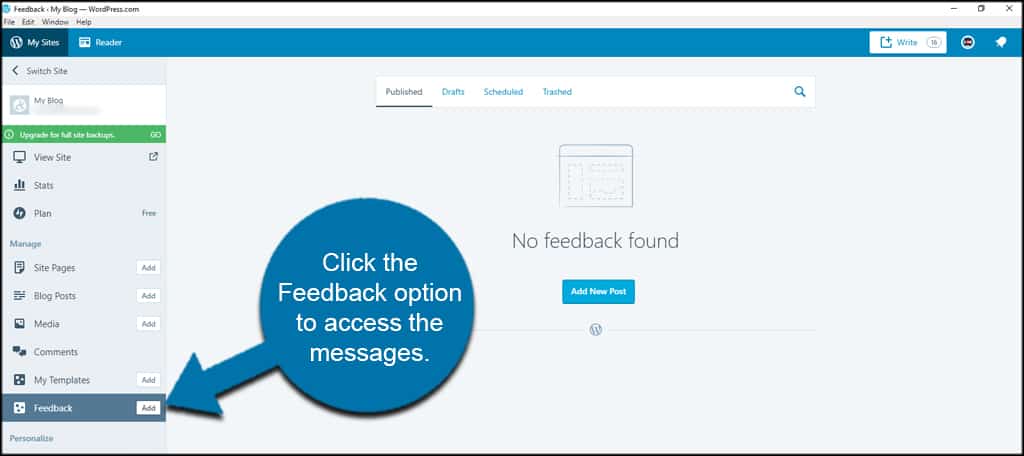
This is an optional system in WordPress. Feedback is kind of like comments for your website that are usually not public. This gives customers and users a chance to voice concerns directly to the administrator.
Click the Feedback option to access the messages.
Personalizing WordPress
Under the “Personalize” portion of the WordPress desktop editor, you’ll see an option to Customize. Clicking this will open the WordPress Customizer by loading it into a browser window. Unfortunately, this feature currently only works in a browser.
However, you can still change your theme by clicking the “Themes” button.
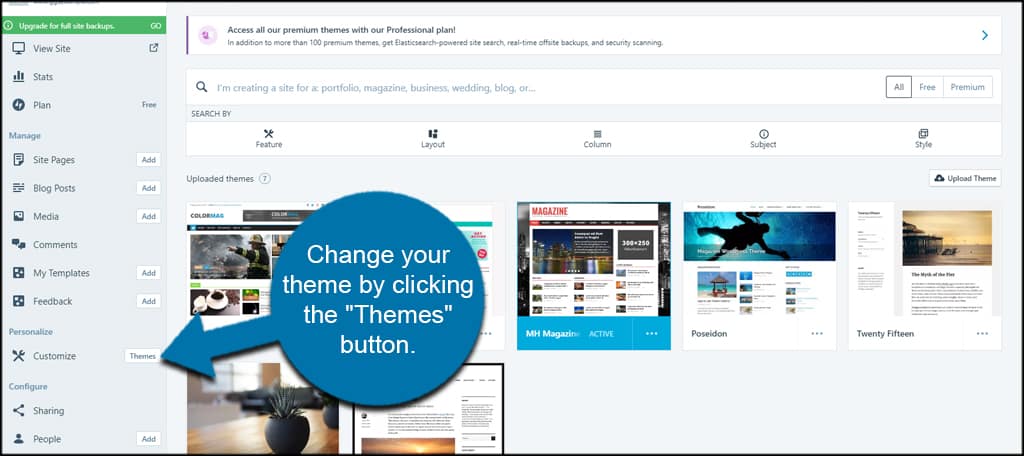
It’s also possible to search the database for new themes, upload a theme and delete old ones you have installed.
Configure
The last segment that comes with every installation of the WordPress desktop editor is the Configure area. Here is where you tighten the nuts and bolts of your website.
Sharing
You can connect several social media profiles in the Sharing area. This is one of the many features I was telling you about that comes with Jetpack.
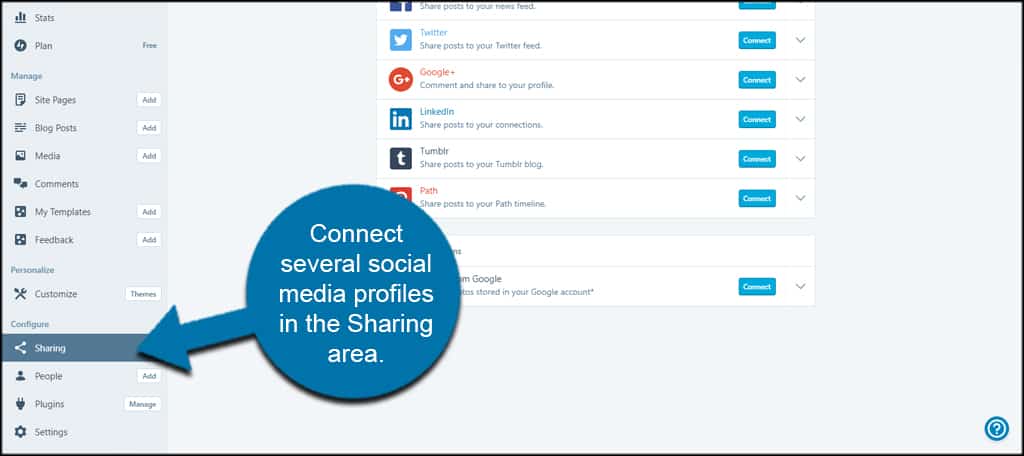
For example, let’s say you connected Twitter and Facebook. Any time you post content, it will automatically send the link and featured image to those sites.
Think of it as a time saver for keeping your social accounts active with new material.
People
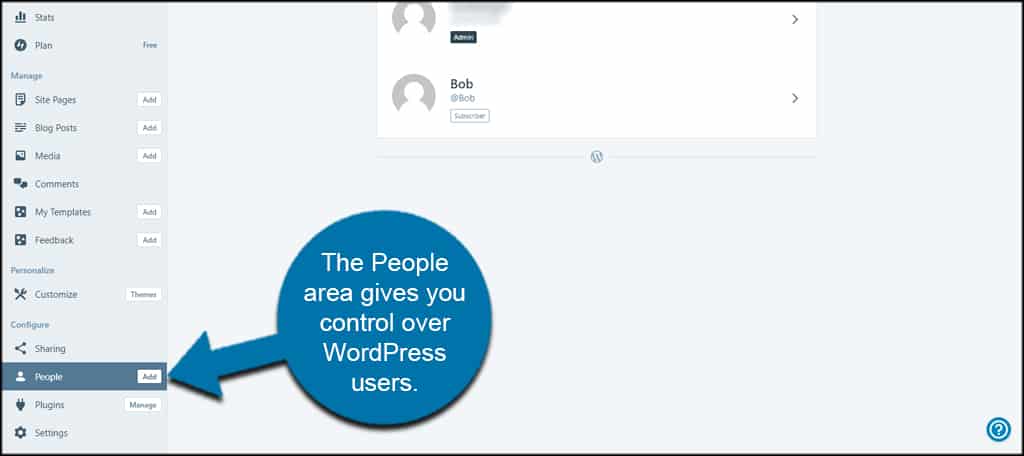
The People area gives you control over WordPress users. You can also invite new members as well as view blog and email followers.
Plugins
From this interface, you can quickly manage your plugins. This includes adding new tools as well as removing old ones.
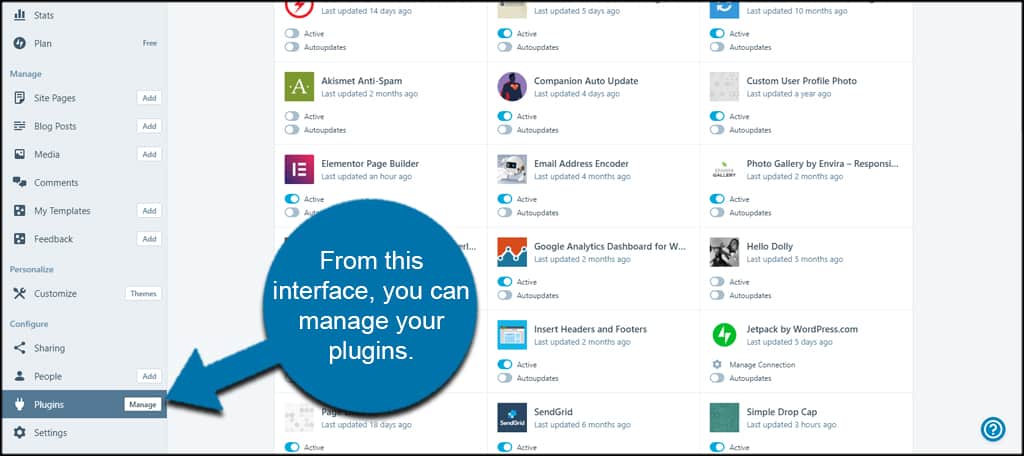
One thing I’d like to point out is how auto updates for plugins works in the WordPress desktop editor. You can set specific plugins to update automatically by turning on the “switch” under each. You can also enable this in bulk.
This means you can ensure your website is using the most current plugins released by developers. This can be very useful by improving the security of your website.
Settings
The Settings section controls how your site operates. Everything form the name of the site to traffic and security are governed here.

I should also point out how the “Tools” segment of WordPress is located in the General Tab of this settings page. This way, you can access any site tools you have installed, such as import and export.
In the browser-based version of the WordPress admin screen, Tools is in a section of its own.
Adding a New Site
The WordPress desktop editor lets you connect many sites to a single app. This means you can control a wide range of content without closing the program. For those who have several self-hosted WordPress sites, this is a nice feature.
To add a new site, click the “Switch Site” tool on the top left.
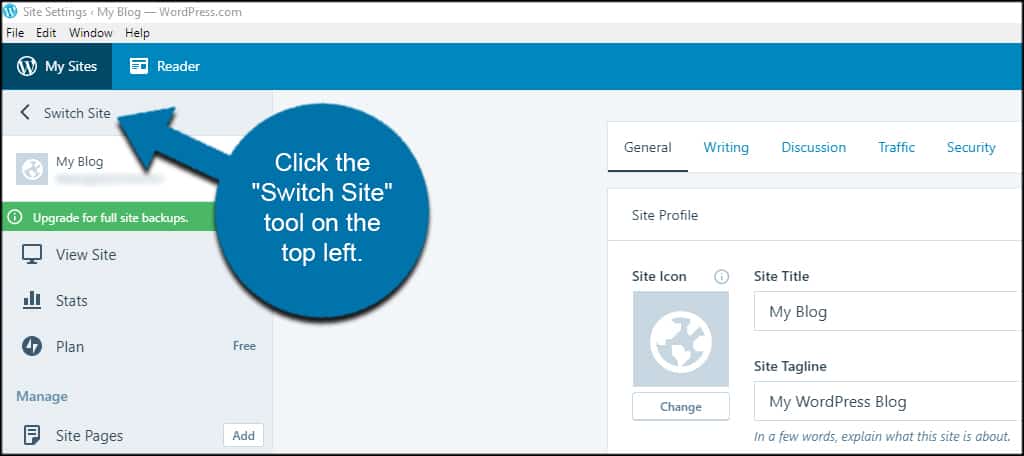
You’ll see a list of the sites you currently have connected with WordPress.com.
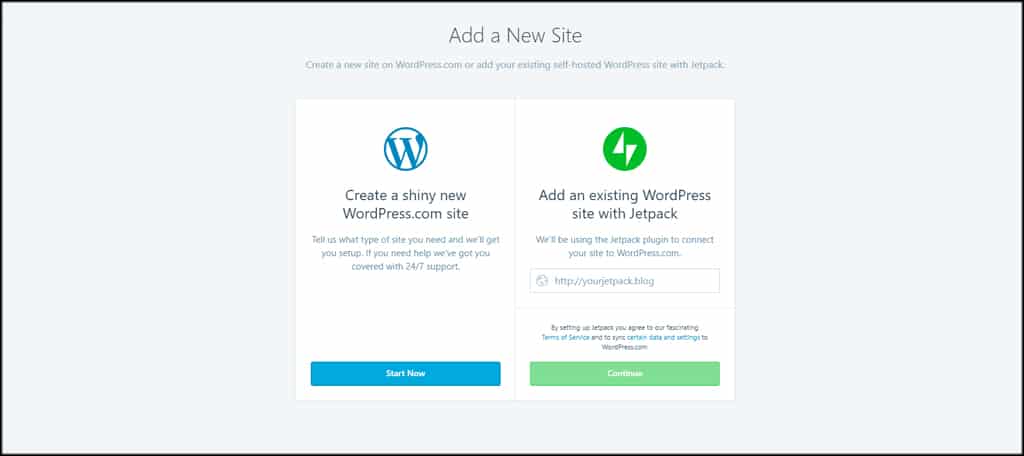
Click the “Add New Site” button on the bottom.
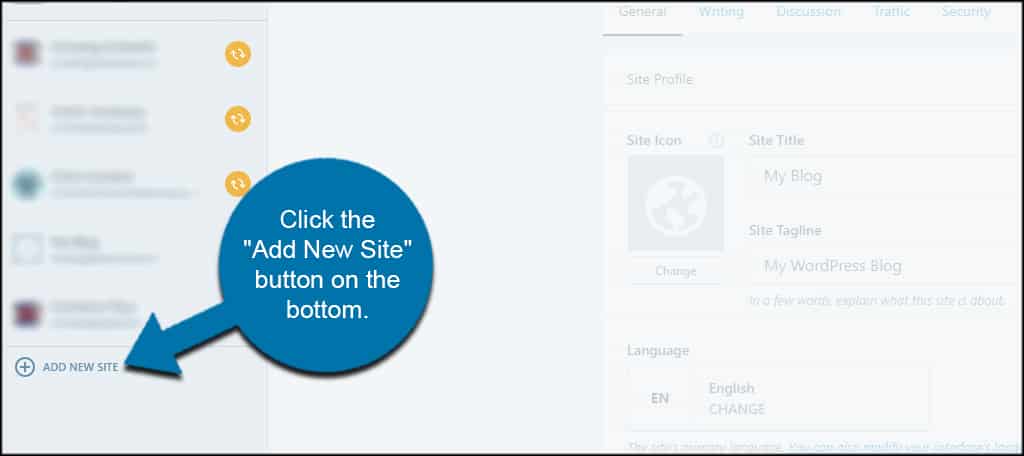
From here you can choose to create a new WordPress.com website or add an existing WordPress site that has Jetpack installed.
What kind of drawbacks are there to using the WordPress desktop editor?
Although this app is great, especially for beginners and basic users, it does have a few drawbacks.
For instance, you won’t have access to things like Yoast SEO content scoring when writing your posts. Custom fields and options are unavailable through the WordPress desktop app as they were designed specifically for browser-based use.
While most plugins will still operate as they were intended, you will probably come across a few that won’t work in the WordPress desktop app.
Explore the WordPress App for Yourself
The only thing you have to lose by using this app is time. It’s a free program that connects with a free account. And with all of the features available, it may be something that can free up your time as well.
If nothing else, it has a great system for tracking visitors and monitoring how others view your site around the world.
What kind of external apps do you use to manage WordPress? How many WordPress websites do you manage during any given week?
