An important aspect to building a successful online store is customizing the catalog. After all, you’ll need to add things like categories and optimized images if you want to enhance success. Customizing the osCommerce catalog is relatively easy and gives you control over many elements for selling goods.
Customizing the catalog gives you the opportunity to make the experience optimal for yourself as well as your visitors. For instance, adding specific categories makes shopping easier while keeping your goods organized.
In this tutorial, I’m going to show you how to customize the osCommerce catalog. With a few clicks and edits, you can adjust your products to be unique to your needs and wants.
Customizing the osCommerce Catalog
Installing osCommerce is the easiest and fastest part of setting up an online store. Today, you’re going to learn how your site generates income: by setting up categories and listing products.
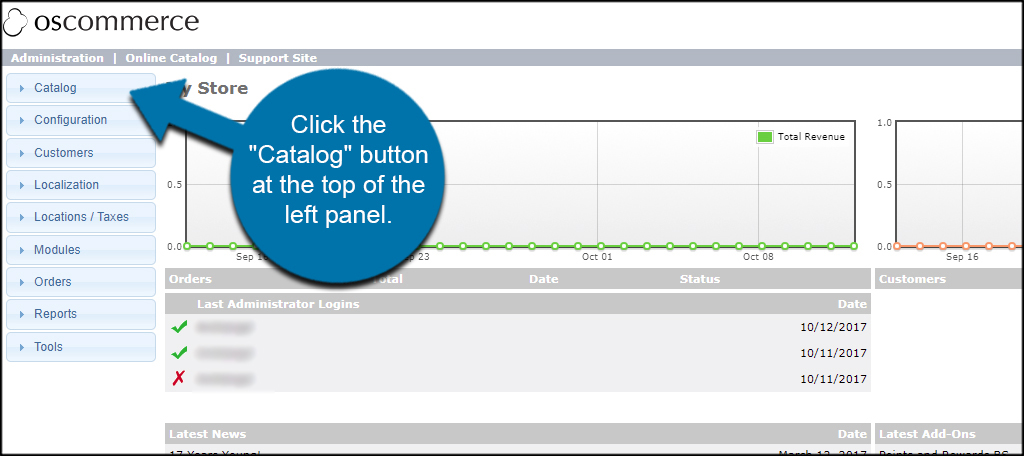
From the dashboard, click the “Catalog” button at the top of the left panel.
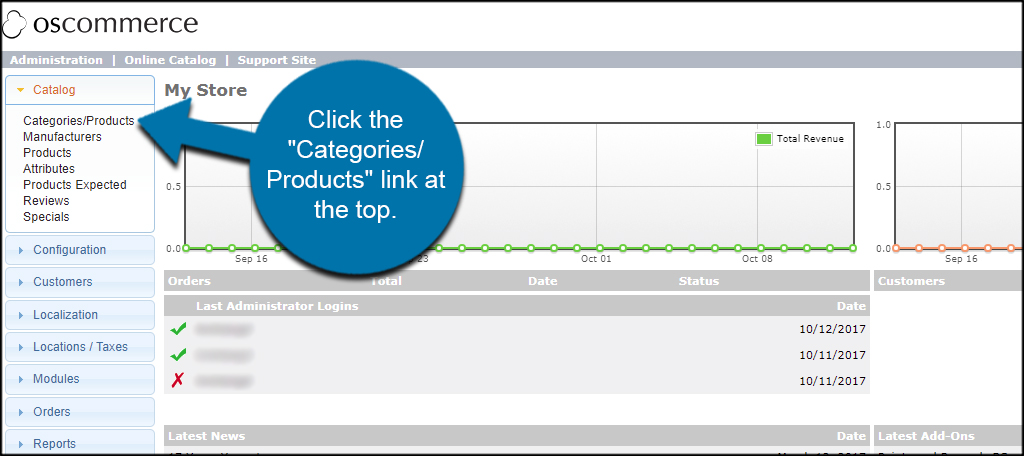
A list of features will drop down under Catalog. These are all settings you’ll need to modify to optimize your online store. You can add things like manufacturers, change attributes, include reviews and even adjust how specials and discounts work.
Go through each of these sections and modify your settings. Changes in the Catalog section are similar to how they work when changing configuration settings. Simply click on an element and edit from the right panel.
Let’s say we want to add a new category to the store. Click the “Categories / Products” link at the top.
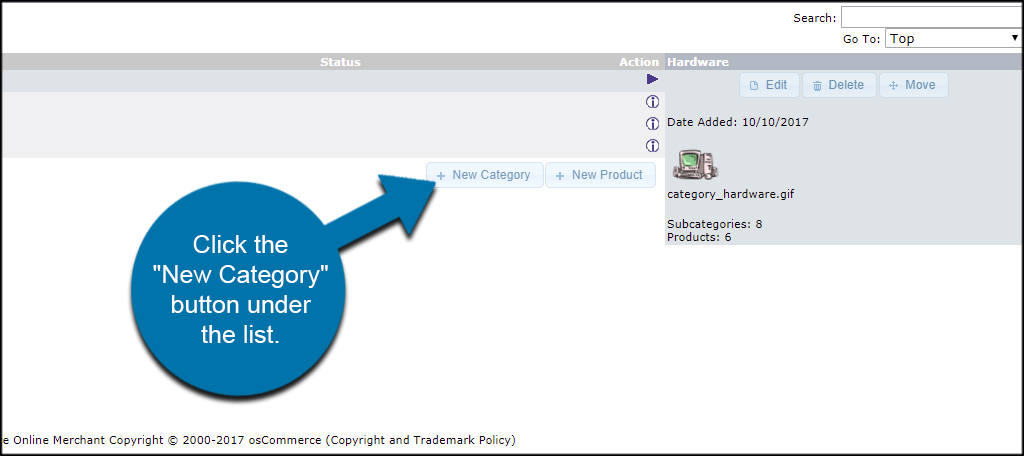
The osCommerce solution comes with several categories built into the system. You can delete this if you’d like. In fact, it may prevent your shoppers from being confused if you don’t actually carry these items.
For this tutorial, I’m going to add a new category for solar powered toys for kids. Click the “New Category” button under the list.
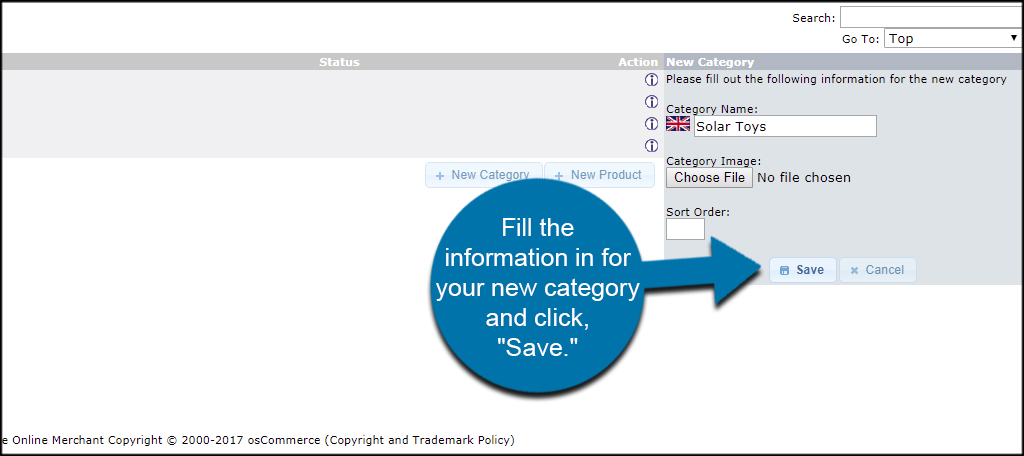
Fill the information in for your new category and click, “Save.” This will be the name, image and sort order according to your store’s hierarchy. Remember that adding a picture to categories engages consumers better.
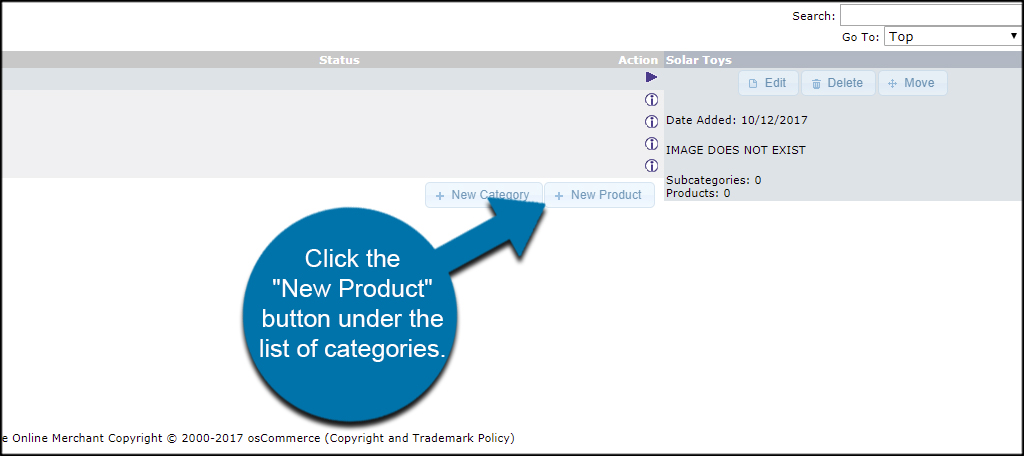
Now, let’s add a product to the catalog. Click the “New Product” button under the list of categories.
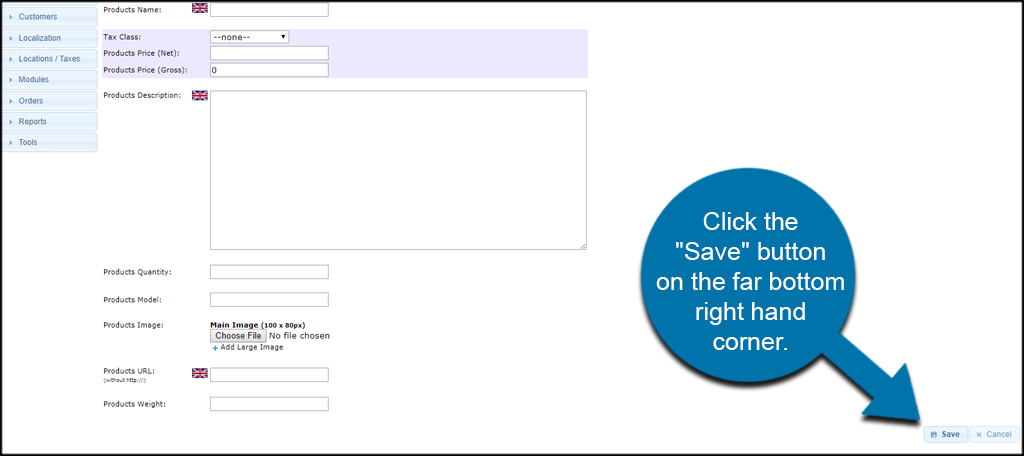
Fill in the information regarding your new product. Bear in mind that details, images and other information are vital for search as well as clarifying the item for buyers. Offer as many details as possible about the item including images that provide even further detail.
Once your item is filled out, click the “Save” button on the far bottom right hand corner.
When you save the item, you’ll be taken back to the Categories/Products page.
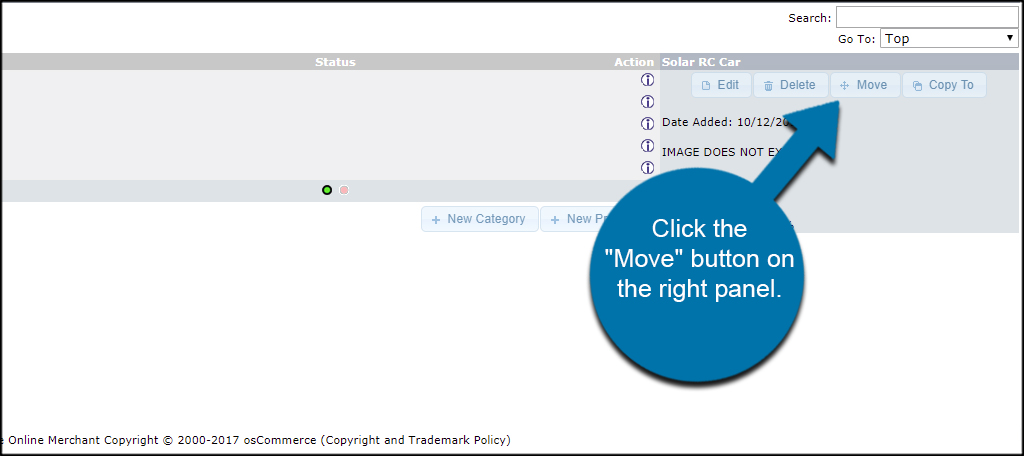
Now, you need to add the product to the correct category for optimal exposure. Make sure your new item is selected by clicking on it.
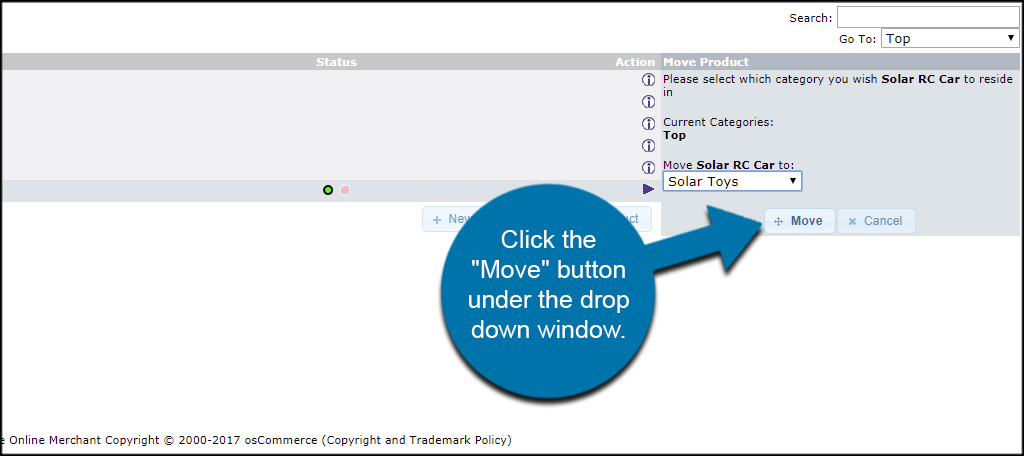
Click the “Move” button on the right panel.
Select the correct category from the drop down list.
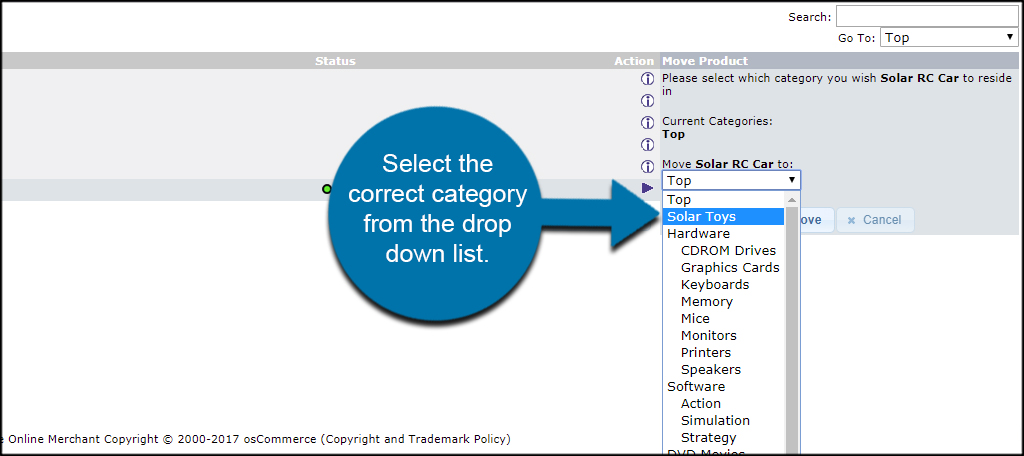
Click the “Move” button under the drop down window.
If you want to add products to a certain category without having to move it, simply double click the category from the list and then use the “New Product” button.
If you want to add sub-categories, you can also double-click into a category and click the “New Category” button the same way.
Spend Time Customizing
You have a lot of options to go through in the Catalog section. Making sure these are all set perfectly for your online store will increase your odds of success. Spend the time to change these correctly. It will affect the performance of your site.
