As websites age, the amount of content they have increases. Your content can easily get buried below your most recent posts. For this reason, many sites create an archive to show the months that content was released in WordPress.
This will act as a record for the content you release and make it simple to find. Some sites may create an entire page dedicated to showing off older content, while others may choose to place it in a widget area.
No matter where you choose to place it, adding it is simple with the right plugin. In this case, we are going to be using the Collapsing Archives plugin. It is easy to use at any skill level, which makes it perfect for beginners.
Today, I will demonstrate how to add a collapsable archive display for every month in WordPress.
The Importance of Archiving
Most websites are aiming to release new content to draw in visitors. As such, it may seem odd to try and preserve your older content that may be time-sensitive.
For example, most news articles are not exactly picking up traffic after a week or two. However, some content may be evergreen, meaning it will always be relevant, like historical data.
For this reason, archiving your content can help make it easier to find before it gets buried below all of your newest articles. This can help improve your SEO efforts because not only does it help users, but also search engine bots.
It’s also worth pointing out that many sites may go back and revamp older content. This usually involves updating for any changes in the information, like updating a tutorial in WordPress after a major update changes something.
As such, keeping this content in a location that is easily accessible is a great option. It is never recommended to delete content, as doing so can damage your rankings, thus, revamps and archives are the way to go.
How to Create A Collapsable Archives Menu
The Collapsing Archives plugin is very simple in its design. Users add the Collapsing Archives block to a post, page, or widget area, and it generates a collapsable archive. There are some basic settings for the block, but that’s pretty much it.
The block allows you to collapse by year, and then by month, but you can change what appears by editing the settings. As such, this tutorial should only take a few minutes to run through.
Step 1: Install Collapsing Archives
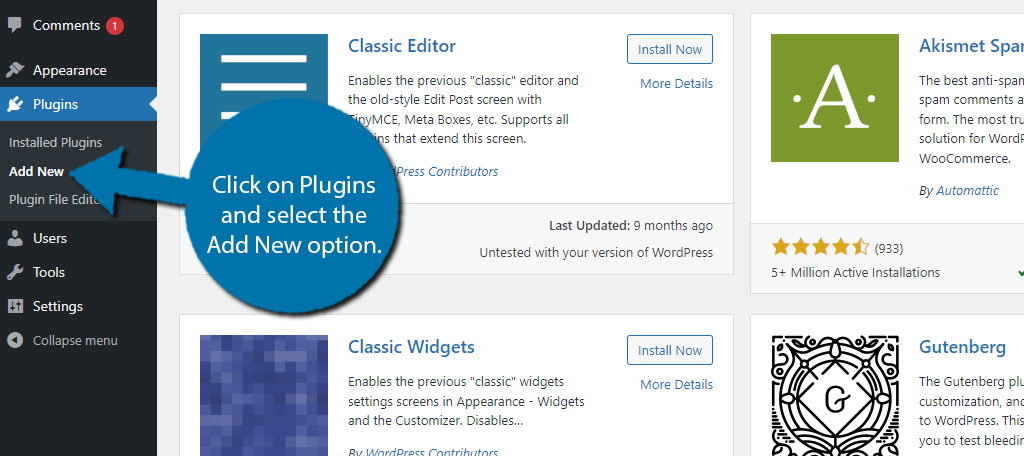
Let’s start by going to the plugins area of WordPress and click on the “Add New” button.
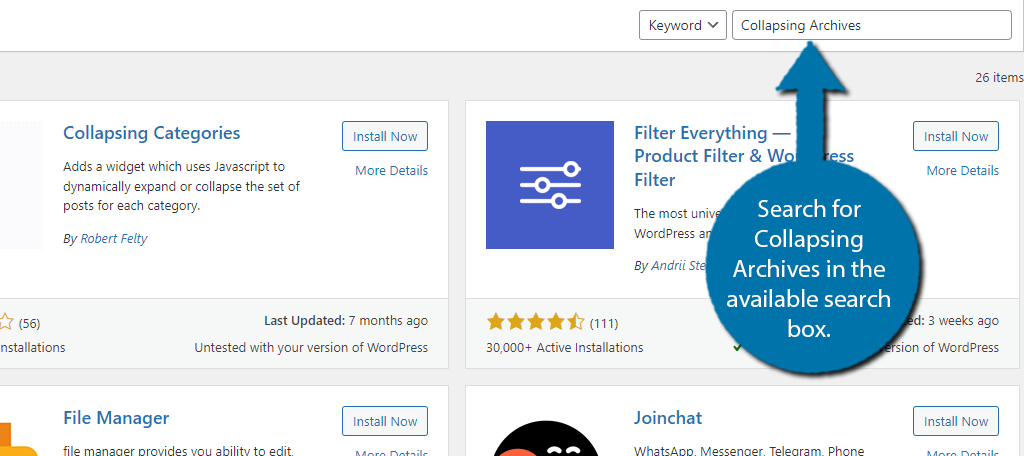
Search for Collapsing Archives in the available search box. This will pull up additional plugins that you may find helpful.
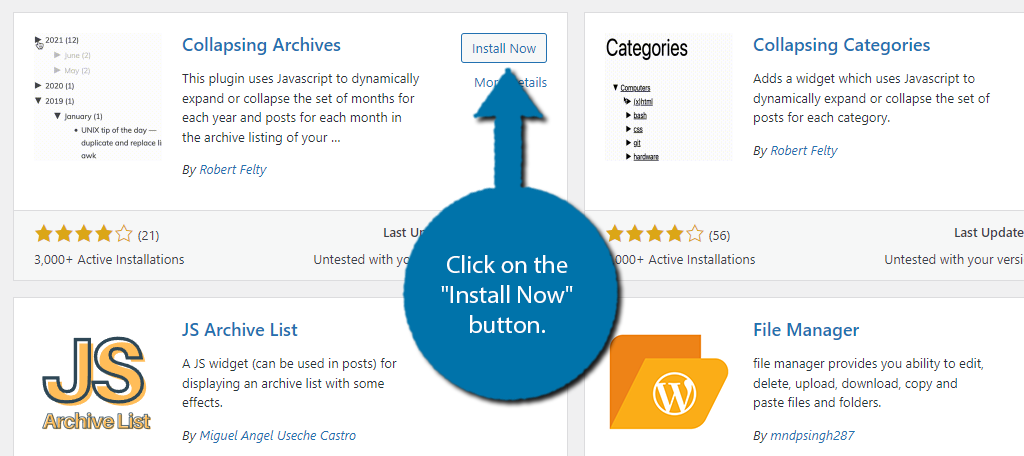
Scroll down until you find the Collapsing Archives plugin and click on the “Install Now” button.
Step 2: Add The Block
The plugin itself has no settings page, instead, you will do everything directly through the block itself. As such, you can add it to a post, page, or widget area. In my case, I am going to add it to the sidebar, but the process is identical no matter what you choose.
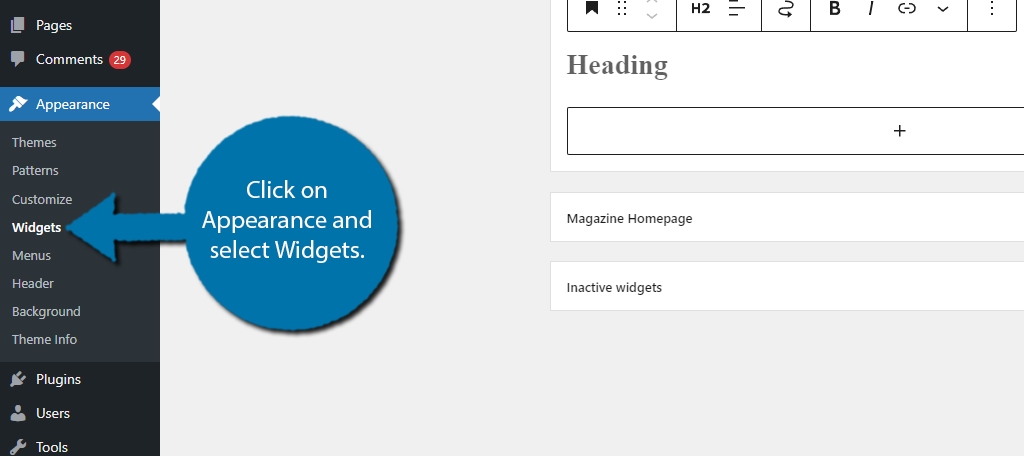
Start off by visiting the Widget area of WordPress. To do so, click on Appearance and select Widgets.
Note: If you are using a Block theme, you will have to use the Editor option to add it to a widget area.
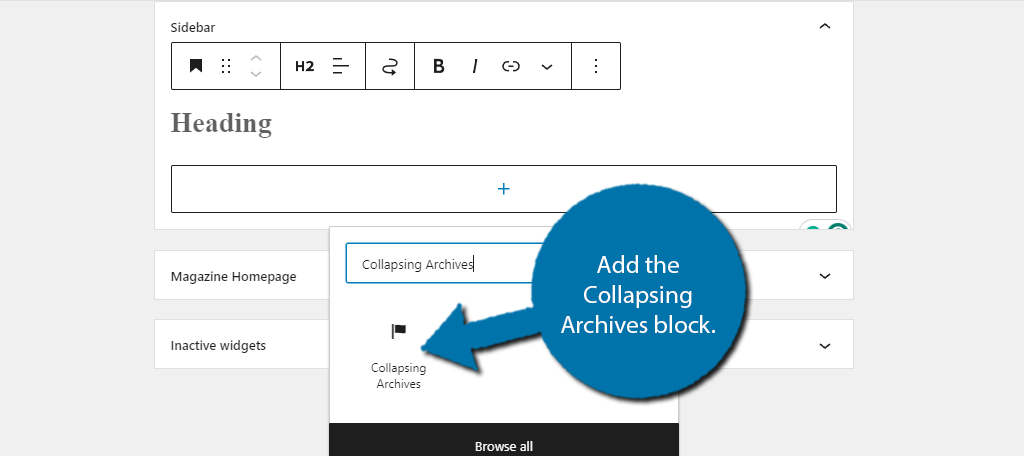
I will choose to display it in my sidebar, so I go to the Sidebar widget area and click on the “+” button. I then search for the Collapsing Archives block and click on it.
Step 3: Customize the Block
By default, the block will show you every year that you released content. Each year will display content for each month that had published content. So, for example, if in 2023, you released content in January, June, and July, you would see those three months under it.
Everything is automated in this regard, so you don’t need to configure anything really, but there are some block settings that you can use to configure a few options.
You can find these options on the right side of the screen.
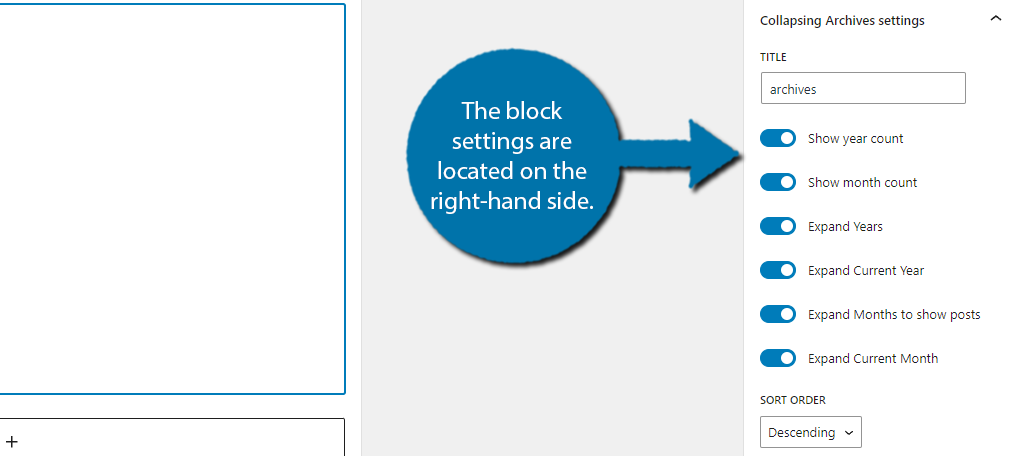
The first one is to enter a title. By default, it is “archives,” but you can change it to whatever you want or delete it if you would like to remove it. Below this is a series of switches that will toggle a variety of settings.
The first two will display a counter next to the year and month. This counter represents how many posts are within each section of the collapsable archives. The rest of the settings are quite similar and control aspects of the year and month display.
Below the switches are some sorting options.
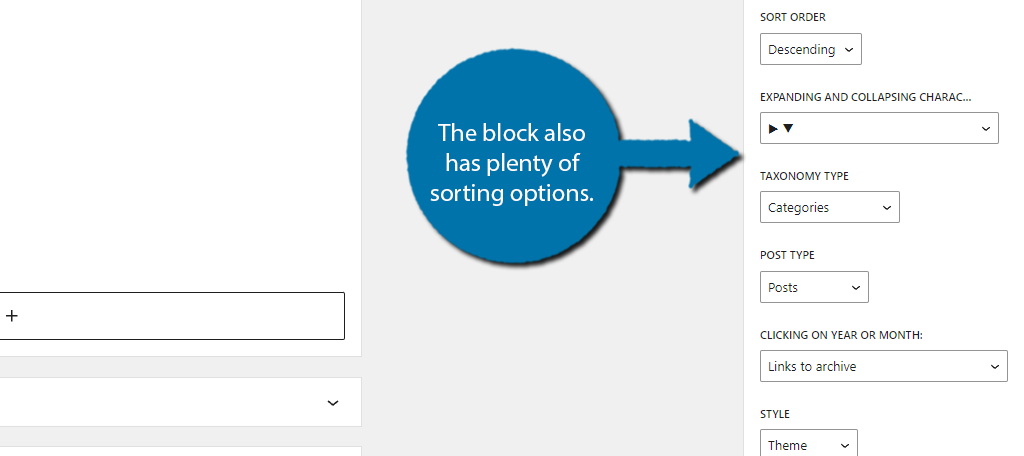
Here, you can choose the sorting order (descending or ascending) by date, the collapsing/expanding icons, taxonomy type, post type, and more. There is also a style option that allows you to use your theme design.
Of course, if you are using a custom design, the advanced settings allow you to enter your own custom CSS. That way you can decorate the block any way you want.
Simply customize the block to your liking and save the changes. Then, you can view it in action on your website.
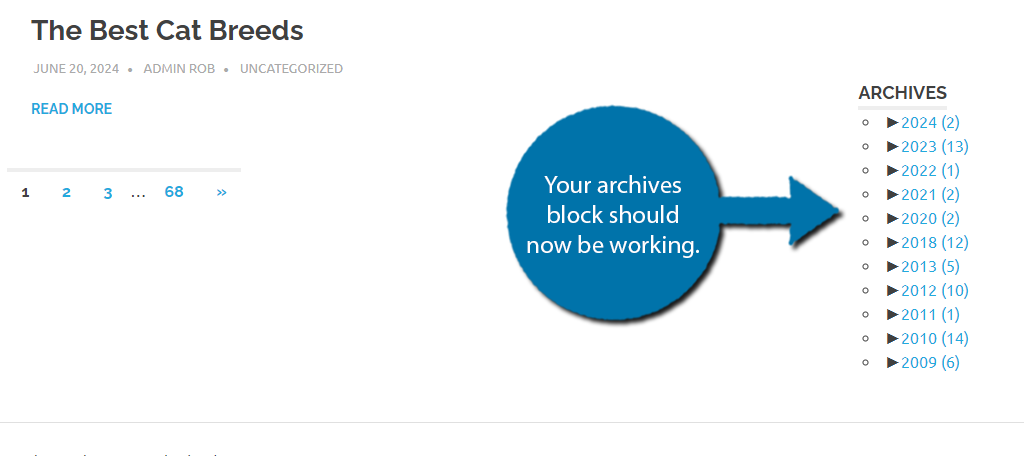
And that’s it. The plugin is exceptionally simple to use and for the most part, you don’t even need to tweak the settings if you like the default ones. That said, it is not the only option you can use.
Additional Plugins
Archiving is very popular, and many plugins have been created to accomplish this and add different customization options to websites. Here are a few noteworthy plugins I can recommend trying.
Expanding Archives
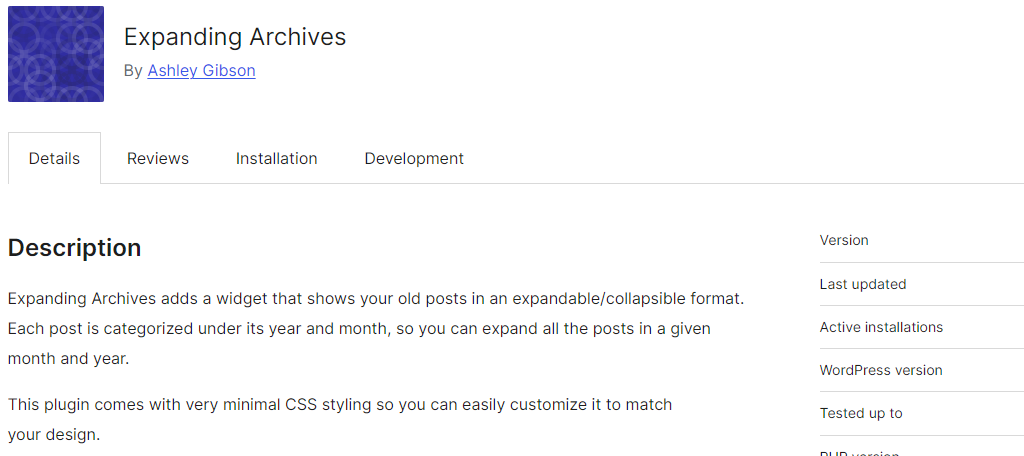
The Expanding Archives plugin is very similar to what we just covered. It adds an expandable/collapsable archives widget in WordPress. It functions nearly identically with a few settings that you can configure to alter the appearance.
The plugin intentionally comes with very few visual customization options. Instead, you can decorate it using your own custom CSS to make it match the rest of your site. It’s a great alternative archiving plugin to try.
Yoast SEO

Yoast SEO is a very popular plugin with over 10 million active installs. It is an extremely useful and easy plugin to setup on your website. It does not directly deal with creating archives, but it ensures that the ones you are creating are optimized for SEO.
SEO is one of the most important areas that website developers need to constantly improve, and this plugin will help you every step of the way. Making sure your archives are SEO-friendly is very important as they create a lot of links.
Keep Your Website Archived
As you can see, it is very easy to create an archive system that displays the years and months in WordPress. Doing so can help improve site navigation and improve your website’s rankings if done correctly.
Displaying an archive that can show the months and years content was released on your WordPress site can help users figure out your release schedule and quickly find the content they are looking for.
I hope you found this tutorial helpful in learning how to add a collapsable archive in WordPress for months and years.
Have you noticed an uptick on older content since adding an archives block? Did you find the plugin easy to use?

