Memcached is a system that improves performance by speeding up how database websites deliver information. It works by caching various bits of data and reduces how often the site has to make calls to external sources. In other words, it makes platforms like PrestaShop work much better over the long-term.
PrestaShop working with Memcached servers makes the speed of the site better for both users and search engines. After all, systems like Google hold fast websites in higher regard meaning they will perform better in search results. It’s all part of good SEO.
Today, I’m going to show you how to configure PrestaShop to work with memcached. You’ll need to know your server’s information in order to set this up correctly.
Enabling Memcached
PrestaShop already comes with Memcached installed in the system. However, it is disabled by default simply because it needs information regarding the server before it is of any use.
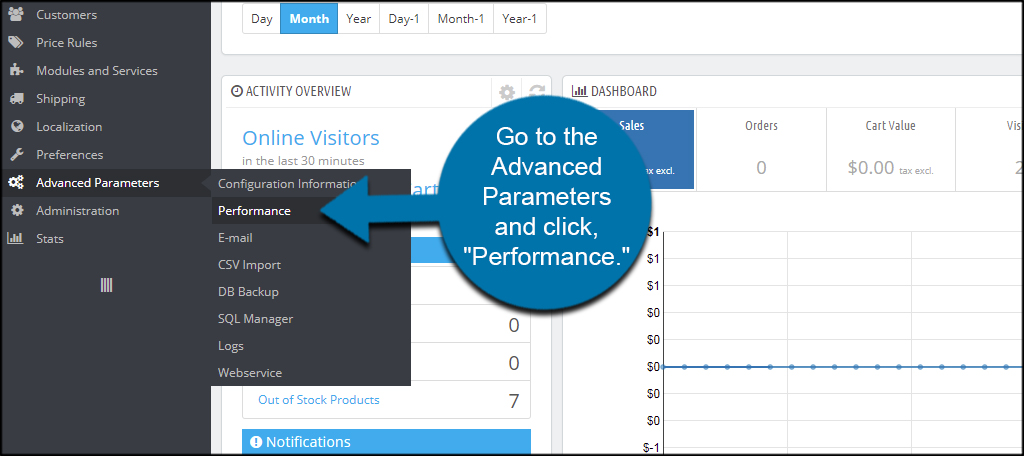
Go to the Advanced Parameters and click, “Performance.”
Scroll down to the very bottom of the Performance page. Click “Yes” for the Use Cache option.
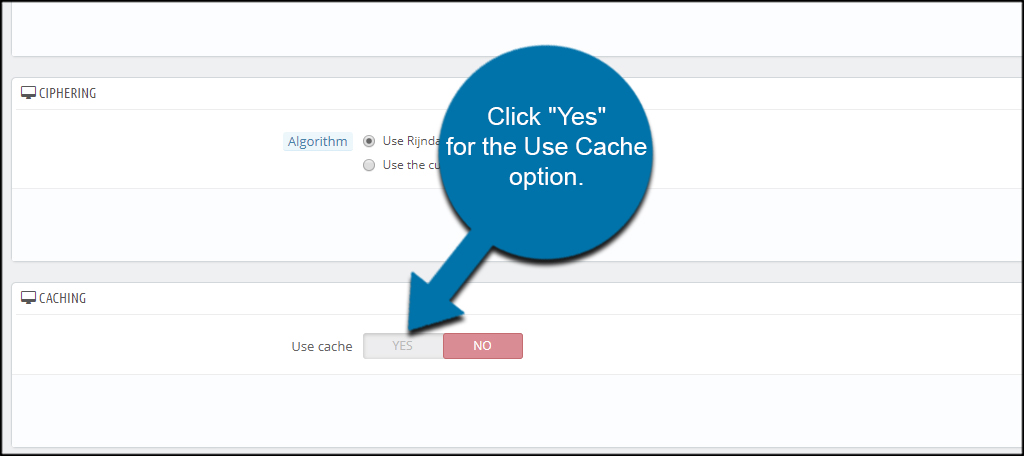
New options will become available in the Caching section.
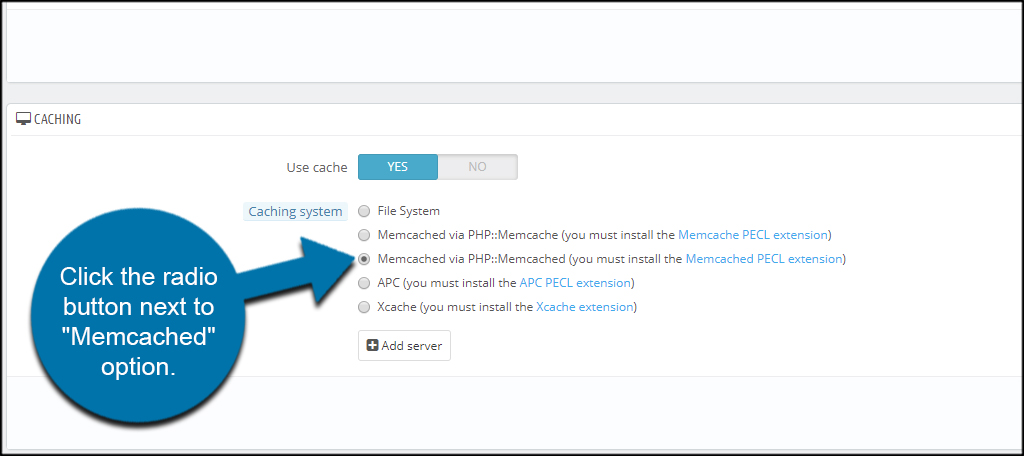
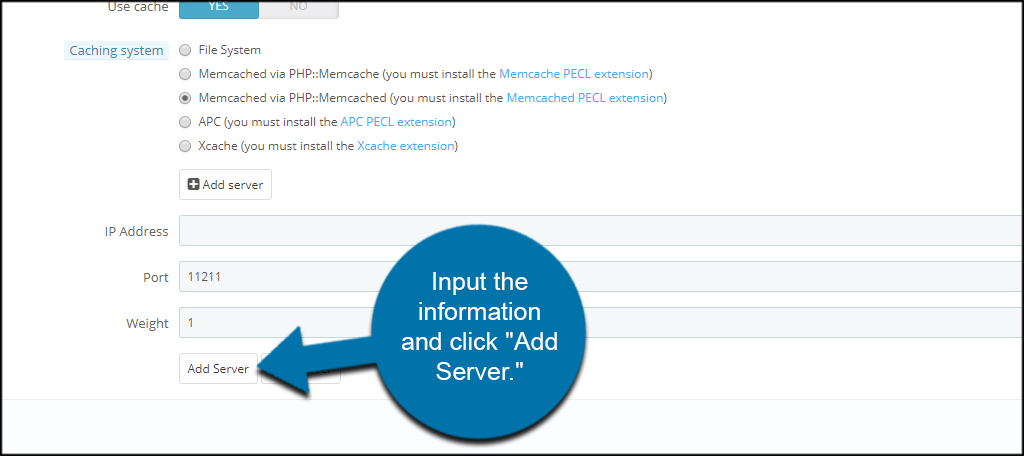
Click the radio button next to “PHP::Memcached” option. Careful, there is two of them available. One is for Memcache, and the other is for Memcached. Take not of the “d” at the end of the name.
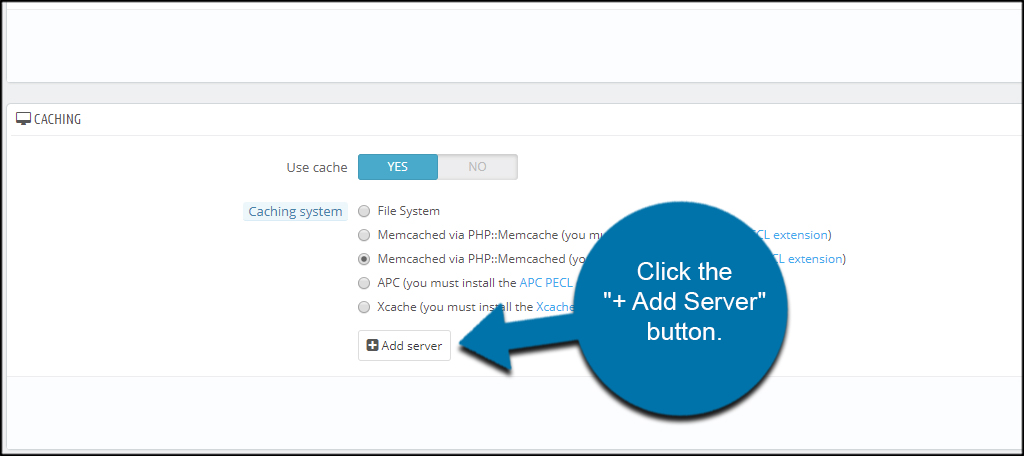
Click the “+ Add Server” button.
Input the information and click “Add Server.”
It is important to note that you need the PECL extension installed for PHP before you can use Memcached. If you’re not sure if your hosting supports this feature, you should contact customer support. It’s worth the effort in performance if you can enable it on PrestaShop.
Increasing Performance
Memcached is jut one way you can enhance the performance of your site. Everything from image resolution to using features like CloudFlare will play a role in how well the site functions. Consider your options carefully as it may lead to increased income from customers who love a fast website.
