Do you want to clone a WordPress database using phpMyAdmin? Databases store all of your website’s information in them. WordPress stores them all in a MySQL database, which can be accessed multiple ways by phpMyAdmin and command-line tools.
Unfortunately, command-line tools are not exactly beginner-friendly and even for coding wizards, they are not considered ideal.
On the other hand, phpMyAdmin has a sleek and user-friendly interface that makes everything much easier to understand.
The main reason you will ever need to duplicate WordPress databases is to create a backup of the website or move it to another location, like a local server created with WAMP for testing.
Today, I will demonstrate how to clone WordPress databases using phpMyAdmin from cPanel.
Why Should I Use phpMyAdmin to Clone My Database
The biggest appeal of the WordPress platform is that you can make an awesome website without having any coding experience whatsoever. Other alternatives to using phpMyAdmin will require you to use command-line prompts and other coding methods, while phpMyAdmin will not.
As you can imagine using this approach seems like the obvious choice for web developers and even if you are good at coding and have years of experience, most web developers will agree on using this method as well.
The phpMyAdmin is a free software tool that allows web developers to use a web-based interface to manage their MySQL databases. The phpMyAdmin is located within the cPanel or if you are using a local server, you can find it by visiting the URL associated with your server.
This allows you to do things like moving your website from one server to another, change or restore admin passwords, and manually backup WordPress databases.
How to Clone a WordPress Database using phpMyAdmin
Today, I will demonstrate how to clone WordPress databases using phpMyAdmin from cPanel. You will need access to your cPanel, which is provided with your web hosting plans when creating an account.
Keep in mind, if your only goal is to make a backup of your website, there are many free backup plugins available to use instead that can export and import WordPress databases with ease.
Step 1: Access phpMyAdmin
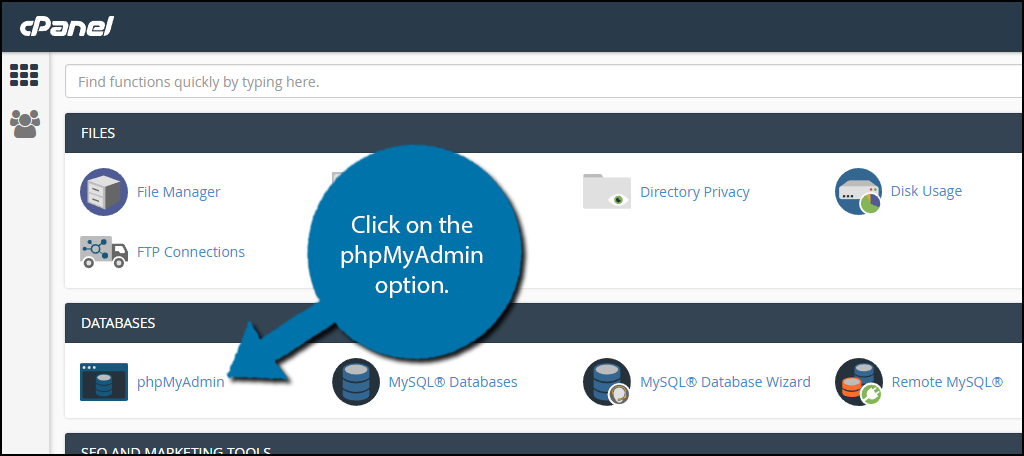
Let’s start by logging into cPanel and clicking on the phpMyAdmin option. The phpMyAdmin option will allow you to access all of the databases related to your website.
Step 2: Open the Database
The phpMyAdmin will open on a new tab. Click on the Databases tab.
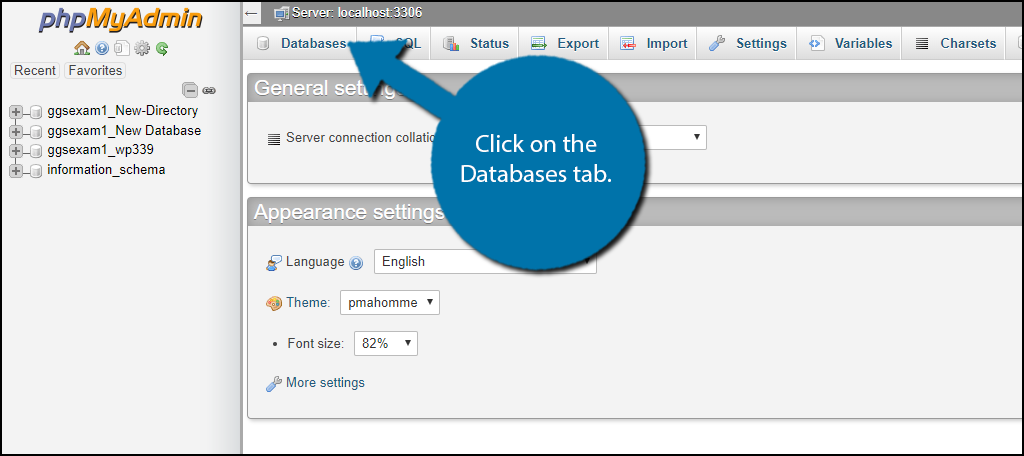
On this tab, you will be able to see every database available. You need to find out which one is your WordPress database and click on it. If you are unsure which one is your database, just go down the list.
You will know it is the WordPress one when you see all of the “WP_” prefixes on the file.
Step 3a: Clone Your WordPress Database (Non-Shared Hosting Plan)
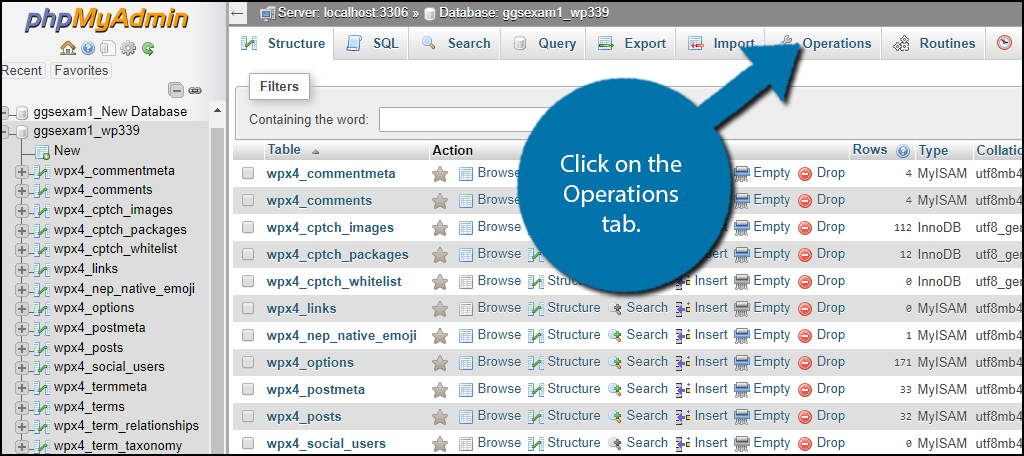
Once inside the WordPress database, click on the Operations tab.
You will have four options on this page. They include Create table, Rename database to, Copy database to, and Collation.
If you do not see the “Copy database to” box appear, that means that you are most likely on a shared server and your web host will not allow you to copy a database this way.
Skip the next few steps to find out how.
The only one you need to fill in is the “Copy database to”. Fill in the name of your WordPress database clone and click on the “Go” button.
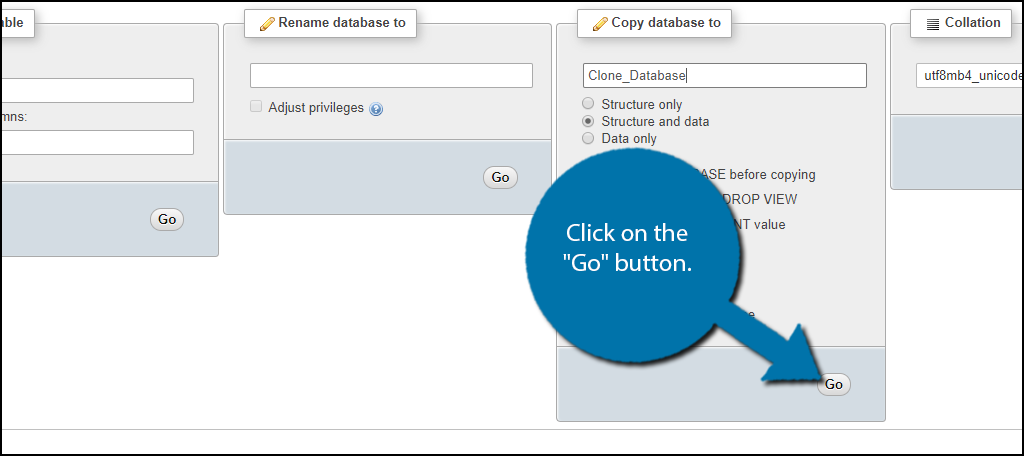
A success message will appear when the process is finished. If you have a very large database, then the process may take several minutes. Click on the Databases tab to see your cloned database.
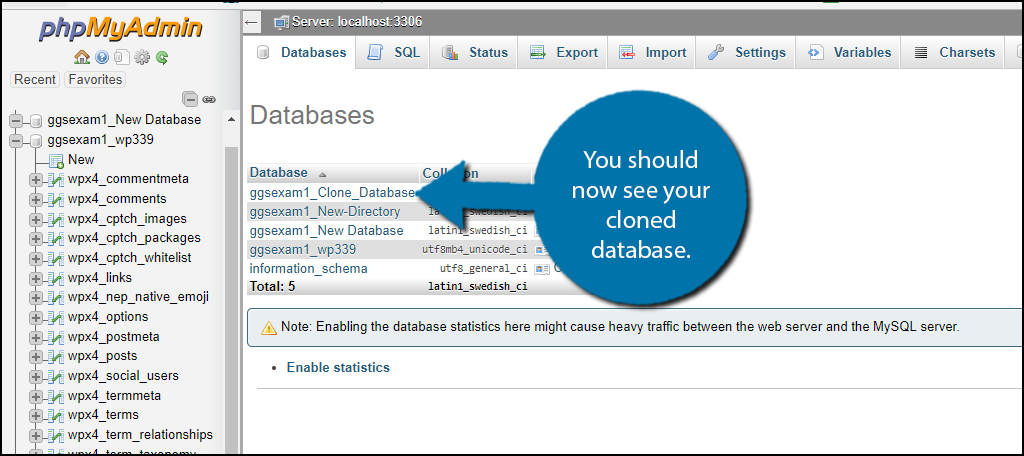
Step 3b: Clone Your WordPress Database (Shared Hosting Plan)
Now, if you were unable to actually see the “Copy database to” box, there is another way to make a cloned database. This is accomplished by exporting your current database’s information and then creating a new database and importing that data into the new one.
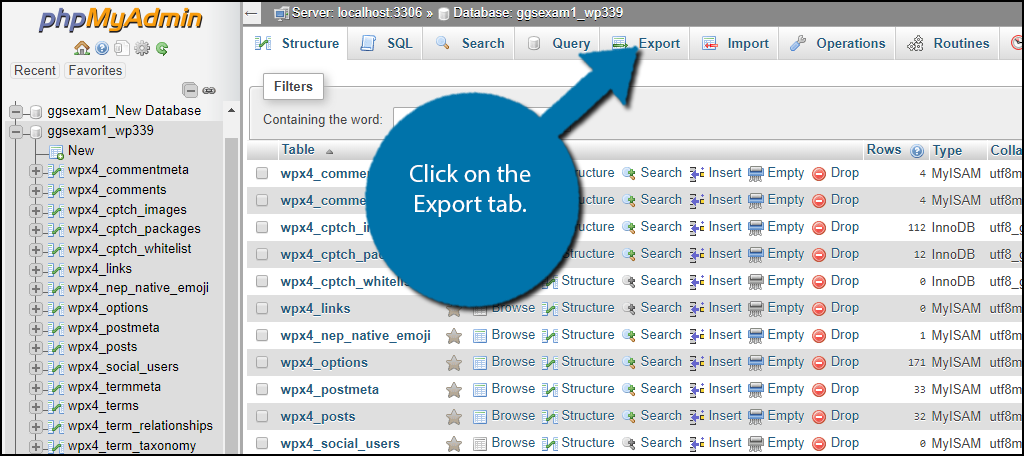
Go back to your WordPress database. Click on the Export tab.
Select the Custom option and scroll down to the “Save output to a file” section and make sure the box is checked. Click on the “Go” button at the bottom.
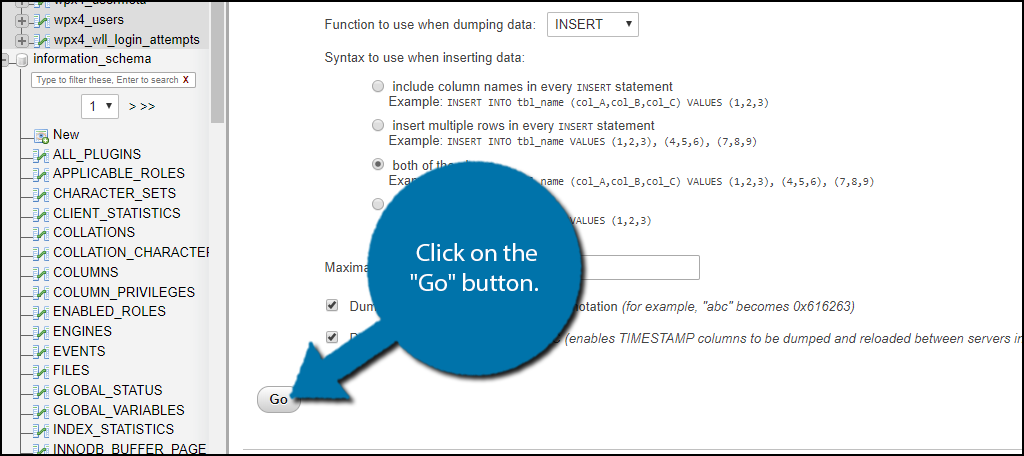
phpMyAdmin will now save the database as a .mysql file on your web browser. Head back on to your cPanel and click on the MySQL Databases option.
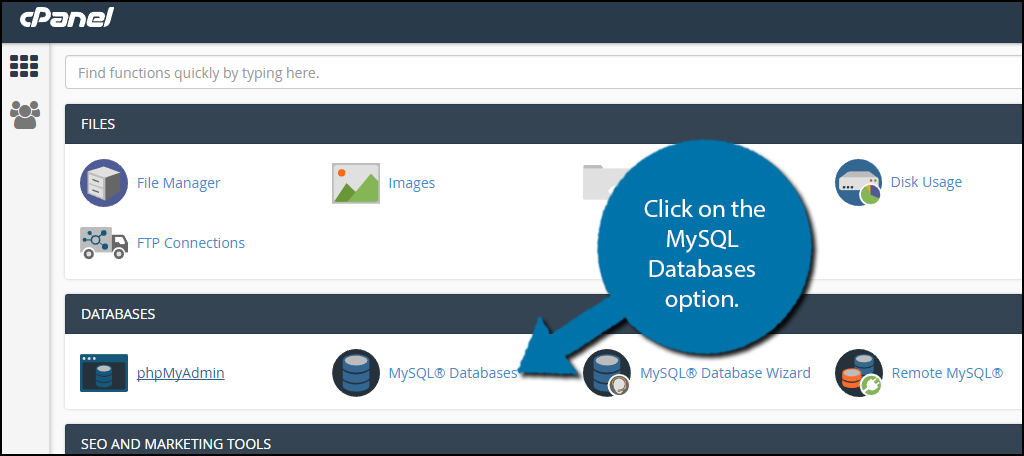
Here you can use that file you downloaded to create your cloned database. In the first textbox name your database and click on the “Create Database” button.
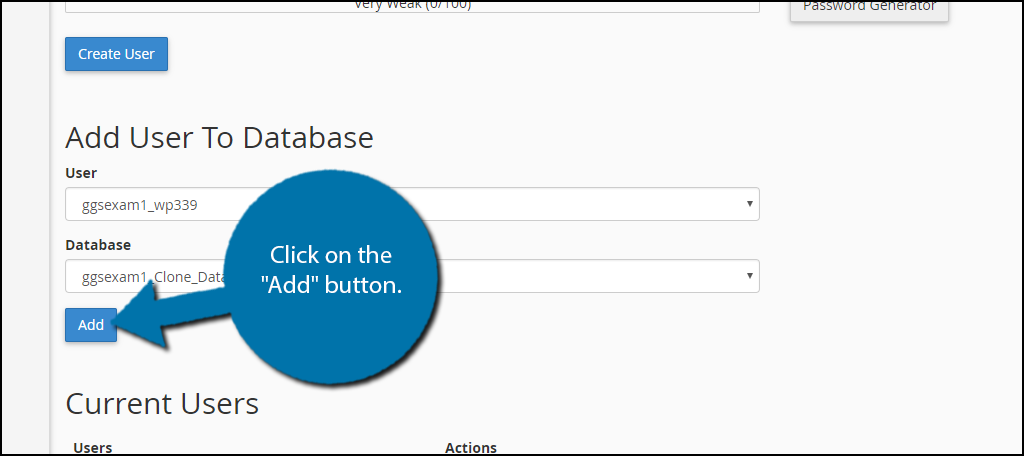
Once it is created, click on the “Go back” option. Scroll down to the “Add User To Database” section and select your existing MySQL username and select the database as the one you just created. Click on the “Add” button.
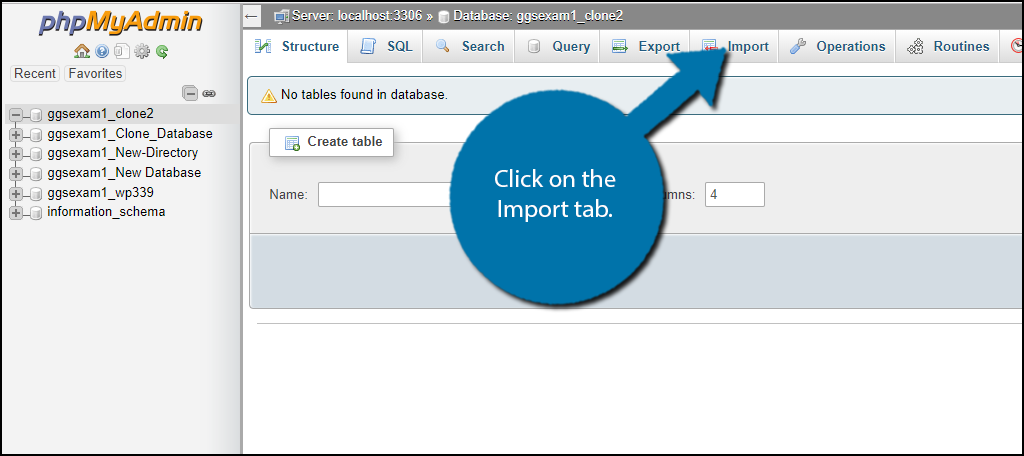
Now that you have created a new database go back to the database tab on phpMyAdmin. Click on your newly created database. The database should have nothing inside of it. Click on the Import tab.
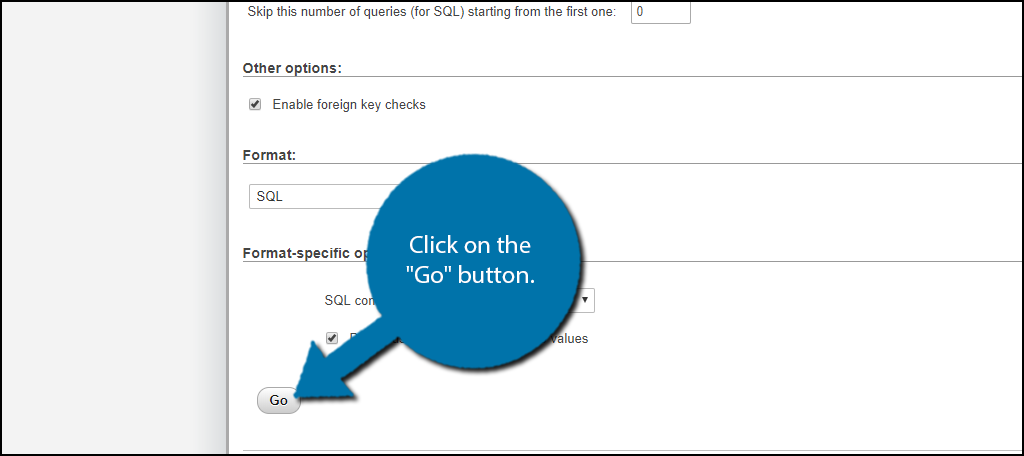
Click on the “Choose File” button. Select the file you previously exported. Once you select the file, click on the “Go” button.
Congratulations, you have successfully learned two ways to create a clone of your database using phpMyAdmin. If you are using these as a backup make sure you are storing them somewhere different from your original database.
If something were to happen to the server, not only would you lose the original, but also the backup.
Always Have a Backup Plan
Unfortunately, you will encounter problems when you are in charge of a website and many of these may stem from common WordPress errors or from incompatible plugins.
You may also suffer a cyber attack and have your website compromised. Many safeguards are put in place to guard against them from happening in the first place, but sometimes that’s not enough. And when it does, a backup will allow you to restore your website to a previous version.
You may also need a copy of your database when switching web hosts. This will allow you to get your website up and running under a new web host. The Internet is not the safest place to run a business, but it is one of the most profitable places and the rewards outweigh the risks.
How long did it take you to clone your database? Why did you need a clone of your database?

