Are you looking for a way to allow visitors to change the font size in WordPress? Most of what you see in WordPress is written content and being able to read it is extremely important. When designing a website, what looks readable to you or staff members may not be readable for visitors and it is important to understand that every person is different.
While you can directly control the size of the font on your website, visitors do not have that luxury. Instead, their only option is to adjust the zoom level on their web browser, which works perfectly most of the time. Today, I will demonstrate how to allow visitors to change the font size in WordPress using the font-resizer plugin.
Do I Really Need This Feature
Whenever you are adding a feature in WordPress, the first thing you need to ask if whether you actually need it. Every web browser you can use has a built-in zoom feature that allows you to zoom from the default view (100%) to the maximum view (500%). This is more than enough for any visitor to use, but the problem is that they need to know how to use the feature.
That is why adding a font size changer in WordPress that is easy to use is a good idea. Let’s take a minute to consider who would need to use this feature. Perhaps someone forgot their reading glasses. They’re going to have a problem reading a standard font size. While a zoom increase would solve this issue, they may also not know how to do so.
For reference to zoom in on PC, it is Ctrl + “+” (plus sign) and on Mac, it is Command + “+” (plus sign). There is also a way to change the zoom on each browser manually, but it is different for each web browser. Adding a button that can change the font size of what they are reading can help anyone that is not familiar with the zoom feature.
How to Allow Visitors to Change the Font Size in WordPress
Today, I will demonstrate how to allow visitors to change the font size in WordPress using the font-resizer plugin. This plugin allows you to add a button on your sidebar that allows visitors to increase the font size. You can decide how much of an increase in the font size occurs. For example, if you have a standard 12 font size, you can make it so that the button increases it to 24. The choice is yours, but it is best to get feedback from your website’s visitors to have the best results.
NOTE: The plugin featured in this article has been removed from the WordPress repository. We’re working on rewriting this tutorial as soon as we can. We apologize for any inconvenience.
Installing font-resizer
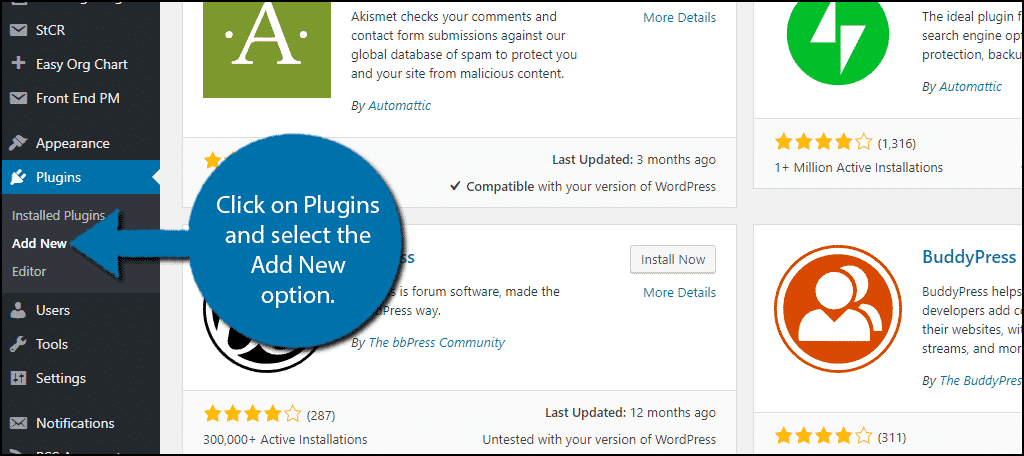
Let’s start by clicking on Plugins and selecting the Add New option on the left-hand admin panel.
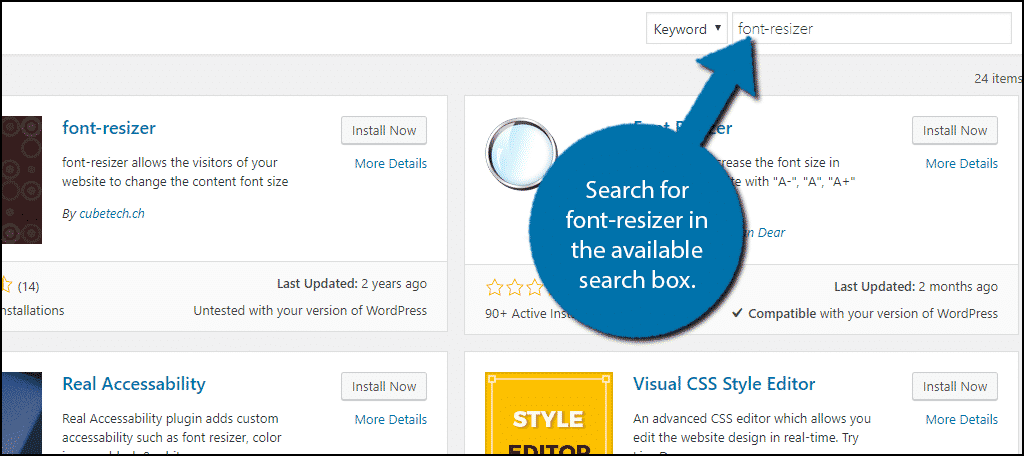
Search for font-resizer in the available search box. This will pull up additional plugins that you may find helpful.
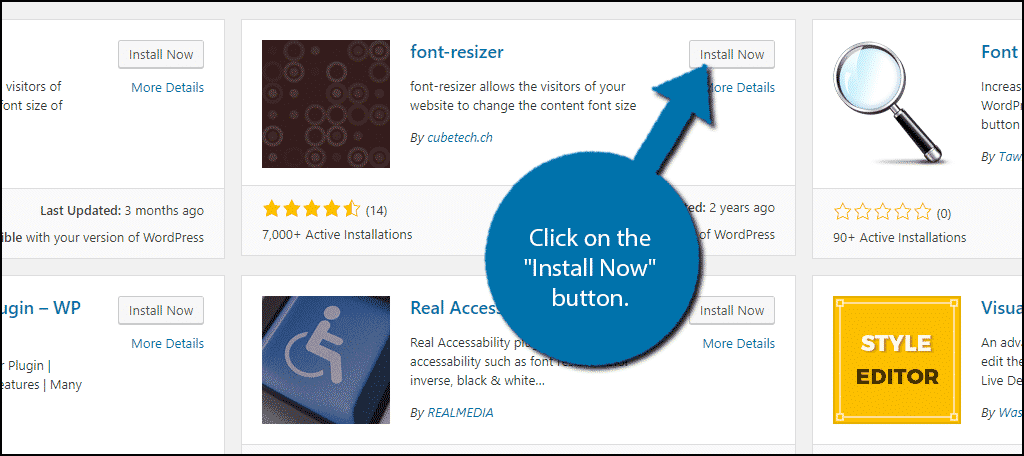
Scroll down until you find the font-resizer plugin and click on the “Install Now” button and activate the plugin for use.
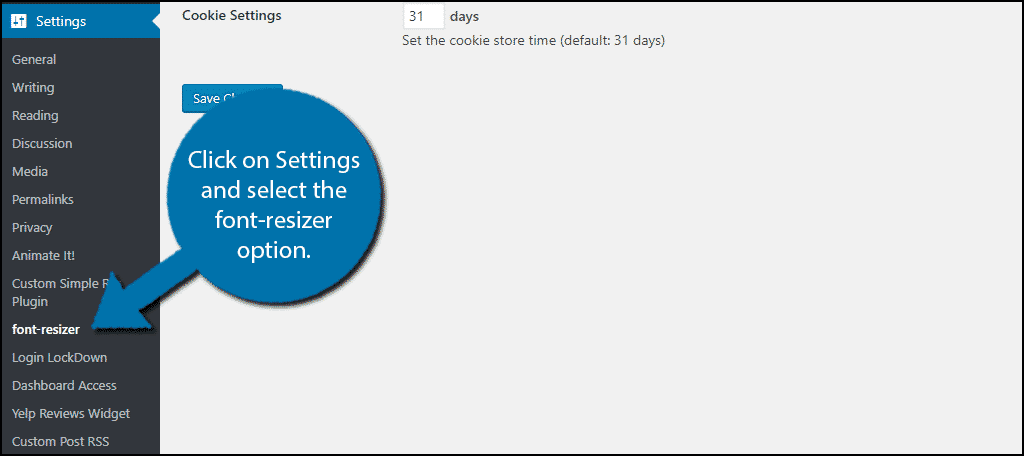
On the left-hand admin panel click on Settings and select the font-resizer option. This will pull up the main settings page.
Setting Up font-resizer
This plugin is very easy to set up. The first step is to decide what font will be enlarged. The default option is the entire body, which is the whole content inside the body tag. You can also customize it to meet your needs by using your own div tags.
It is very important to test this out and make sure you have the right content selected. For example, it is entirely possible that the default setting will not enlarge the text that you want. This will just result in very odd spacing problems on your pages.
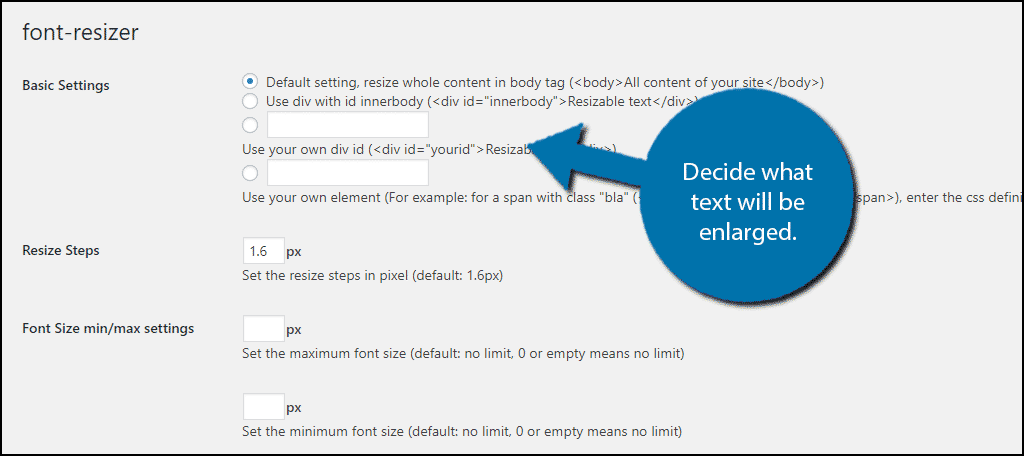
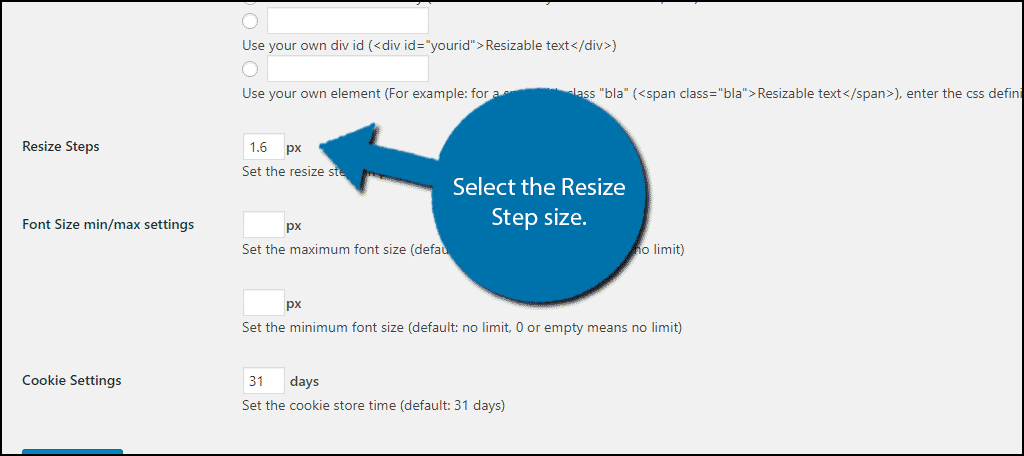
The next option is the Resize Steps. This is how big of an increase a visitor will see when they click on the enlarge button, or how much it will shrink on the shrink option. By default, it is a 1.6 px increase. Visitors can click the option as much as they need it. Find the number that is right for you.
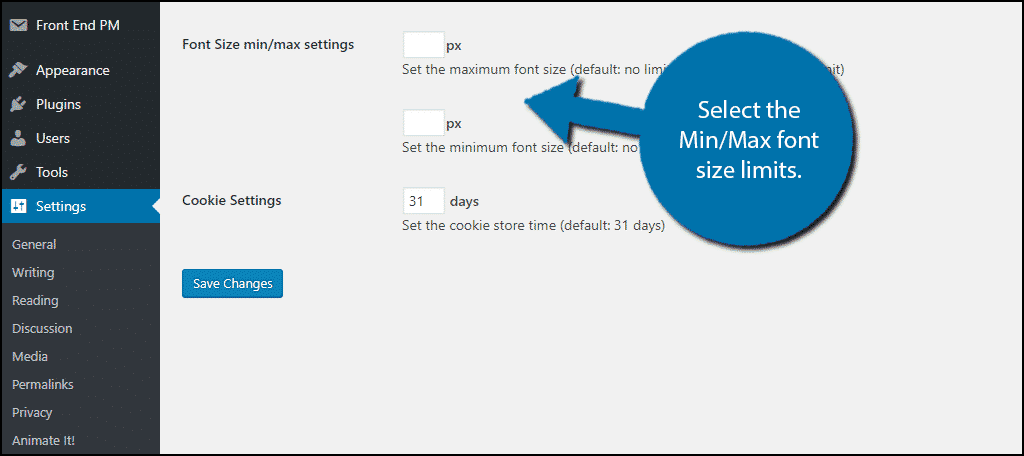
The next settings are the Min/Max settings that visitors can reach. By default they are blank. This means that visitors can increase or shrink text to whatever they want. You can set a limit here if you want.
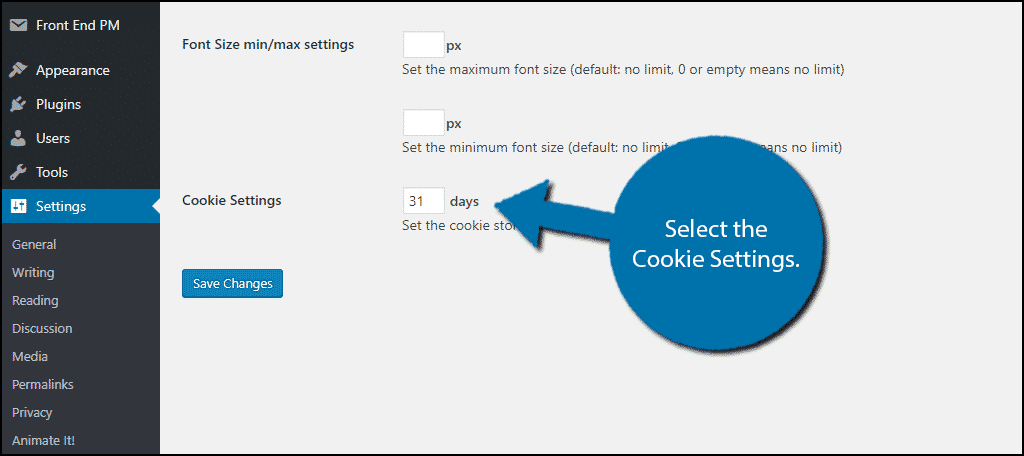
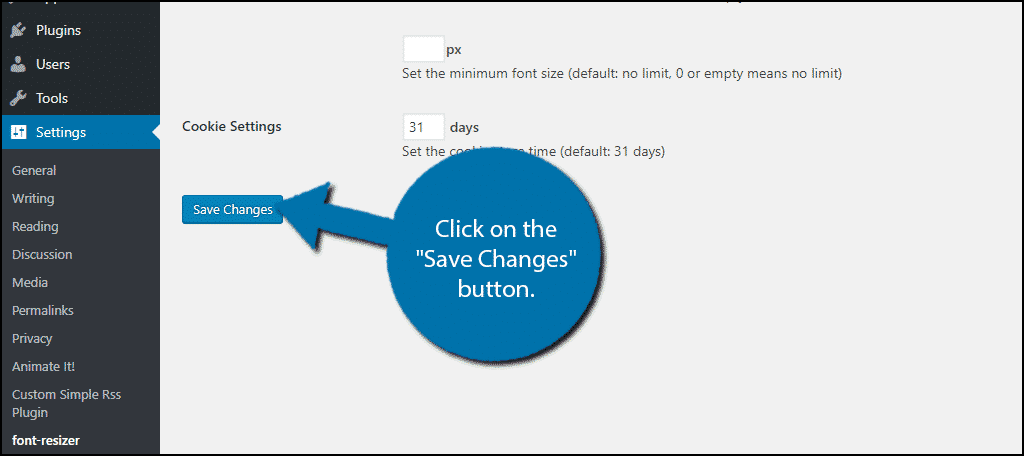
Finally, the last option is the cookie option. You can select how many days it will store the cookie information.
When you are finished, click on the “Save Changes” button.
Adding font-resizer to a WordPress Sidebar
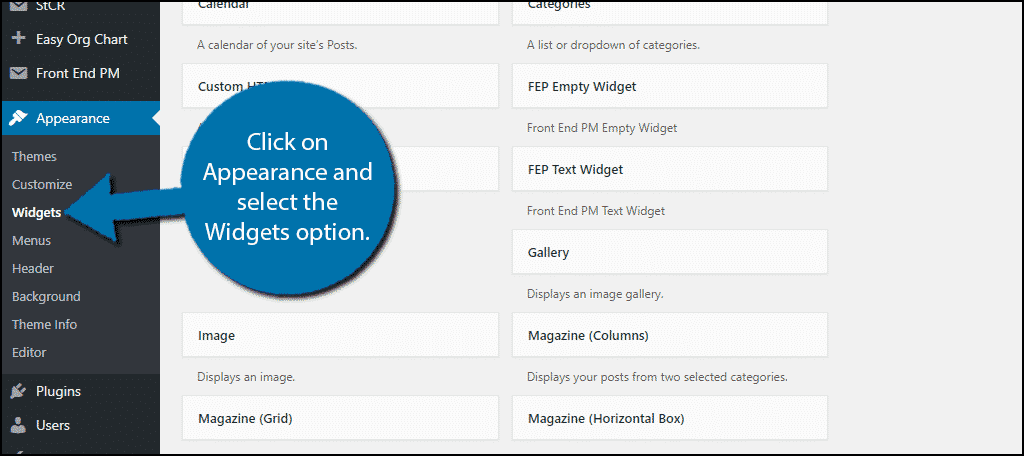
This plugin is added in the same manner as any other widget. Click on Appearance and select the Widgets option.
Locate the Font Resizer widget and drag it onto your Sidebar widget area.
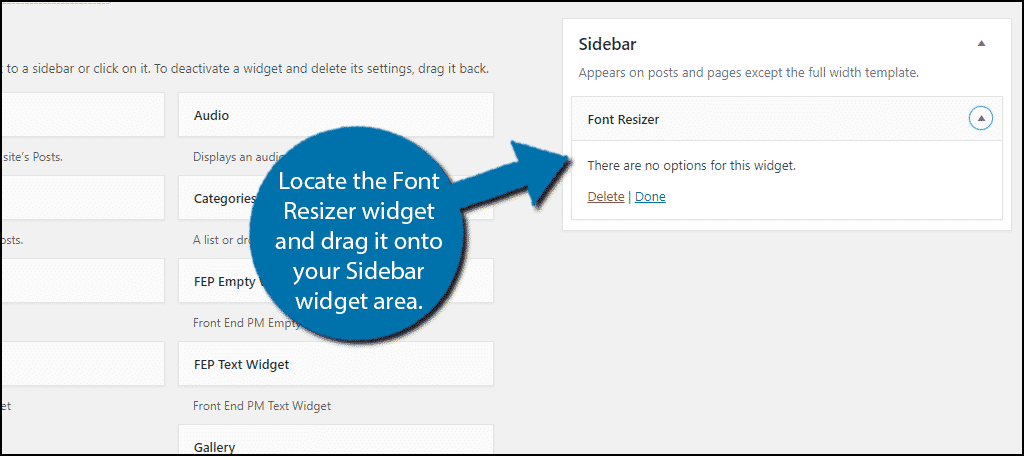
You are now done, there are no settings to change on the widget. You can now see it on your website. Visitors can click on the small A to shrink, the large A to enlarge, and the medium A to return to default.
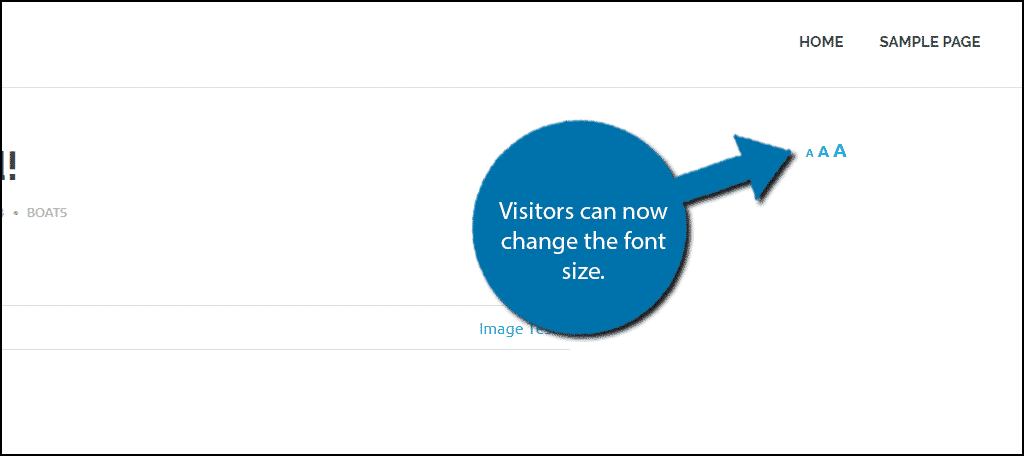
Congratulations, you have successfully added a font resizing option for visitors to use on your website.
Help Visitors See Your Content
Not everyone has perfect eyesight and enlarging the font can really help those who do not. The zoom in/out features built into web browsers should also help significantly and are commonly used by these individuals. Of course, not everyone knows how to use these features and it can very frustrating if you are one of them. Always make your website accessible to the largest pool of visitors.
How easy do you find the font-resizer plugin to use? Has this feature helped your visitors?

Per wordpress.org – “This plugin has been closed as of March 3, 2021 and is not available for download. Reason: Guideline Violation.”
Do you have any others you recommend?
Thank you for bringing this to my attention. We’ll get a new tutorial up as soon as possible. I’m currently looking for a viable replacement. But if you come across any, I’d be glad to check them out.