Do you want to set up an email subscription for your WordPress website? Emails are a great way to inform your subscribers of when you have new content available or when you have special promotions going on. The hard part about setting up emails on your website is convincing your community to sign up for another email subscription.
Think about how many emails you get a day and all the efforts you take to guard against spam. I bet there are some emails you just glance at and delete right away, which is exactly what you want to avoid on your own website’s email subscription. It is very important to make sure every email you send is not generic and has something for the reader to enjoy. Today, I will demonstrate how to add an email subscription in WordPress using MailChimp.
Why Add an Email Subscription in WordPress
You may be thinking, I already use plenty of social media platforms to inform my viewers that I have released new content or that I am having a special promotion now. That is a great thing, but people like to go off the grid on social media platforms more often than you think. Have you ever had that friend who just disappeared from Facebook for a week? It’s a common occurrence, but this is where emails win. You can’t really stop emails from getting into your inbox or take a break from emails unless you unsubscribe. You may not check them, but they’re still gonna get sent to you, whereas on social media you can skip everything that happened that week.
Keep in mind that not everyone is caught up with the times and uses social media. Emails are great to target that audience of visitors that social media cannot reach. Emails are also a great way to share exclusive deals with your audience, which gives people a great incentive to sign up for an email subscription to begin with. Keep in mind this does not mean you cannot use social media to help you boost your email subscribers though.
How to Add an Email Subscription in WordPress
Today, I will demonstrate how to add an email subscription in WordPress using MailChimp. MailChimp is an extremely popular email service, especially with websites that have a very small subscriber base. When you have less than 2000 subscribers there is a free version to use, which is great for when you are starting out. Keep in mind that if you grow your email list, you will have to pay for the service.
The first thing you need to do is to visit the MailChimp website and click on the “Pricing” tab. Click on the “Sign Up Free” button.
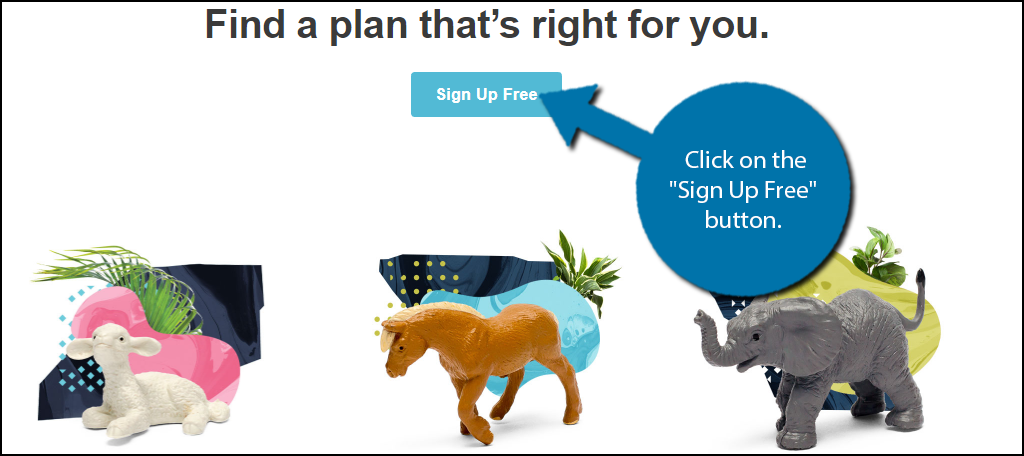
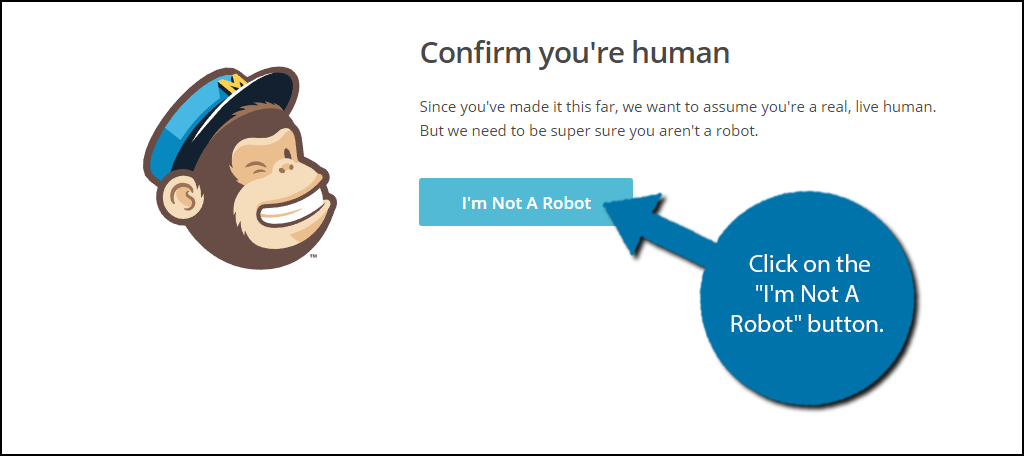
You will need to enter your email and create a username and password. Once you are done, you will need to check your email to continue. Once you open the email you get from MailChimp, click on the “Activate Account” button. A new tab will open up and you will need to click on the “I’m Not A Robot” button.
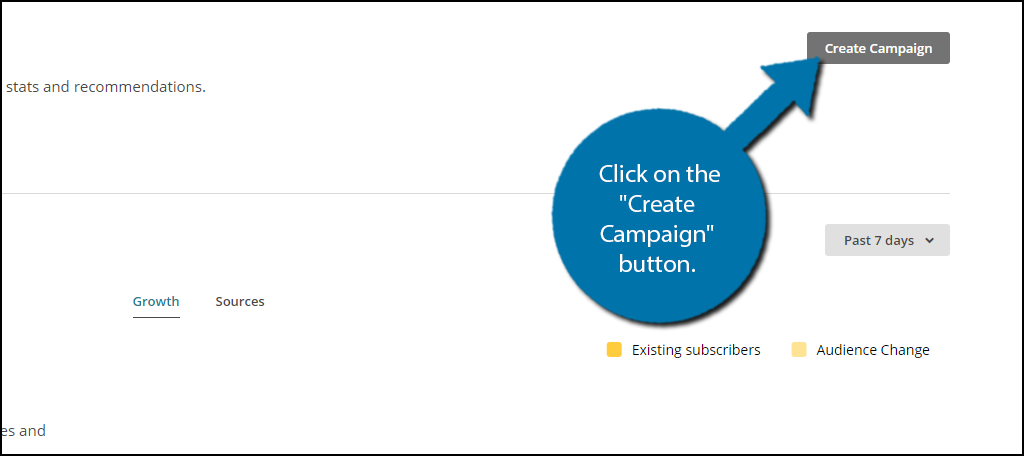
You will now need to enter some more personal information, which include a mailing address. Once that is all done, you will be ready to use MailChimp. Click on the “Create Campaign” button to start.
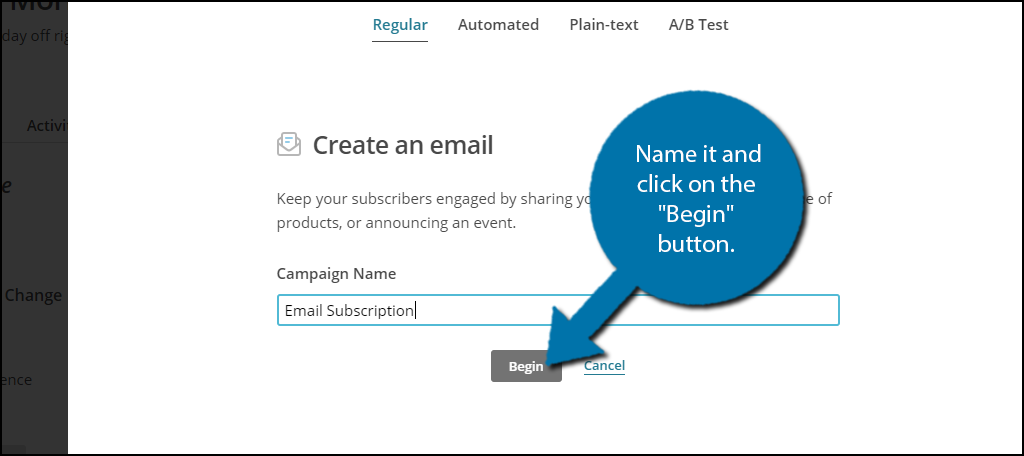
A pop-up window will appear. MailChimp will ask you what kind of campaign you want to create. Click on the “Create an Email” option. You will then be prompted to name your campaign. Name it and click on the “Begin” button.
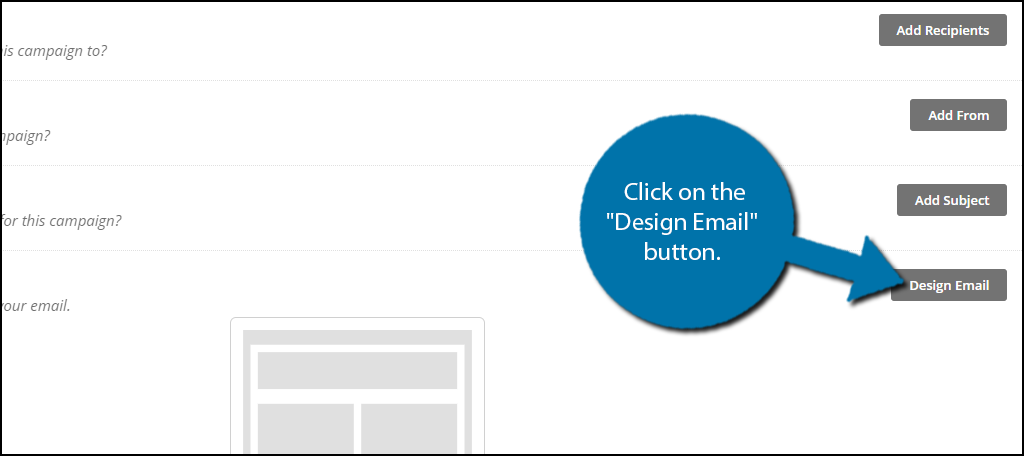
On this page, you can create the email you are sending and a list of those who are receiving it. The first thing is to pick the recipients. The way you select these recipients is completely up to you, but make sure they are agreeing to receive emails from you. Click the “Add Recipients” button to add your subscribers. You will then need to select who the email is from which should be your website. Click on the “Add From” button to name your business. Create a subject line that does not sound like spam mail by clicking on the “Add Subject” button. Last, but not least, create the actual email structure by clicking on the “Design Email” button.
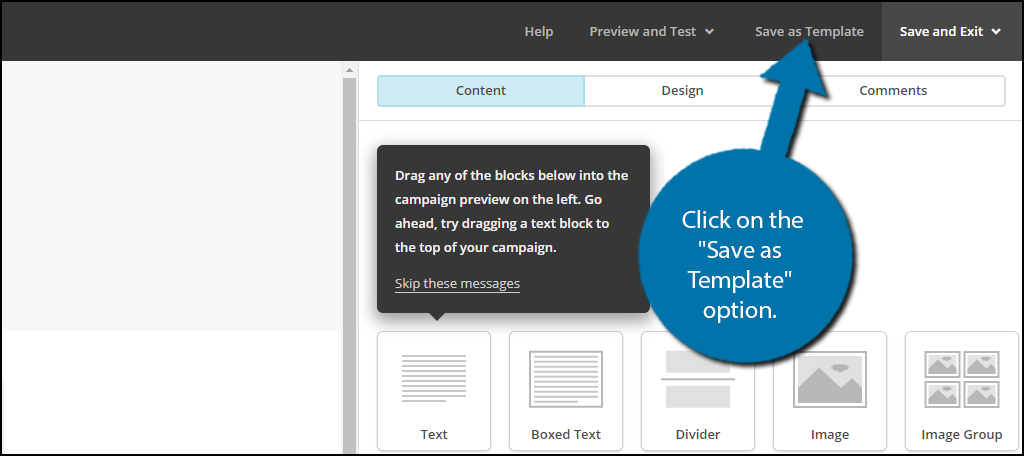
MailChimp has a lot of options for the design process and they are all up to you. If you are new to email design, I would recommend using the featured options and edit them for your own use. To edit any portion of the email you are creating, simply click on that area. Once you are finished click on the “Save as Template” option on the top right of the screen.
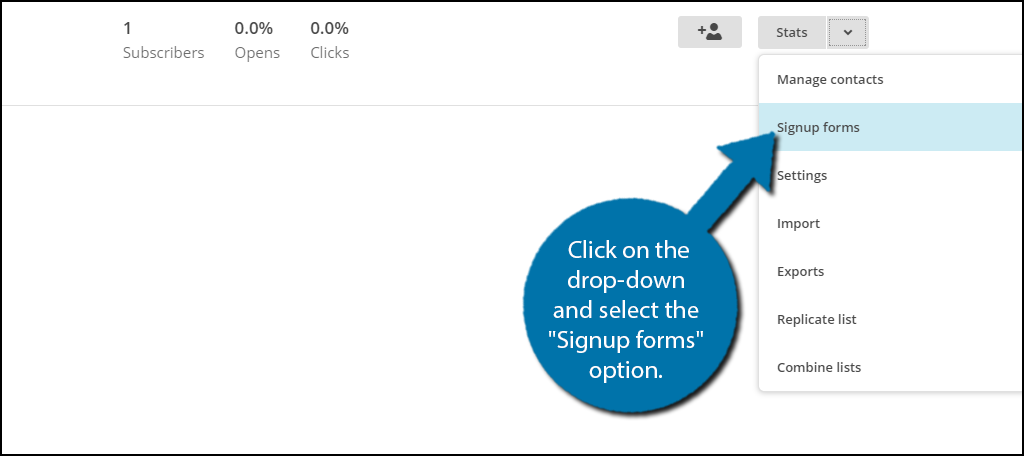
Now that your email is created and ready to go it’s time to get some subscribers. MailChimp has an email subscription form you can add to your website. Click on the “Lists” tab. You will see the email you just created. Click on the drop-down and select the “Signup forms” option.
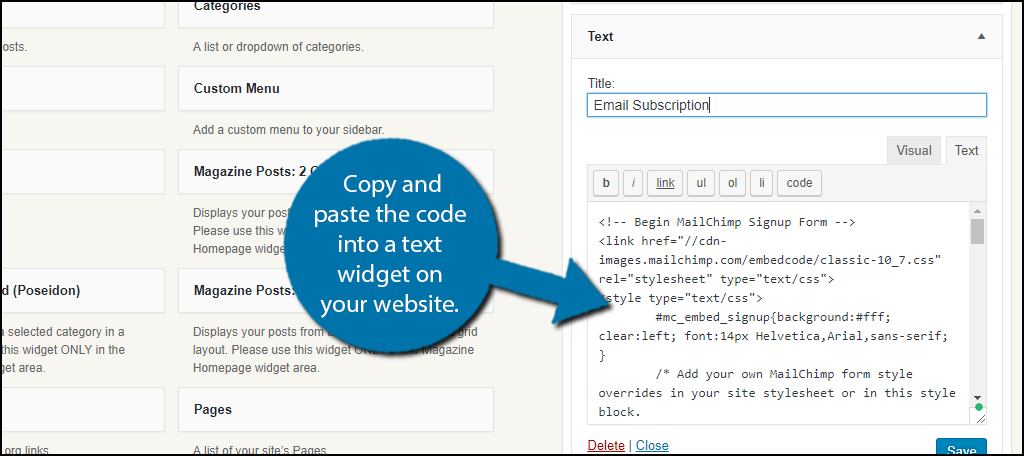
There are four options to choose from. Choose the Embedded Forms by clicking the “Select” option. This will pull up the email subscription form editor. You can customize how it will look. Once you are done simply copy and paste the code into a text widget on your website. Place the widget where you would like the email subscription form to appear.
Congratulations, your MailChimp email system is all set up and your visitors can now subscribe to your email list in WordPress. Keep in mind you should create multiple email templates and update them daily, weekly, or monthly, but do that on a consistent basis.
Alternative Email Subscriptions Methods
MailChimp is one of the most popular email service providers available, but there are many email services to choose from. The most important thing you need to look for when selecting from one of these services is the price and the email design choices. Many are quite similar, but most have much smaller free options than MailChimp.
AWeber
AWeber is another popular option to choose from when you want to set up an email subscription on your website. This service offers a 30-day free trial that you can use to test the service out. The design options are quite similar to MailChimp and are implemented with a text widget as well. This is a very popular choice among bloggers.
Jetpack
Jetpack is a completely free alternative that is great for a website on a budget. Jetpack is good for starters, but most bloggers and websites will eventually switch to other paid services and when they do, they will need to get all of their subscribers to resubscribe. This can be a very big hassle so it is best to start with one of the other services if you would like to pursue an email subscription.
Make Your Email Subscription Worth Your Visitors’ Time
Many websites try to create email subscriptions, but more than half of the emails are sent to the spam box or the recipients unsubscribe from the list very quickly. You need to spend time and make sure that the email is worth the time of the person who is reading it. You should also refrain from daily emails because only larger websites have enough content to make daily emails worth it.
How frequently will you be sending out emails to your subscribers? Will you be placing any exclusive deals or offers inside of the emails?
