The Gutenberg editor is the default editor of WordPress and allows web developers to create content in a flash. However, some of the tools in this editor have room for improvement. The GutenBee plugin adds a variety of tools and blocks to the editor to improve the experience.
Some of the blocks are enhanced versions of existing blocks, like the image block, and some of them are completely new. Thus, adding this plugin to your website is a surefire way to enhance your posts and pages.
Today, I will go over how to effectively use GutenBee to improve your content.
What Are Gutenberg Blocks?
Gutenberg blocks allow you to add specific elements or functionality to your posts or pages. These include text, images, video, shortcodes, and much more. However, in most cases, web developers need to install multiple plugins to add more options in the editor.
The GutenBee plugin avoids this by providing over 30 additional blocks to choose from.
For instance, many websites with a physical location will include Google Maps on their website to help customers find their store. Most of these websites will install a dedicated plugin for that exact reason. However, with GutenBee not only can you have this feature, but also many more.
If your looking for more options and power from the Gutenberg editor, look no further than GutenBee.
How to Improve the WordPress Gutenberg Editor with GutenBee
Step 1: Install GutenBee
The GutenBee plugin is a collection of blocks for Gutenberg. Some of the main ones include Google Maps, Reviews, Testimonials, and Food Menu to name a few. Due to the diversity of blocks it adds, it will fit into any type of website and reduce the number of plugins you need to install to expand Gutenberg.
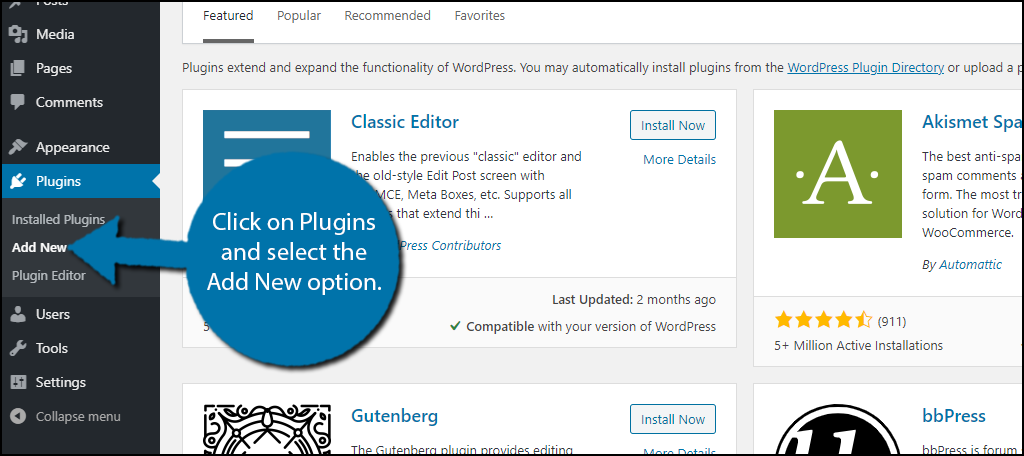
Let’s start by clicking on Plugins and selecting the Add New option on the left-hand admin panel.
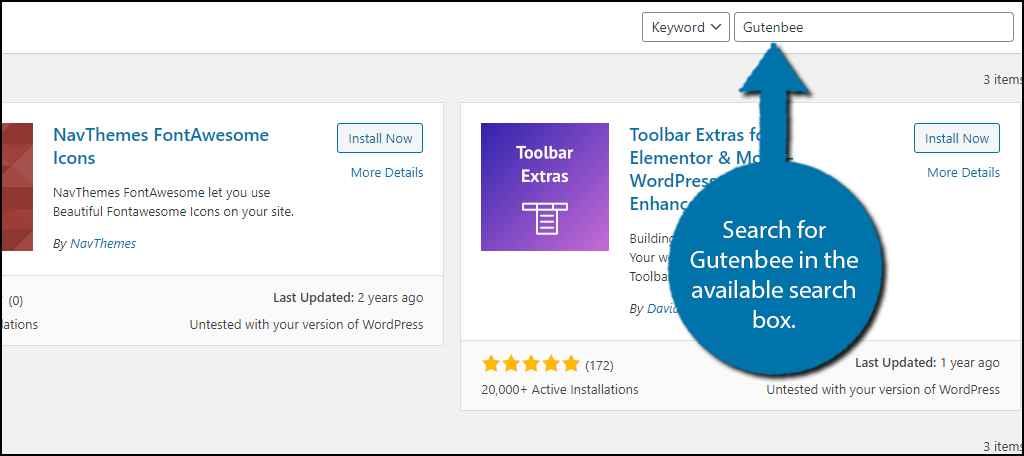
Search for GutenBee in the available search box. This will pull up additional plugins that you may find helpful.
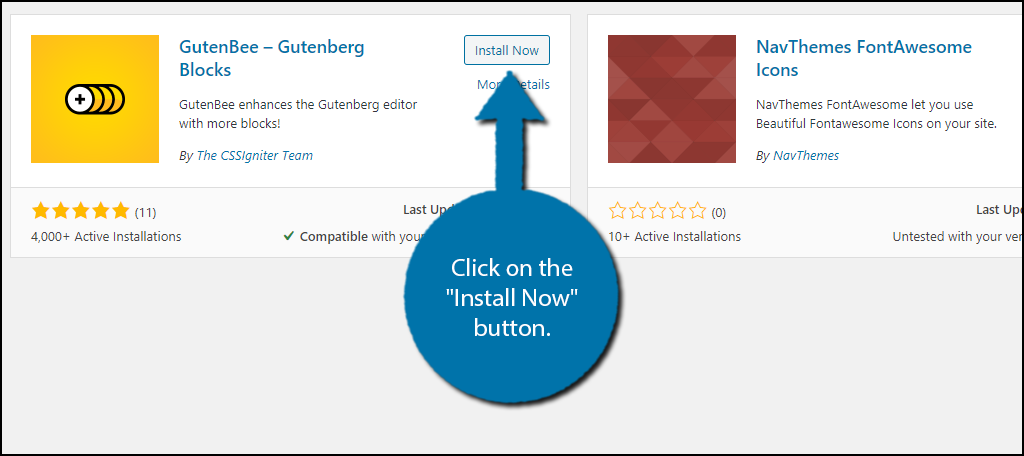
Scroll down until you find the GutenBee plugin and click on the “Install Now” button and activate the plugin for use.
Step 2: GutenBee Settings
The plugin is ready to go after activation, however, there are some settings that you can configure. These mostly include the ability to hide some of the blocks that the plugin adds. After all, it’s very unlikely that a website will need all of them at once.
Thus, you can reduce the clutter when searching for blocks to use.
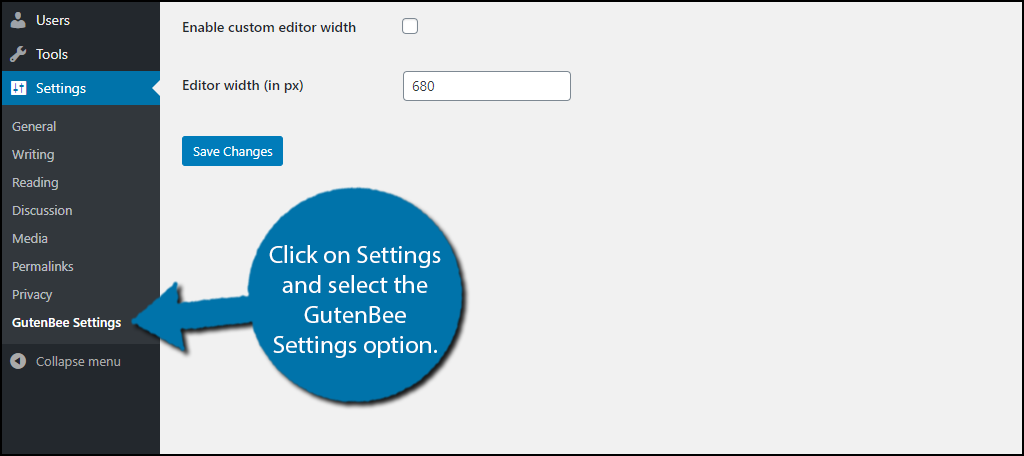
On the left-hand admin panel, click on Settings and select the GutenBee Settings option.
The settings are broken up into two tabs, General Options and Block Options. In the General Options, you will find some customization options that you can configure, like the editor width.
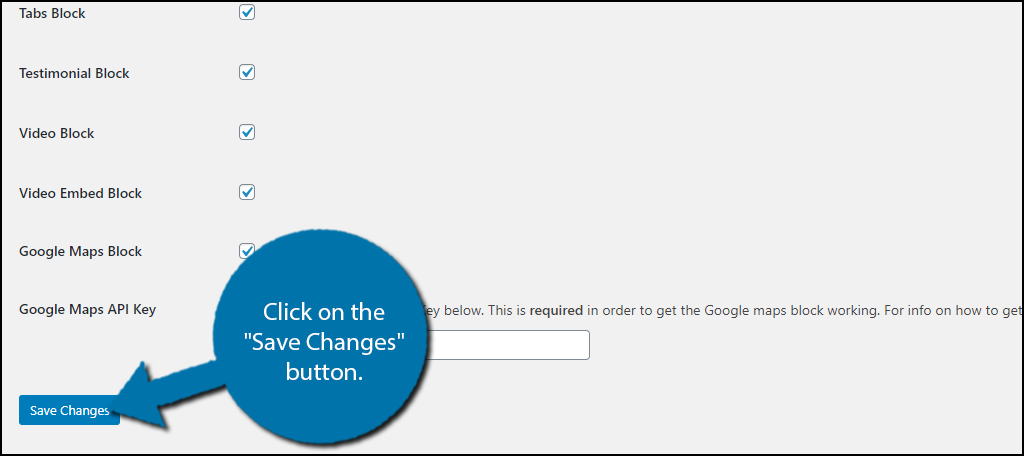
The Block Options section is the main attraction. Here you will see a full list of the blocks the plugin adds. Each one has a checkbox next to it that you can use to enable or disable the block. By default, all of the blocks are turned on.
Simply go through any of the blocks and turn off the ones you don’t need. There is also a section to insert the Google Maps API key here. Keep in mind you can do this later.
Note: There is no disadvantage of leaving all of the blocks enabled. Some developers simply like to enable what they need and since there is a block search function, finding what you need is simple, even if every block is enabled.
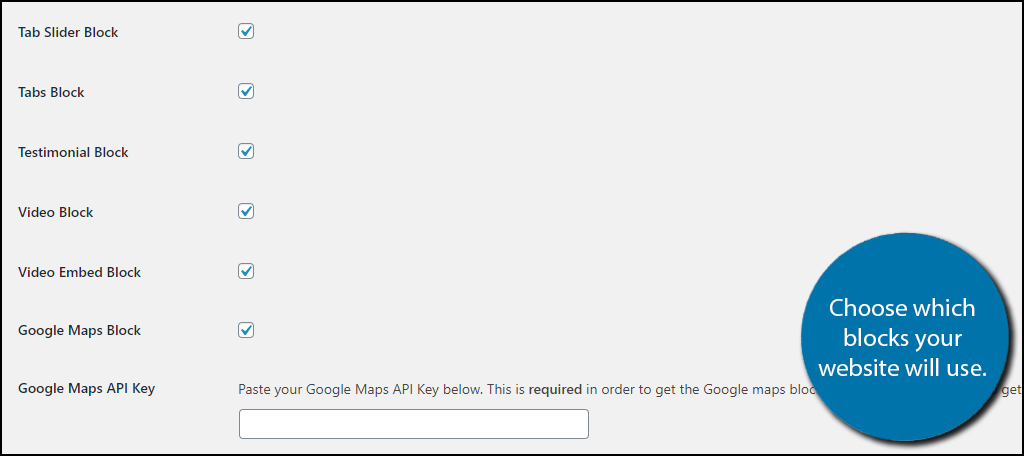
When you are done, click on the “Save Changes” button at the bottom.
Step 3: Add GutenBee Blocks
All that’s left is to actually add the GutenBee blocks to your posts or pages.
Go to any existing post or page on your website. Alternatively, you can create a new one for testing purposes.
Click on the “+” button to expand the block selection area.

You can search for GutenBee in the available search box or you can scroll down until you find it. Simply choose the block you want to use and click on it.
Note: All GutenBee blocks are yellow by default. This will help differentiate the enhanced blocks from the normal ones, like images.

The process is identical to adding a normal block in WordPress. The settings for each block can be accessed on the right-hand side where they normally are.
Congratulations on adding GutenBee to your website. Each block has its own settings to configure and functionality.
The Top 3 GutenBee Blocks
With over 30 blocks to choose from, GutenBeen offers a wide array of new tools to work with. Many of these blocks work very well together. For instance, you can combine the review block and testimonials block to give readers a better picture of the product.
Here are a few of my top picks for the best block it adds.
1. GutenBee Image Comparison
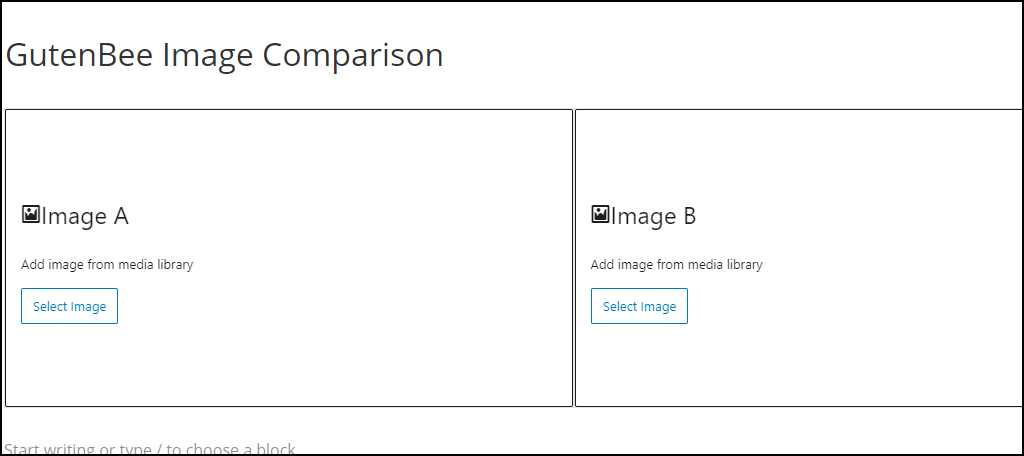
There are many times where you may want to use a before and after shot to compare images, but that can be difficult with the basic image block. The GutenBee Image Comparison block allows you to add two images to a single block in a side-by-side comparison.
It comes with a plethora of options that include border visibility, device visibility options (desktop, mobile, etc.), padding, margin, and you can even go a step further beyond by adding your very own custom CSS to the block.
This is perfect for websites that are comparing any two images.
2. GutenBee Review
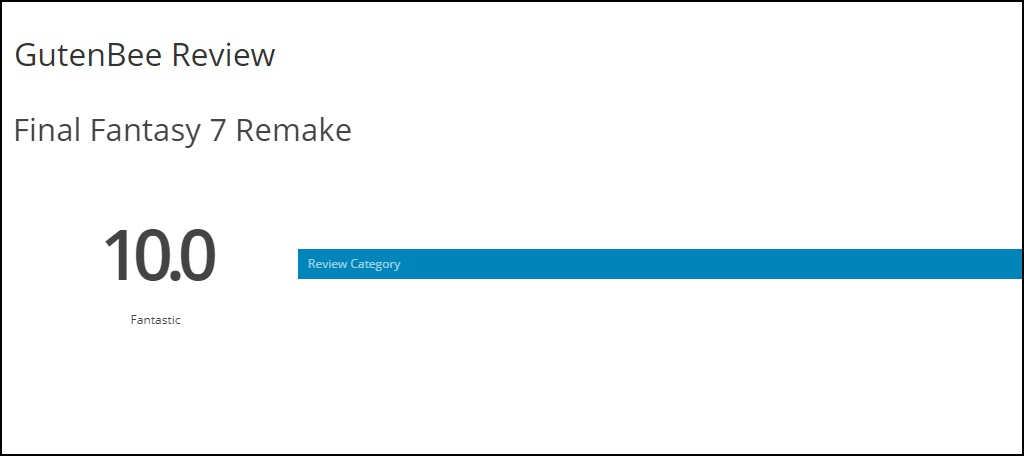
Many websites review products and services, but by default, WordPress does not provide an option to add a score. The GutenBee Review block does that. You can add an adjustable scoring block anywhere inside of your review.
You can customize the color of the progress bar, add text underneath the numeric score, choose visibility options (desktop or mobile), and more. The score can be altered by moving a slider or manually entering the value.
It’s perfect for any website looking to add a score to an existing review.
3. GutenBee Food Menu
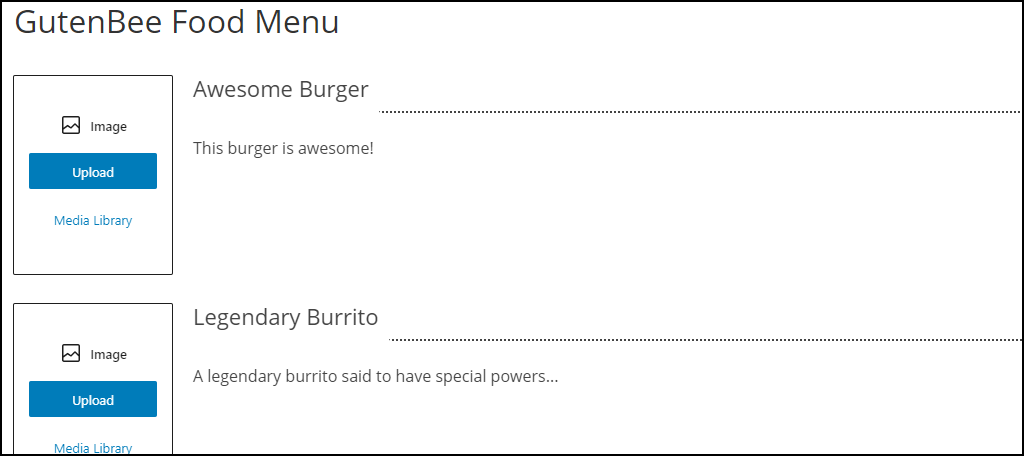
If you have a restaurant, then you need a website, especially in today’s world. However, many menu creation plugins can be somewhat difficult to use. The GutenBee Food Menu block allows you to create a full menu for your restaurant in minutes.
You can add the name of the food item, picture, and price to a block. Each block is intended for one item which makes it easy to use. There are additional customization options like background color, alignment, padding, and border to name a few.
Create a stylish menu in minutes.
Build Content The Way You Want
The big appeal of the WordPress platform is its customization and ease of use. Gutenberg blocks enhance both of these traits, and it can drastically speed up the content creation process.
And the GutenBee plugin enhances the editor.
While I have only shared a few of the amazing blocks you will find in this plugin, there are many more for you to discover. I highly encourage you to create a test post and test each of the blocks to find out what they can do.
Most of them are simple to use with customization options that are self-explanatory.
Which GutenBee blocks are your favorite? Do you think some of these blocks or features should be built into default blocks?
