The most consistently effective way to grow any new website is by using social media to your advantage. And for a WordPress blog, there’s no better tool than those which allow easy sharing on social media. Today, we’ll talk about using the Grow by Mediavine plugin to create our social sharing buttons.
Boost Your Social Media Reach With Social Share Buttons
The easier you make it to share your content, the easier it is to convince visitors to do the sharing. Grow by Mediavine (previously Social Pug) creates social sharing buttons and provides flexible button placement.
We’ll talk more about the benefits of social sharing in a minute, but first, let’s dive into the plugin.
If your social share buttons must be GDRP compliant, check out How to Add GDPR Compliant Share Buttons to WordPress.
1. Installing the Grow by Mediavine Plugin
Log in to your WordPress admin panel.
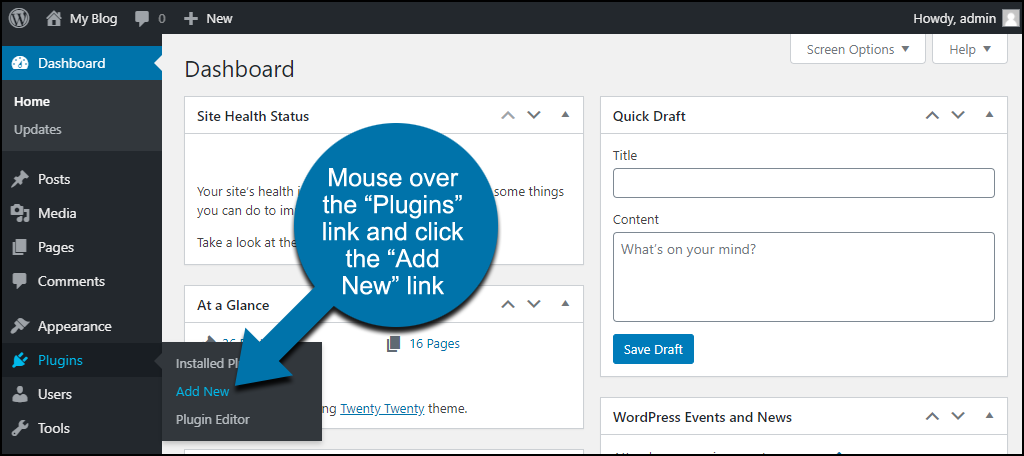
In the left column navigation, mouse over the “Plugins” link and click the “Add New” link.
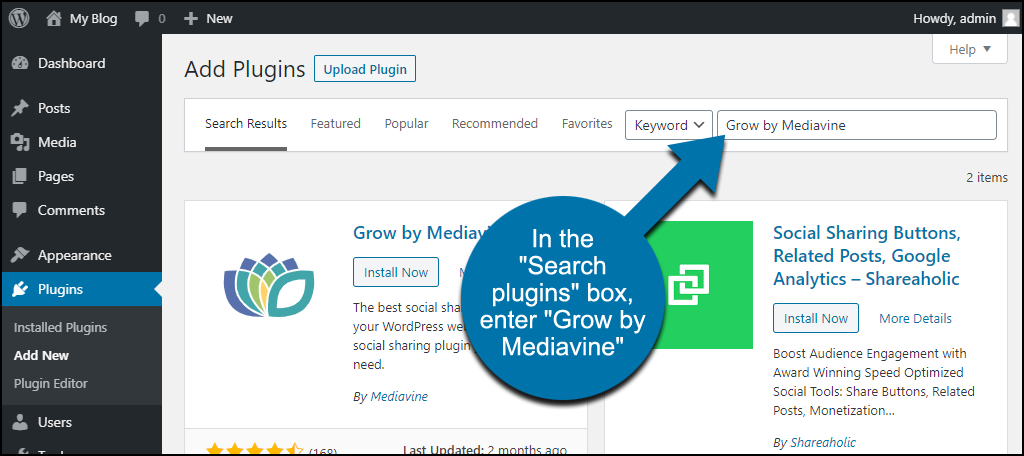
In the “Search plugins…” box, enter, “Grow by Mediavine.”
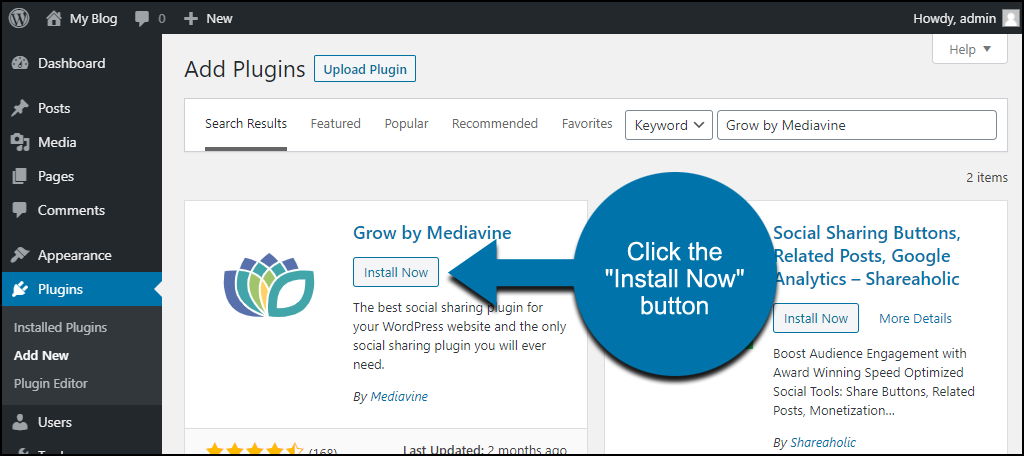
When you find the plugin, click the “Install Now” button.
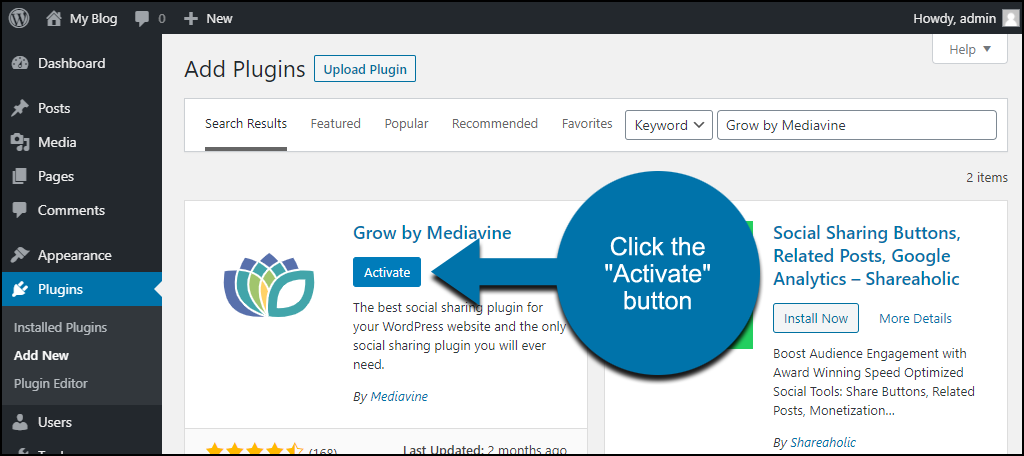
Now the plugin is installed, but it has to be activated before you can use it.
Click the “Activate” button.
That completes installation and activation. Now let’s move on to getting the Grow social plugin up and running on your website.
2. Initial Configuration of Grow by Mediavine
We’re using the free version of Grow, so we’ll only be covering the options available in the free version. More advanced and expanded functionality is available to users of the paid version.
When you activate the plugin, share buttons appear on your site immediately, without any further activation or configuration.
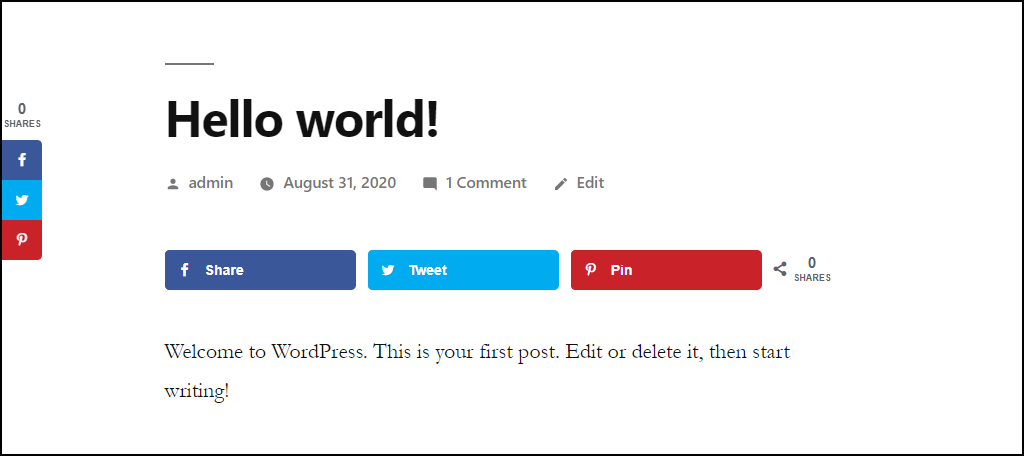
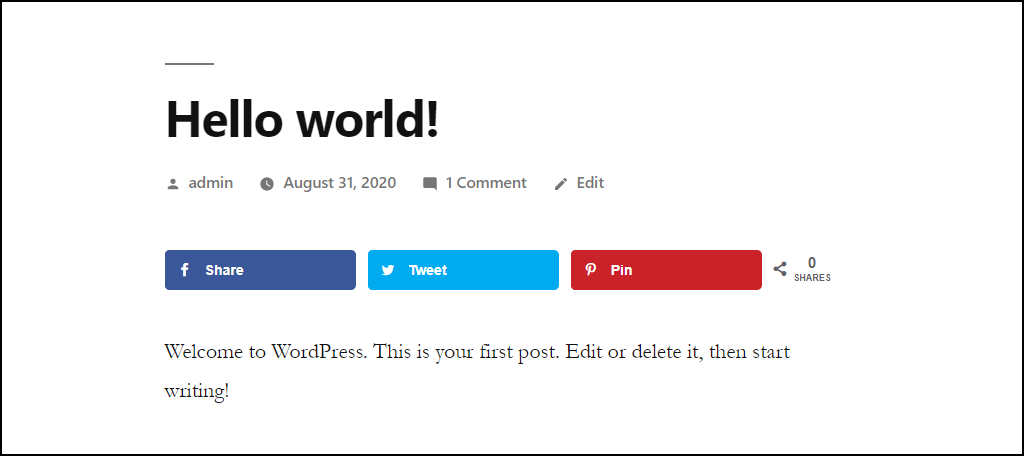
It places three share buttons (Facebook, Twitter, and Pinterest) both in a sidebar and at the top of your posts.
The share buttons are only displayed in the posts themselves, not in lists of posts, categories, or authors. So if your WordPress homepage is a list of your latest posts, no share buttons will be displayed.
However, when a visitor clicks into a post to read it, the buttons will appear.
The share buttons do not appear on pages by default. But we’ll show you how to add the buttons to your pages.
3. How to Select Which Social Share Buttons to Display
Our sharing button options are limited in the free version of the plugin. But there are a couple more that we can add. Let’s take a look.
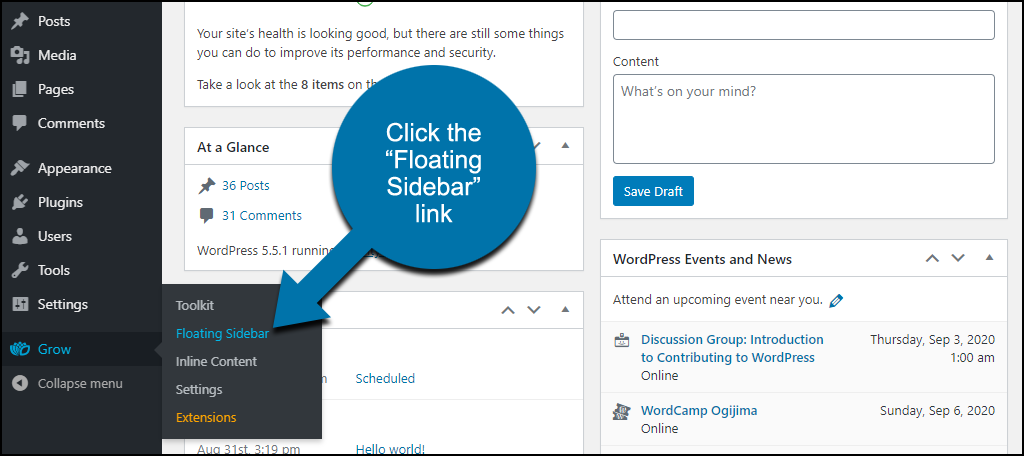
In the left column navigation, mouse over the “Grow” link and click the “Floating Sidebar” link.
This is where we’ll configure the sidebar link options, starting with which buttons to display.
Click the “Select Networks” button.
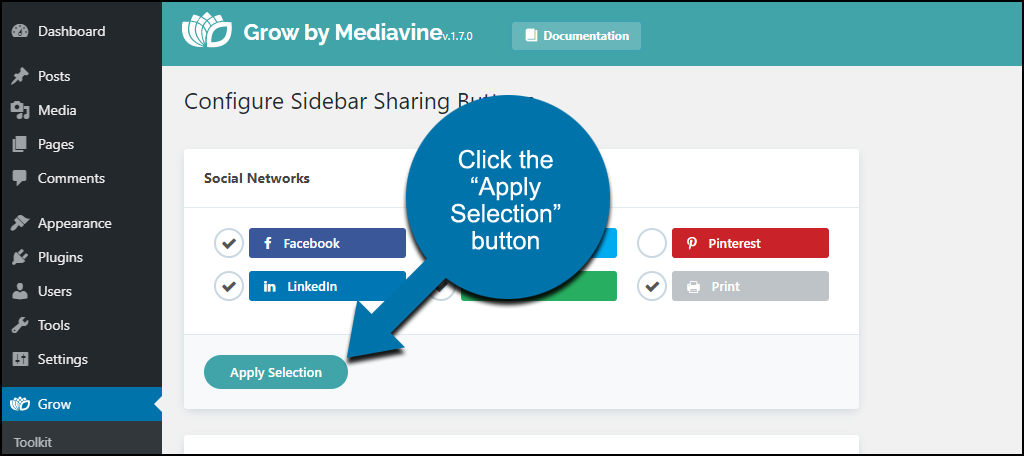
The available options are displayed in the “Social Networks” section.
Check which buttons you’d like to display and uncheck any you’d like to remove.
Click the “Apply Selection” button.
Next, scroll down to the bottom of the page to the “Save Changes” button and click it.
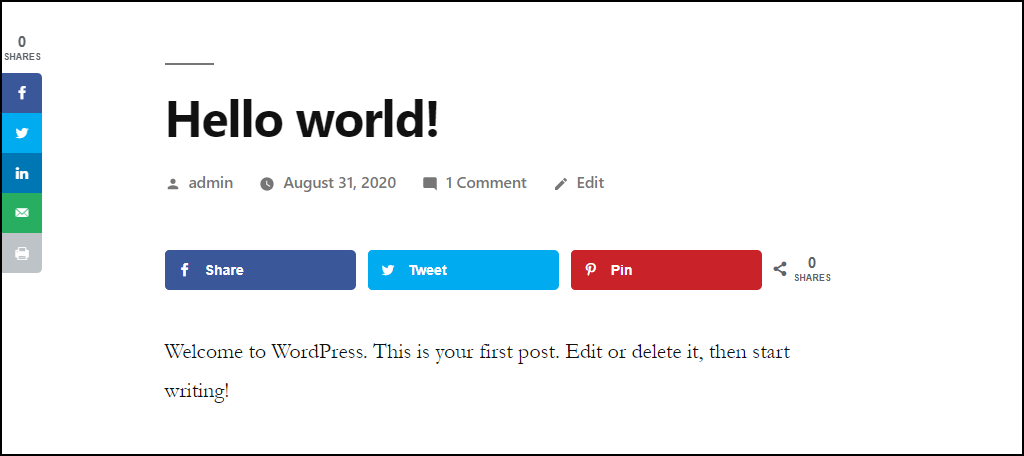
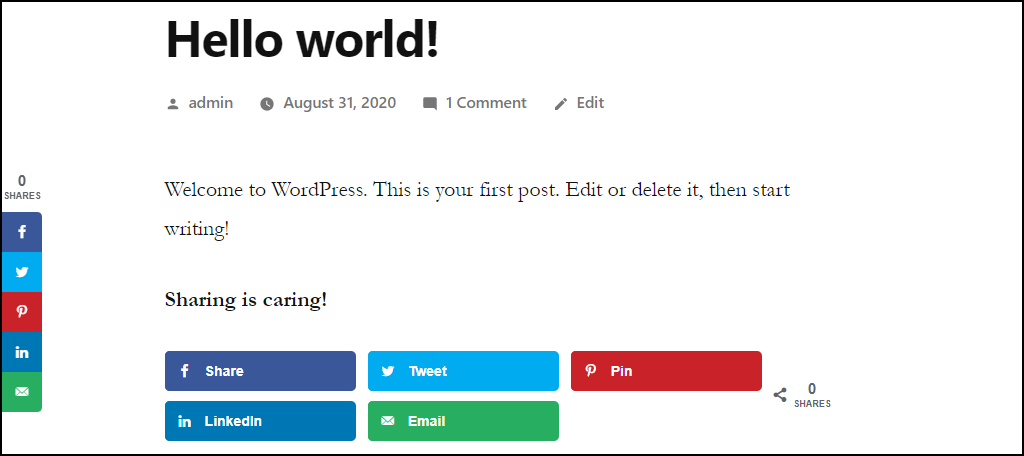
Then, if we go to the site, we can see that our changes have been made. There are now two additional buttons in the sidebar.
You may have noticed that the buttons in the body of the post are still the same. They are configured separately.
To change the buttons in the body of the posts, mouse over the “Grow” link and click “Inline Content.”
The settings there are the same as those we just went over for the sidebar links.
4. How to Change the Location of the Social Share Buttons
Now that we’ve seen how to add and remove buttons, let’s take a look at the location of the buttons.
Removing the Grow by Mediavine Social Share Buttons
What if we want to remove the buttons from the sidebar? How can we do that?
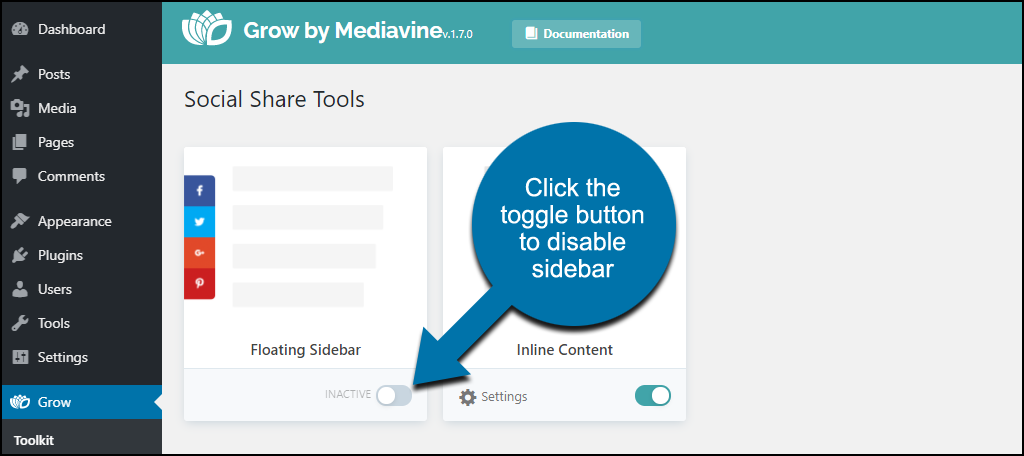
In the left column navigation, mouse over the “Grow” link and click the “Toolkit” link.
In the “Social Share Tools” section, you’ll see boxes for “Floating Sidebar” and “Inline Content.”
Click the toggle switch at the bottom of the “Floating Sidebar” box.
Now the sidebar links are gone.
To remove the share buttons from the body of the content, toggle the switch on the “Inline Content” box.
Moving the Grow by Mediavine Social Share Buttons
Let’s say we want to keep the buttons in the content body, but move them to a new location. Maybe we don’t want them to be so prominent at the top of the post.
In the left column navigation, mouse over the “Grow” link and click the “Inline Content” link.
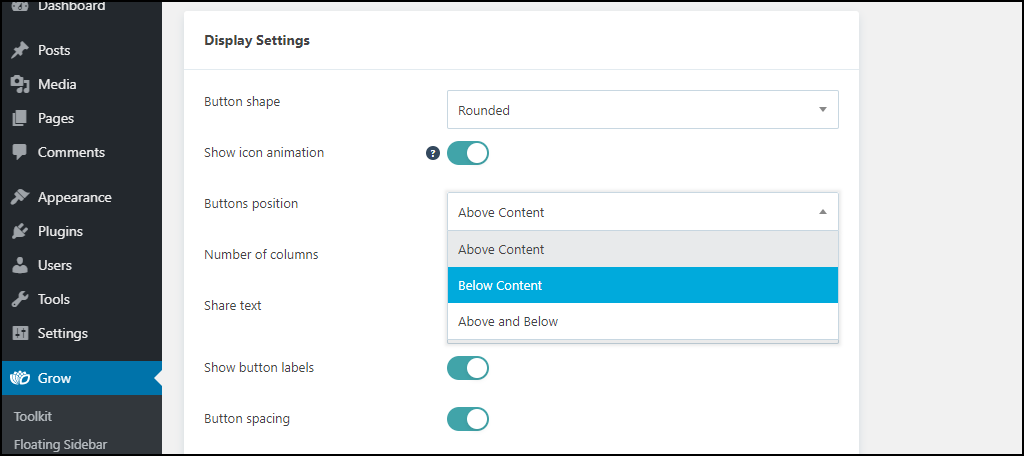
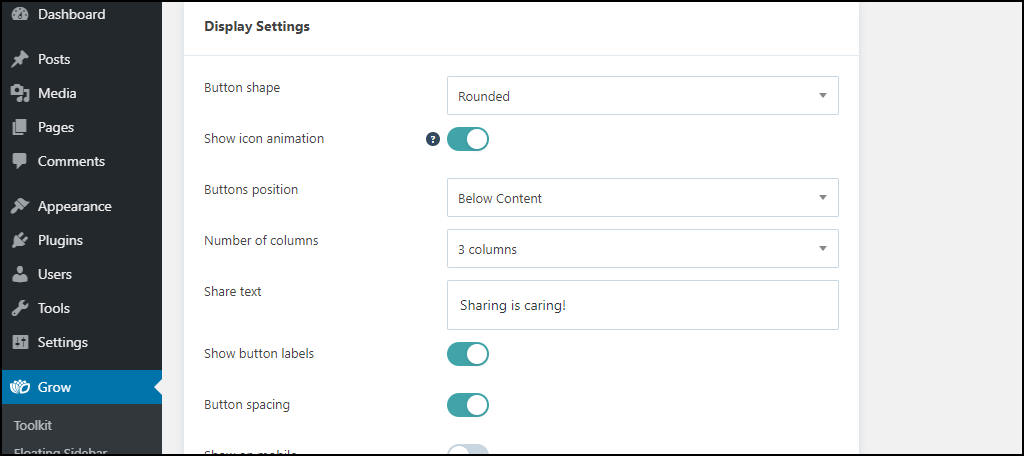
Scroll down to the “Display Settings” section.
In the “Buttons position” drop-down, choose “Below Content.”
Scroll down and click the “Save Changes” button.
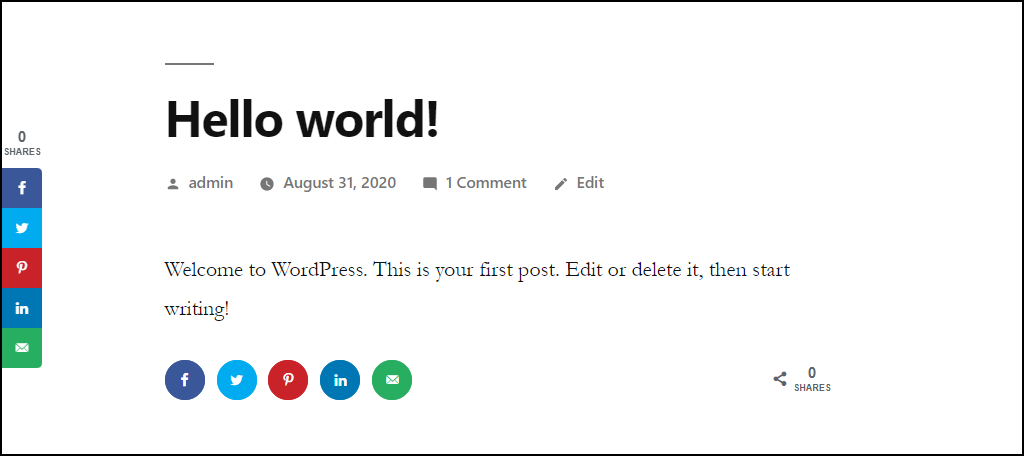
Now our buttons have moved below the content.
5. How to Change the Appearance of the Social Share Buttons
By default, the sidebar buttons are suitably small and unobtrusive.
But what about those buttons in the content? They’re pretty large and distracting. Let’s tame them a bit.
We’ll continue working in the “Display Settings” section of the “Configure Content Sharing Buttons” page. As you can see, there are a number of options here.
- Button shape – options are “Rectangular,” “Rounded,” and “Circle.”
- Show icon animation – options are on or off. This controls the mouseover animation in the buttons.
- Buttons position – options are “Above Content,” “Below Content,” and “Above and Below.”
- Number of columns – options are “Width Auto,” and then “1 Column” through “6 Column.”
- Share text – text field where you can enter a line to appear above the sharing links. Leave it blank to disable the button text. Note that this text appears on mobile displays, but by default, the share buttons do not. So the default plugin settings leave you with “Sharing is caring!” text on mobile but no share buttons.
- Show button labels – options are on or off. If this is off, only the social site icons will be visible in the buttons. If it’s on, the name of the site will also appear in the button along with the icon (space permitting).
- Button spacing – options are on or off. As the name suggests, turning this off removes the space between the buttons.
- Show on mobile – options are on or off. This defaults to off, but as mentioned above, the “Share text” will appear on mobile displays regardless.
- Mobile screen width (pixels) – this is essentially a specific breakpoint for the button display on mobile. I wouldn’t recommend entering a value here as the defaults appear to work fine.
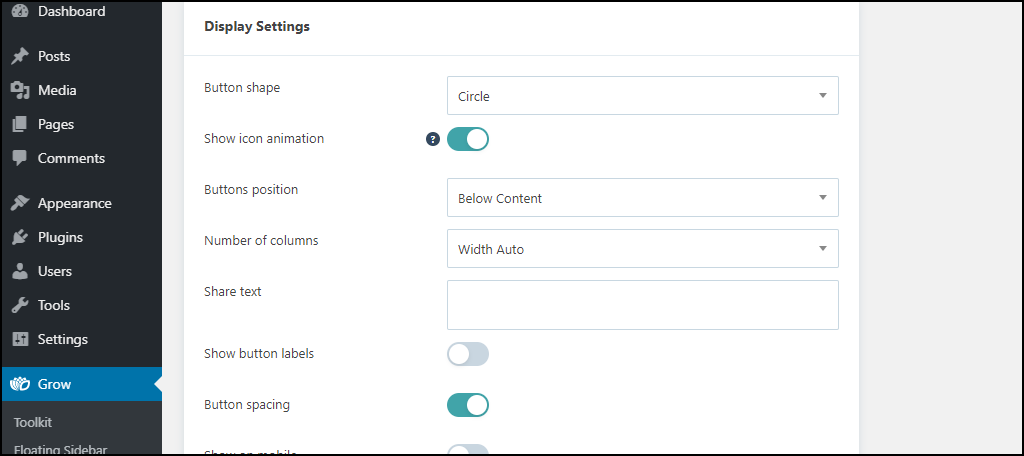
Okay, so to make our share buttons smaller, we’ll change “Button shape” to “Circle.”
I’ll also set the “Number of columns” to “Width Auto” and remove the “Share text.”
After I scroll down and click the “Save Changes” button, you can see our changes on the site.
5. Social Share Buttons Share Counts
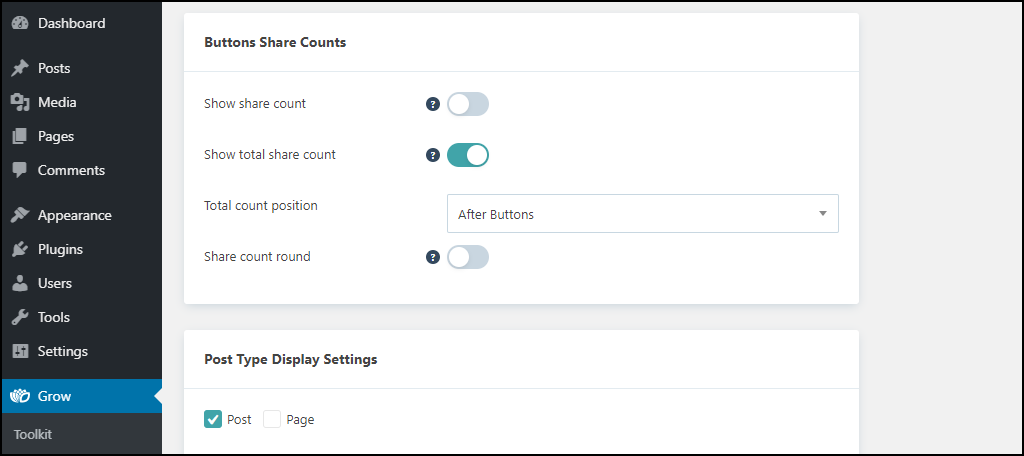
Now let’s move on to the “Buttons Share Counts” section of the “Configure Content Sharing Buttons” page. This is where we’ll find the settings to display the number of times a piece of content has been shared.
By default, “Show total share count” is on (as you see on our pages), and “Show share count” is off.
Whether you choose to display share counts is up to you, of course. But for a new or less active site, I would recommend that you not show share counts.
The reason for this is human nature. Many of us are less likely to share an article that has low share counts. When we don’t know the share count, we can make whatever assumption we’d like, meaning we’re more likely to share.
On a popular or highly trafficked site, the share numbers can be beneficial. But until you get there (if you aren’t already), consider leaving the share counts off.
6. Adding Social Share Buttons to Pages
So far, our social share buttons have been appearing on our posts. But can we also make them appear on pages?
The answer is yes, and you’ve probably already seen the setting since it’s just below the “Buttons Share Counts” section.
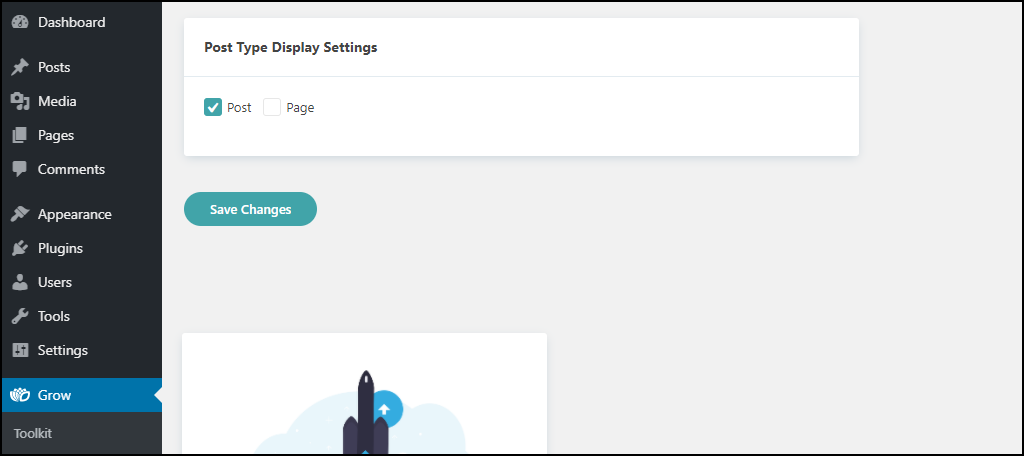
It’s called “Post Type Display Settings,” and it’s the last item in both the “Floating Sidebar” and “Inline Content” settings.
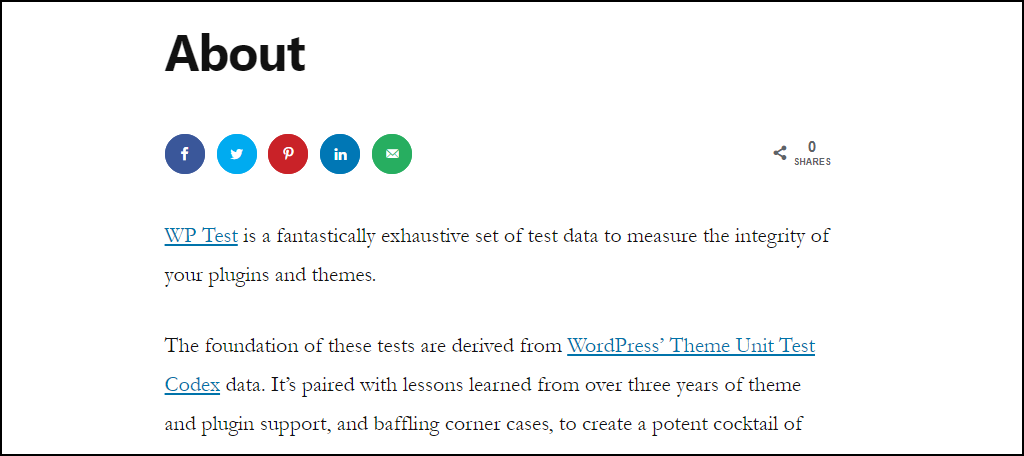
It’s pretty simple to use. As you might expect, you check the “Page” box and click the “Save Changes” button. Once you do that, the share buttons appear on your pages.
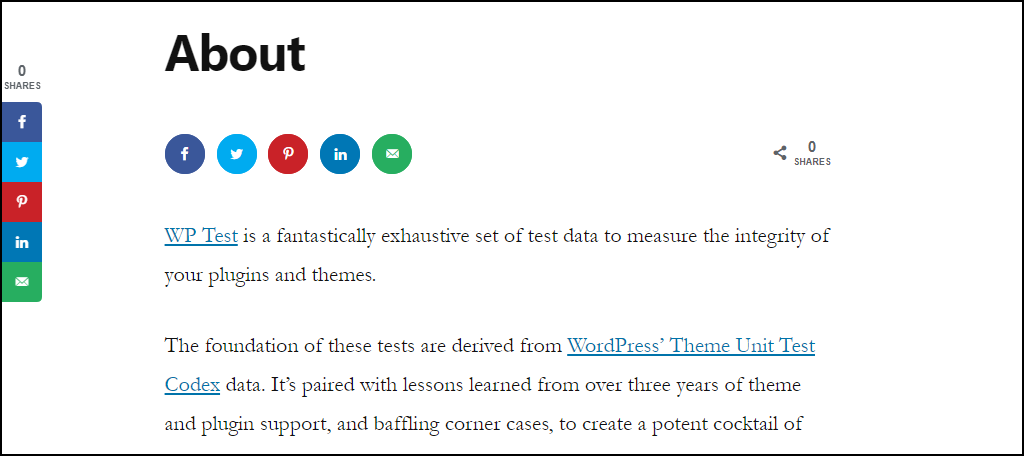
To add our sidebar links to pages, we’d do the same thing. Check the “Page” box and click the “Save Changes” button, only we’ll do it in the “Floating Sidebar” section.
Then the sidebar share buttons appear on your pages.
What Happens if You Uninstall the Grow by Mediavine Plugin
If you uninstall the plugin, pages and posts that used the plugin will be affected. The social share buttons will no longer be displayed.
Grow More Social With Grow by Mediavine
We didn’t cover everything Grow can do, but we touched on all the controls you need to get started. And again, the paid version of the plugin has more to offer as far as sharing destinations.
You might be thinking that the WordPress Jetpack plugin also creates share buttons, and it provides more destination options. That’s true when it comes to the free version of Grow. The drawback in Jetpack is the button appearance and placement are not as customizable as they are with Grow.
So which one is better for you depends on whether you want to trade customizability for more share destination options.
However you implement them, the best thing about social sharing buttons (for you, the site owner) is that they’re passive. You don’t have to spend time promoting your posts on social media; your readers do it for you.
Of course, your own promotion is still valuable. But there’s strength (and legitimacy) in numbers.
Do you use social sharing buttons on your WordPress site? Do you display share counts?
Let me know in the comments. I’d love to hear from you.

