What is a Google opt-out, and why might you need to provide it?
Websites track visitors in a number of ways. Even if you aren’t using a stats program like Google Analytics, your web server keeps visitor logs. And if you do any affiliate advertising or remarketing, your visitors are being tracked.
In 2018, the European Union enacted a law called General Data Protection Regulation, or GDPR, that provided privacy laws for the residents of all EU member states. Among other things, the GDPR allows EU residents the “right to be forgotten,” which means if someone from the EU asks you to remove any data related to them from your site, you have to comply with the request or face fines.
If Users Can’t Register or Upload Data to My Site, Does GDPR Affect Me?
If you collect visitor browsing data through server logs or Google Analytics, GDPR rules require that you provide visitors with an analytics opt-out method to avoid being tracked. So yes, GDPR can apply to you even if your site doesn’t accept any user input.
Today, we’re going to talk about Google Analytics in particular since it is used by so many websites. Fortunately, it’s easy to comply with GDPR with the Google Analytics Opt-Out plugin. Let’s get it set up on your WordPress site and take a look at how it works.
It’s worth noting that the opt-out method used by this plugin is browser-dependent. So a user may opt-out of data collection on your site in one browser, but if they visit in another browser, they will be given the option to opt-out again.
Installing the Google Analytics Opt-Out Plugin
Log in to your WordPress admin panel.
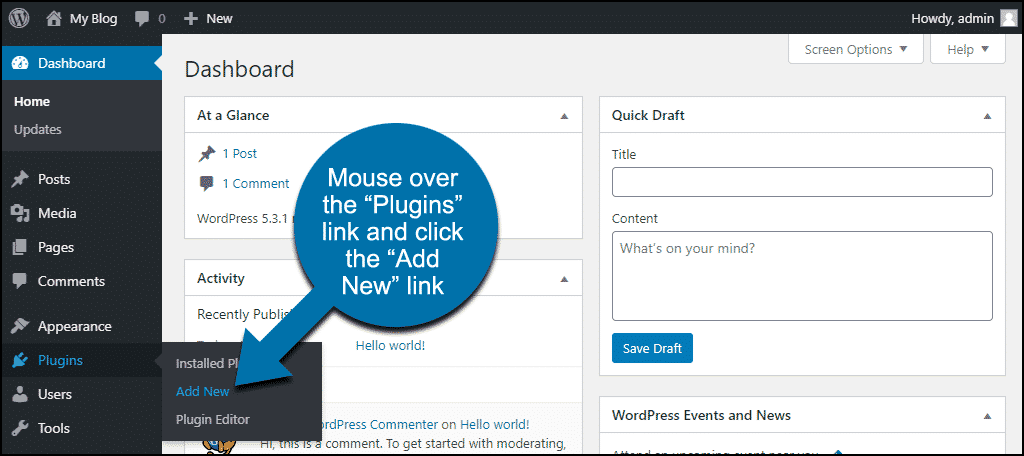
In the left column navigation, mouse over the “Plugins” link and click the “Add New” link.
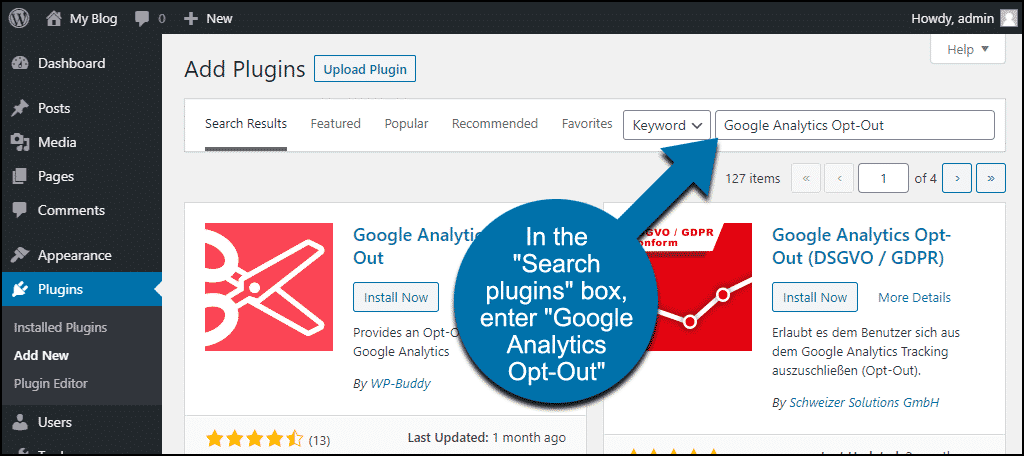
In the “Search plugins…” box, enter “Google Analytics Opt-Out.”
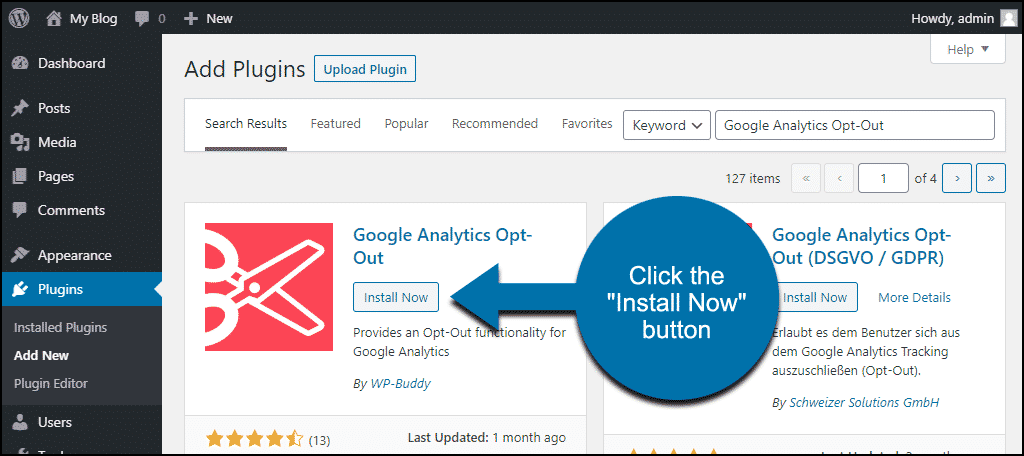
Once you have located the plugin, click the “Install Now” button.
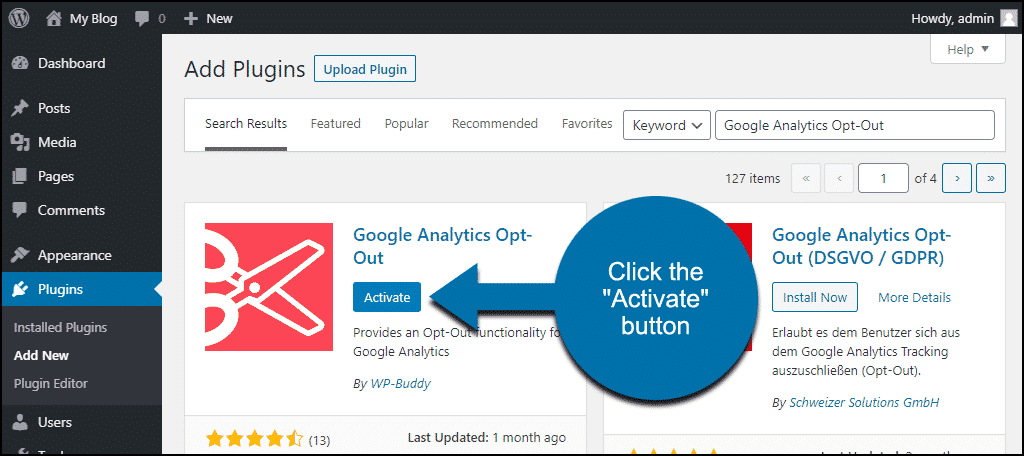
Click the “Activate” button.
Configuring Google Analytics Opt-Out
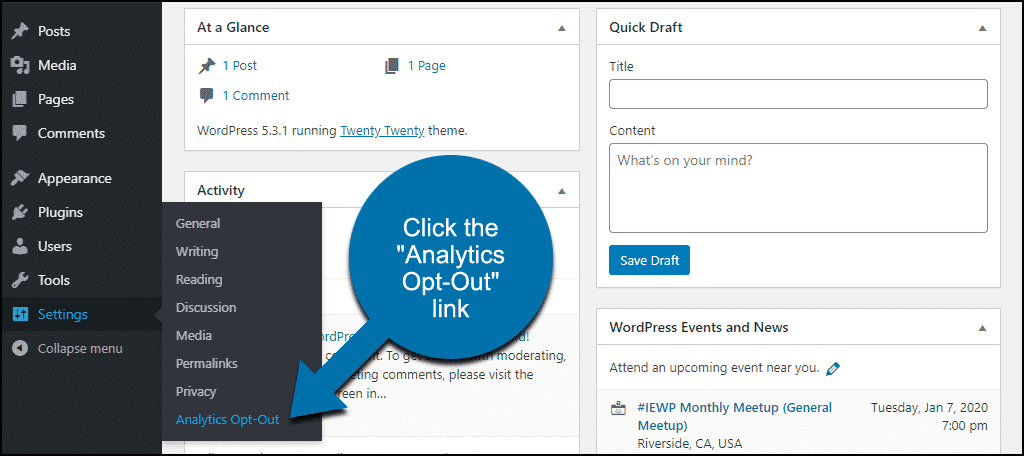
In the left column navigation, mouse over the “Settings” link and click the “Analytics Opt-Out” link.
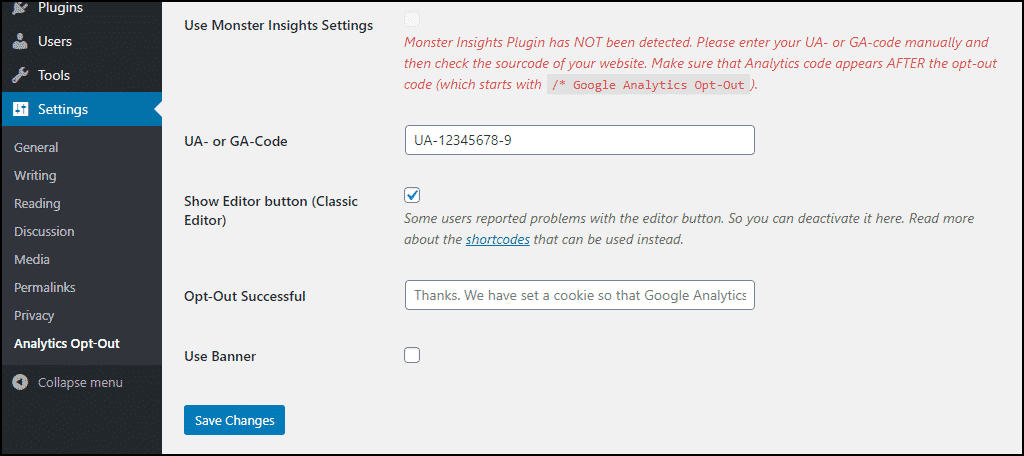
To activate the opt-out plugin, enter your Google Analytics code in the “UA- or GA-Code” field. The Analytics code is in the format UA-12345678-9. You can find it in your Google Analytics dashboard.
Check the “Show Editor button (Classic Editor)” box.
Update the “Opt-Out Successful” text if you’d like.
Click the “Save Changes” button.
Adding the Google Opt-Out Option to a Page or Post With the WordPress Gutenberg Editor
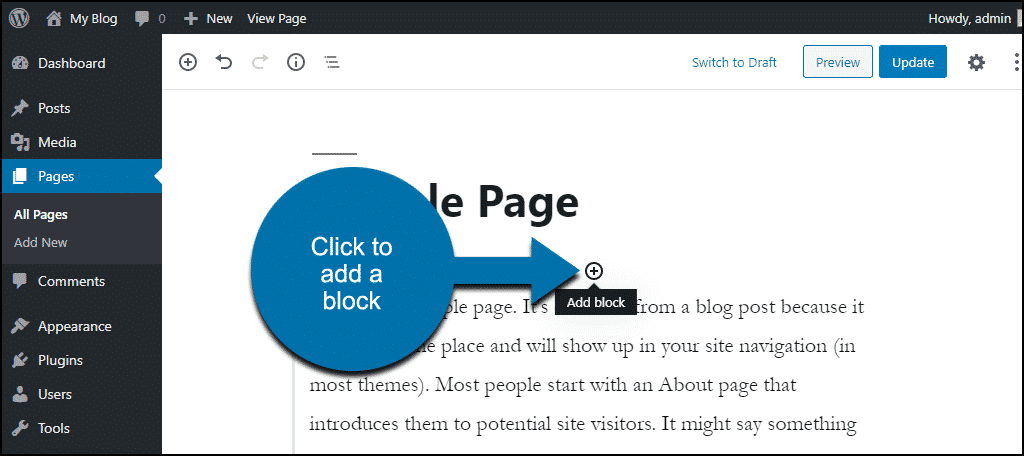
Click the “add block” icon.
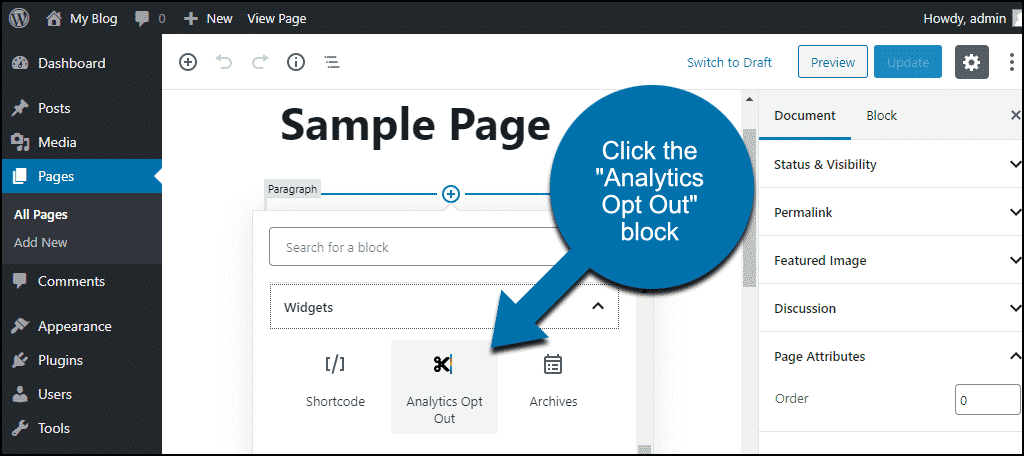
In the “Widgets” section, click the “Analytics Opt Out” block.
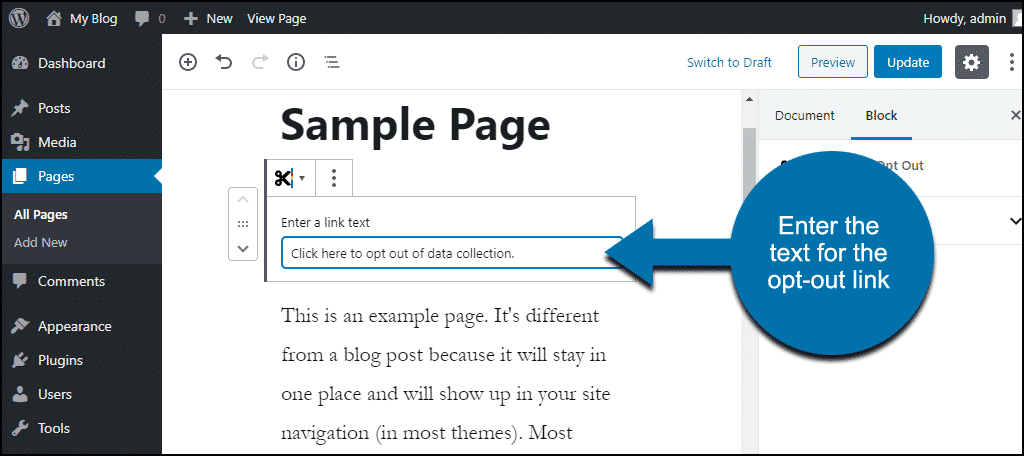
Enter the text you want to use for the opt-out link and update the page or post.
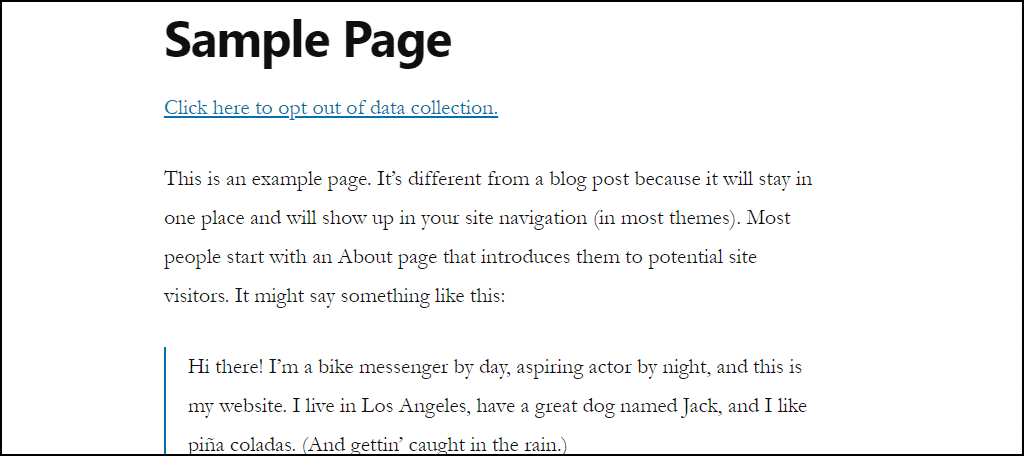
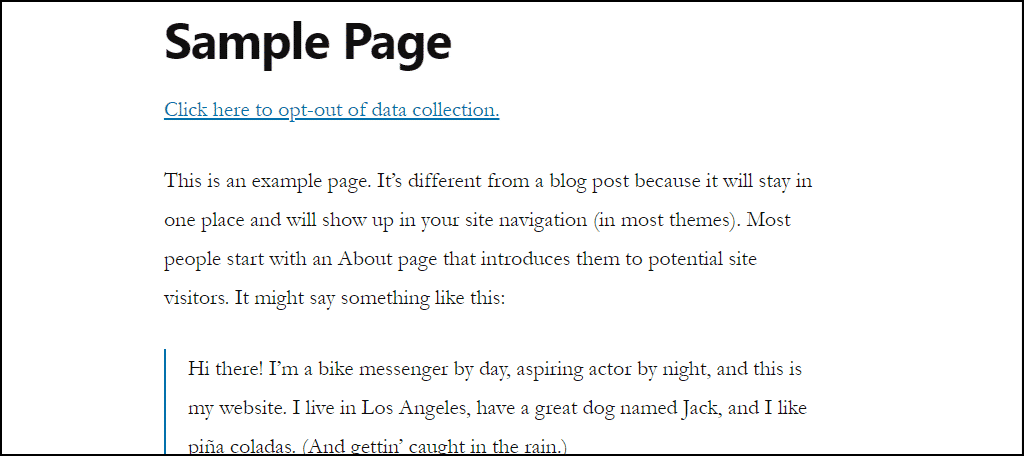
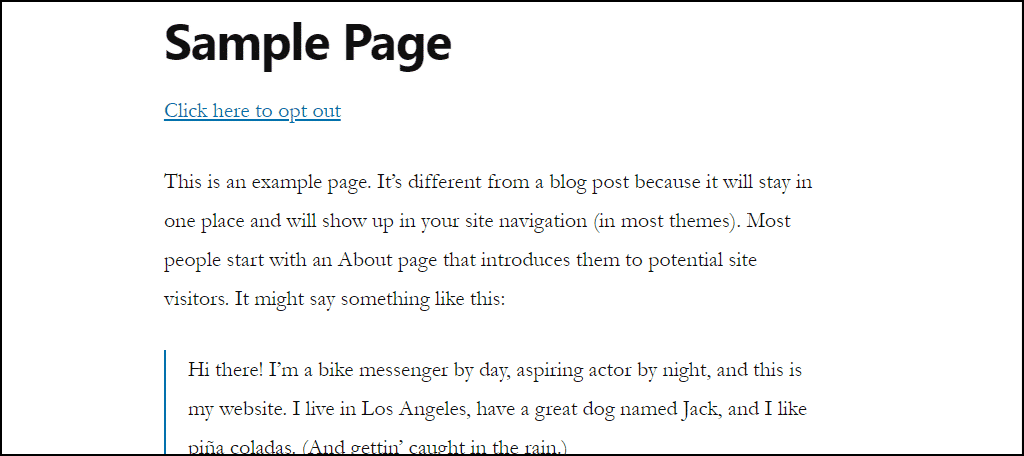
Now the opt-out link appears on the page.
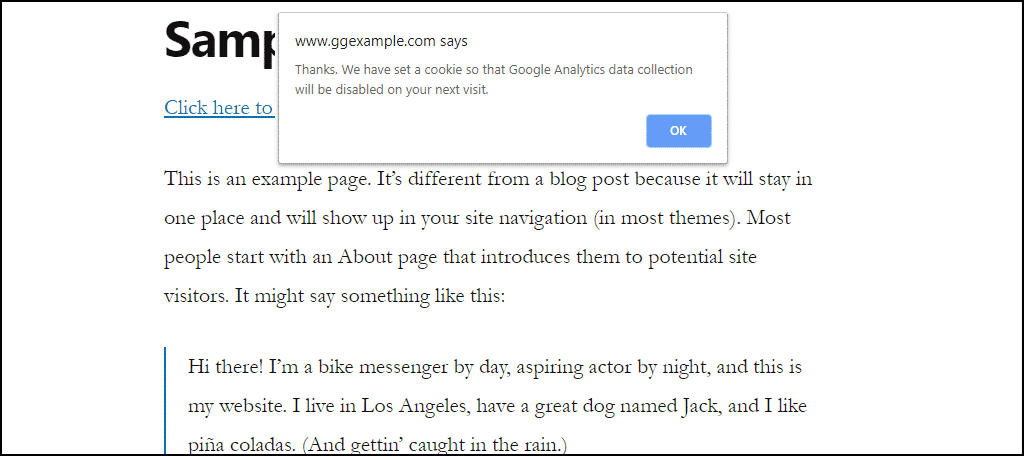
When a visitor clicks the link, they’ll get a confirmation pop-up.
If you think you may want to use the banner to put a link on every page, don’t click the opt-out link yourself. If you do, you’ll have to open another browser to see the banner to configure it.
Adding the Google Opt-Out Option to a Page or Post With the “Classic” WordPress Editor
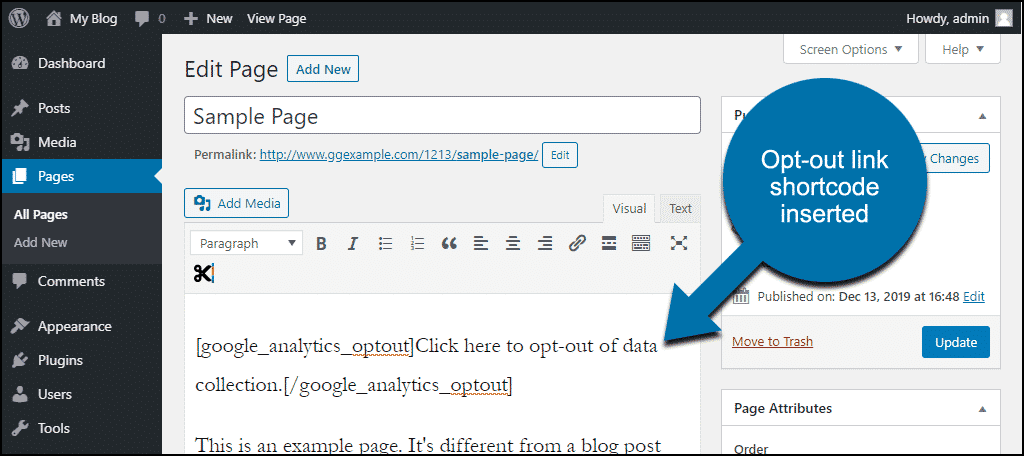
Open up a page or post in the editor, and you’ll see an opt-out link icon.
Click it to add the shortcode for the opt-out link to the page or post. You can change the link text in the shortcode.
Save the edit, and the link will appear on the page.
To Automatically Add an Opt-Out Banner to Every Page of Your Site
If you want an opt-out banner to appear on every page of your site, go back to the “Analytics Opt-Out” section in the “Settings” section of your WordPress admin panel.
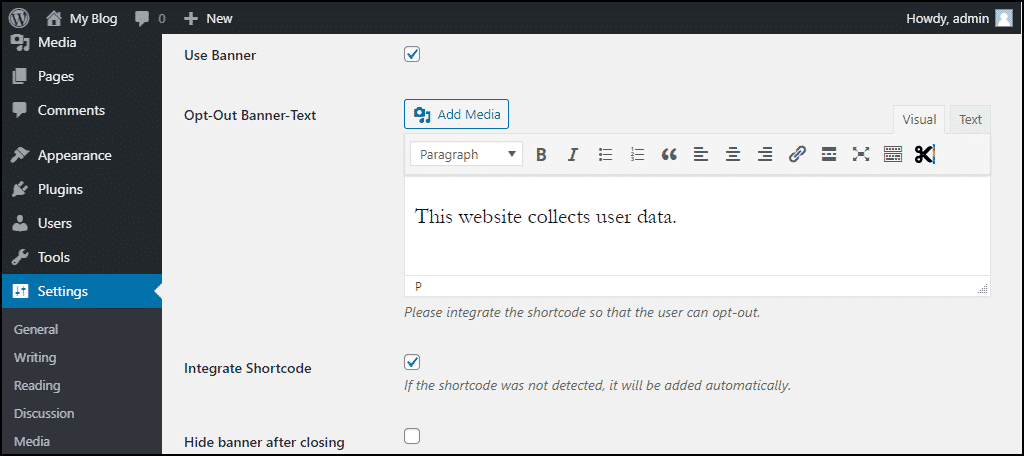
Check the “Use Banner” box. That will open up some new options.
Opt-Out Banner-Text – enter your opt-out text here. The plugin automatically creates a link with the text, “Click here to opt-out,” so any text you enter here will appear before that link.
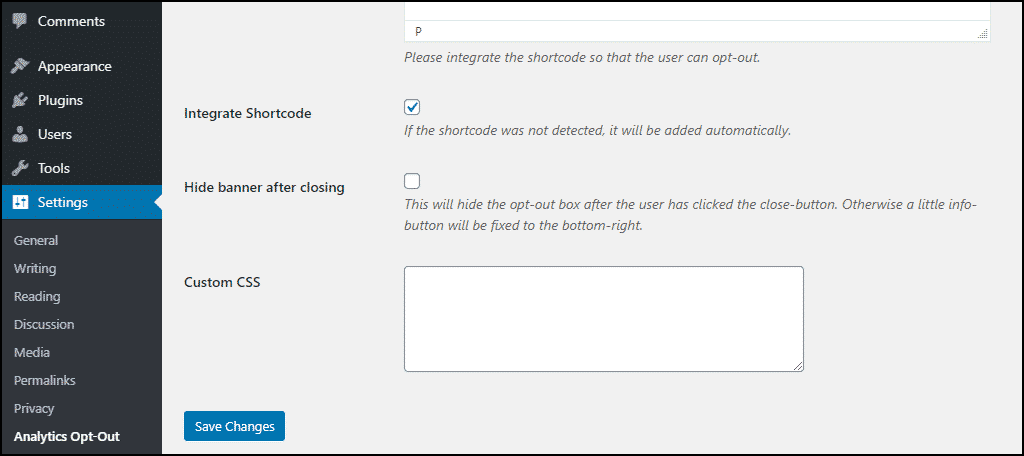
Integrate Shortcode – check this box.
Hide banner after closing – check this box if you want the notice to disappear entirely after a visitor clicks the opt-out link.
The plugin documentation says that an “info-button will be fixed to the bottom-right” of the page if you don’t check the box, but I didn’t find that to be the case.
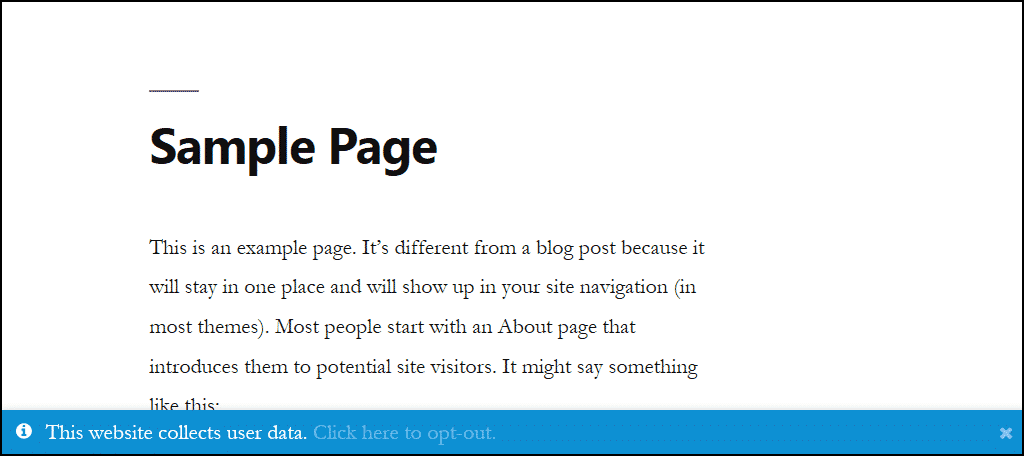
Custom CSS – by default, the banner is blue with white text (see below). You can use CSS here to integrate the banner with your site design. The CSS class for the banner is “gaoop.” So for example, if you wanted to make the banner background light grey and the text and link black, you would enter this in the “Custom CSS” field:
.gaoop {
    color: #000000;
    background-color: #ECECEC;
}
.gaoop a {
    color: #000000;
}
When you’ve made your adjustments, click the “Save Changes” button.
Now a banner should appear at the bottom of each page of your site.
What Happens if You Uninstall the Plugin
Uninstalling the plugin will have no effect on your site if you only used the site-wide banner and didn’t insert the opt-out shortcode on any pages or posts.
If you inserted the opt-out shortcode using the Gutenberg editor, the opt-out links will still be on the pages or posts, but clicking the link won’t do anything.
If you inserted the opt-out shortcode using the “classic” editor, the opt-out link shortcode will be displayed on the pages or posts.
So if you used the shortcode on any posts or pages, regardless of the editor you used, you’ll have edit the content to remove the link or shortcode.
Do I Really Have to Worry About Complying With GDPR Rules?
I’m not a lawyer, so I can’t give you legal advice. Having said that, if your site doesn’t operate in the EU or serve visitors from the EU, and you don’t accept visitor input (that includes comments), you probably aren’t in danger of running afoul of GDPR. But realistically, you can’t prevent a resident of the EU from visiting your site, so the laws effectively cover every site on the internet.
Have you taken any steps to comply with GDPR rules? Do you use a different GDPR plugin on your WordPress site? Let me know in the comments.

