Have your thumbnail images become distorted? If so, you can regenerate thumbnails in WordPress to fix their quality and add new sizes. A thumbnail, often known as the featured image in WordPress, is an image that visitors will see first when searching for your content.
If the thumbnail has low quality or is generic, most people will not click on it.
Thus, you need to make sure your thumbnails look their absolute best. Today, I will demonstrate how to regenerate thumbnails in WordPress using the Regenerate Thumbnails plugin.
What Exactly Does Regenerate Thumbnails Mean
Whenever you upload an image to your media library, WordPress makes multiple copies. Each copy is a different size including Thumbnail, Medium, Large and Full Size.
However, these image sizes are only available when an image has been uploaded with your current theme activated.
What this means is that if you upload an image and then change your theme, you will not have access to these other image sizes. This can result in the image being resized or removed from your website.
In the case of thumbnails, that can be really devastating to your click-through rate, or CTR.
However, by regenerating the image, you can restore all of the previously created image sizes to their full glory.
Installing Regenerate Thumbnails
The Regenerate Thumbnails plugin is very popular with over 1 million active installs. It makes regenerating thumbnails quick and easy to do. In just a few simple clicks, you can regenerate any image on your WordPress website.
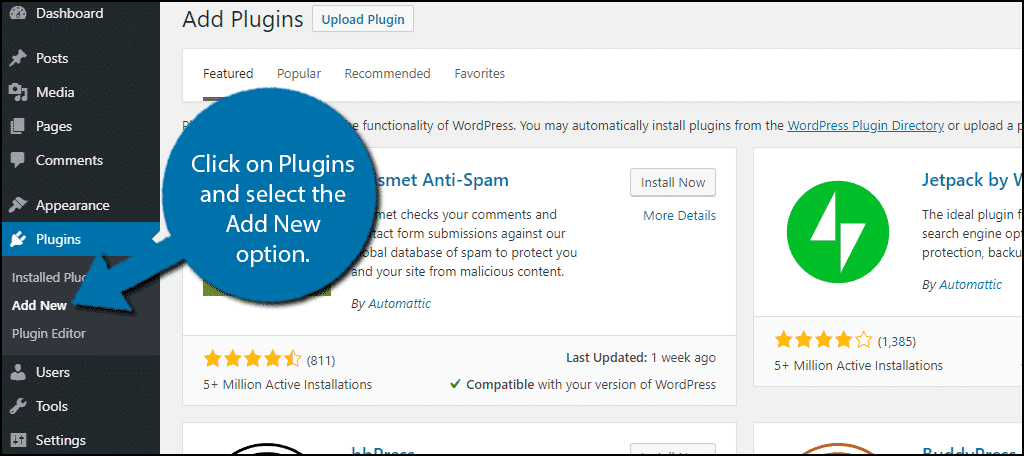
Let’s start by clicking on Plugins and selecting the Add New option on the left-hand admin panel.
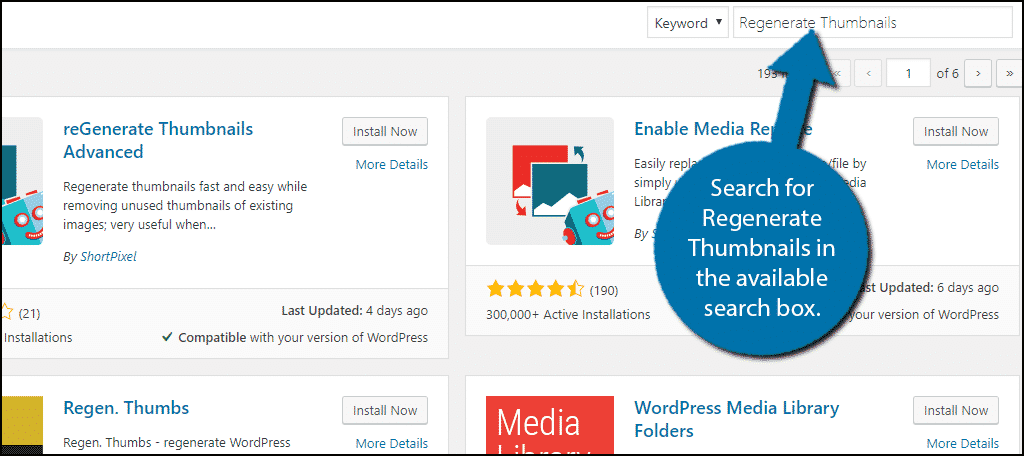
Search for Regenerate Thumbnails in the available search box. This will pull up additional plugins that you may find helpful.
Scroll down until you find the Regenerate Thumbnails plugin and click on the “Install Now” button and activate the tool.
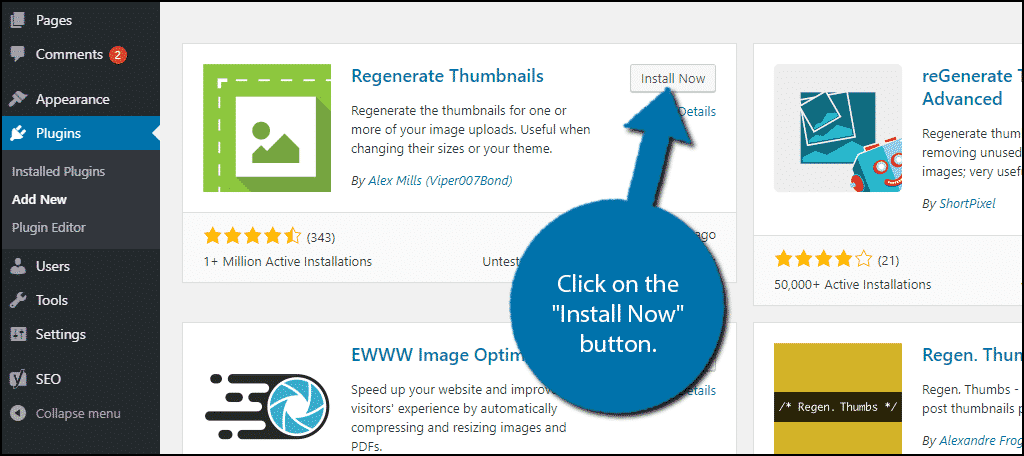
Unlike most plugins where you need to configure the settings, this plugin works after activation.
Using Regenerate Thumbnails
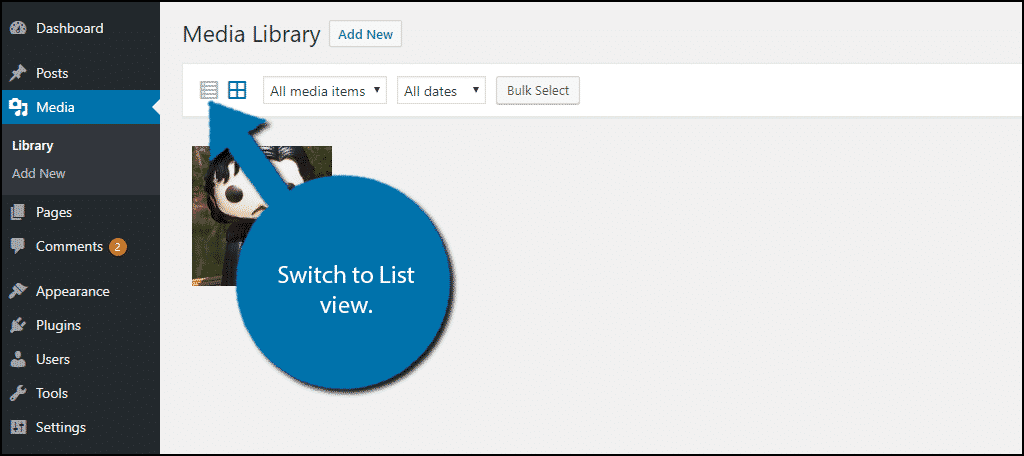
This is one of the easiest plugins to use. On the left-hand admin panel, click on Media and select the Library option.
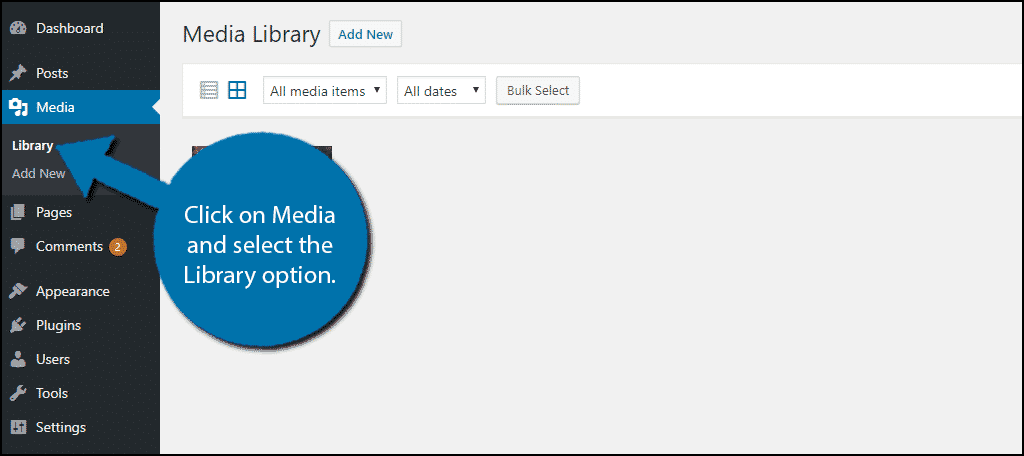
The media library is where all if the images you upload are stored. Switch your media library from Grid view to List view.
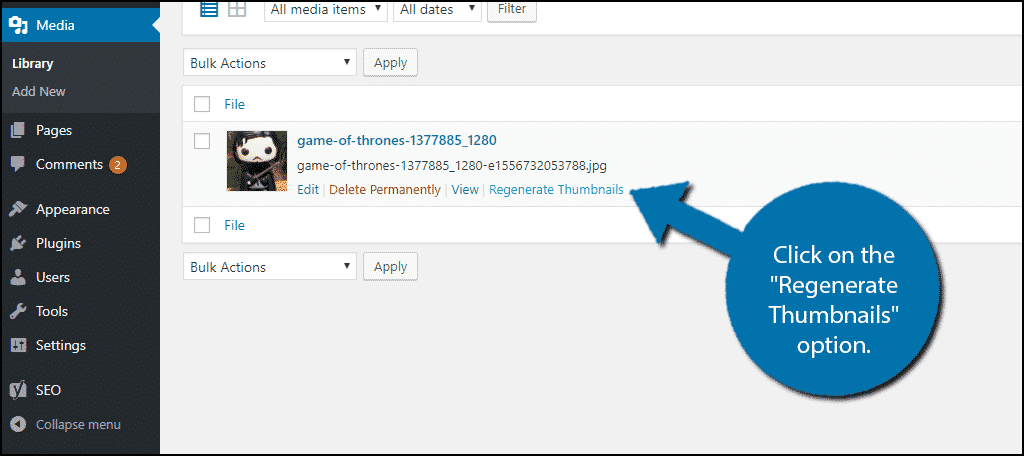
Hover over the image you wish to regenerate and click on the “Regenerate Thumbnails” option.
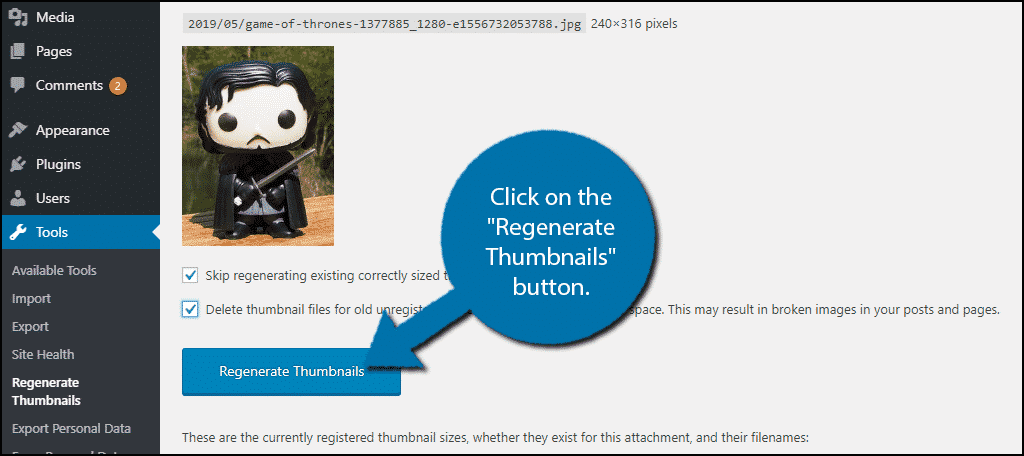
You will now be brought to the Regenerate Thumbnails tools page. You should see the image you selected at the top.
Underneath the image, you will see two checkboxes.
The first is checked by default and makes sure you do not regenerate an image that has the correct sizes available. Essentially, it makes sure you do not waste space on the website.
The second is unchecked by default. It deletes all of the unusable image sizes stored on your website. If you plan on sticking with your current theme, I recommend checking the box.
Click on the “Regenerate Thumbnails” button when you are ready.
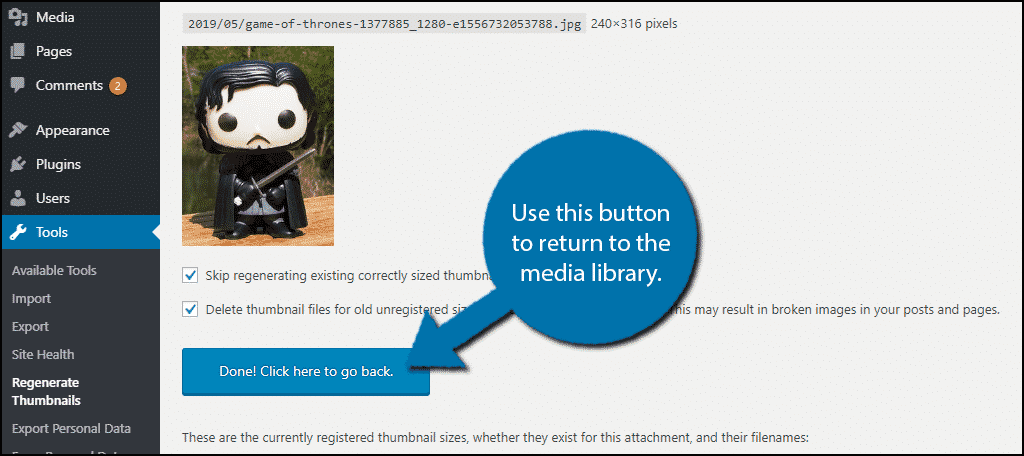
The plugin will now regenerate the image sizes. When it is done, the button will transform into the ” Done! Click here to go back.” button. You can click on it to return to the media library and select another image.
Congratulations, you have successfully regenerated your WordPress thumbnails. You can repeat these steps to regenerate as many images as necessary.
Make Sure Your Thumbnails Look Great
Thumbnails are without a doubt the most important images you add into WordPress. Whether it is on your website’s pages or your social media profiles, the thumbnail will make the first impression on a visitor.
Regardless of how good your content is, if you cannot capture their attention with the thumbnail or title, no one will read it. For this reason, it is imperative that you make sure your thumbnails are visible and appealing everywhere they appear.
How easy did you find the Regenerate Thumbnails plugin to use? Did you recently change your WordPress theme?
