Are you looking for a way to display social stats in WordPress? Normally you would need to check each social media profile individually, and that can get annoying. Instead, you can view all of your social media profiles in one place.
Using social media in WordPress is crucial to creating an environment that visitors like. There is a reason almost every site worth going on has social media buttons.
Today, I will demonstrate how to display social stats in WordPress using the Social Counter plugin.
The Importance of Social Media
Ever since social media has been introduced, it has completely dominated the Internet. Since that time, a plethora of social media websites has risen and fallen.
Today, Facebook, Twitter, YouTube, Instagram and many others generate billions, yes with a B, of views every month.
The hardest part of starting a website is getting attention. You can easily spend months with almost zero return when starting out. However, social media platforms have made it much easier to get started.
And tapping into that potential is crucial.
The best part about WordPress is its adaptability. For this reason, integrating social media in WordPress has never been easier. There is a wide variety of plugins for multiple social media platforms, and adding them to your website is easy.
Installing Social Counter
Social Counter is a free plugin to use that allows you to view the 7 major social media platforms. They include Facebook, Twitter, Google+, Instagram, Youtube, Sound Cloud and Dribbble. However, there is a premium upgrade that raises that number up to 18 and adds additional features.
Although Google+ has been shut down, the plugin still works beautifully with those platforms still up an running.
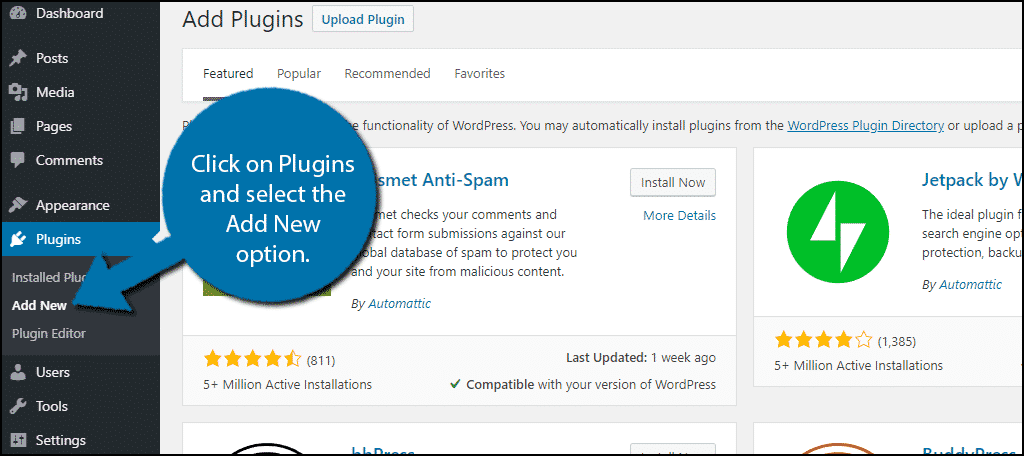
Let’s begin by clicking on Plugins and selecting the Add New option on the left-hand admin panel.
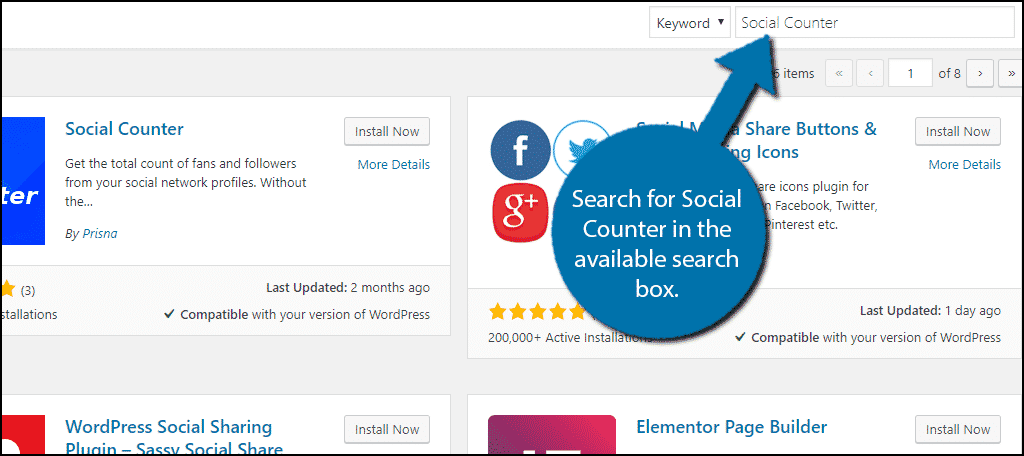
Search for Social Counter in the available search box. Similar plugins will appear that you may find helpful.
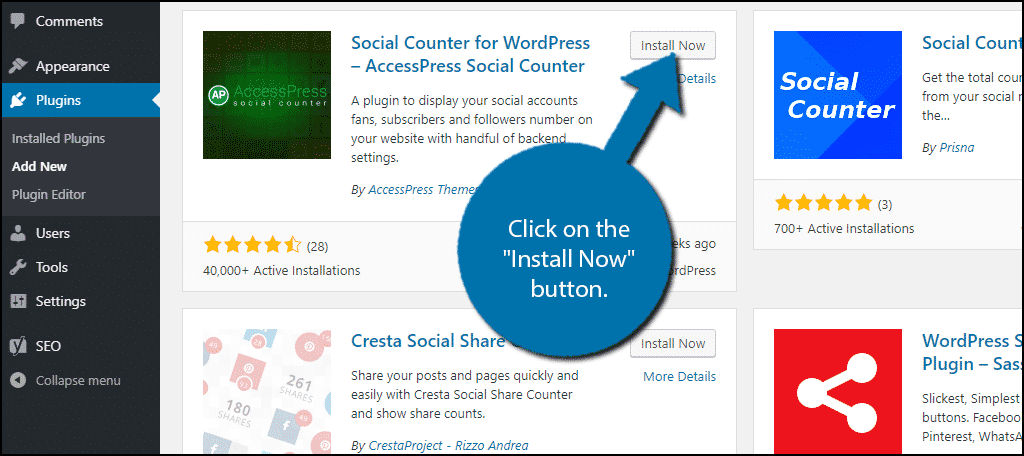
Scroll down until you find the Social Counter plugin and click on the “Install Now” button and activate the plugin for use.
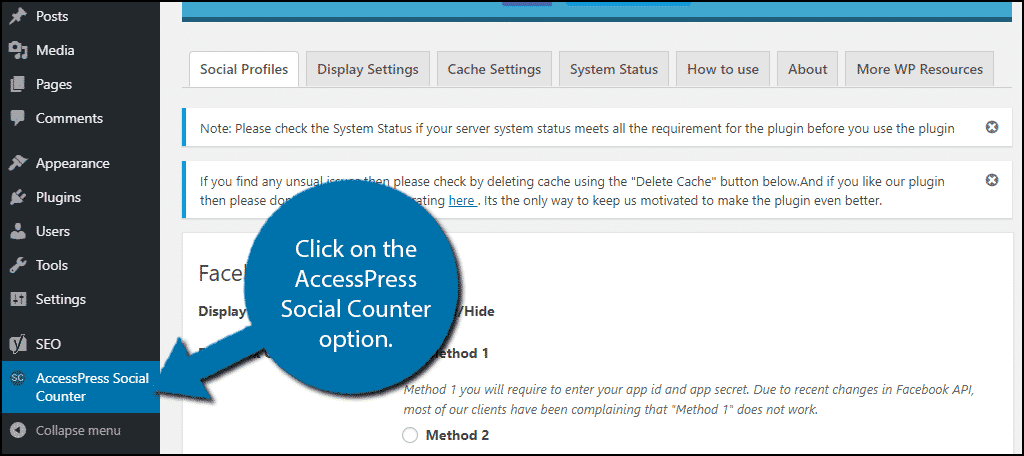
On the left-hand admin panel click on the AccessPress Social Counter option. This will pull up the main settings page.
Setting Up Social Counter
The Social Counter settings are broken up into 7 tabs. Social Profiles, Display Settings, Cache Settings, System Status, How To Use, About and More WP Resources.
The last four tabs are for user help and are not needed to configure the plugin.
The first tab, Social Profiles, has different sections available – one for each social media platform. However, you will also have a Posts and Comments section that allow you to show/hide the counters in those areas.
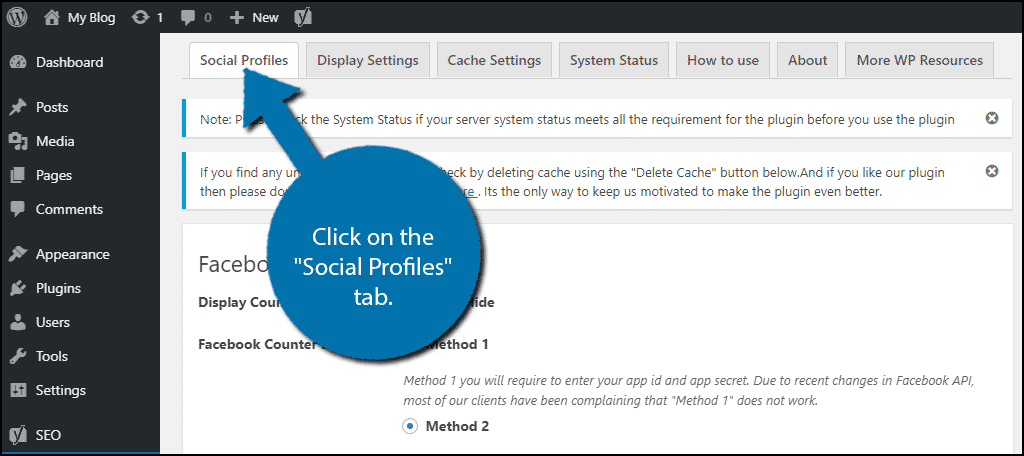
While there are 7 social platforms available, you do not need to use them all. Regardless of which social media channels you choose, you will need to add the platform’s information accordingly.
The first section is for Facebook. The plugin offers you two methods. However, the plugin recommends using method 2 because of a recent change in the Facebook API.
Method 2 involves clicking on the “FB Connect” button and using a third-party API “WidgetPack” to enter all of the information. The plugin ensures that your Facebook login information will not be stored.
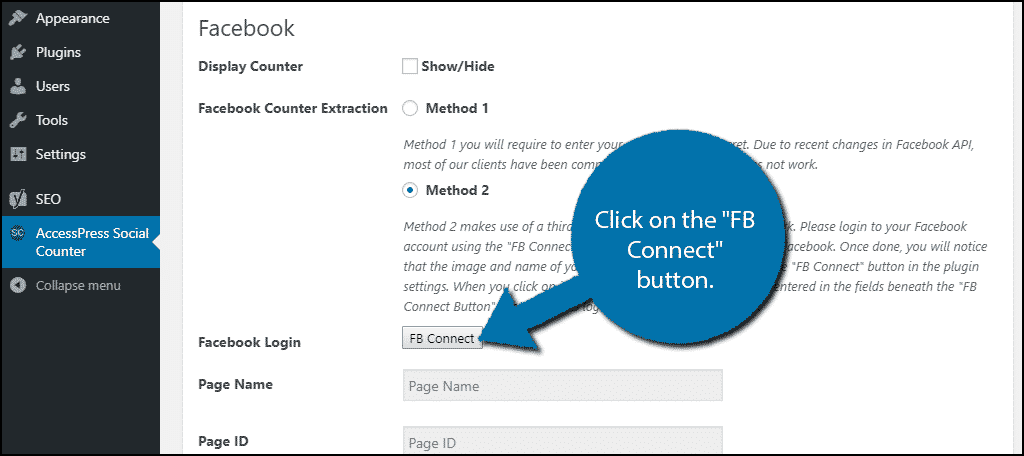
The information should be entered automatically when done correctly.
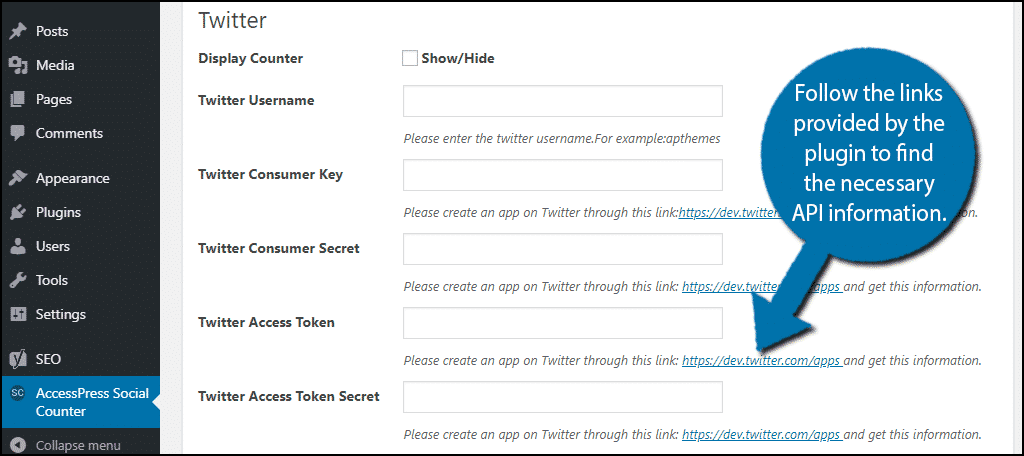
The other 6 social media platforms will require a combination of account information and API keys. The plugin makes it easy to gather this information by providing the necessary links for each API key.
Enter the necessary information for each platform you wish to track.
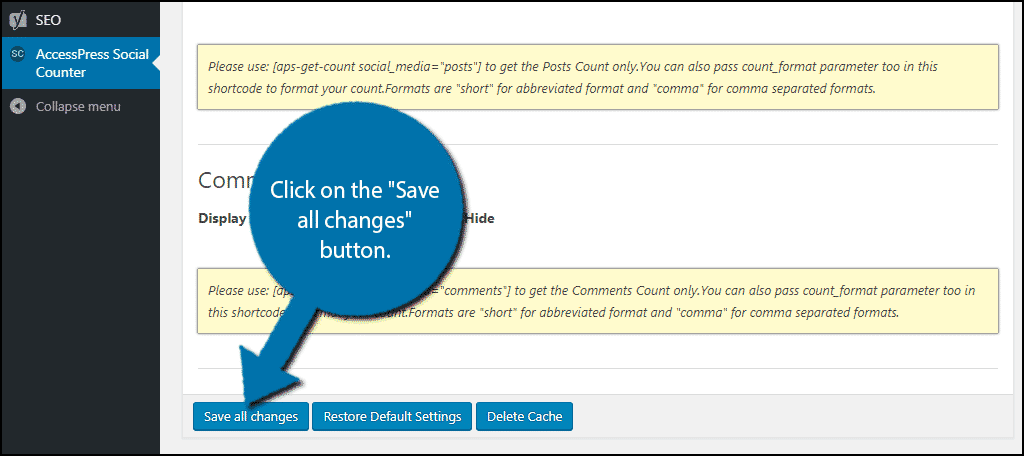
Once all of the information has been entered, click on the “Save all changes” button.
Display Settings
Click on the Display Settings tab.
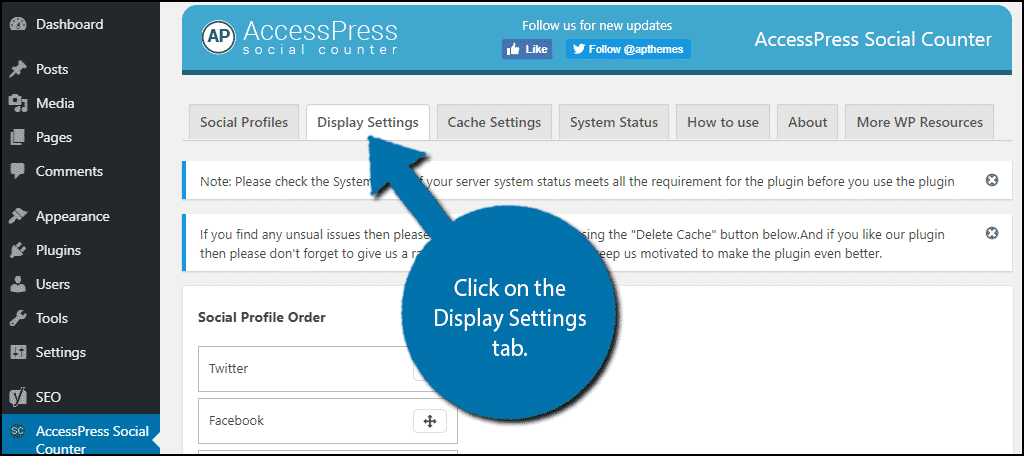
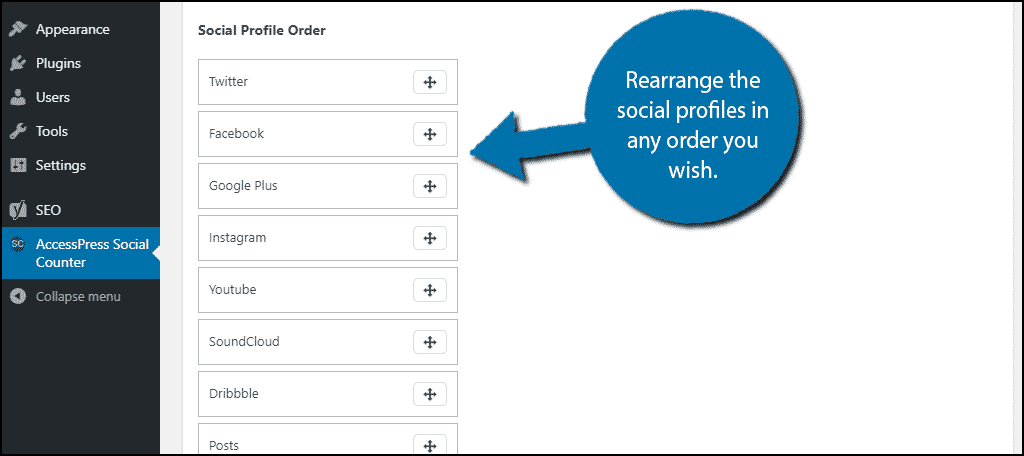
Here you can tweak how the end results will look. The first choice to make involves the viewing order. You can rearrange the order to meet your needs. For example, if YouTube is your most important social media platform, display that first.
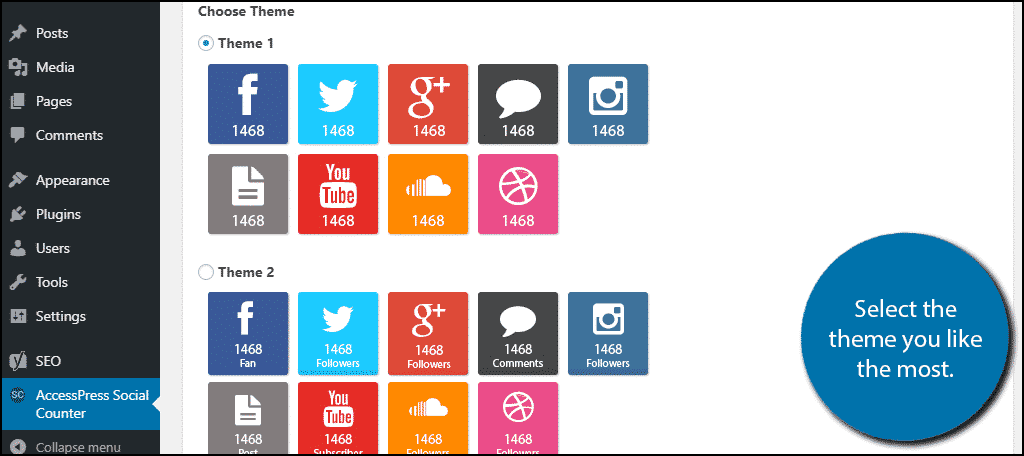
Below you will find five themes that you can choose from. The theme will match the social profile order that you chose in the last step, but in this menu, they will all display the default order.
Select the theme that you like.
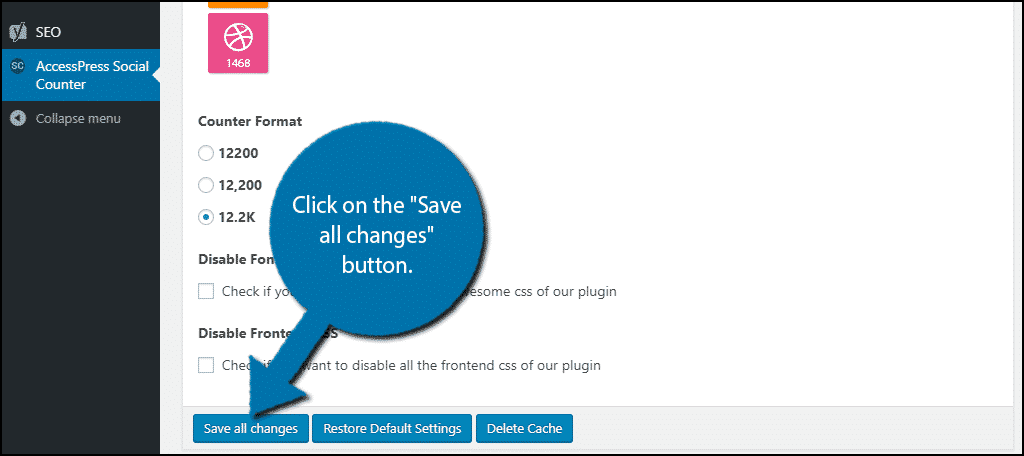
Below your themes are the actual counter options. Here you can select which format the plugin will display numbers in. I personally prefer the third option, 12.2k, because it takes up less space and looks more professional, but the choice is up to you.
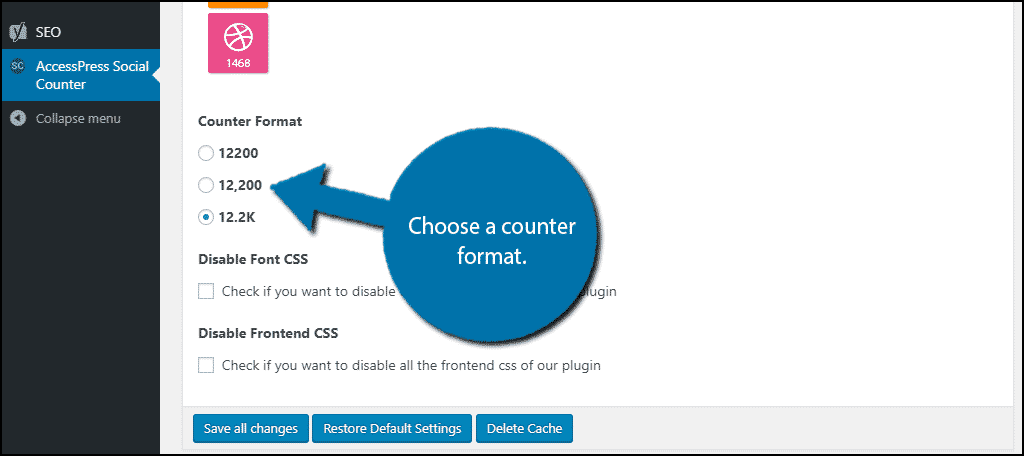
Click on the “Save all changes” button when you are done.
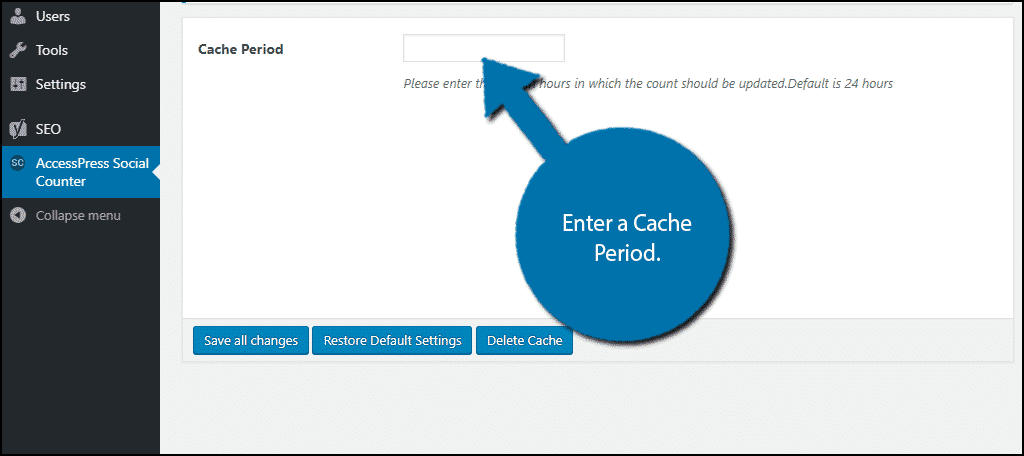
One quick note, if you feel like the performance of your website has been impacted, which is a possibility, the Cache Settings may help. On this tab, you can enter a new Cache Period in hours.
By default, the plugin uses a 24 hour period. Try experimenting for better results as every website is different.
Congratulations, you have successfully set up the Social Counter plugin to display social stats in WordPress.
Social Media Should Be A Priority
Regardless of your website niche or industry, social media is important for growth. Every single major company has official social media accounts for their visitors and customers to interact with.
Setting up social media accounts needs to be one of the very first things you do when starting a website.
However, just setting up accounts isn’t enough you need to find ways to connect your social media profiles to your website. For example, you can have WordPress automatically post to Facebook every time a new post is published.
Simple things like this can help your website grow.
How easy did you find the Social Counter plugin to use? What social media platform is most important to you?
