Do you want to customize your Contact Form 7 forms on your WordPress website? Contact Form 7 is a form-building plugin that can create forms to use on your website. It’s free to use and is one of the most popular WordPress plugins. Forms can be used throughout your website and can even be presented in a pop-up.
To get the most out of this plugin, it’s best to learn how to customize your forms. Forms can be edited in many ways, the easiest is the use of custom CSS code. Therefore, editing the CSS makes the customization possibilities almost endless.
Today, I’ll demonstrate how to customize your forms in WordPress using the Contact Form 7 plugin.
Why Customize Your Website’s Forms
Design choices are one of the most important decisions a web developer can make. Many visitors will judge a website by its appearance, which can be bad for websites that don’t take design seriously.
Design choices range from the theme you install to the font you use. Forms are just as important to customize because visitors interact with them directly.
Forms are used to collect information from your visitors. And these could include things like account creation, email subscriptions, job applications, services, opinion polls, and much more. To clarify, they’re essential in helping you learn more about your community and linking your visitors to your website.
How to Customize Contact Form 7 in WordPress
There are a lot of design choices available for Contact Form 7 forms. Changes can be made using custom CSS in WordPress, but that’s not the only way.
You can also use a second plugin called Contact Form 7 Style, an add-on plugin for Contact Form 7. It has form templates that make it easy to customize a form without writing any code.
Step 1: Install Contact Form 7
If you are not interested in using the CSS method, you should also take the time to download the Contact Form 7 Style plugin. Since it is an add-on plugin, you will need to download both.
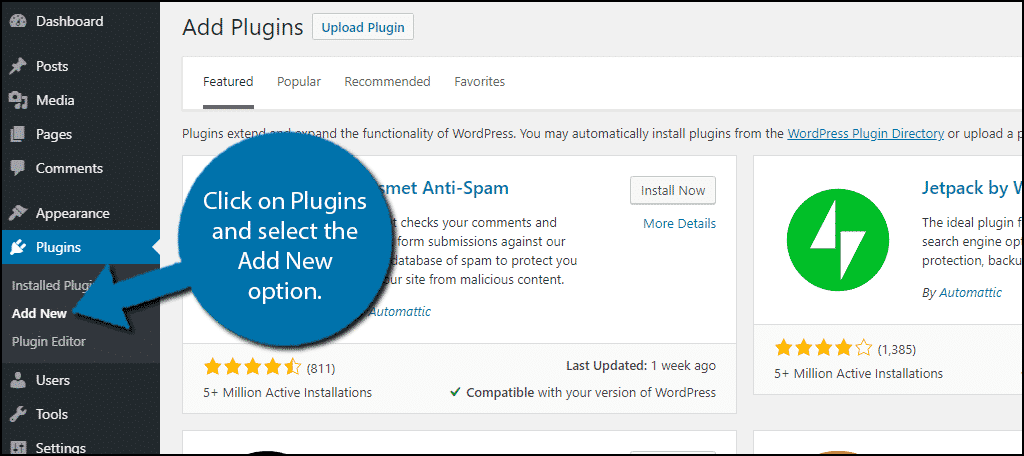
Let’s start by clicking on Plugins and selecting the Add New option on the left-hand admin panel.
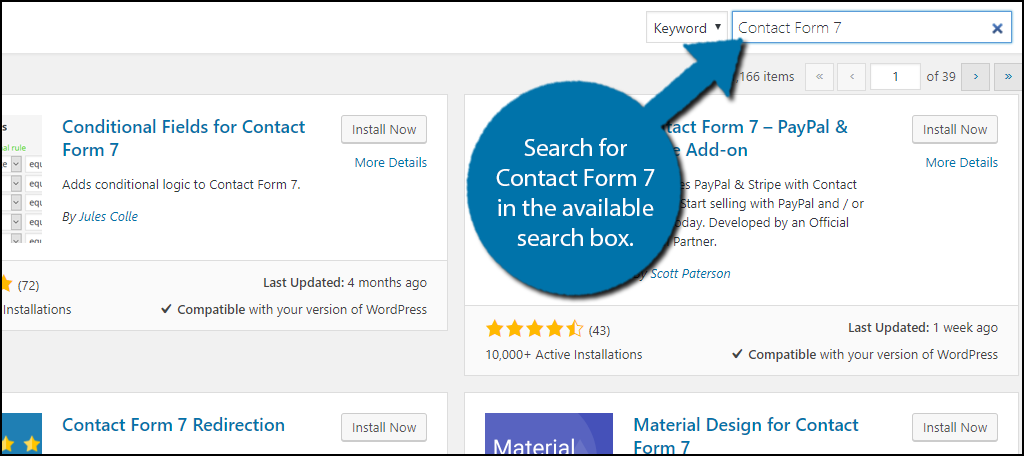
Search for Contact Form 7 in the available search box. This will pull up additional plugins that you may find helpful.
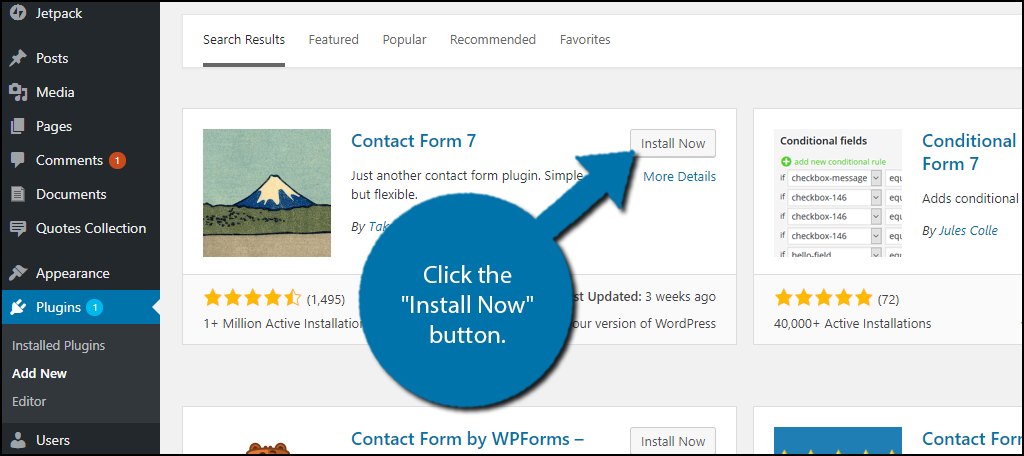
Scroll down until you find the Contact Form 7 plugin and click the “Install Now” button and activate the plugin for use.
Step 2: Create a Form
Before you can use custom CSS to customize your form, obviously you need to create a form. The plugin allows you to create a form and then use a shortcode to display the form on pages and posts on your website.
In the left-hand admin panel, click on Contact and select the Contact Forms option. As a result, this will pull up the main settings page.
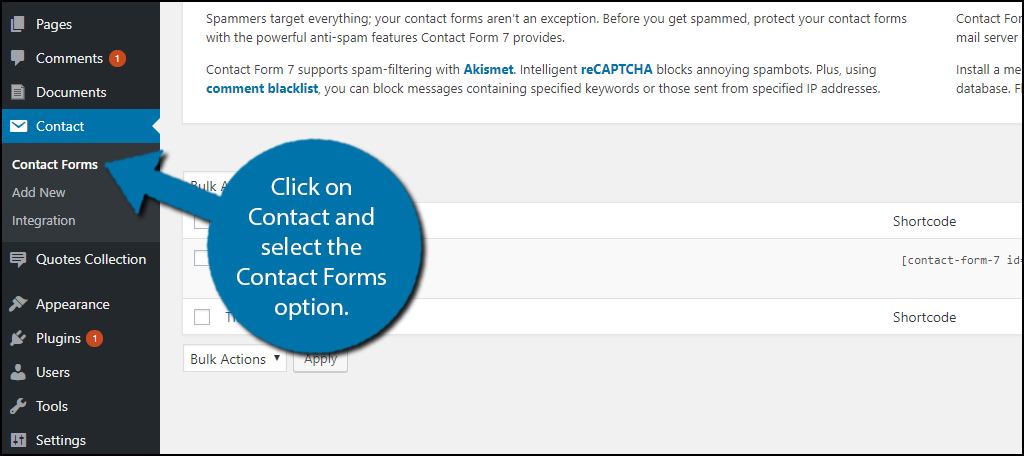
Feel free to make a new form that meets your needs, but I will be using the default form as an example. Copy the shortcode for the form you would like to use.
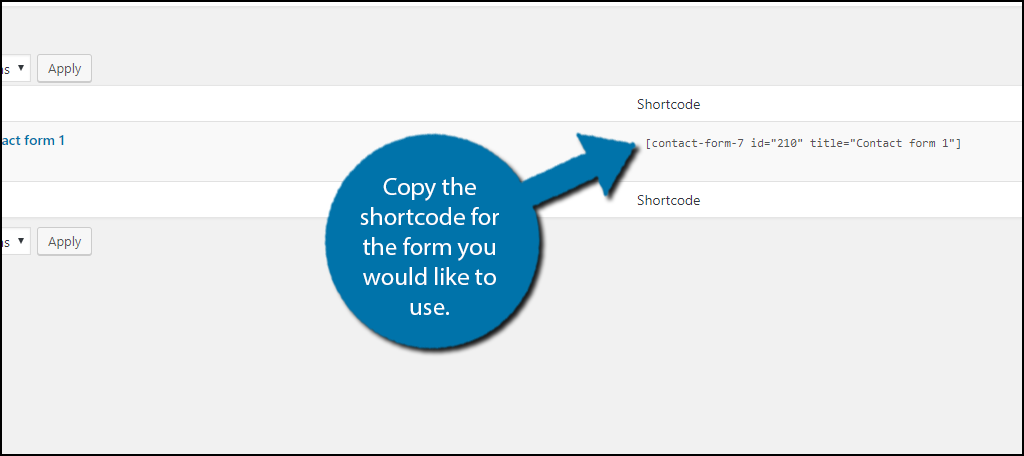
Paste the shortcode where you would like to display it. Now that your form is created and in position, it is time to customize it.
Step 3: Custom CSS Method
Adding custom CSS is easy in WordPress. Even if you don’t know CSS, you can find plenty of examples of different form designs all over the internet that can be copied to your website.
Above all, make sure to keep an eye out for any syntax errors. These can cause errors and have unexpected results on your pages. If you are not familiar with CSS, a good thing way to check is to use a subdomain as a testing environment.
In fact, this is recommended for any major change made to your website. It’s a really good technique to utilize.
In the left-hand admin panel, click on Appearance and select the Customize option.
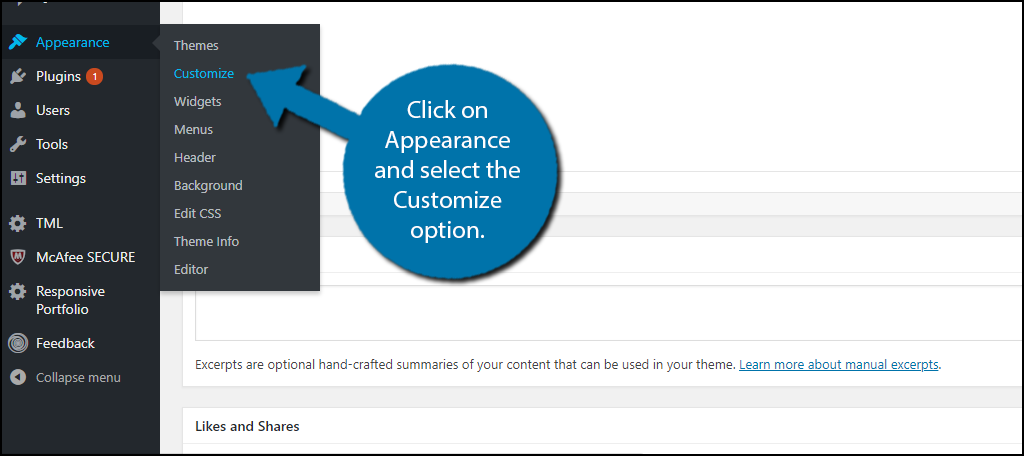
Click the Additional CSS option on the left side. Here you can add custom CSS to your website. Here is an example, copy and paste the following code into the Additional CSS box: [ht_message mstyle=”info” title=”” show_icon=”” id=”” class=”” style=”” ]div.wpcf7 {
background-color: #fbefde;
border: 1px solid #f28f27;
padding:20px;
}
.wpcf7 input[type=”text”],
.wpcf7 input[type=”email”],
.wpcf7 textarea {
background:#725f4c;
color:#FFF;
font-family:lora, sans-serif;
font-style:italic;
}
.wpcf7 input[type=”submit”],
.wpcf7 input[type=”button”] {
background-color:#725f4c;
width:100%;
text-align:center;
text-transform:uppercase;
}[/ht_message]
Click the “Publish” button to apply the custom CSS.
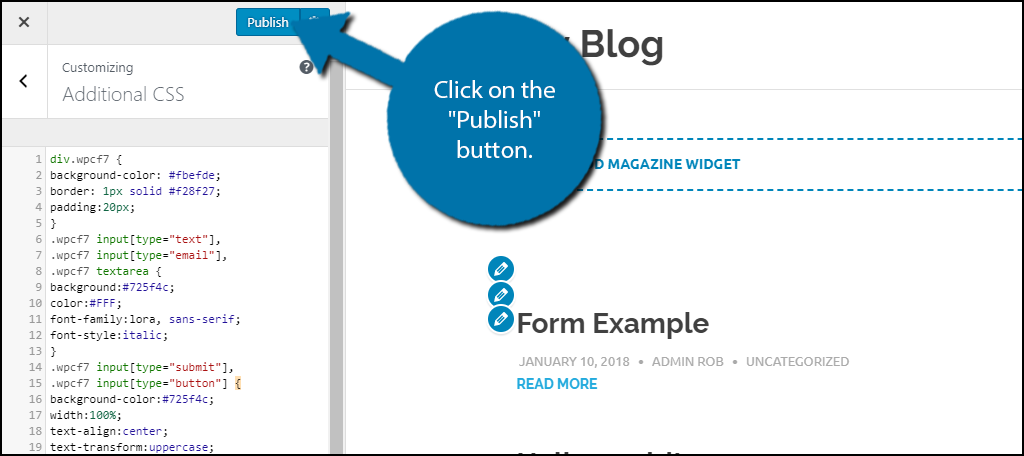
You can now view your form on your website to see the changes. Custom CSS is a very powerful tool when it comes to WordPress site design. You can always update and make changes to the CSS. In other words, you can change things like colors, margins, and fonts.
If you are not familiar with CSS, remember that you use HTML codes to select a color. This is in the form of #FFFFFF, hexadecimal format, and there are plenty of resources available to find the color you want. Also, this means you can use most image editing apps to find the hexadecimal color you want to use.
Step 4: Custom Forms 7 Style Method
NOTE: Contact Form 7 Style Plugin has been removed from the WordPress repository. We’ll update this tutorial as soon as we can. We apologize for any inconvenience this may have caused.
Install and activate the Contact Form 7 Style plugin.
This plugin offers you two options to style forms. The first and easiest to use are the premade forms. These include festive and professional templates you can choose from.
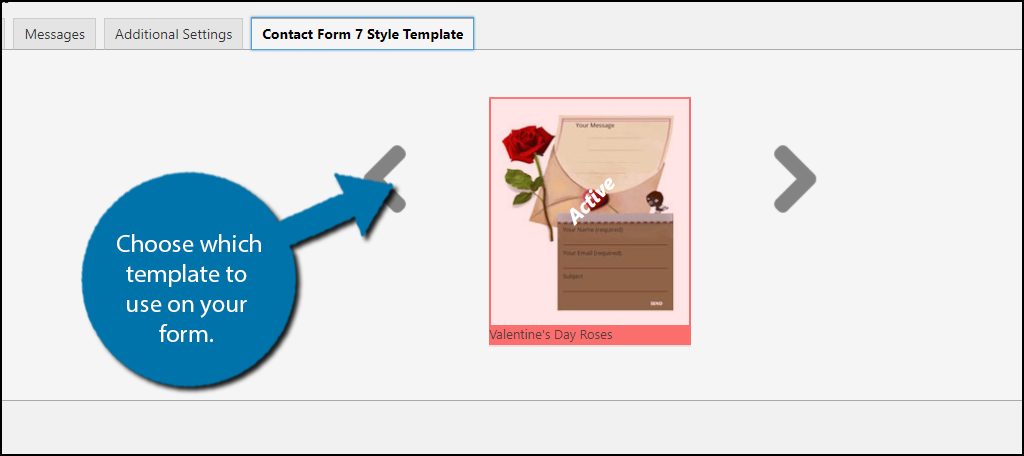
Go to a form that you want to edit. You should see a new Contact Form 7 Style Template tab that was added to the plugin. Click it.
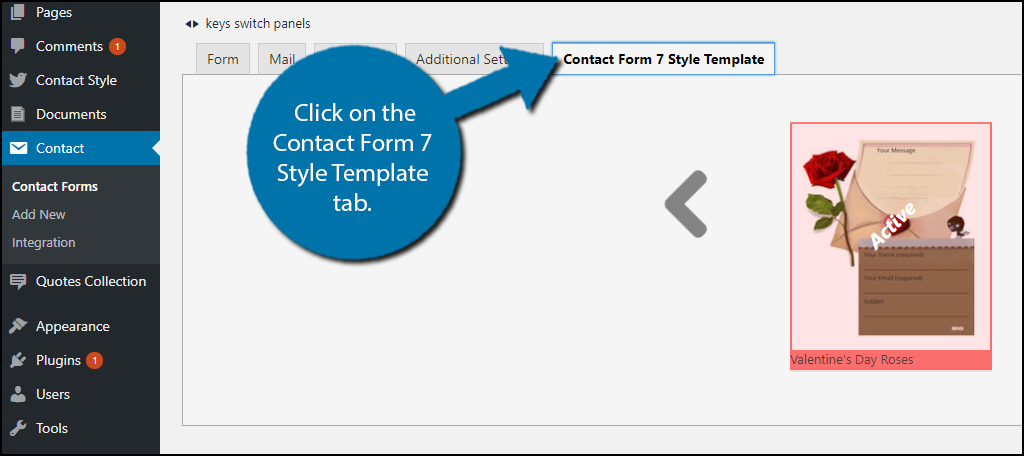
Now, you can choose which template to use on your form. You can change this at any time.
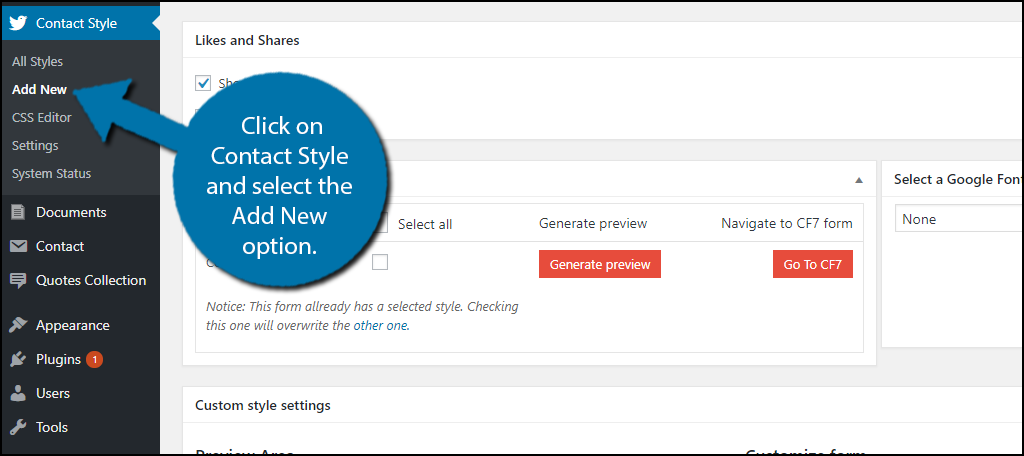
The second method is to create a new template. In the left-hand admin panel, click Contact Style and select the Add New option.
The Contact Form 7 Style plugin page has a very detailed demo video on how to style a form. You can change the margins, background color, border color, button color, text box color, and much more. So, the plugin is very useful if you’re not familiar with CSS.
Function Over Style
While I did mention the importance of appearance to customers, sometimes there is such thing as too much. And some beginners may even make their forms hard to read as a result.
For instance, you might want to be creative and use unusual colors for your forms, and that can work most of the time. However, there are instances where you might make it hard or impossible for some visitors to read.
For example, many beginners fail to account for color-blind users. That’s right, you may think you’re being really clever by using unique colors, but they may be hard to read for these individuals, which account for 5 to 10% of the US population.
Of course, sometimes you can just make forms that are hard to read for the average person. Therefore, I highly recommend having another individual look at any form before publishing them.
Create Awesome Forms for Your Website
Forms are critical for collecting visitor information, and making them look good can be a challenge. In reality, some key rules should include creating forms that match your website’s theme. It doesn’t look good when colors do not match each other.
And bad design could potentially drive visitors away from your website.
In short, forms are not the only thing you should be concerned with. You can customize every aspect of your website to make them all blend well together. However, just throwing a bunch of good design elements into the mix is not enough. They need to feel connected and it can be quite a challenge.
Which method have you used? What style have you chosen to use?

Great article; a quick browse, and I can see numerous examples where I should have implemented the steps you describe. Excellent share. Keep up your good works!
Contact Form 7 Style plugin has been pulled,
“This plugin has been closed as of February 1, 2021 and is not available for download. Reason: Security Issue.”
Thank you for bringing this to my attention. We’ll update the post soon as possible.