How often do you find yourself copying and pasting content layouts or code snippets in WordPress posts? Many feel it’s a tedious process to keep certain types of content uniform. Luckily, it’s easy to create custom content templates in WordPress with just a few clicks of the mouse.
Instead of trying to remember your tried-and-true method of creating posts, you can easily click a button to add your elements. It’s efficient, helpful and free with the right plugin.
In this tutorial, I’m going to show you how to create those custom content templates in WordPress.
Why Use a Content Template?
Content templates offer a way to create uniform content for your visitors. For instance, it’s easy to add all of the headers and points you want to make when creating a review article. Perhaps you use AdSense and don’t want to keep copying and pasting the code directly from Google or some Notepad file.
With a content template, all it takes is a click or two of the mouse to build the layout. You can easily keep track of header tactics for SEO to keep people coming to your site.
You can create templates for virtually anything from affiliate banners to sharing ZIP files, such as an eBook.
Using TinyMCE Templates
Today, I’ll demonstrate how TinyMCE Templates can help you create a WordPress post content template. It’s a simple plugin that works exceptionally well and is used on literally thousands of websites.
This WordPress content template plugin is quite versatile as it supports a range of custom types and other tools.
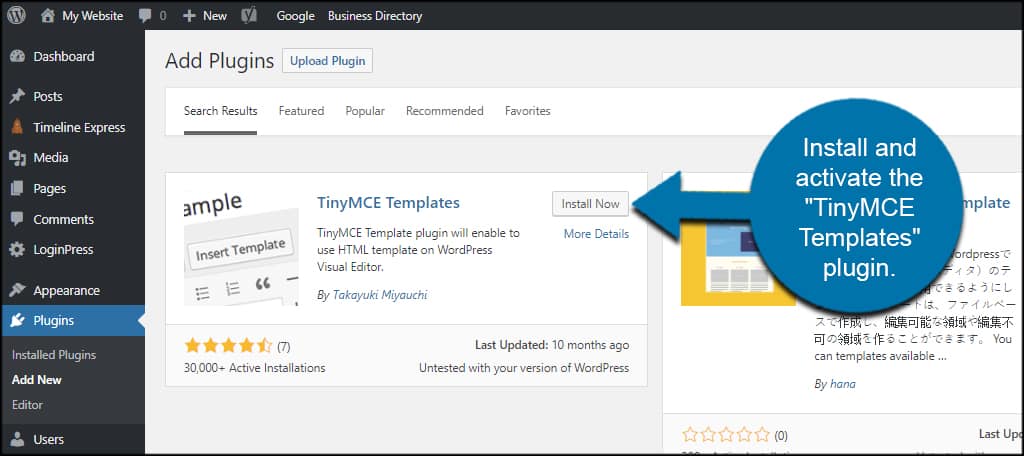
Install and activate the “TinyMCE Templates” plugin.
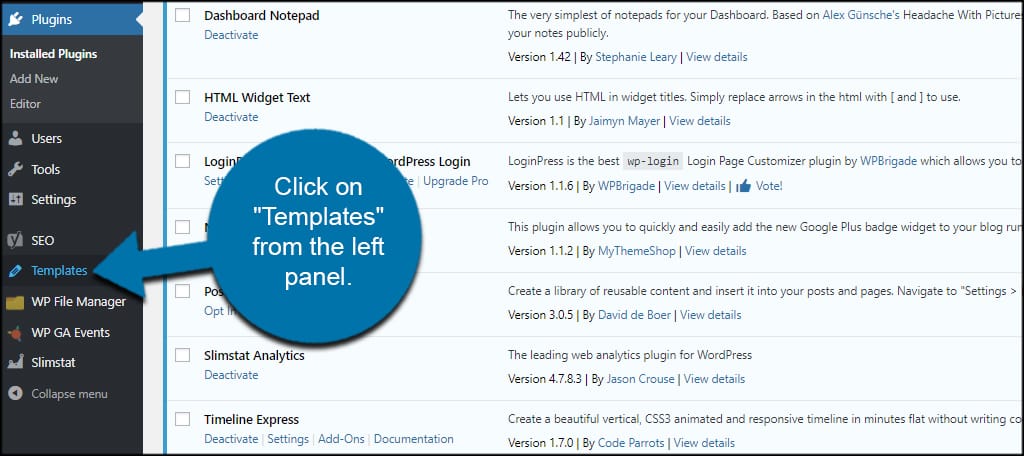
Click on “Templates” from the left panel.
Adding a New Content Template
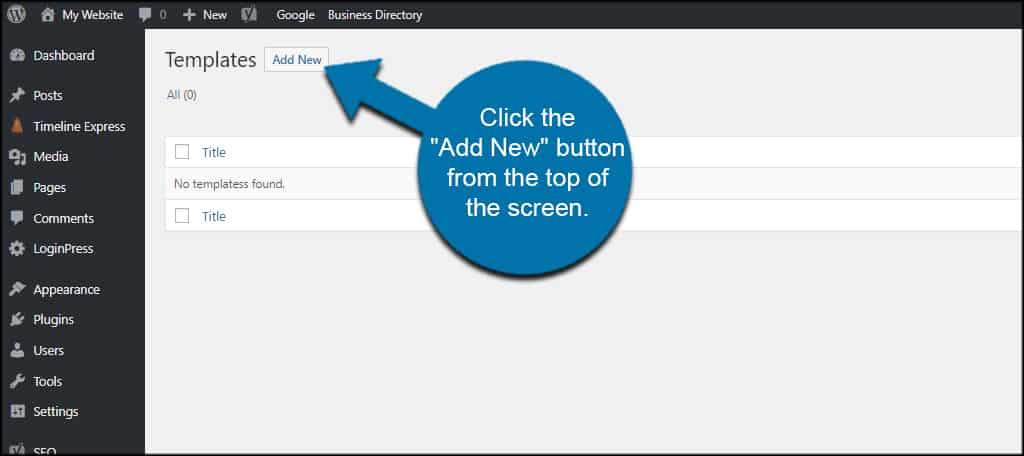
Click the “Add New” button from the top of the screen.
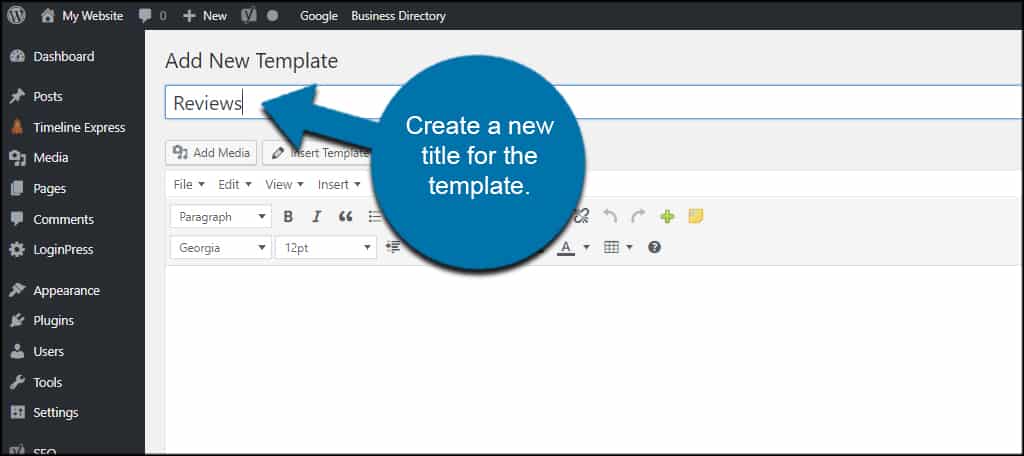
Create a new title for the template. You are the only one who will see this name, and it’s used to differentiate one template from another. For instance, I’m going to create a template called, “Reviews.”
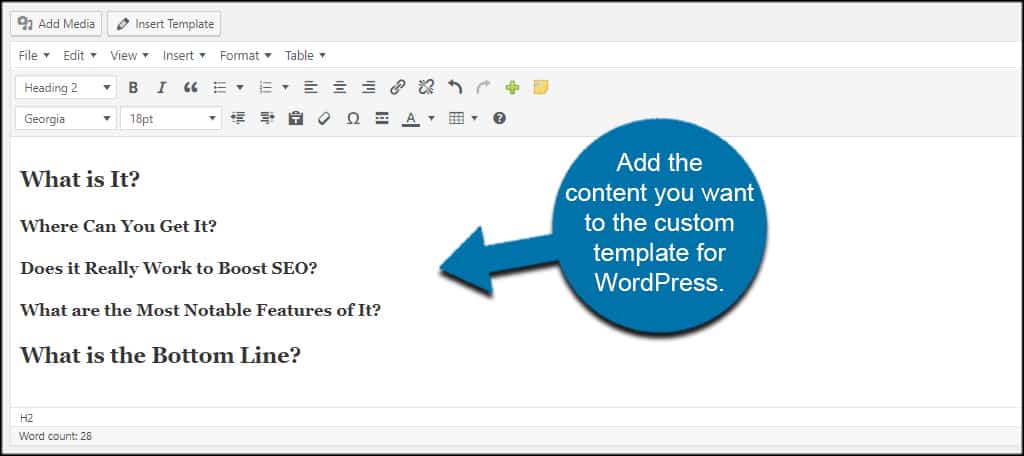
Add the content you want to the custom template for WordPress. As you can see, TinyMCE Templates supports the use of your visual and text editor. This means you can use any of those tool, including HTML coding, in your template.
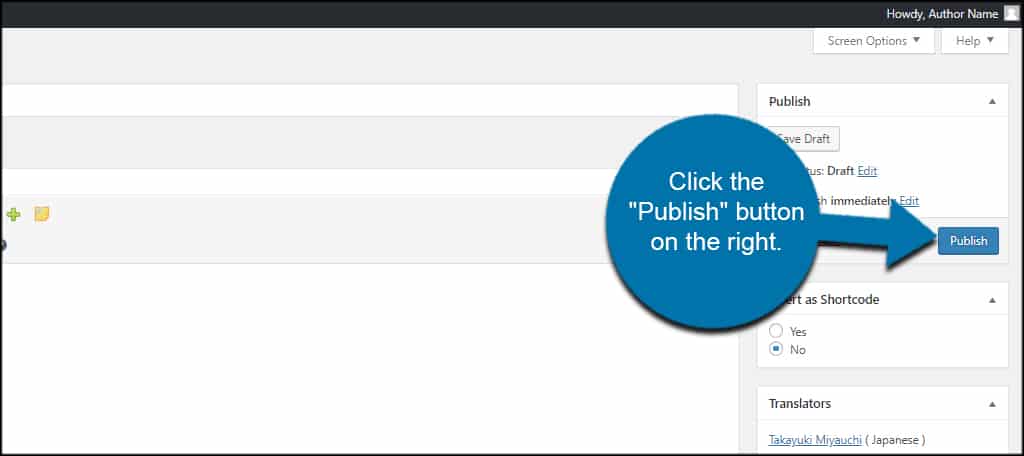
Click the “Publish” button on the right.
What about using the template as a shortcode?
TinyMCE Templates will convert any form into a shortcode for you if you choose. However, keep in mind this converts the text or coding of your template into a code that you cannot edit.
What does this mean? It means you will not be able to make edits when you use the template in a post. For example, I wouldn’t be able to add my keywords to the headers or put content under them.
Here are a few examples of when you would want to use the shortcode option:
- When placing AdSense blocks or other ad systems on your site.
- Sharing specific images, data or tables.
- Other custom coded elements that don’t need future edits.
It simply cleans the post when you’re creating content. Instead of coding snippets in the Text editor, you’ll see a simple shortcode. This means there is less of a chance of accidentally changing something in the code which could break it.
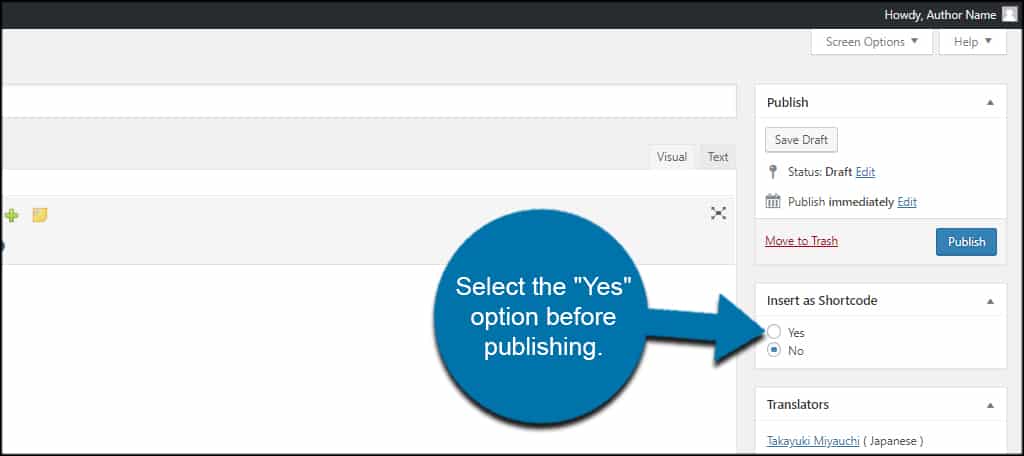
When you want to convert something to a shortcode in TinyMCE Templates, just select the “Yes” option before publishing.
Personally, I’d rather use shortcodes in this fashion when displaying AdSense and affiliate banners when making money from the site. If at any point I want to change the affiliate or advertisement, all I need to do is change the one code in the TinyMCE Template.
This way, I don’t have to go to each post one-by-one to change the coding. This is extremely helpful if you use the same affiliate code on hundreds of posts.
Using the Content Template in WordPress
TinyMCE Templates supports both posts and pages. This means you can add the pre-defined material to almost any materials you have in WordPress. In fact, it also works with many custom post types.
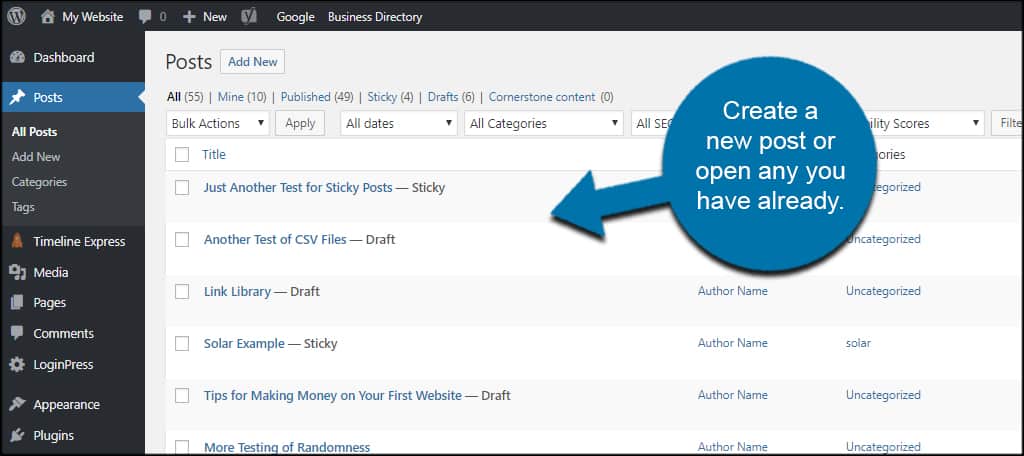
Create a new post or open any you have already.
Place the cursor where you want the content to show. Since I am creating a new review article, my cursor is already at the top of the post.
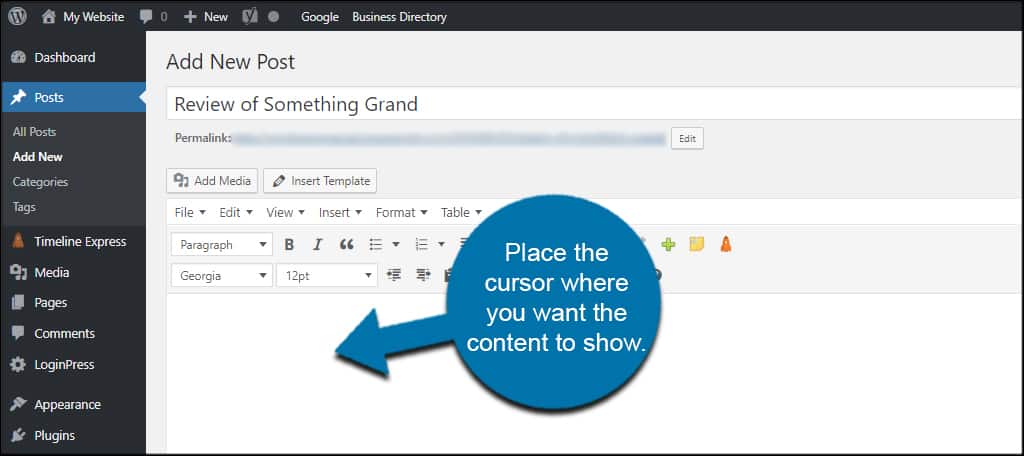
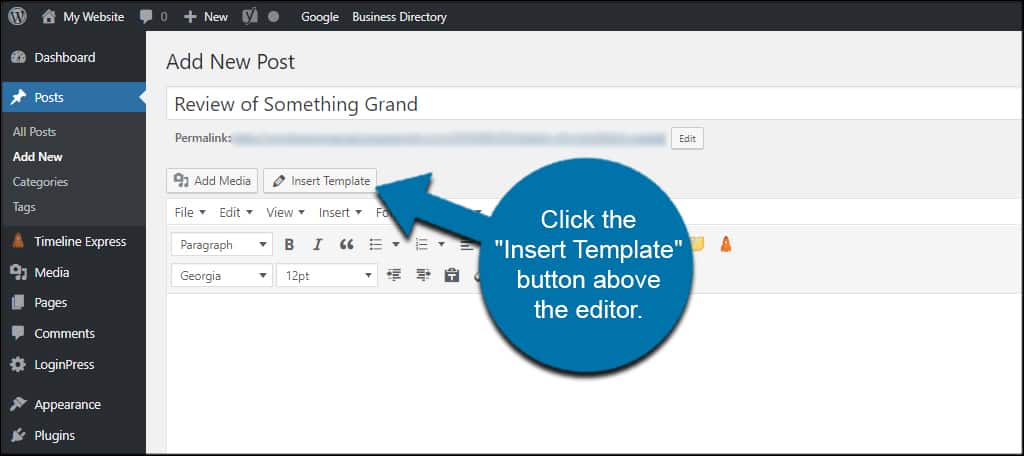
Click the “Insert Template” button above the editor.
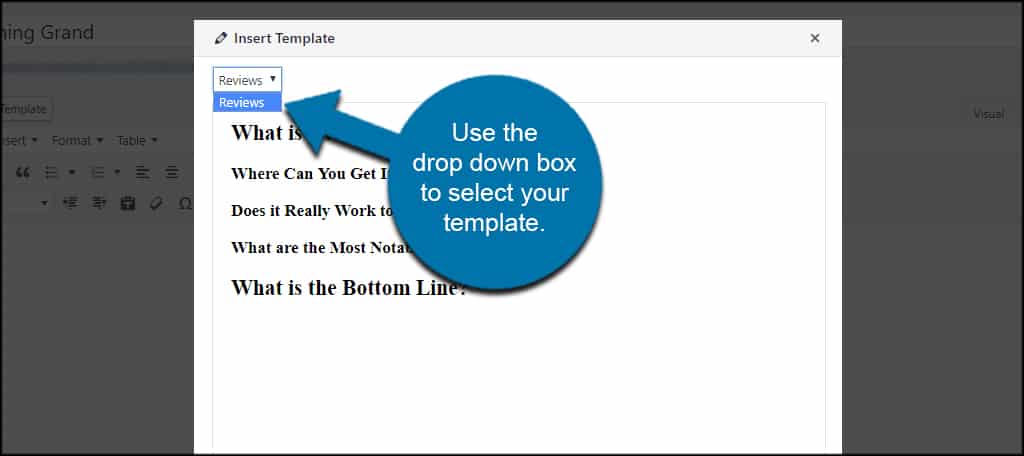
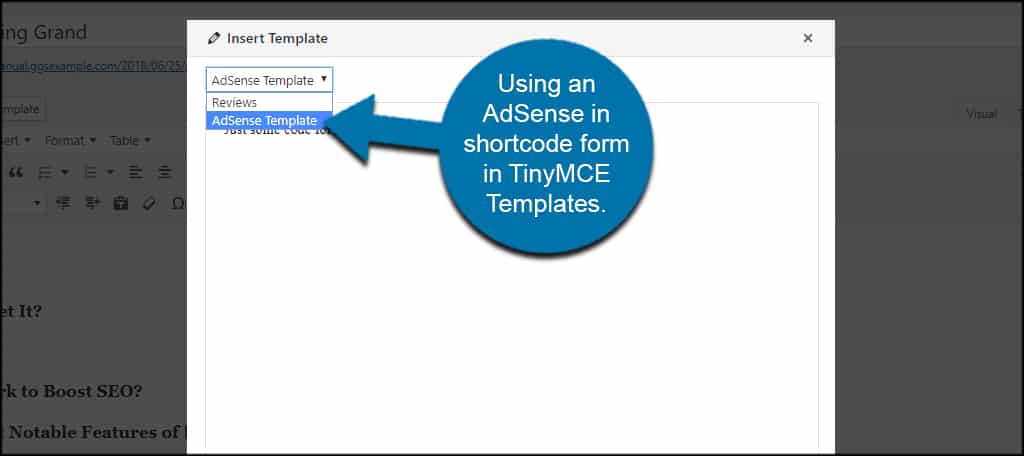
A window will open showing all the templates you have available. Use the drop down box to select your template. Since I only have one, it’s the only template available.
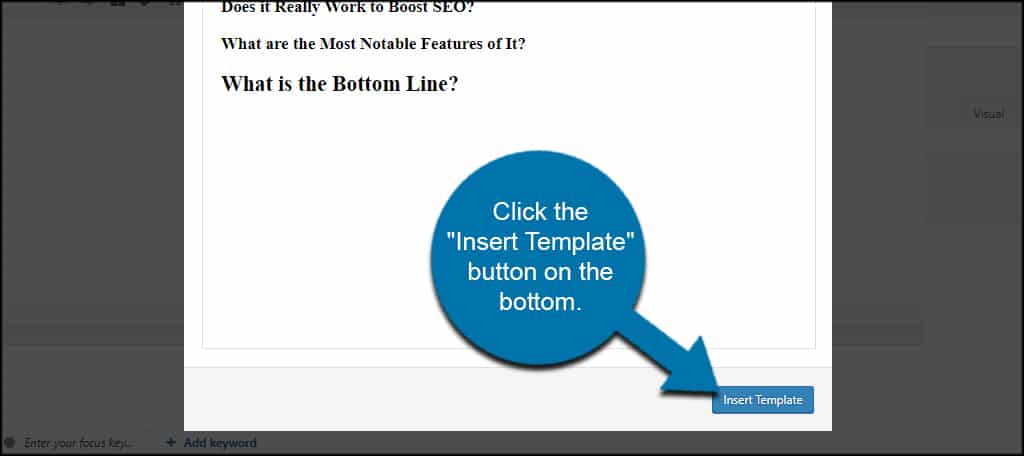
Click the “Insert Template” button on the bottom.
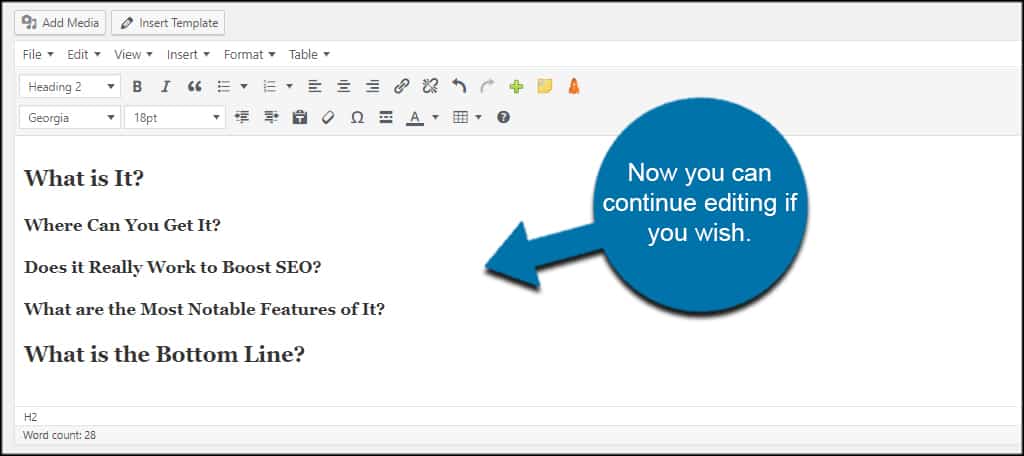
Now you can continue editing if you wish.
What does it look like with a shortcode template?
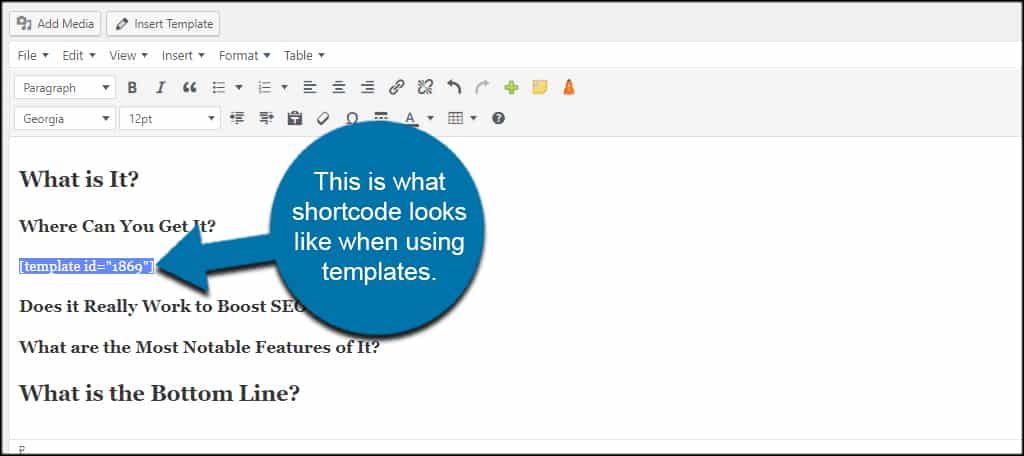
To give you an example of what shortcodes will look like in TinyMCE Templates, I created a new one for AdSense and set it to create a shortcode. I then placed the template under a header.
This is what a shortcode looks like when using templates. It’s a line of coding, but the template still keeps all of the iframe and HTML to make AdSense work.
Templates Save Time
Creating WordPress custom post templates saves you a lot of time and helps keep content uniform. This is invaluable if you find a certain header layout that is perfect for your audience. And since TinyMCE Templates supports using shortcodes as well as custom post types, it’s a very flexible tool.
What kinds of content would you turn into a template? How often do you use shortcodes to accentuate your website?
