Image compression and optimization has become a very important standard of WordPress website development. WebP images in WordPress have become even more important since Google started pumping the format.
So what exactly are WebP images in WordPress and how can you convert your media library? Let’s take a look at what exactly WebP images are and then I will show you how to use a plugin to convert your images in WordPress.
What is WebP Image?
WebP is an image format employing both lossy and lossless compression. It is currently developed by Google, based on technology acquired with the purchase of On2 Technologies.
The idea around using this format is that images could be compressed and optimized even after they have gone through the process of compression with another plugin.
I found a great plugin called Imagify. This is one of the best WebP compression plugins for WordPress and can give you exactly what you need if used correctly.
Why You Should Use WebP Images
WebP is a very evolving and emerging image format that Google started. It was designed to be a more aggressive and better-optimized image compression algorithm than JPG and PNG. The idea is that it reduces file sizes even more, with very minimal image quality loss.
You want to use it because for you it means less bandwidth and a faster performing website. This will make your site visitors happy, but will also make Google happy. As we know, Google does favor better performing and faster websites over slower ones.
Even though all browsers do not support WebP images yet, it is still a good idea to use them, as it won’t hurt anything. Current versions of Chrome, Opera, Firefox and Edge all support WebP images. Currently, the Safari browser does not support it.
Imagify
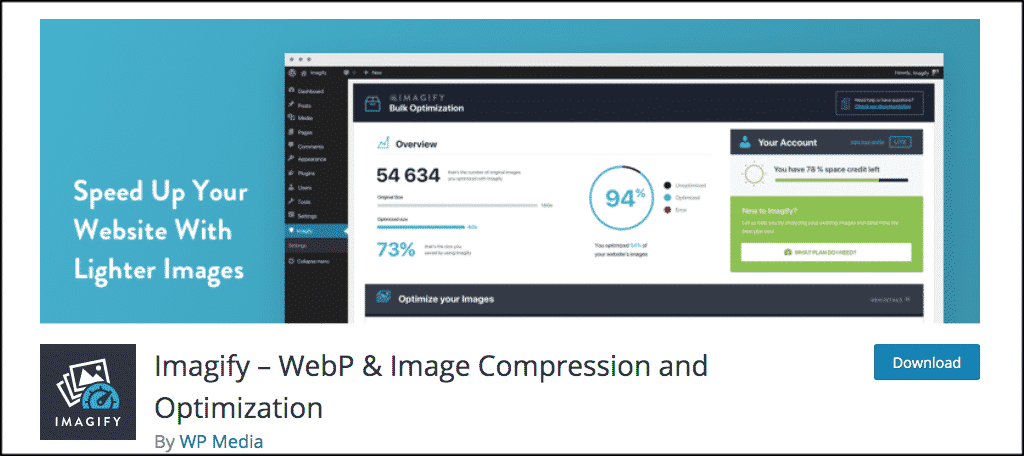
Imagify is a WebP and image compression and optimization tool. It is a very powerful and lightweight plugin that has been built to allow WebP compression in WordPress.
After enabling it, all your images including thumbnails will be automatically optimized when uploaded into WordPress. You can also use Imagify to convert WebP images for free.
Furthermore, the plugin is compatible with WooCommerce and NextGen Gallery.
The Imagify plugin provides you with three levels of compression. They include:
- Normal, a lossless compression algorithm. The image quality won’t be altered at all.
- Aggressive, a lossy compression algorithm. Stronger compression with a tiny loss of quality, which most of the time, this is not even noticeable at all.
- Ultra, the strongest compression method using a lossy algorithm.
Install and Activate Imagify
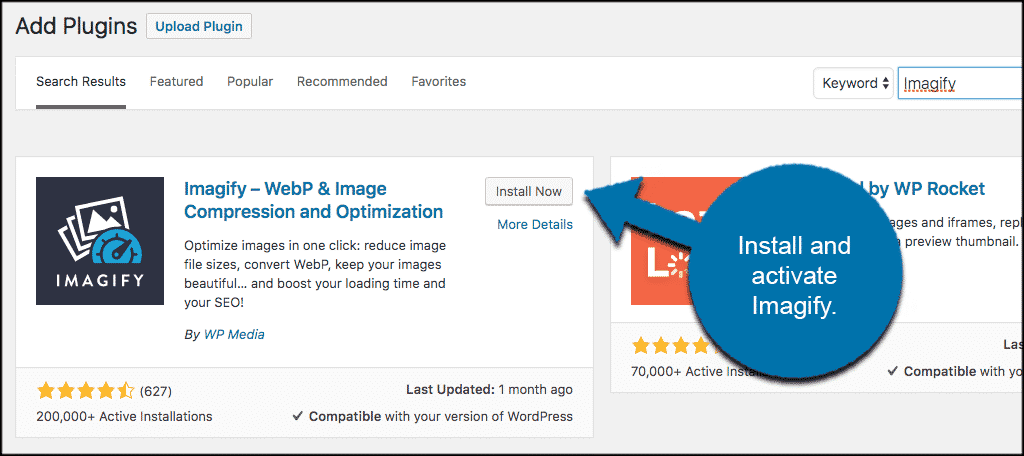
In order to use the Imagify WordPress image optimizer you first have to install and activate the plugin. You can do this by heading to the plugin repository in the admin dashboard of your WordPress website.
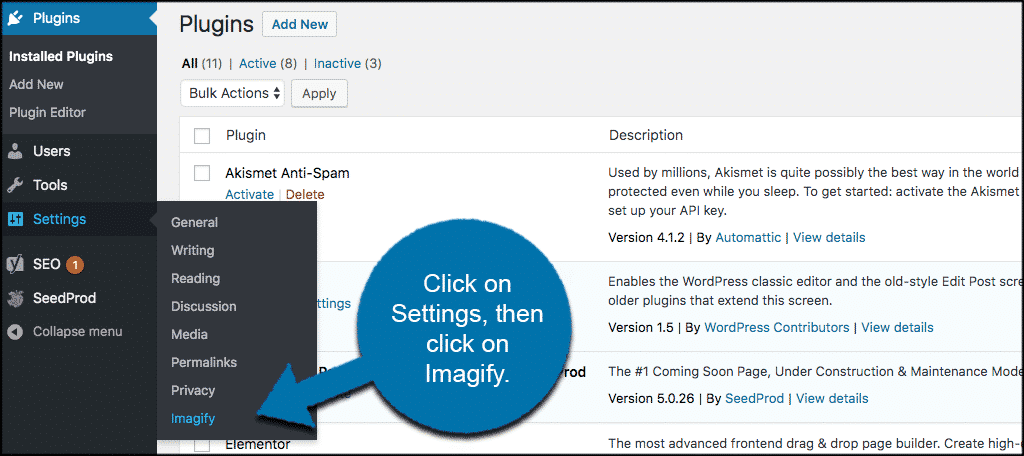
Once the plugin has been installed and activated, click on Settings > Imagify. This is located in the left menu area or your WordPress dashboard.
Convert to WebP Images in WordPress
Once you arrive on the configuration page for the plugin, you will need to go get a free API key in order to access the options page. Just click on the “Create a Free API” button to get your key.
Note: When you click the button it will ask for your email. Put in your prefered email account and you will be sent an API key immediately. Go to the email and copy and paste the key.

Once you have added your API key into the needed area click on the “Save Changes” button and move on.
Plugin Configuration
After adding the API key and saving, you will be able to access the configuration panel. The panel isn’t complicated. As a matter of fact, it is built a lot like a couple of the other popular WordPress image optimizer plugins.
General Settings
First, pick the image optimization level you prefer.
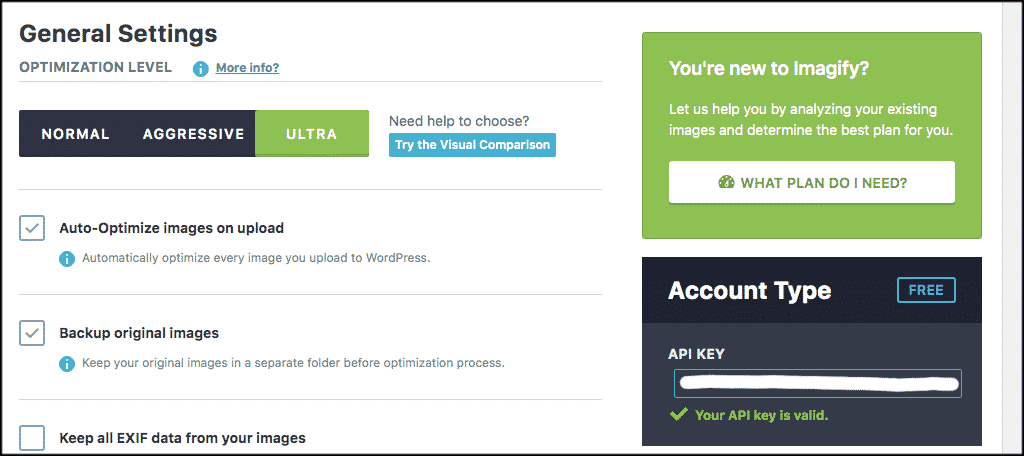
If you want to see a live comparison of the differences, click on the “Try The Visual Comparison” button. You will be able to see the differences on the fly.

Once you pick the level of optimization, go ahead and scroll down to the rest of the settings. You can click on the boxes you desire, but I recommend the following two be checked:
- Auto-Optimize images on upload
- Backup original images
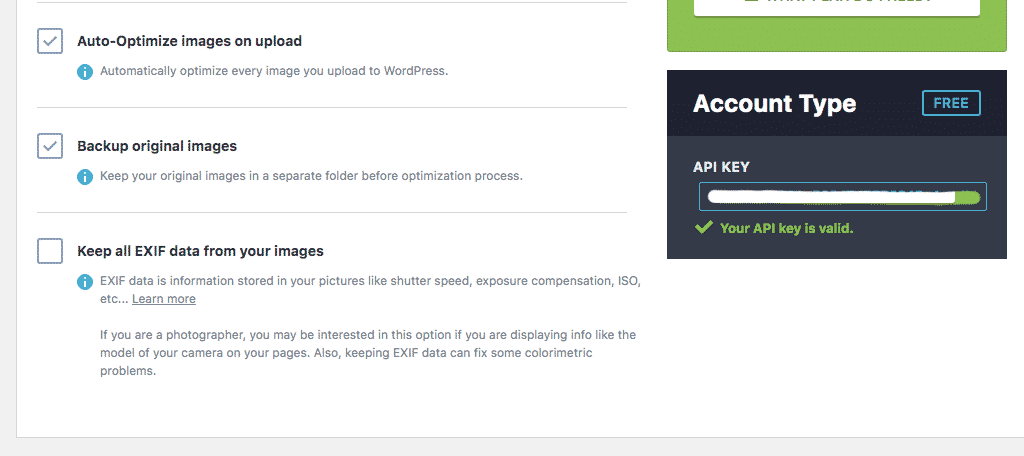
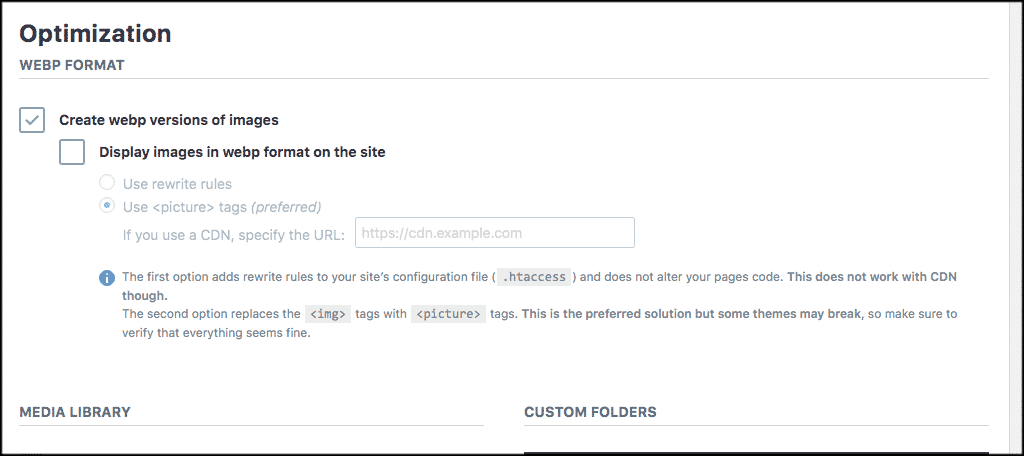
Optimization
Now scroll down a little to the “Optimization” portion of the setup. Here you will be able to set up WebP images for WordPress.
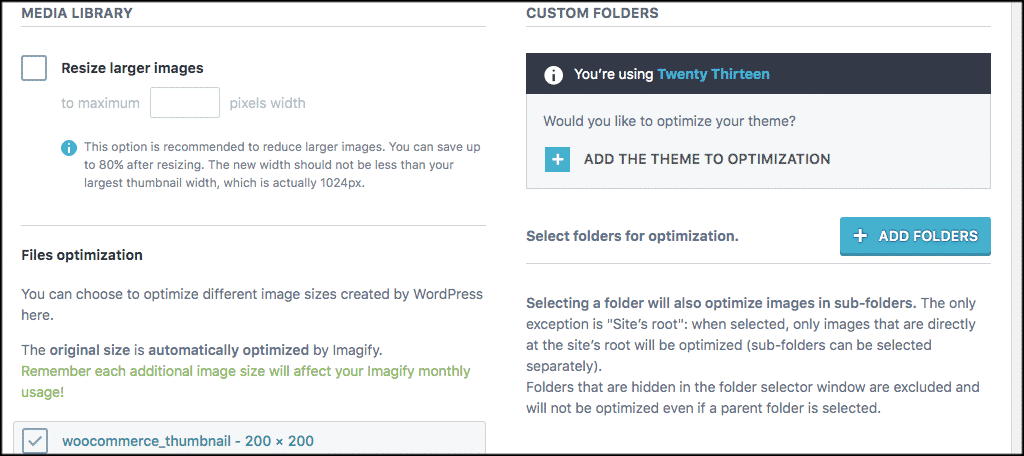
Media Library & Files Optimization
Next you will find the media library and file optimization areas of the settings. Set your library and file sizes for everything as you prefer.
Display Options
Last but not least, you will see “Display Options.” There is only one option, so check the box if you want it. Click on “Save Changes” when you are finished and you are set and ready to get WebP images in WordPress.

Note: You can also click on the “Save and Go to Bulk Optimizer Options” if you choose. This allows you to tell Imagify to compress images already uploaded in bulk. Please remember that you can only go so far with this plugin. You will have to buy a premium plan for space later when you outgrow the free account.
WebP Image Compression Alternatives
If you would like to explore other solid WebP compression plugins, here are a few more to dove into. All of these are solid as well and will do the trick.
WebP Express
WebP Express is an easy to use, lightweight plugin that uses the WebP Convert Library to convert images to the WebP format. it uses multiple conversion methods, so if one doesn’t work, it tries the next method until it finds one that does.
Using this plugin will give you much better and faster results on your images. Give it a try if you prefer something other than Imagify.
EWWW Image Optimizer
The EWWW Image Optimizer plugin will perform automatic WebP conversion with Easy IO, no additional configuration is needed. There are several methods available for serving WebP images through this plugin. These include Apache-compatible rewrite rules and their JS WebP Rewriting option compatible with caches and CDNs.
It also works with the WebP option in the Cache Enabler plugin from KeyCDN.
All in all, the EWWW Image Optimizer plugin is a solid choice for serving up WebP images on your website.
WebP Converter for Media
WebP Converter for Media is simple to use and will speed your website by serving WebP images. All you have to do is install the plugin and activate it. Once activated, all of the current images in your media library will be converted to the WebP format.
Furthermore, all images uploaded thereafter will also be automatically converted. This plugin can definitely get you on the fast track to serving up WebP images while saving a lot of time in conversions.
Final Thoughts
There are several really excellent image compression and optimization plugins and tools you can use. That being said, Imagify is one of the best WebP plugins for WordPress. I encourage you to give it a try and see what you think.
What is your favorite image compression and optimization tool or plugin to use? Have you tried more than one?
