Are you planning to or currently selling cars online? If so, you should use the Car Dealer plugin in WordPress to create the perfect website to do so. Creating an easy to use, yet stylish, website is a surefire way to boost car sales
Not only is there a free plugin to add the features you need, but there is also a free car dealer WordPress theme to help you make your website look good. Today, I will demonstrate how to use the Car Dealer plugin to sell cars online.
Who Is This For?
It is important to understand that if you are just looking to sell one car, you are better off just making a Craigslist post. This plugin is intended for people who have a lot of cars to sell on a regular basis. The ideal situation is for car dealers, but you may find other uses.
The plugin allows customers to search for specific car makes, types, year, new/used, transmission, fuel, the order that they appear in and a price range. This allows customers to quickly find what they are looking for on your website.
While that may sound like a lot to input, it really isn’t. All of the choices are made through a series of drop-down boxes. This makes it easy for visitors to input the information easily and not get confused while doing so.
On top of input options, the plugin also offers sliders and gallery options for you to display images of the cars you have. It also supports multiple languages and has many other features.
Installing the Car Dealer Plugin
Car Dealer is one of, if not the best, WordPress dealership plugins you can choose. Setting up this plugin is pretty straightforward and should be easy to do even if this is your first time using WordPress.
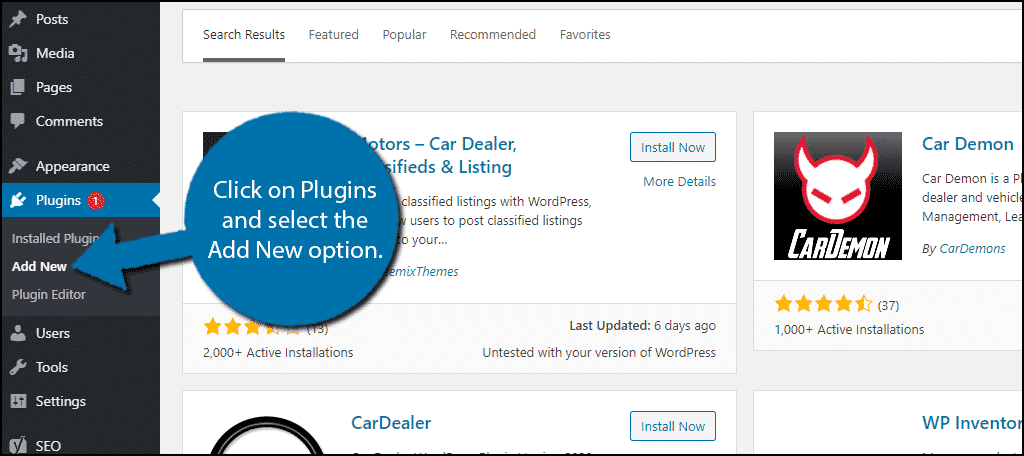
Let’s start by clicking on Plugins and selecting the Add New option on the left-hand admin panel.
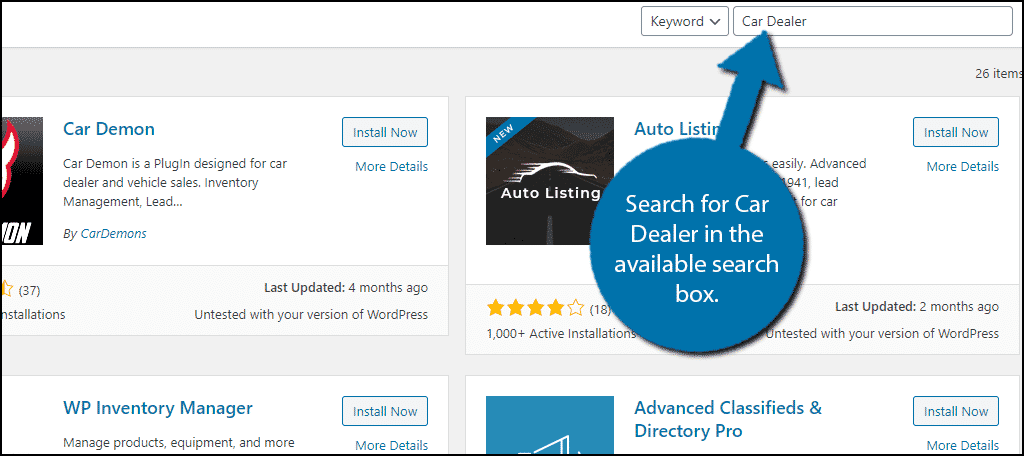
Search for Car Dealer in the available search box. This will pull up additional plugins that you may find helpful.
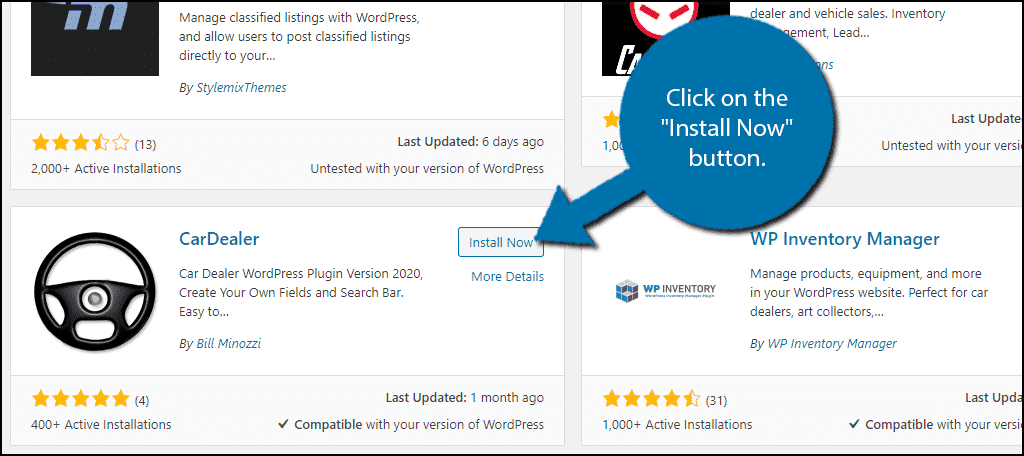
Scroll down until you find the Car Dealer plugin. Click on the “Install Now” button and activate the plugin for use.
Note: Upon installing the plugin, you may see a warning message depending on your permalink structure. The plugin wants you to use the Post Name structure. Changing your permalink structure may have an impact on your SEO. This won’t be an issue for a brand new website, but it can certainly affect one that’s been around.
Not doing this will result in 404 errors. If you do not want to change your permalink structure, I recommend using a different plugin.
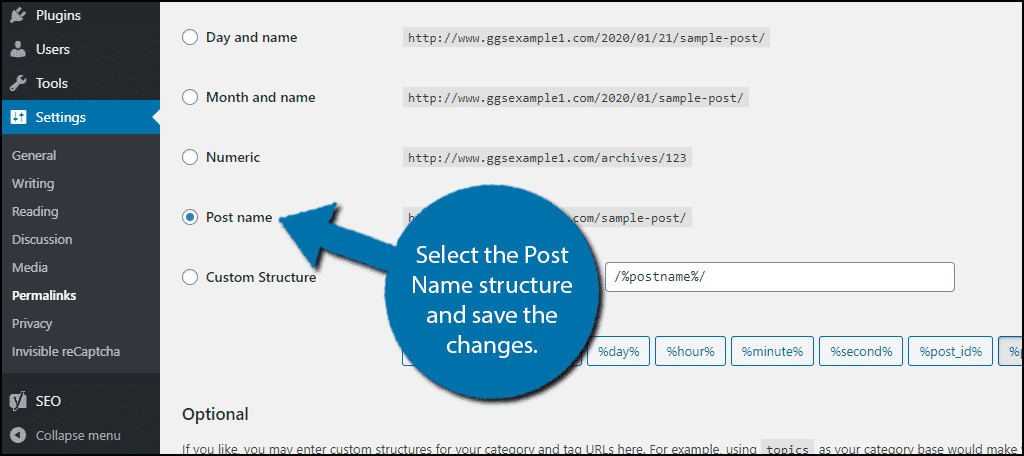
To change the permalink structure, click on Settings and select the Permalinks option.
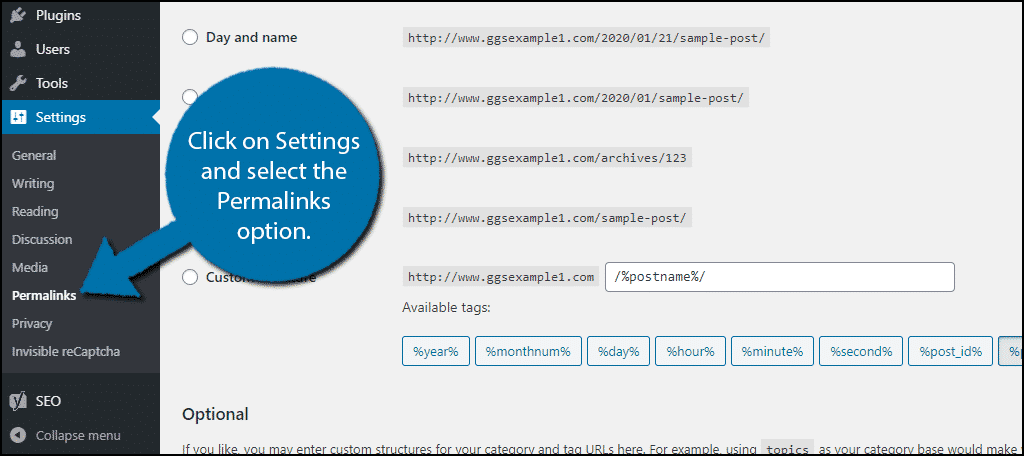
Select the Post Name structure and save the changes.
Configuring the Settings
With the plugin installed and the permalink structure selected, you are ready to start configuring the settings. Luckily, they are pretty easy to go through.
Click on Car Dealer and select the Settings option.
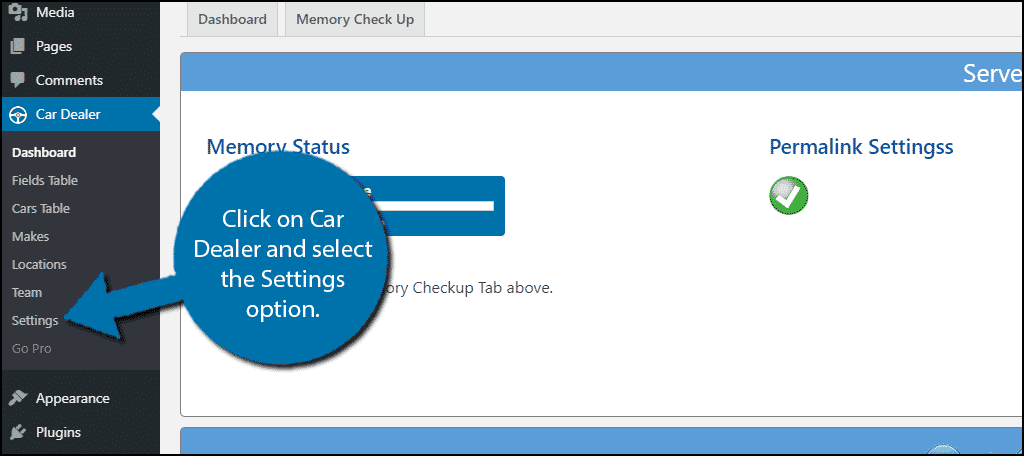
The settings are really straightforward. These include things like the currency you use, miles or kilometers, liters or gallons, etc. They are split into 5 tabs, car settings, field features, search, widget, and car design. Carefully go through each setting and choose the option that is best for you.
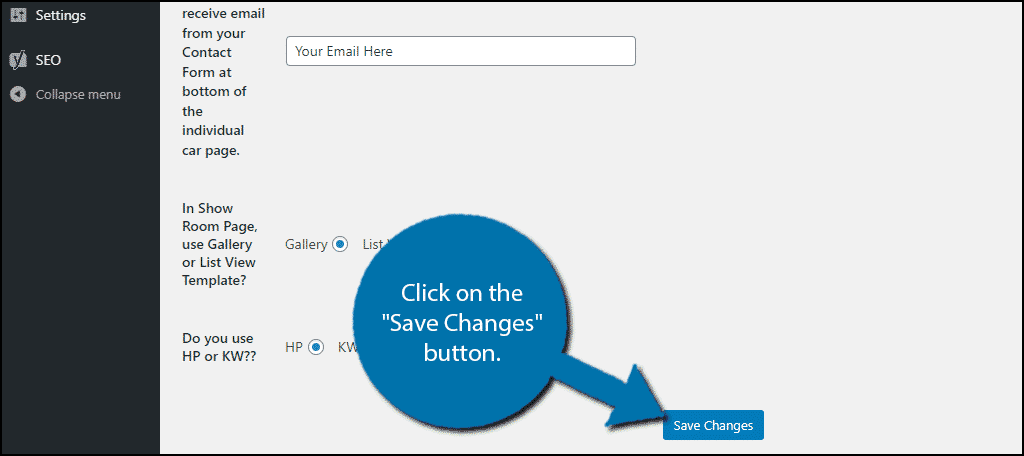
When you are done, make sure to click on the “Save Changes” button.
Now that the settings are configured, you need to create some search fields.
Creating Fields
You will also need to create the fields visitors will use when searching.
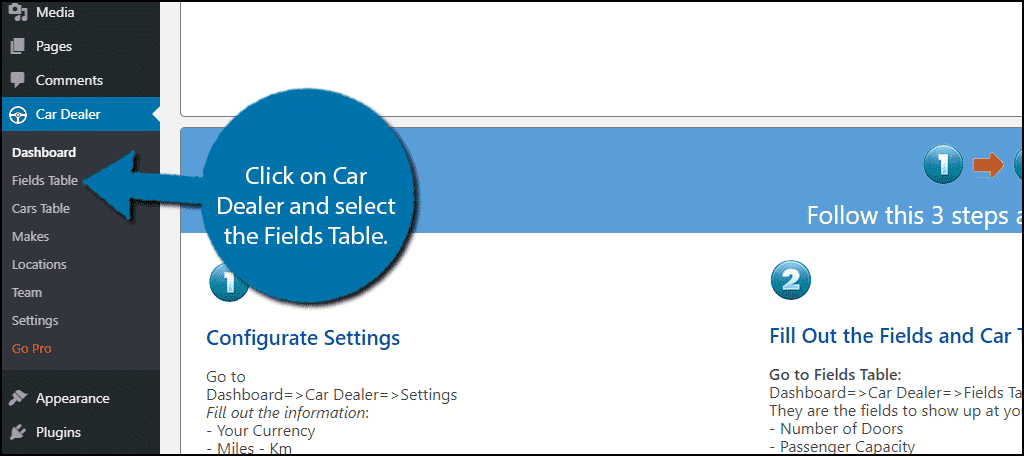
Click on Car Dealer and select the Fields Table.
Click on the “Add New” button.
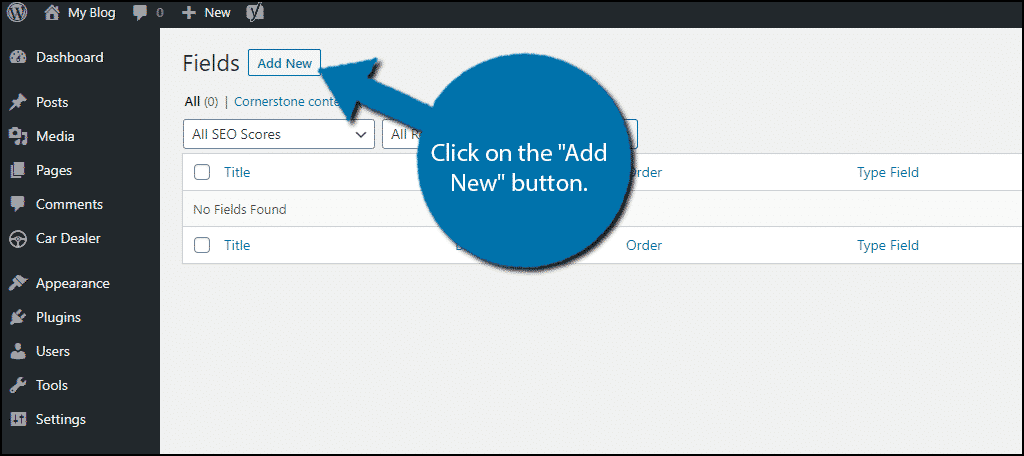
Here you can create the types of search fields visitors can use. For example, a very common one is the make of the car (i.e Toyota, Kia, Ford, BMW, etc.). You can select how customers can make a selection in the field (i.e drop-down boxes, checkboxes, text entry, etc).
In this case, I will create a Make Field that utilizes a drop-down box.
Enter the name of the field (only you will see this) and enter the label of the field (this is what visitors will see). Note: You cannot use a space, but you can use a hyphen or underscore.
The next option is the order that it will appear. So for example, if you want it to appear first, you should have the number “1” in the box. If you wanted it to appear second, the number would be “2,” and so on. You can change this later, but you must put something in when creating it.
Underneath this, there are two checkboxes to show the field in the sidebar and to see the field in the widget. This is completely based on your preference, so pick the best option for you.
The last option is how the visitor will make their choice. I am choosing drop-down, but feel free to choose what you want. With Drop-down selected, you will notice a text box underneath this. This is how you create drop-down options. Each line is one choice.
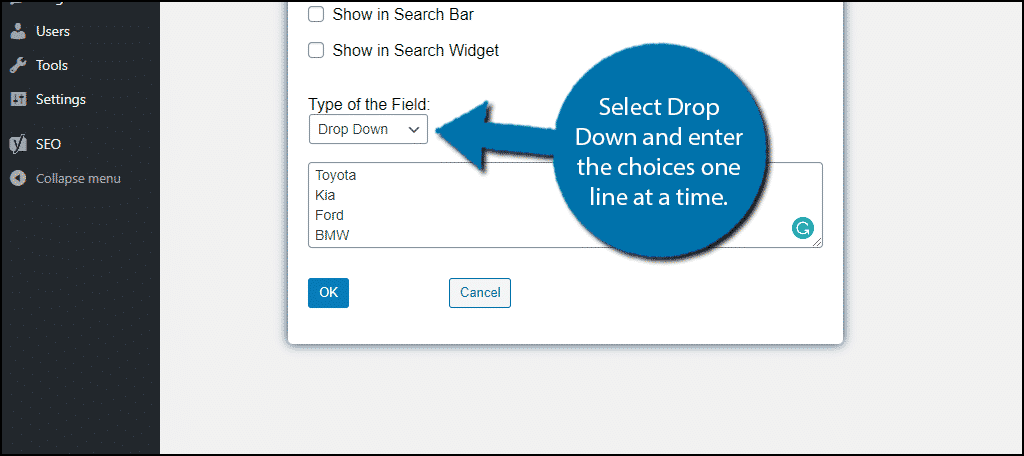
Click on the “Ok” button to save the field.
Make as many fields as you think are necessary.
Adding Car Details
This will definitely be the longest part of the plugin since you need to enter all of the car information. This can be especially tedious if you have a lot of cars to add, but you will definitely get quicker as you add more.
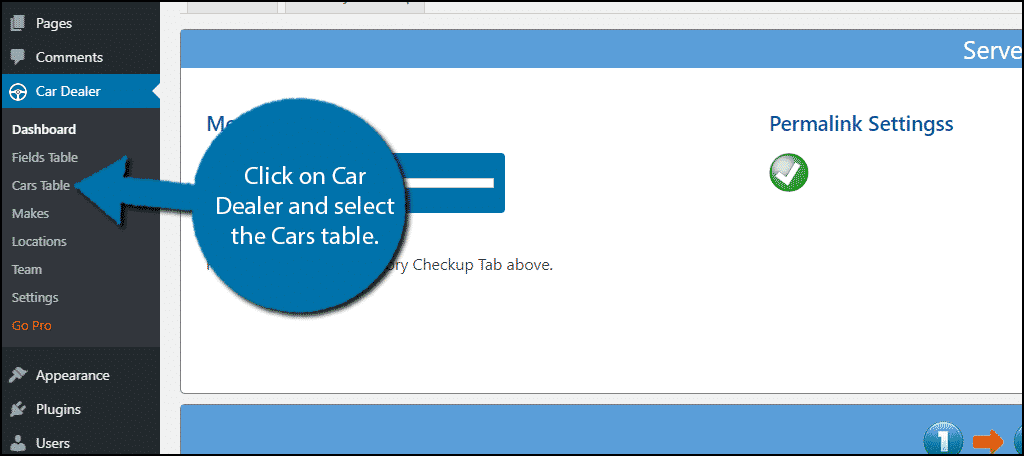
Click on Car Dealer and select the Cars table.
Click on the “Add New” button.
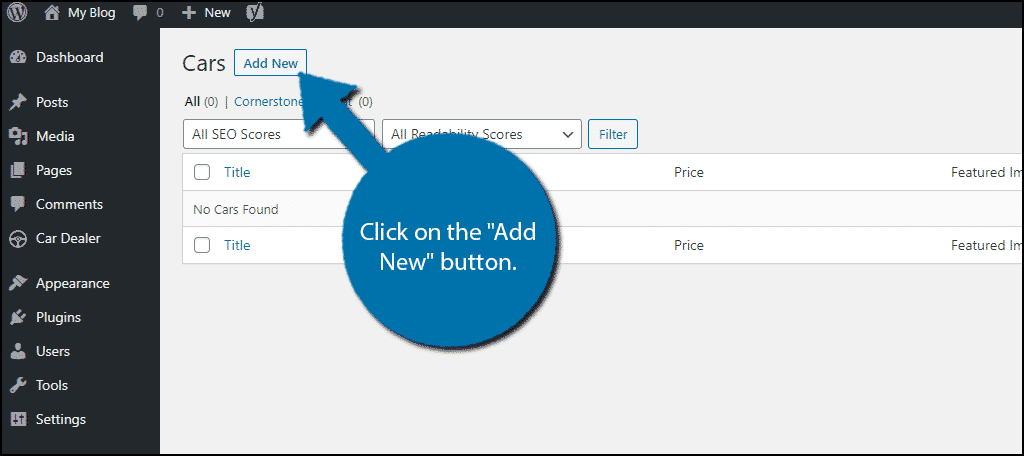
The Add Cars section looks like the classic editor. You can add the name of the car, a description of it, and fill in all of the information in the details section. While it is simple to do, it can take up quite a bit of time if you are entering a lot of cars for the first time
When you are done entering the information, click on the “Publish” button to finish.
Now it is time to display the information on your website. Luckily, that is really simple. Just paste the following shortcode into any page and you are ready to sell cars:
[ht_message mstyle=”info” title=”” show_icon=”” id=”” class=”” style=”” ][car_dealer][/ht_message]
Vist the page to see it in action!
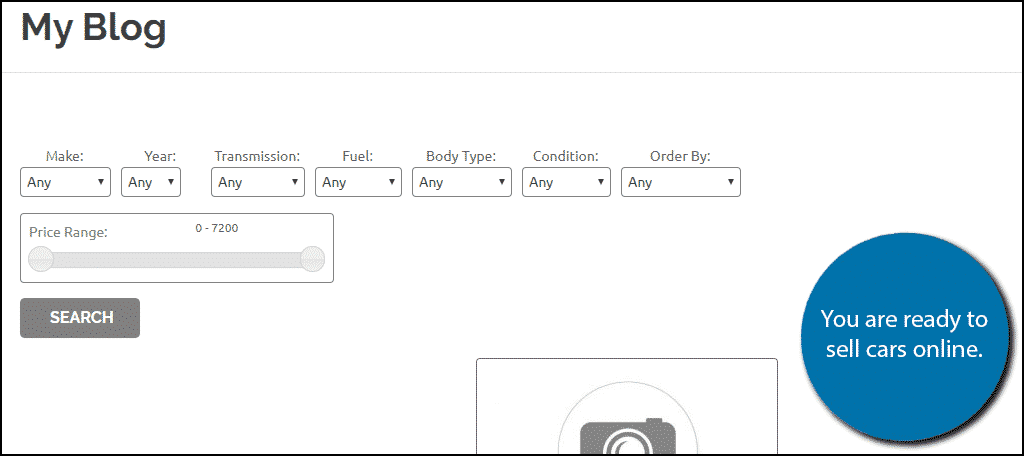
Congratulations, on setting up the Car Dealer plugin on your WordPress website. Remember that if you see anything out of order or not quite to your liking, go back into the settings to change it. It will probably take a few tries to get it perfect, but it will be worth the effort in the end.
Don’t Skimp On The Details
This plugin gives you a lot of options to properly explain the condition and specs of any vehicle, especially since you can make your own fields! Make sure to add as many details as possible, this includes photos of both the outside and inside of the car, exact mileage, horsepower, and anything else visitors will look for.
Remember, once someone has a bad experience on your website, they will tell their friends. Thus, you are only hurting yourself when you skimp on the details.
How easy did you find the Car Dealer plugin to use? How long did it take you to enter all of the car information into the car tables section?

hi I have a car dealer plugin but I want the images to show in a slider, not as a gallery please help me ??????????/
This would be more up to the plugin’s developer. However, there are a lot of gallery plugins you can use to show your cars and information.
Hi Robert,
Thanks for the tutorial.
Cheers,
Car Dealer Plugin Team