So you have your website up and running, but for one reason or another, you want to block the IP address of a specific country. Doing so can help you reduce spam bots and ensure visitors do not see your website in a country where it may be illegal.
However, this is not a native feature in WordPress. Instead, you will need to install a plugin that allows you to block IP addresses in bulk. Luckily, there are a lot of options you can choose from.
Today, I will show you how to easily accomplish this by using a smooth, lightweight plugin that is easy to configure.
What Is An IP Address?
As simple as I can put it, an IP address is a unique string of numbers that is separated by periods. These numbers are used to identify computers using the Internet Protocol to connect and communicate over a network.
If we break it down even more and make it easier to understand, an IP address is actually a label. This label is used to identify all types of devices on a computer network, like the Internet.
Think of it as a postal address, except for computers. The number is written in binary, and it can tell someone where a device is accessing the web. Each address has two parts. One part specifies the computer or group of computers, while the other part specifies the network.
Why Block The IP Address Of A Country?
Actually, blocking IP addresses is not limited to countries. You may want to block a number of IP addresses for one reason or another. The thing is, sometimes you want to block a country’s IP range because you simply don’t have a website that is tailored toward that area of the world.
Other times you may want to block IP addresses for more personal reasons. Here are some good examples.
Say you own a local store and your primary market is locally and throughout your state. There is no need to allow other countries to index or waste bandwidth on your server. You simply want your site accessible to your market.
Or, in another case, you may run a personal, or private website. This could include a family blog or a private members-only site that you want to restrict traffic to. Using WordPress to block an IP is ideal here as well.
Perhaps you may want to ban or block IP addresses that are known for spamming, mining, data, or hacking attempts.
Whatever your reason may be, there is a fantastic plugin we are going to go over that will allow you to easily block a country’s IP address. It will also allow you to block any IP address for that matter.
How to Block The IP Address Of A Country
There are quite a few plugins you can use to block IP addresses in WordPress and one of the best options is the IP2Location Country Blocker plugin. As the name implies, it allows you to block an entire country from accessing your website.
It can even take this a step further by blocking groupings of countries from accessing the website like the European Union (EU) or the Asia-Pacific (APAC), and others. It’s quite easy to use, so it’s fine for any skill level.
Note: This plugin is not compatible with caching plugins. If you have one installed, this plugin will not work.
Step 1: Install IP2Location Country Blocker
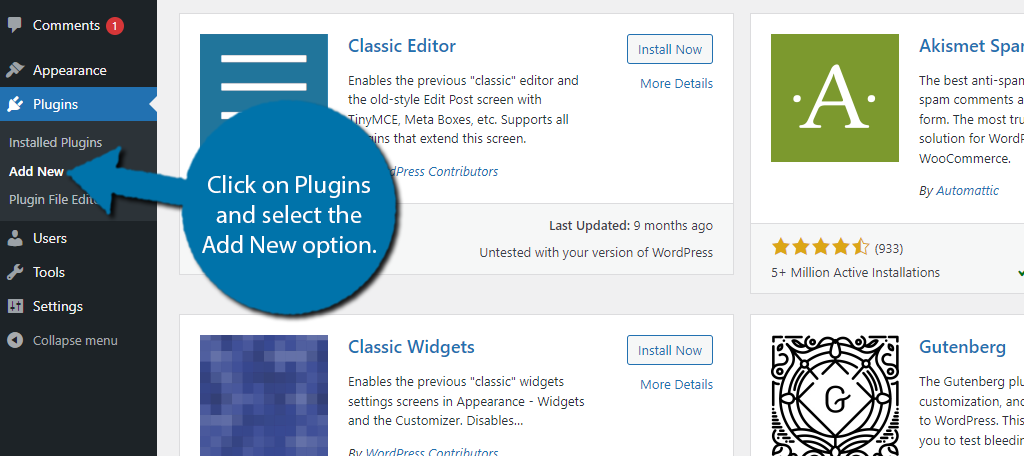
Let’s start by clicking on Plugins and selecting the Add New option on the left-hand admin panel.
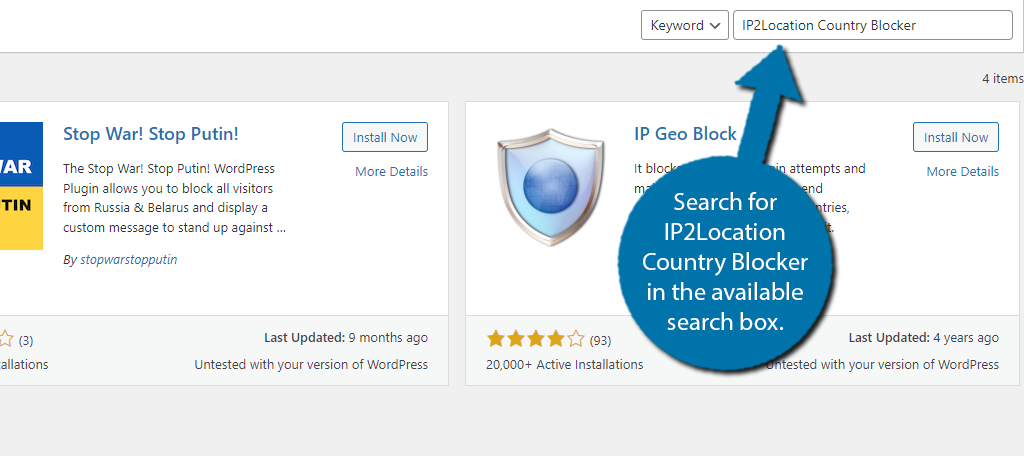
Search for IP2Location Country Blocker in the available search box. This will pull up additional plugins that you may find helpful.
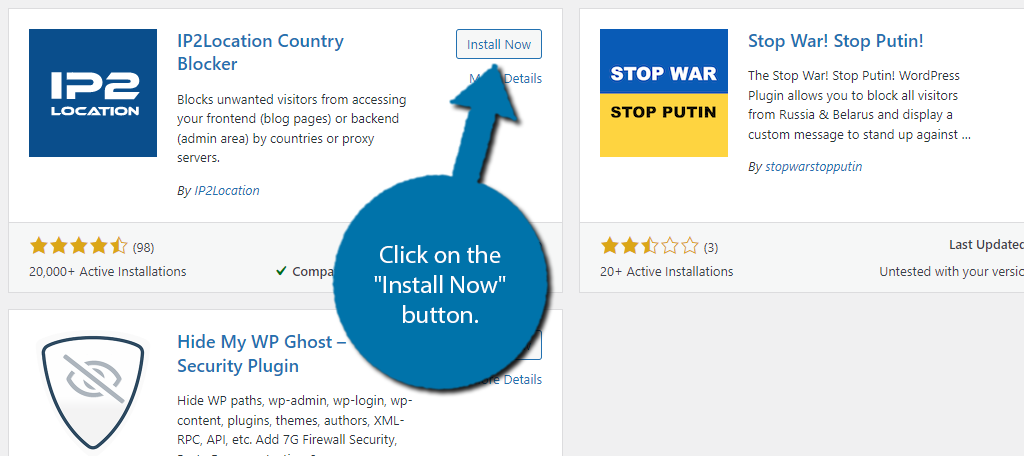
Scroll down until you find the IP2Location Country Blocker plugin and click on the “Install Now” button and activate the plugin for use.
Step 2: Follow The Setup Wizard
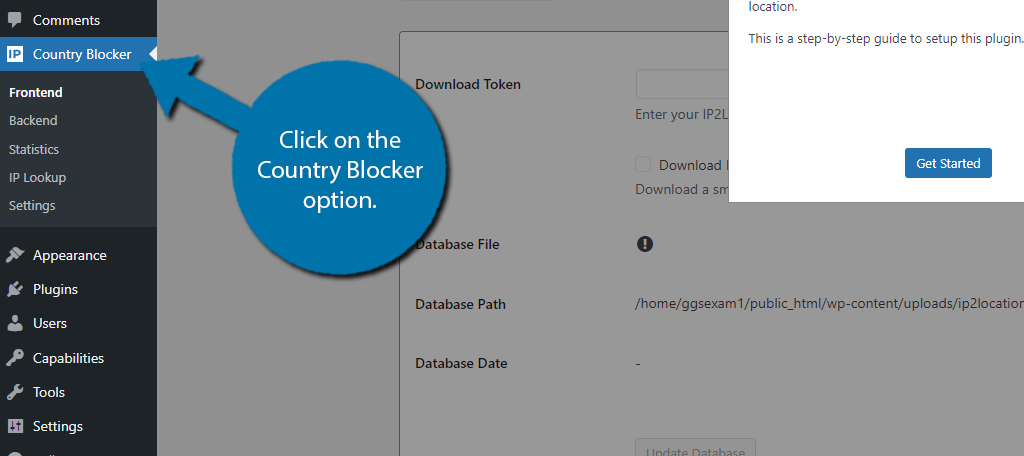
The plugin has a setup wizard, but its main purpose is for getting the necessary database installed. It is required, so let’s use it. To access it, click on the Country Blocker option.
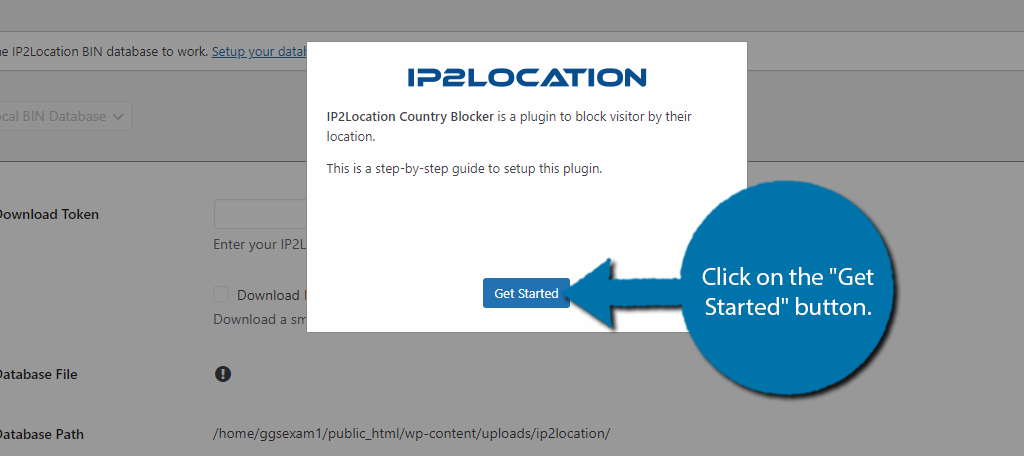
You will then see a small pop-up mentioning the step-by-step guide. Click on the “Get Started” button to begin.
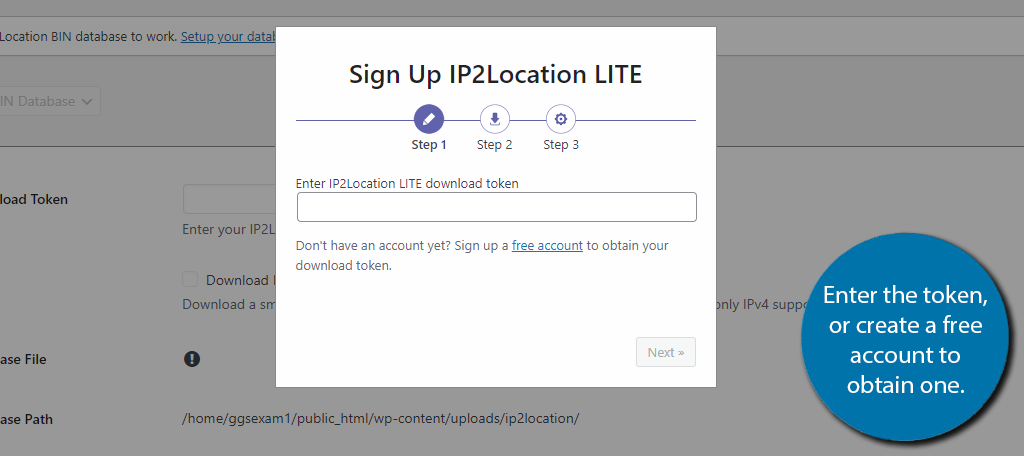
The first thing you will need to do is enter the IP2Location LITE download token. This is free but does require you to make an account. If you already have the token, enter it. If not, click on the “free account” link to create one.
If you are making an account, you just need to enter some basic information. You will need a valid email address as the account verifies the email. Upon verification, you can follow the link in the email to obtain the token.
Then, you just have to copy and paste that code into the setup wizard.
Next, the wizard will use the token to download the database, and the third step congratulates you. Next, it’s time to configure the settings.
Step 3: Choose A Country to Block
By default, the plugin does not block anything because Frontend Blocking is disabled. Thus, the first step is to enable Frontend Blocking. If you do not do this, the settings are not configurable.
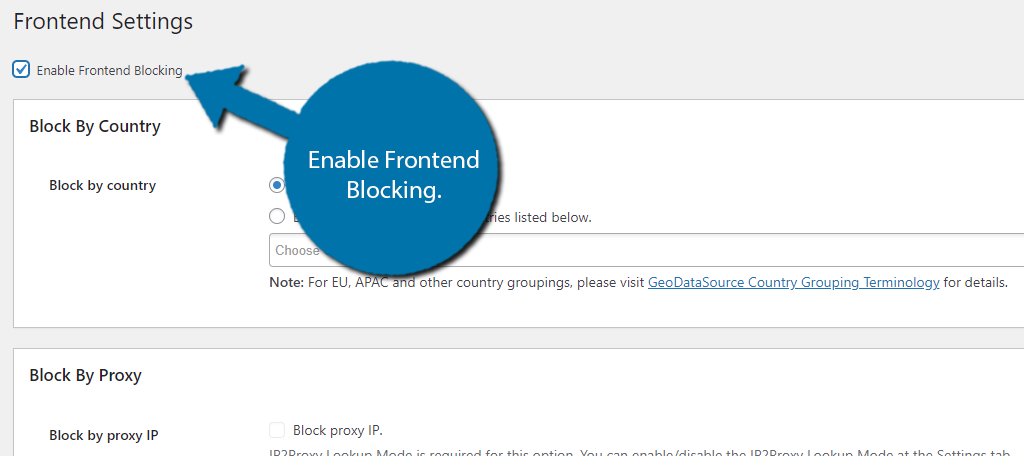
The first option of this plugin is what we are after – Block By Country.
There are two options. You can block all of the counties you enter into the textbox below or you can block every country not listed in the textbox.
Which option you pick depends on what your goal is. For example, let’s say you run a local plumbing business. There is no reason for anyone outside of the country it resides in to ever view your page.
Thus, you may want to just enter your home country and block all of the others.
In any case, check the option that applies to you. In this case, I will choose to block the countries listed in the box below and enter China.
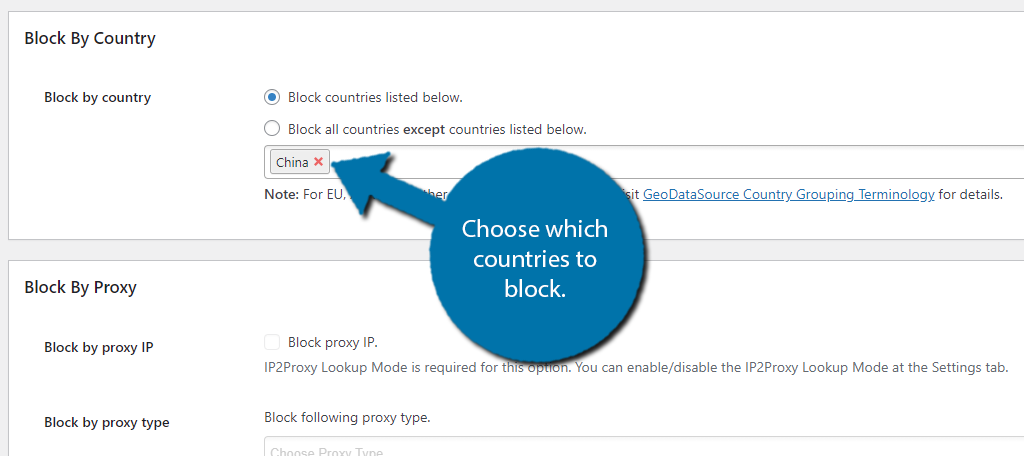
The Block by Proxy section requires a different database to be installed, which this tutorial will not cover. However, it’s not all that difficult of a process.
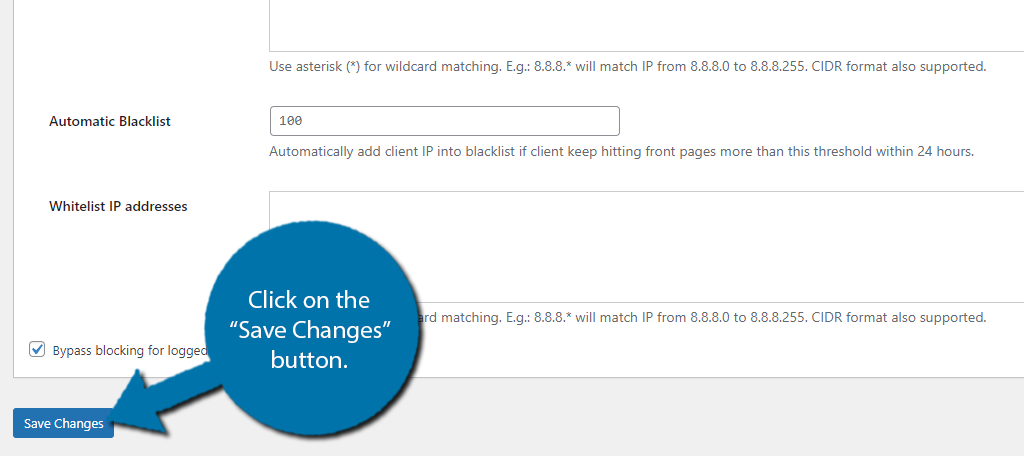
Below this, you will find some general settings that you can configure. This allows you to whitelist bots & crawlers, choose the error message users will see in blocked countries, and gives you the ability to blacklist or whitelist specific IP addresses.
Click on the “Save Changes” button when you are done.
And that’s it! Congratulations on learning how to block a country’s IP address in WordPress. Just remember to be sure about what you are doing because it can seriously impact who has access to your website.
Other Plugins to Block Country IP Addresses
WordPress is home to a variety of plugins, so there are a lot of alternative plugins that can block IP addresses. Here are a few you may find useful.
iQ Block Country

The iQ Block Country plugin is an excellent alternative when you want to restrict access to your website. It makes it easy to block IP addresses from specific countries.
Of course, it also has other features like IP address blocking and whitelisting, so you can make exceptions as needed. Overall, it’s easy to use, so be sure to give it a try.
WordFence Security

There’s a good chance you already have Wordfence Security installed on your website, and if you do, you actually already have a way to block IP addresses in WordPress.
This plugin allows you to block IP addresses individually, or you can block an entire country. Since you should have a security plugin installed, this one kills two birds with one stone.
Final Thoughts
If you have the right plugin and know how to use it, then having the ability to block country IP addresses is not difficult. If you don’t want certain people accessing your website content, then the IP2Location Country Blocker plugin is exactly what you need.
Not only will you be able to be more private with your site, but it is also easy to set up. Now you can block and redirect IP addresses from anywhere in the world the way you see fit.
Have you ever tried to block an IP address using another process? Have you found that things run smoother on your website if you can block IP addresses?

