WooCommerce is the best way to build an online store using WordPress. The plugin is free and comes packed with everything you need to start selling online. Adding functionality with plugins like WooCommerce product variations is also very popular.
A WooCommerce variable product gives your website users the ability to switch and change colors, sizes, styles, and more. While WooCommerce gives you the ability to already do product variations and product filters, a plugin for WooCommerce for swatches, for instance, will add functionality.
This includes things like how items look via images, labels, color swatches, and radio buttons.
Why Add WooCommerce Product Variations?
Aside from the more professional look and feel that you will give your website, adding WooCommerce product variations will allow your WordPress website users to see the different styles, colors, and sizes that your product comes in.
Not only that, but you also give your website audience the ability to see what each color and style may look like because of the setup by using images. You can get rid of the common built-in function of the WooCommerce dropdown menu and instead use a variety of things like WooCommerce color swatches.
There is a lot of functionality here so install the plugin below and see how easy it is to set up a catalog users will love.
To do this you need to find a solid plugin that will allow this type of add-on. I found one called Variation Swatches for WooCommerce. Let’s take a look at this WooCommerce variables plugin, how to install it, and how to use it.
Note: This article assumes you already have WooCommerce installed, setup, and running on your website.
Variation Swatches for WooCommerce
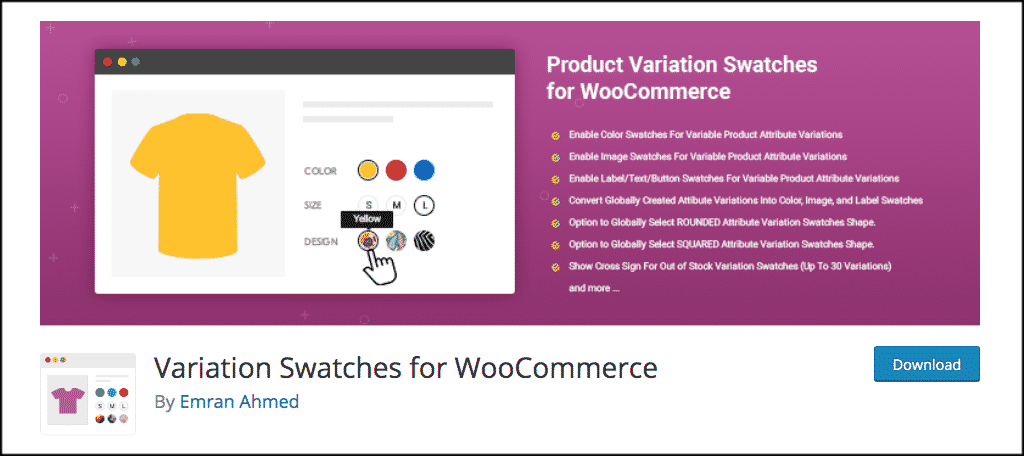
The Variation Swatches for WooCommerce plugin allows you to create amazing color, image, and button variations that you can apply to all the attributes you have already created. It is a very lightweight plugin that offers both the website owner and user a professional experience.
This could also be considered a WooCommerce color plugin, as it will allow you to easily create color swatches that can be applied to the attribute “color.” That is just one example.
This WooCommerce plugin not only allows the ability to offer color, image, and label attributes, but it will also enable them in quick view. This means your website user can get a quick, close view of the product without having to scroll through a drop-down box and then try a close-up.
Let’s take a look at how to install, activate, and set up this WooCommerce plugin.
Install and Activate Variation Swatches
In order to create WooCommerce product variations and attach them properly to your already created attributes, you need to install and activate this plugin. You can do this from the plugins page of your WordPress admin dashboard. Simply search for the plugin.
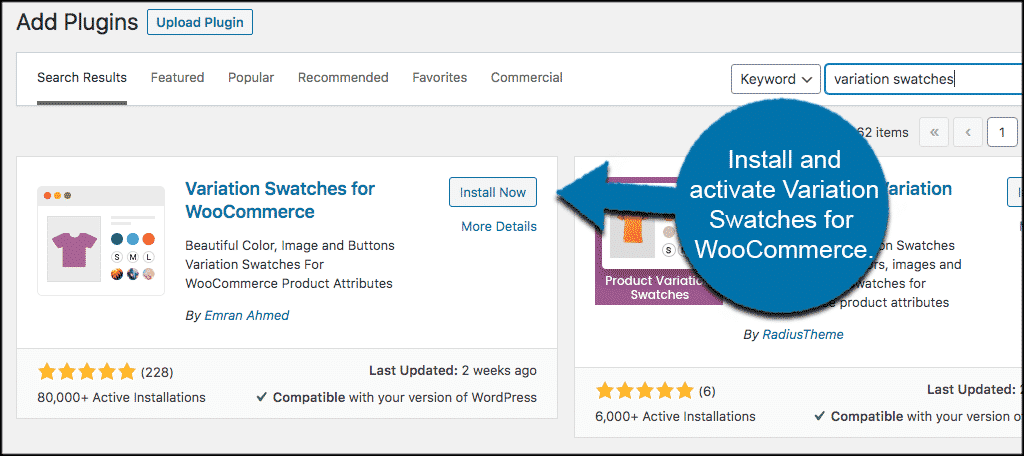
Once the plugin has been installed and activated, you will see a new label on the left side menu of your WordPress admin dashboard titled “Swatches Settings.”
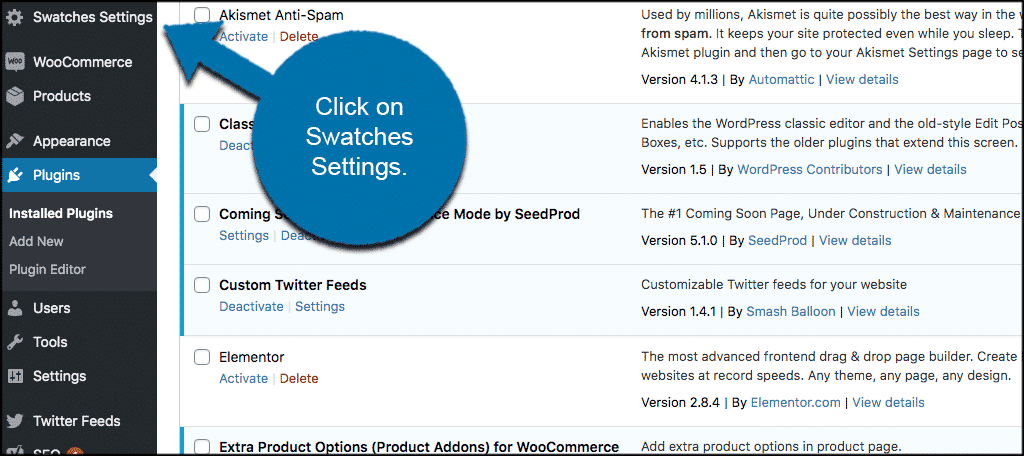
Go ahead and click on that and let’s take a look at the settings and configuration.
Settings Options for WooCommerce Product Variations
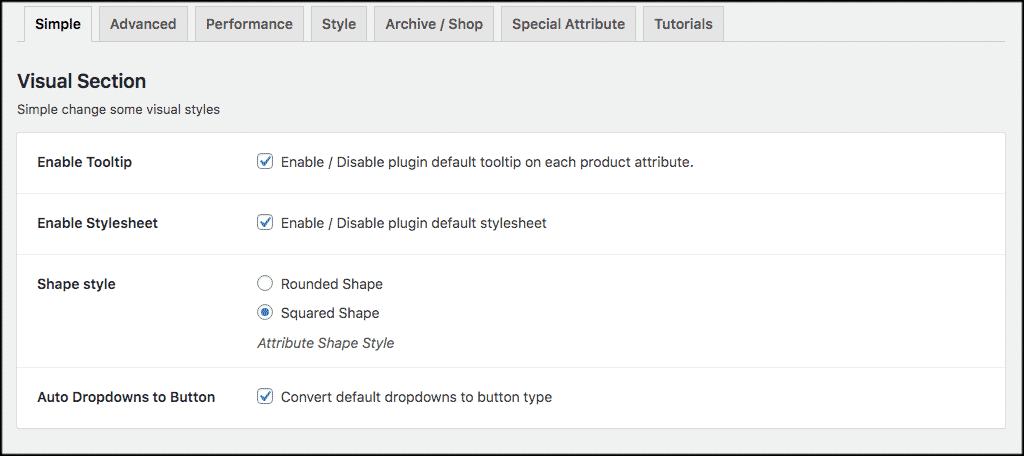
When you click on the “Swatches Settings” tab, you will be taken to the main settings page for the plugin. You will immediately see 7 tabs. These include:
- Simple
- Advanced
- Performance
- Style
- Archive/Shop
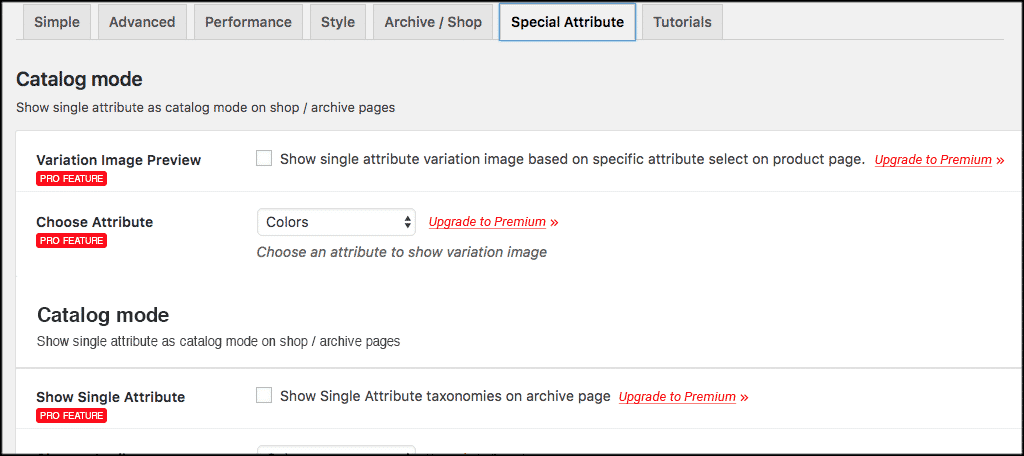
- Special Attribute
- Tutorials
Let’s go through these together to see what they all are.
Simple
These are the simple, visual styles for the plugin. Set them how you would like for your site.
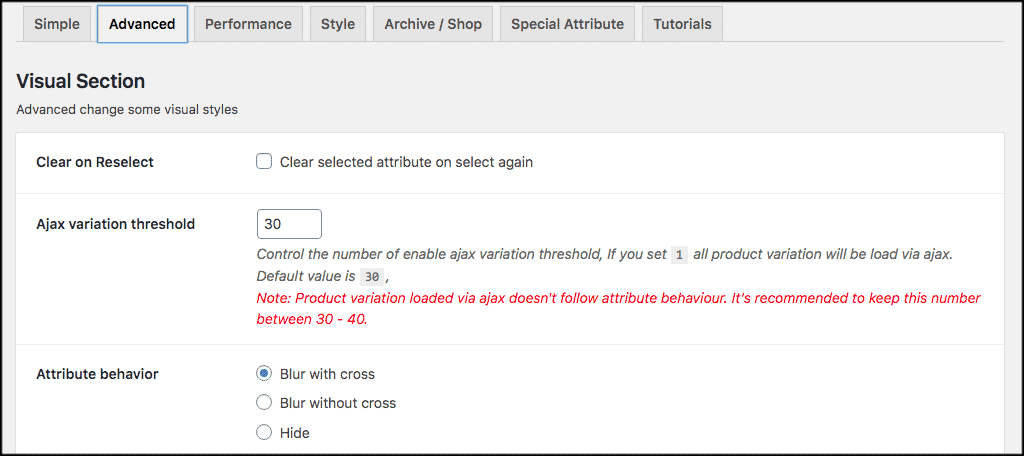
Advanced
This tab will provide you with some more advanced options for this WooCommerce product variations plugin.
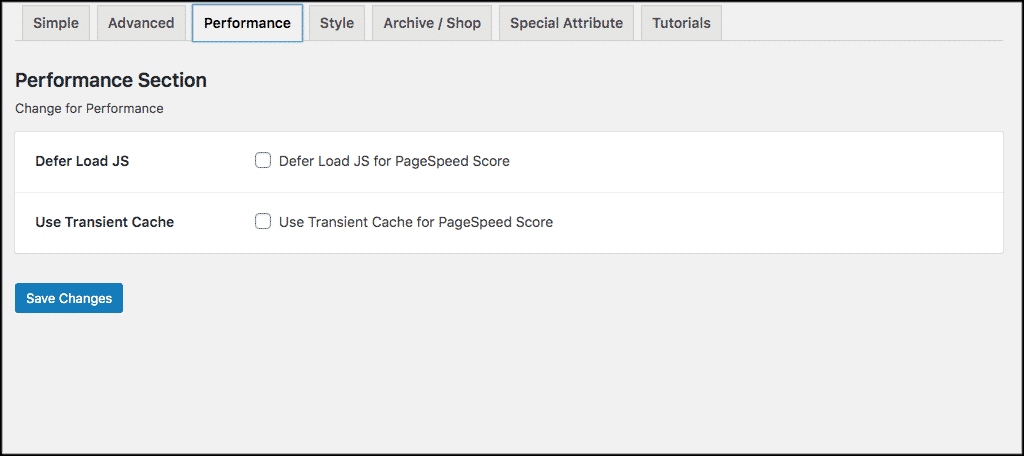
Performance
There are a couple of different options for performance here. Go ahead and choose what you would like based on the setup and functionality you have.
Note: The following three tabs will only be useful to you if you are running the pro version of this WooCommerce swatches plugin.
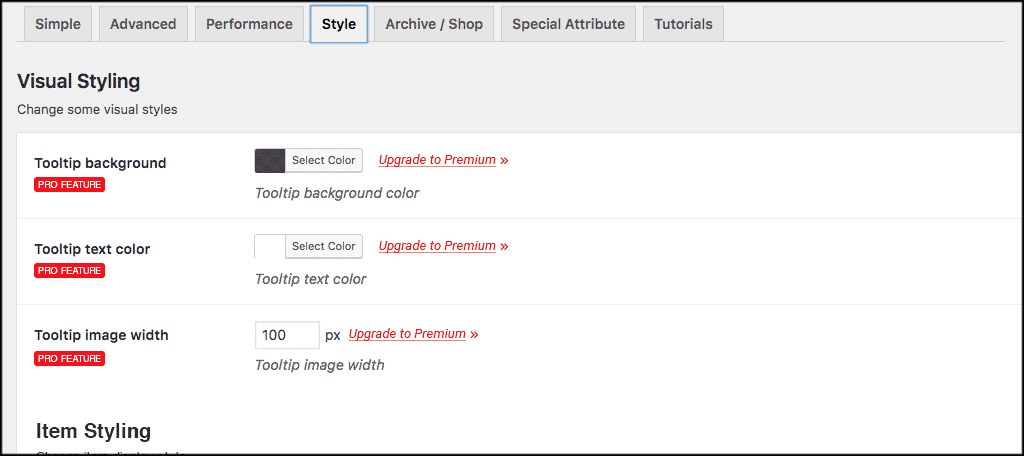
Style
If you are a pro user, this tab will give you a ton of different styling options for the plugin to make it even more personal.
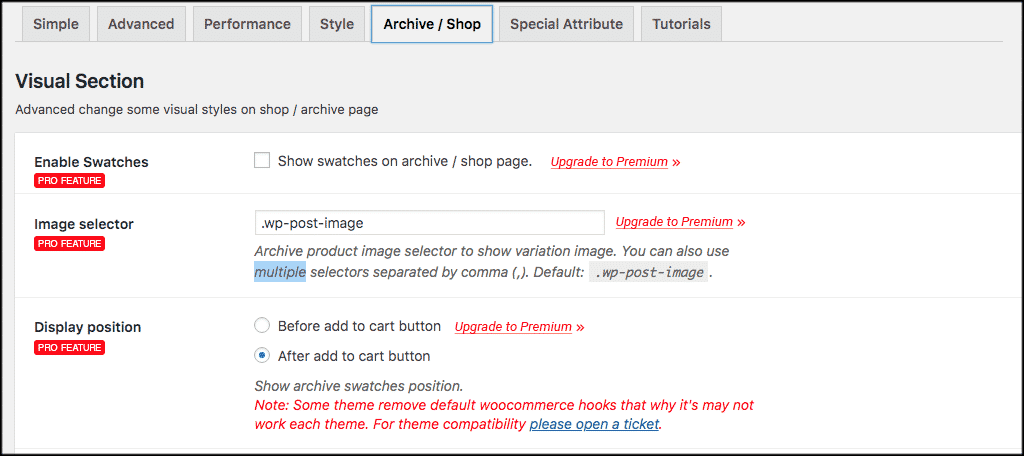
Archive/Shop
Different styling options for the archives and shop of your WooCommerce site. Again, for pro users.
Special Attributes
The last tab for pro user settings. More advanced options for catalog and images.
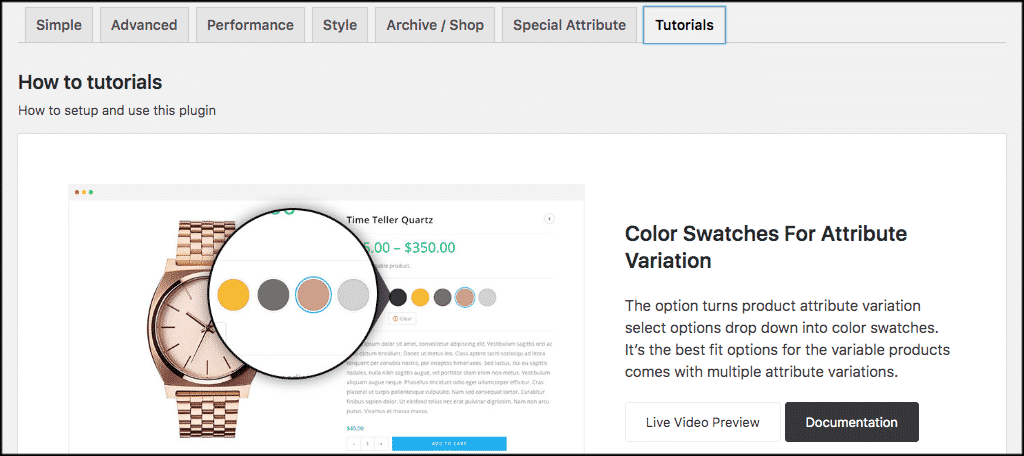
Tutorials
This WooCommerce colors plugin actually comes with a lot of video tutorials built-in. We are covering the installation and setup of the tool here. However, if you want more specific or advanced options, check out their tutorial section right from your dashboard.
That’s it! You have successfully installed and setup Variation Swatches for WooCommerce. Let’s take a quick look at how to add product variations to your attributes.
Add WooCommerce Product Variations
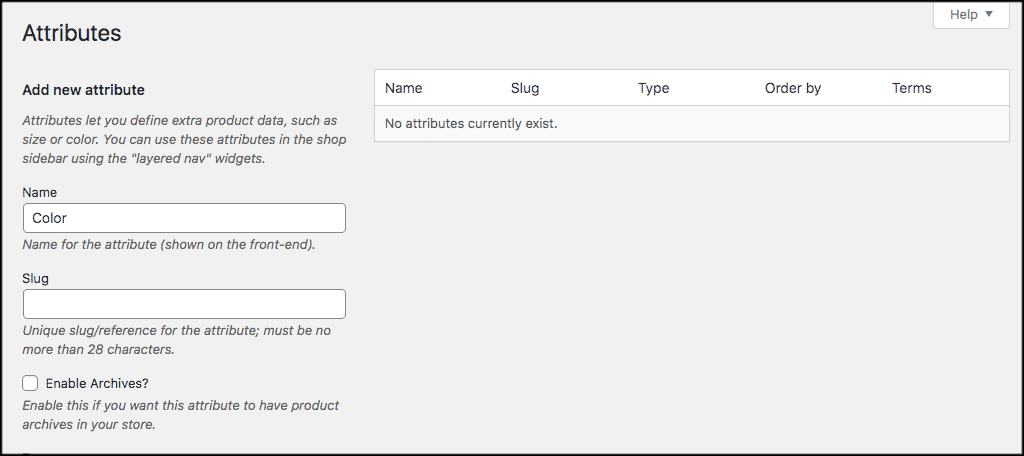
To add WooCommerce product variations to a product, you first need to have attributes setup. If you do, great, if not, set one up like this. For this example I am just going to use the attribute “Color.”
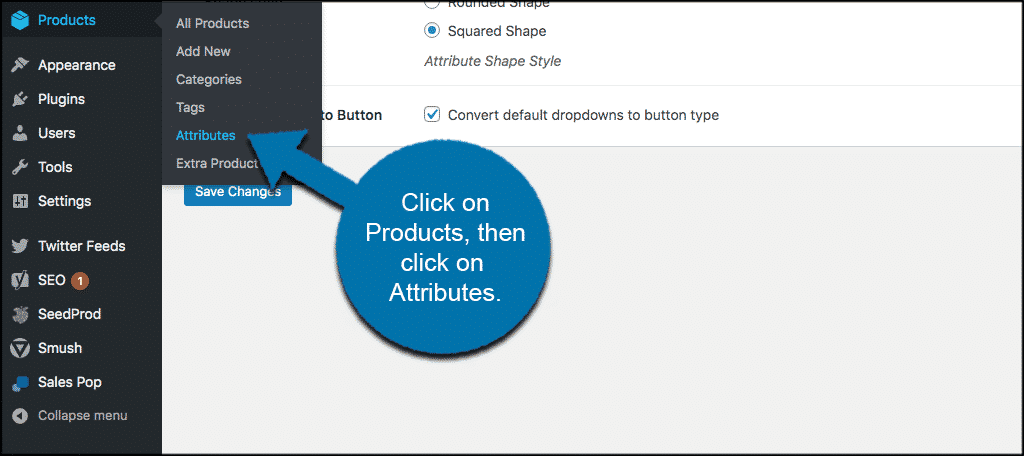
Click on Products > Attributes, located in the left menu of your WordPress admin dashboard.
Add the attribute you want. In this case, “Color.”
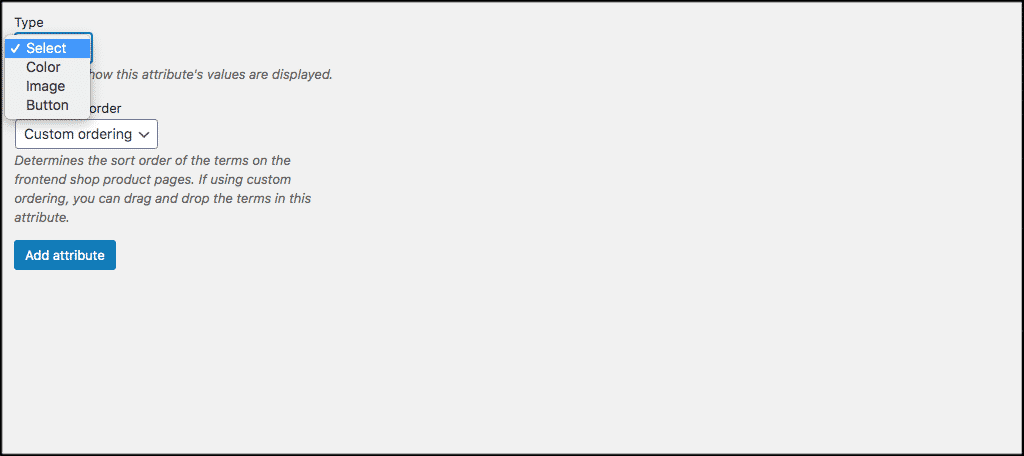
Now scroll down a little and under the “Type” drop-down box, select how this attribute should be displayed. This will be up to you.
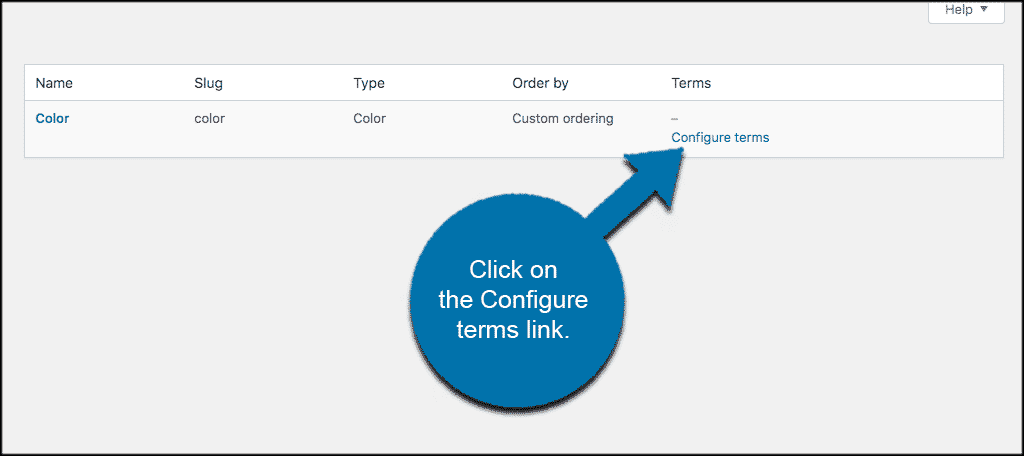
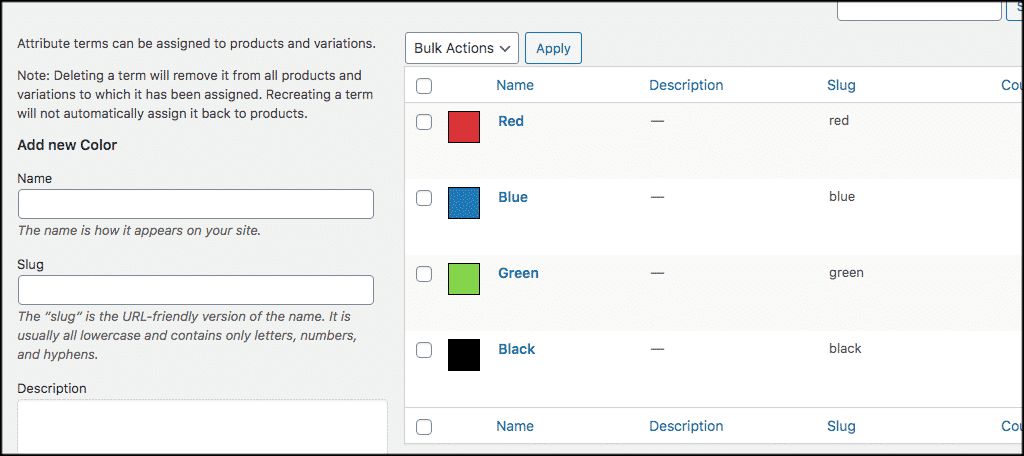
Now that the attribute is added, go ahead and configure the terms you want for this particular attribute. In this case, your terms would be different colors you want to be able to add to WooCommerce products. Just click on the “Configure terms” link and add as many colors as you want.
At this point, you have added the colors you want and now you are all set.
Add Attributes and Variations to Product
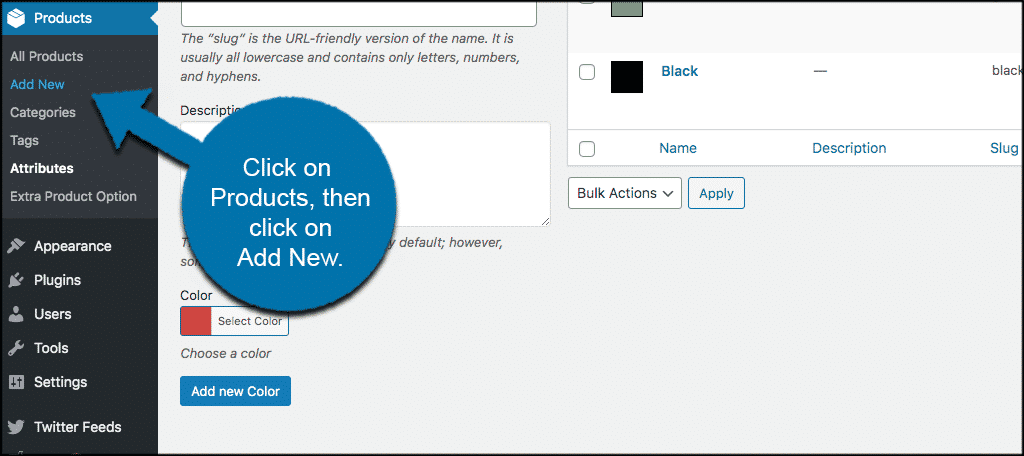
Click on Products > Add New in the menu and open up a new product page for your site.
Scroll down to the product data box section of the editor and make sure you are on the WooCommerce variable product selection in the drop-down menu.

In the custom product attribute drop-down, select the attributes you want added to your product. For this example, we will select “Color.”
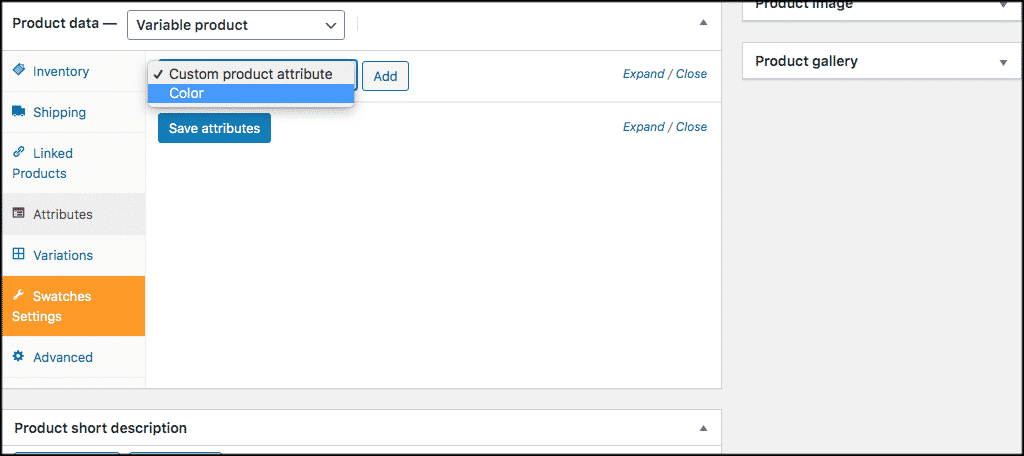
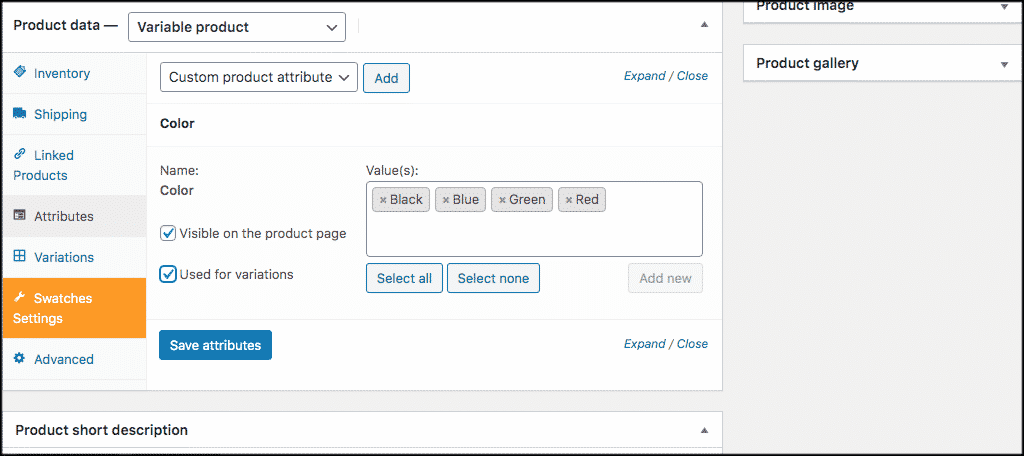
Click on the “Select All” button to select all product variation colors and add them. Or, you can select only the ones you want. Then click on the “Save Attributes” button.
Note: Make sure the “Used for variations” box is checked.
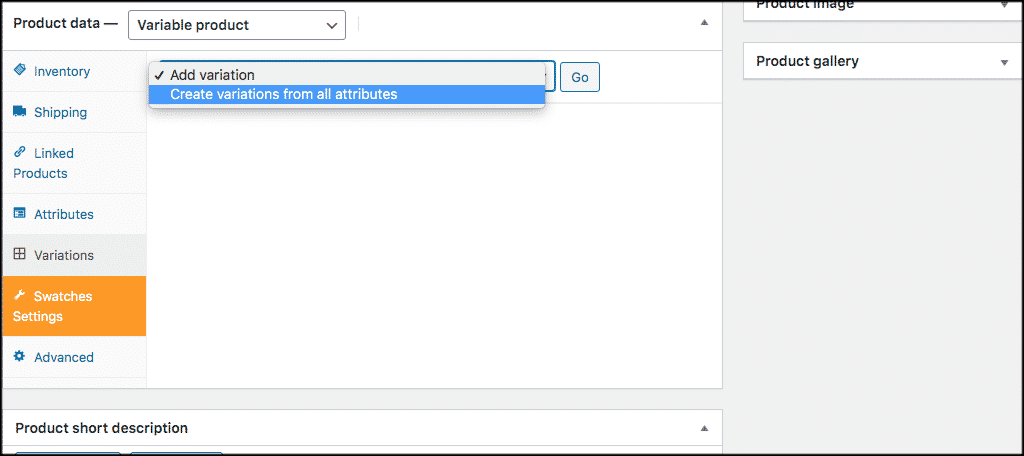
Now click on the “Variations” tab. In the add variation drop-down box, select “Create variations from all attributes.” This will automatically create all the variations you put in from all attributes you have already selected.
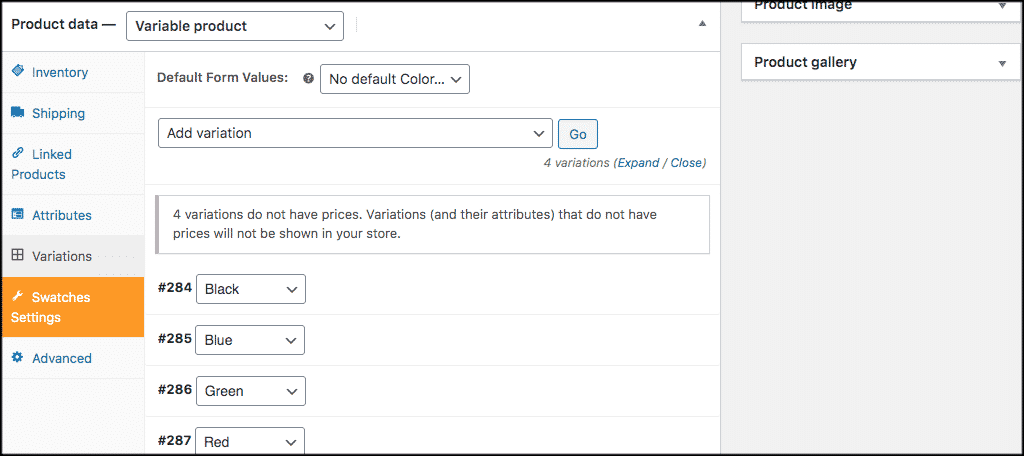
You will now see all the WooCommerce product variations added. Each has its own drop-down menu. Just fill all of these out how you want them to display on your product page.
Add pricing, SKU, stock, variation images, and anything else you want from the available product options..
When you are finished adding the relevant data, publish your product and check it out. You will see all WooCommerce swatches have been added according to your setup and you now have a more professional, user-friendly website.
Final Thoughts
Adding a WooCommerce variable product is not difficult. Matter of fact, WooCommerce already gives you this ability. However, if you want to add color swatches and really style your WooCommerce product variations, then adding a plugin like the one above is a perfect choice.
Adding functionality like this to your eCommerce website will help it succeed.
What other plugins have you used to add different types of WooCommerce swatches to your product pages? Have you found this to be more appealing to your site users?
