After building a website in Drupal, there will be times when you need to upgrade. These updates usually have important fixes to protect the site as well as removing bugs from the system. When you get a notification that a new version is available, it’s always best to upgrade as soon as possible.
In this Drupal upgrade tutorial, I’m going to show you how to install the newest version for your software.
Getting Your Updated Drupal Files
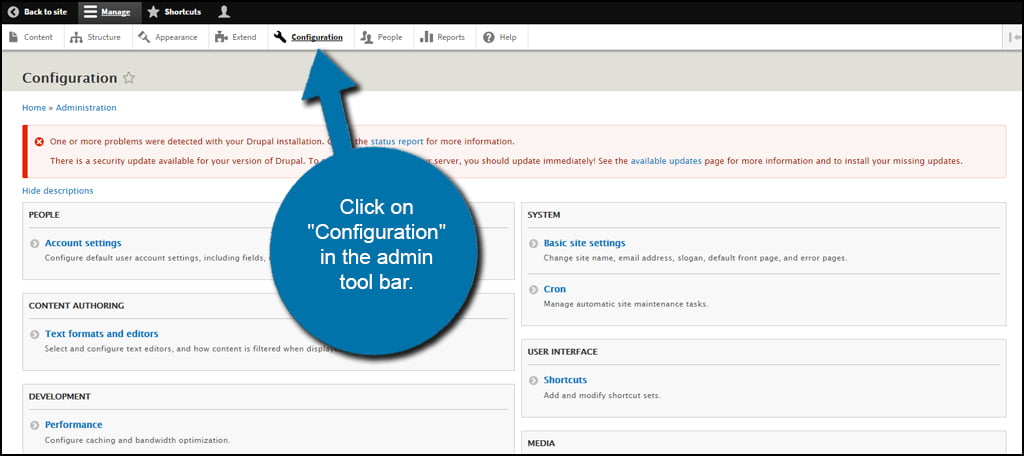
When you log into the Drupal admin panel, you may see a message that there are available updates. If you don’t, click on “Configuration” in the admin toolbar. You will then see the message for updates if there are any available.
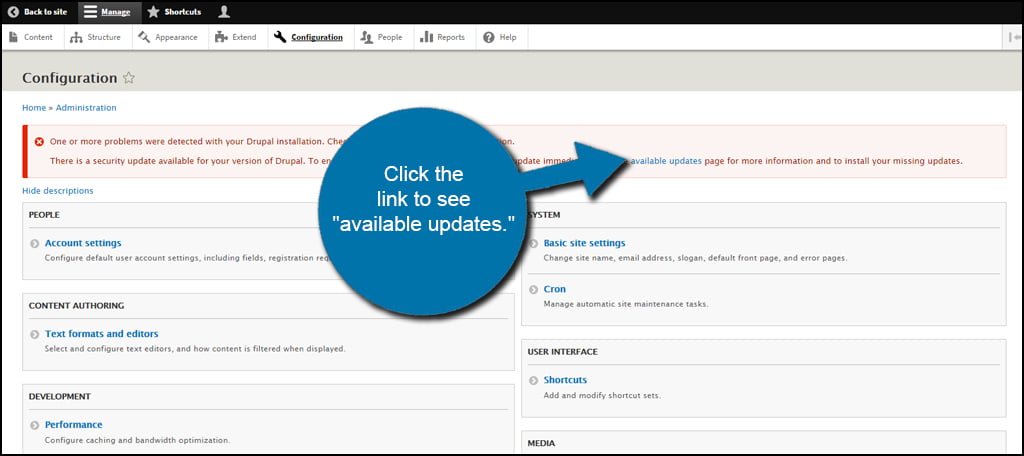
Click the link to see “available updates.” This will take you to Drupal’s Update screen. This can also be found in Reports in the link “Available updates.”
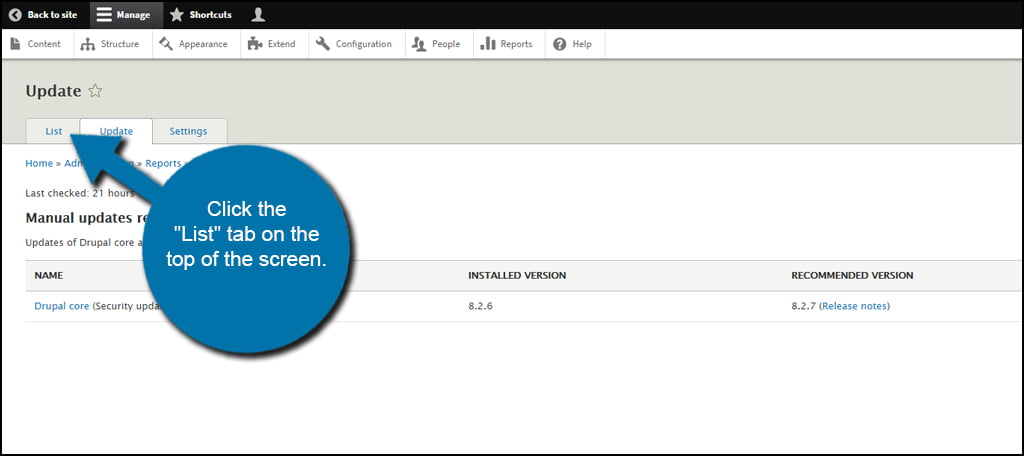
In the Update tab, you’ll see files that are available for upgrading should any be released. You’ll also see a report of when the last time the system checked for these upgrades. If you’re curious at any time, you can always click the “Check manually” link to force Drupal to see if there are any current versions available.
Click the “List” tab on the top of the screen.
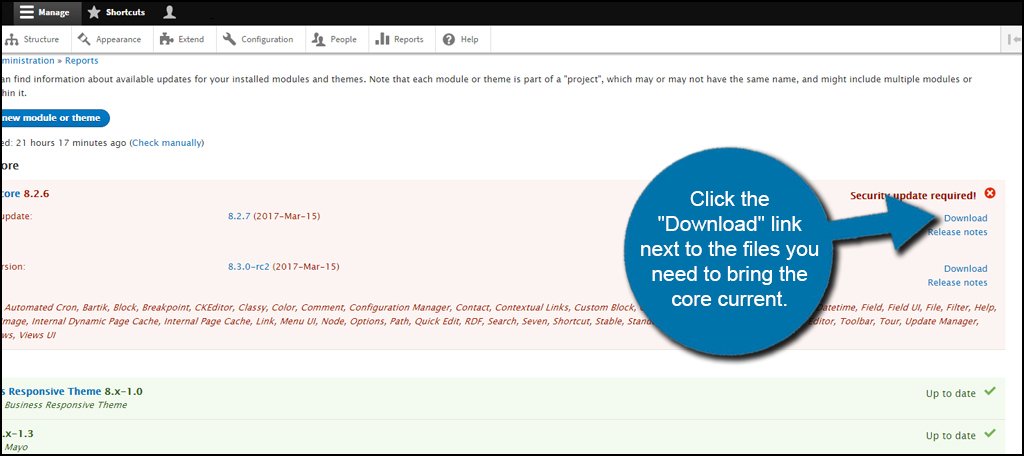
In this list, you will see any updates related to the core files as well as themes and other supported extensions. Click the “Download” link next to the files you need to bring the core current.
In this Drupal upgrade tutorial, you’ll see that I have a security update available. I’m not going to worry about the “RC” core update because these are not always stable. Release Candidate, or RC, versions have the potential to work correctly but are often found to be a bit buggy. It’s kind of like beta testing software before it goes live.
I prefer to wait until the actual version is released as a stable upgrade.
Download the file to your preferred location on your computer. I download files like these to my desktop to make them easier to find. Then, I’ll move them to Dropbox for safe keeping.
Installing the Upgrade to Drupal
Before you make any changes to your website, always create a backup copy. This can be done by using FTP applications such as FileZilla. This will prevent you from losing your website should something go wrong during this update.
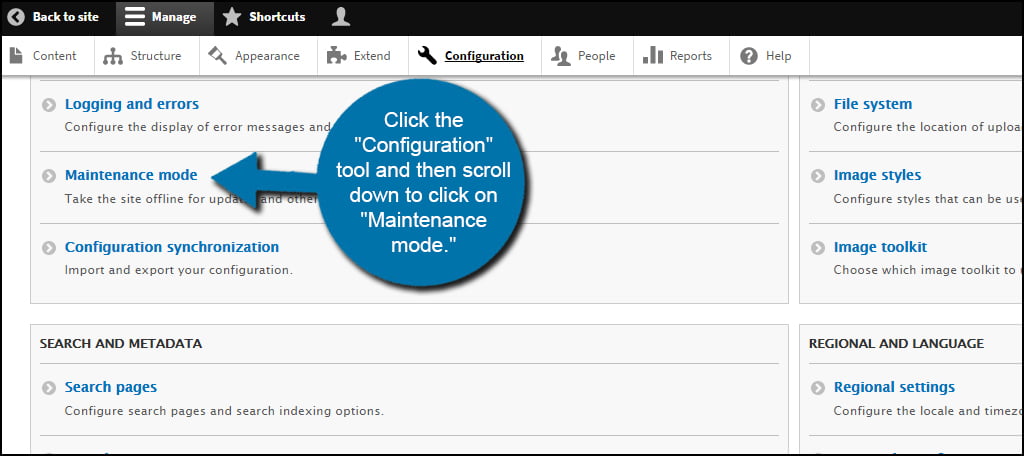
The first thing you need to do is set your website for “Maintenance Mode.” This will show a message to your visitors that the website is being configured. To do this, click the “Configuration” tool and then scroll down to click on “Maintenance mode.”
Click the check box to put the site in maintenance mode and save. You can also input a custom message to display to guests while you are working.
Deleting Files in Drupal
Next, we’re going to delete the old files and prepare the website for the upgrade.
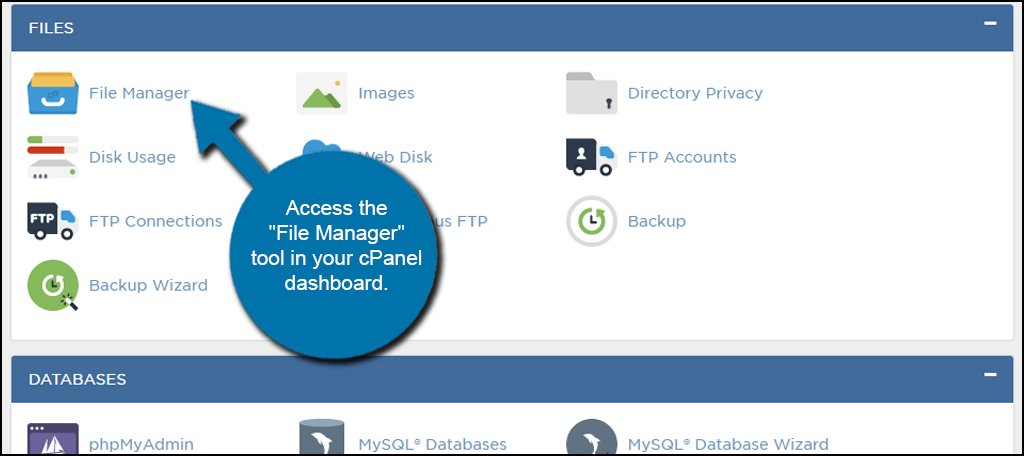
Access the “File Manager” tool in your cPanel dashboard.
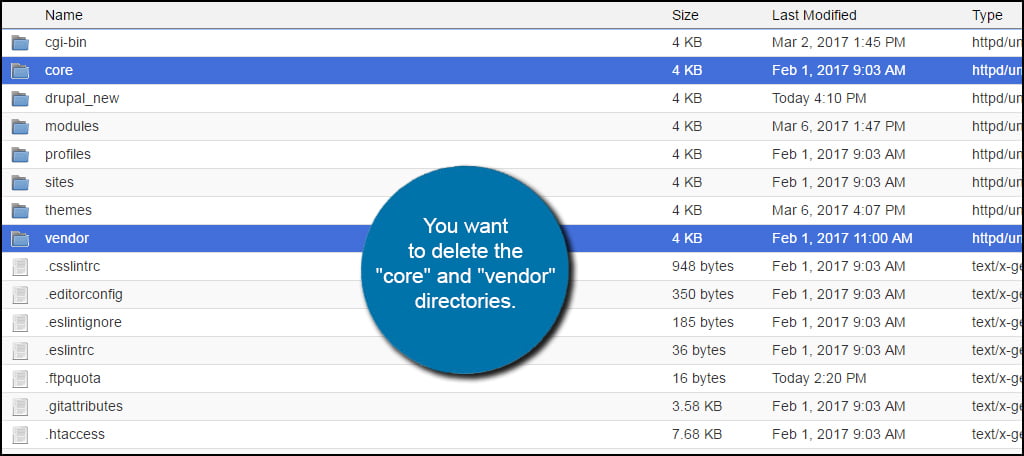
In the root directory of the website, you want to delete the “core” and “vendor” directories.
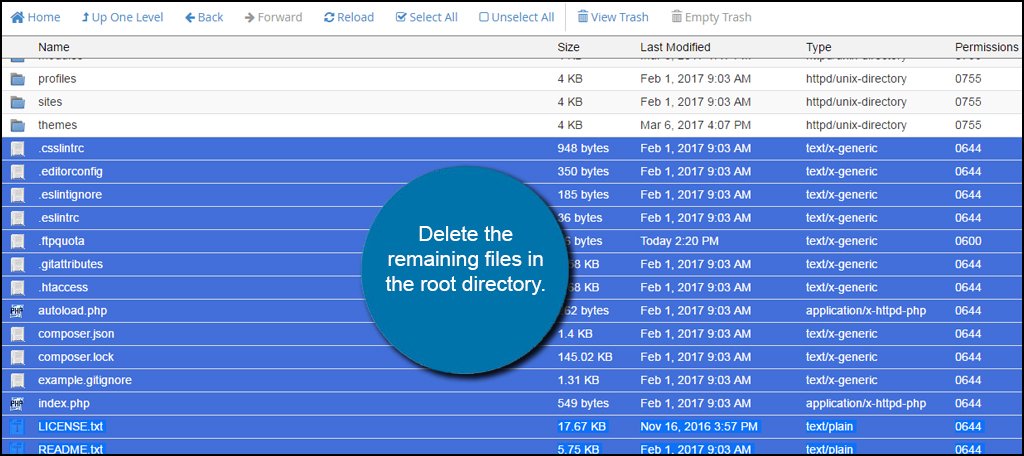
Next, delete the remaining files in the root directory. You don’t want to touch the other folders for they are storing all of the data for your site. You should have four remaining folders:
- modules
- profiles
- sites
- themes
Some of you may have a folder labeled, “cgi-bin.” This folder can stay as it will not affect the rest of the upgrade.
NOTE: If you’ve made custom changes to .htaccess, robots.txt, composer.json or other modifications, save those files separately so you can add them later.
Uploading New Version
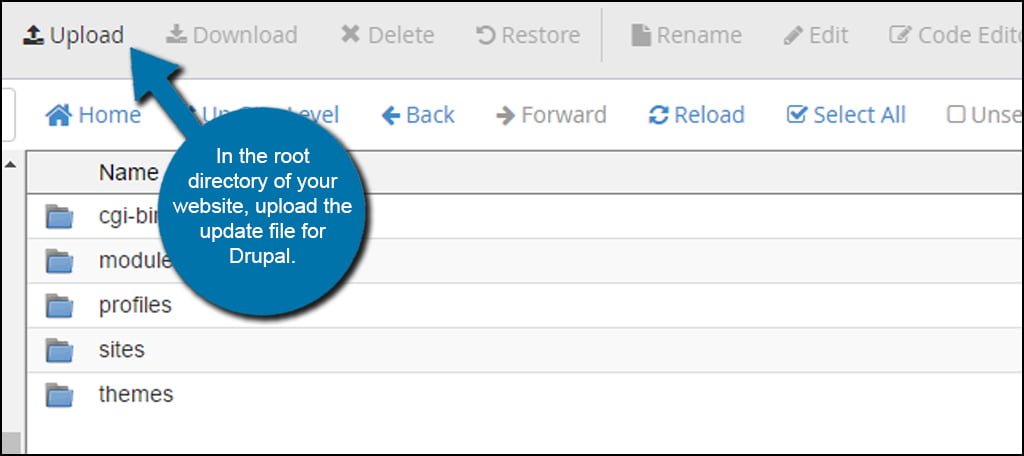
In the root directory of your website, upload the update file for Drupal. This is often in a “.tar.gz” format.
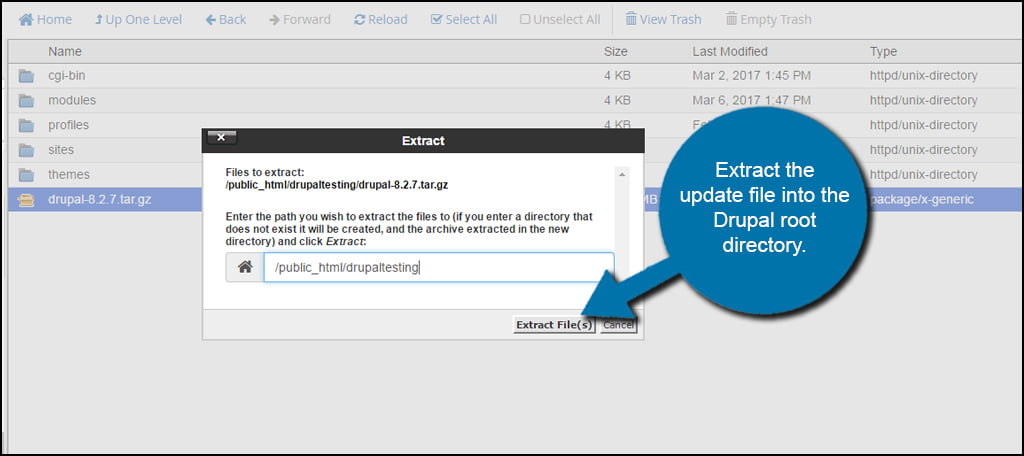
Extract the update file into the Drupal root directory. This can be done by either right-clicking the file and selecting “Extract” or by clicking the Extract tool in the top admin toolbar of File Manager. Mac users will hold down CMD and click to open the options window.
Upgrading Drupal 8
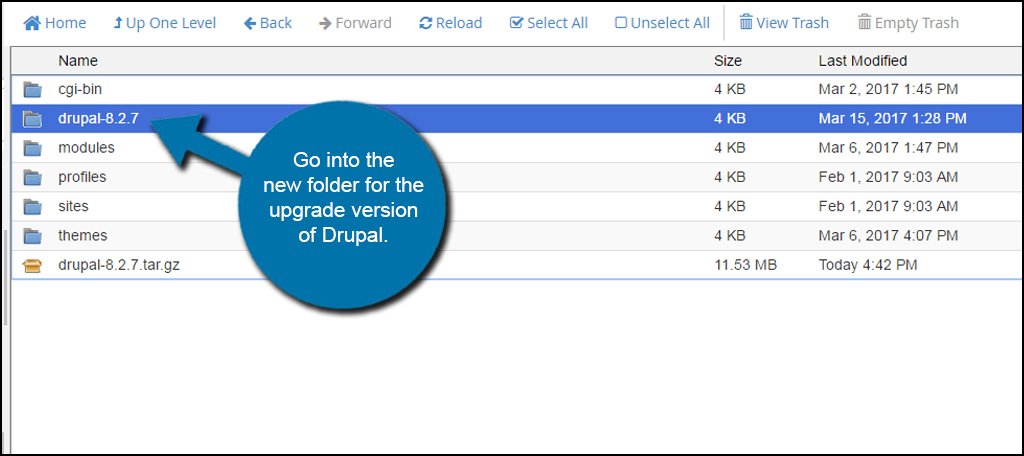
Once the file has been extracted, go into the new folder for the upgrade version of Drupal. In the example below, this folder is “drupal-8.2.7.” Your update may be different depending on the version you’re working with.
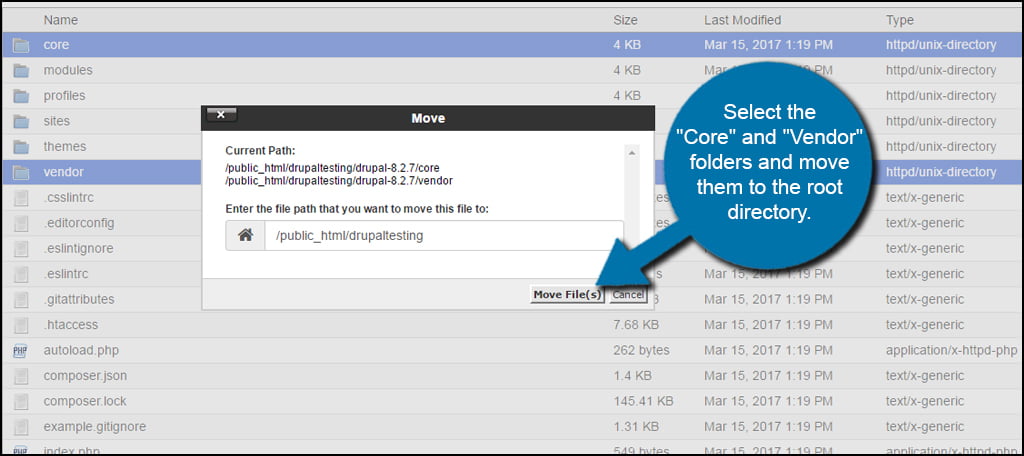
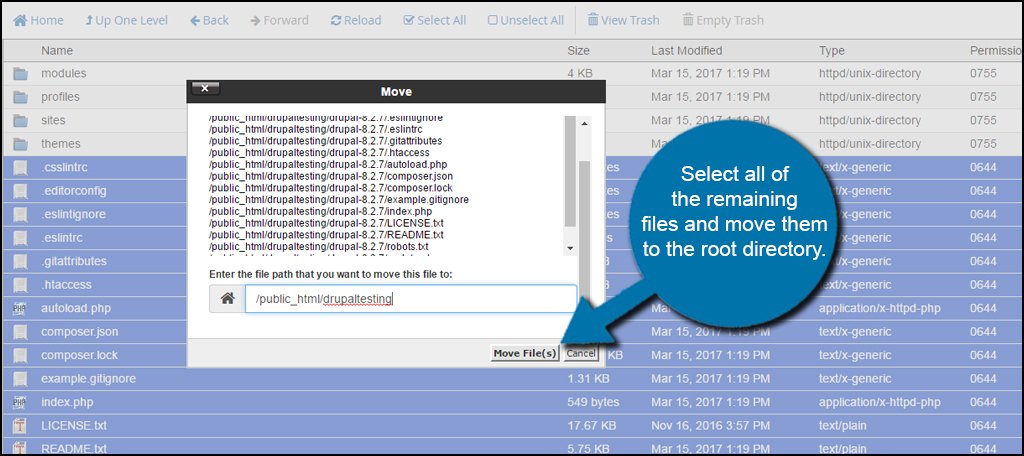
Select the “Core” and “Vendor” folders and move them to the root directory. You will have to delete the current folder from the file path. In my example, it’s the “/drupal-8.2.7” text after my domain name. Your root directory may be, “/public_html.”
The point of this step is to replace the core and vendor folders that you deleted earlier.
Next, select all of the remaining files and move them to the root directory. Do not select the modules, profiles, sites or themes folders.
Click the “Up One Level” function in the top toolbar to return to your root directory.
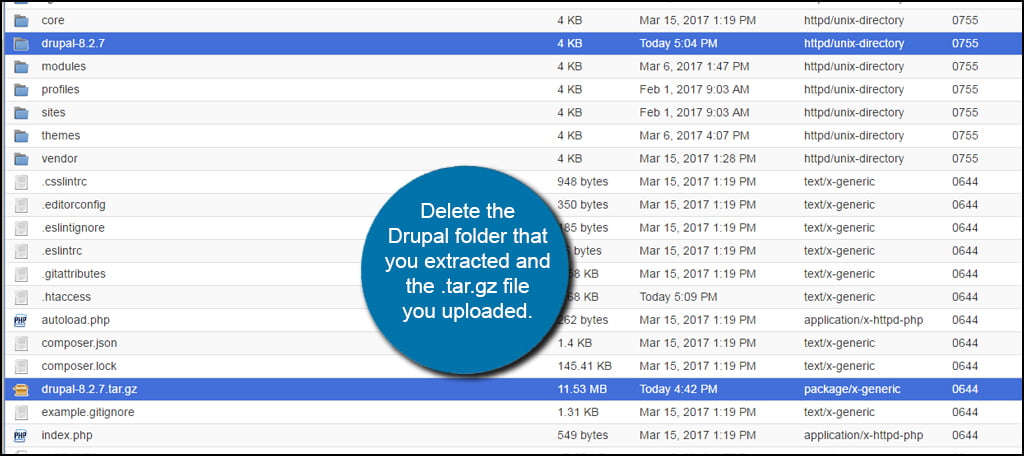
Delete the Drupal folder that you extracted and the .tar.gz file you uploaded. These are no longer necessary on your site and are only taking up space.
Once the new files have been moved, you will want to upload your custom files. Because I made custom alterations to .htaccess and robots.txt, I am going to upload them to overwrite the new copies.
Go to your web browser and enter in “/update.php” after your domain name. So it may look something like, “https://ggexample.com/update.php.”
If your website states that you are unable to access the file or that it is missing, you may need to edit your settings.
Edit Settings of Drupal
For the most part, you won’t need to edit the settings.php file of Drupal if you’re logged in as an administrator. However, there may be times when editing this file is the only way to access the update.
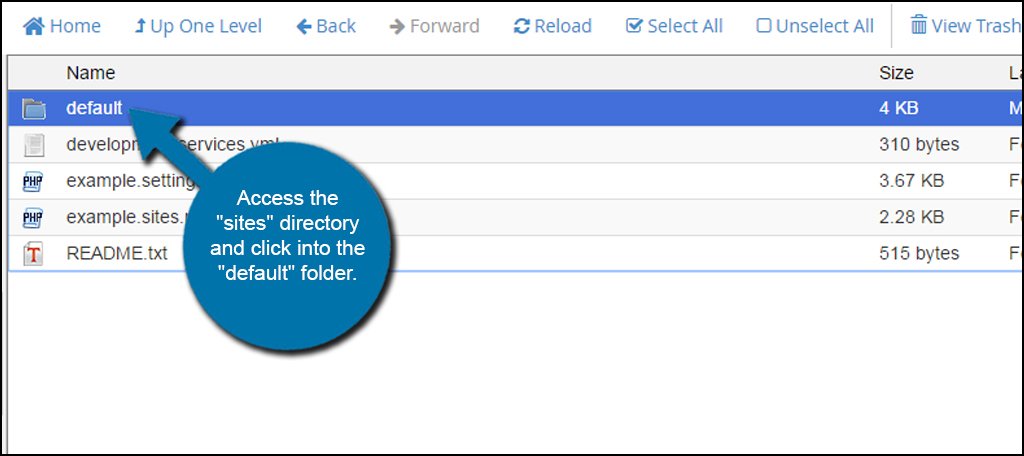
Access the “sites” directory and click into the “default” folder.
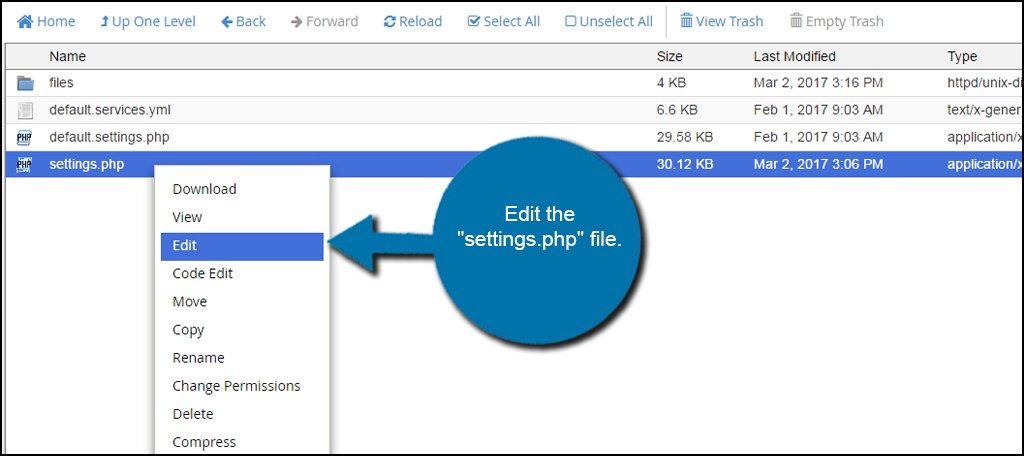
Edit the “settings.php” file. Go ahead and use the default text editor that File Manager is requesting.
Scroll through the coding of the settings.php file until you find ‘update_free_access.’ Change the “FALSE” tag to “TRUE” all in capital letters.
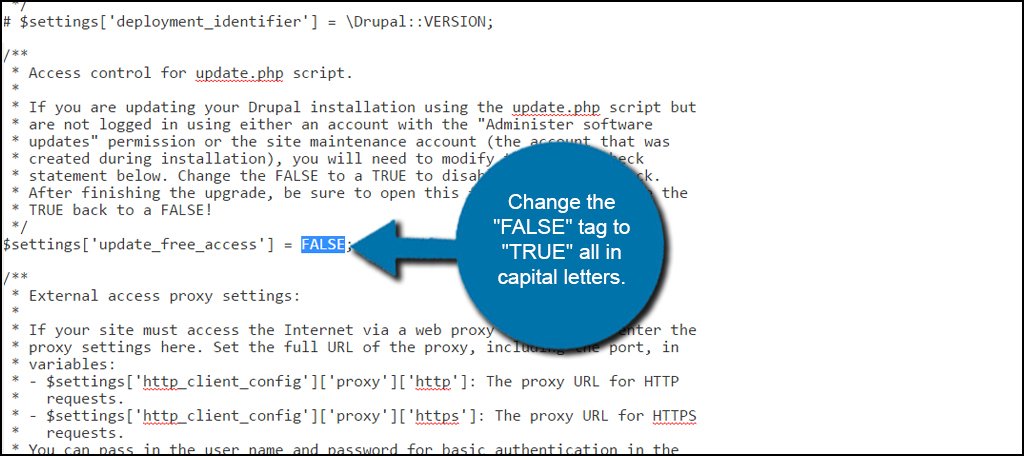
Save the file. You should now be able to continue with the update for your website.
Running the Update
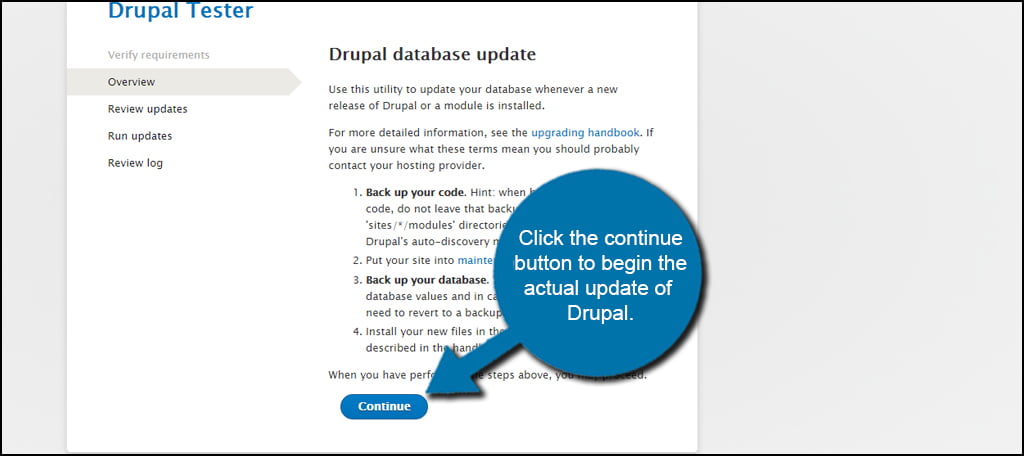
When you launch the update.php from your web browser, you will get an update manager window. Click the continue button to begin the actual update of Drupal.
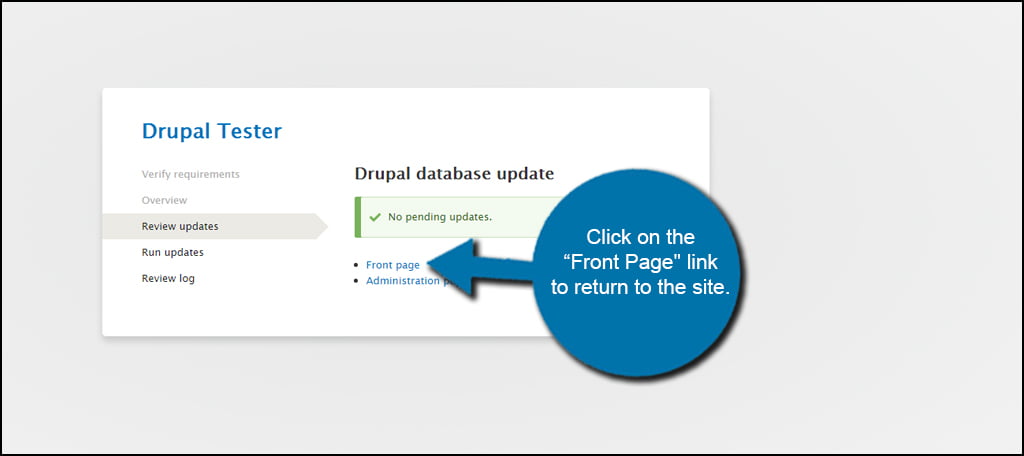
Drupal has now been updated. If Drupal had to update the database, the system would give you further instructions or further information about what was done. However, most version updates won’t have changes for how Drupal will save data.
Click on the “Front Page” link to return to the site.
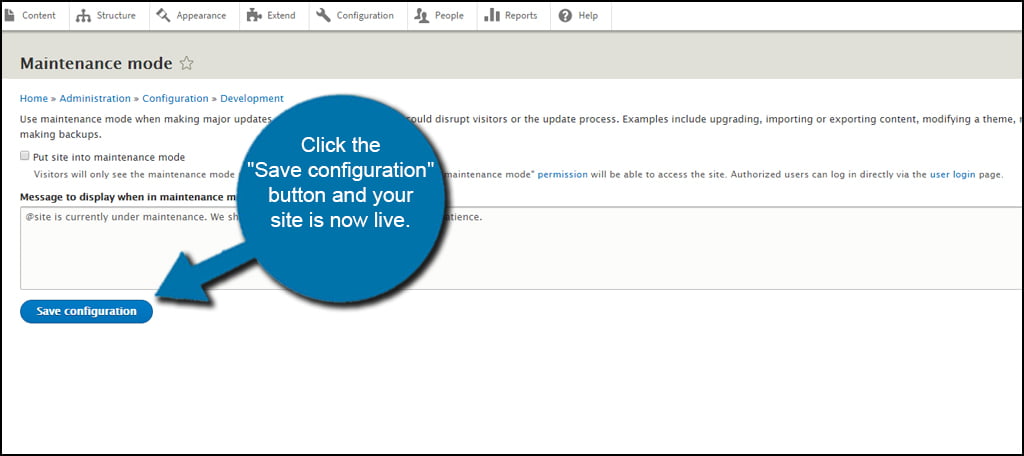
Go back to the Configuration page and turn maintenance mode off by removing the check mark. Click the “Save configuration” button, and your site is now live.
NOTE: If you had to edit the settings.php file mentioned above, make sure you go back and change the “TRUE” back to “FALSE.” This is a security issue, and you don’t want just anyone to access those files.
When it comes time to upgrade Drupal, it can be an unnerving process. Because of the advanced nature of the content management system, many people may be afraid of making mistakes. As long as you keep a backup copy of the files saved on your web hosting account, it’s easy to revert should something happen. Take your time and don’t rush an upgrade.
