Although you might work hard to make sure all of your content in WordPress is golden, sometimes you need to make changes. And when that time comes, you are going to want to make sure your website has a search and replace text option.
For example, let’s say you just changed your pricing structure. You are going to have to update all of your posts and pages to reflect the change. Unfortunately, WordPress doesn’t have a good way to handle this without using a plugin.
And that’s where the Better Find and Replace plugin comes into play. I’ll demonstrate how to use it to change the text in WordPress.
This tutorial is for:
WordPress 5.9
Plugin: Better Find and Replace ver1.3.5
Why Would You Need to Search and Replace Text?
There are probably over a hundred reasons why someone may need to search and replace text in WordPress. And the chances you’ll use it rise exponentially the larger your website gets,
Just think about a website that has hundreds of posts and pages. Do you actually think they have employees manually inspect each page and make changes?
That’s a hard no, in case you were still thinking. Instead, this is usually handled in an automated process. In many cases, it is first done in a testing environment. Then after confirming there are no issues, developers implement the changes on the live site.
Let’s look at a few of the most popular reasons you may need this feature.
Changing Names of People, Places, and Things
What if you wanted to make mass changes to your content to reflect specific names? This could include certain individuals, geographic locations, or perhaps you simply wanted to fix mistakes in spelling.
A great example of this might be if an employee has been let go. You may be inclined to remove their name from various sections of your website to reflect that change. These are the more common changes that bigger websites need to make on a regular basis.
Link URLs
A common occurrence is when you want to change the URLs of links that are available on your site. Maybe you want to link to the different source material than what you used in the past?
This is why many websites need to use tools like Broken Link Checker to identify broken links. That way you can quickly change them out for another source if the website deletes the post or page you are linking to.
Changing Keywords
Many people will often change keywords to reflect new SEO strategies. However, this practice isn’t without problems. You’ll need to be certain that your new keyword fits naturally within the text of all those posts and pages.
While you can definitely use a search and replace text tool to help, you’ll most likely want to use a dedicated SEO tool to carry it out.
General Typos
Fixing typos may be one of the most prominent uses for search and replace. Perhaps you used a term for the past year and realize you have been using it incorrectly. Replacing that term with a more viable option can definitely tighten your content.
This is a bit rarer today as most writers use tools like Grammarly to avoid these issues from happening in g the first place. However, sometimes plugins and tools may be spelled incorrectly intentionally, which can be problematic.
Fixing Special Characters
Sometimes a new plugin or theme can affect special characters in your text. You may see something like, “’” in place of a subscript or other symbol. Using the WordPress search and replace feature can help correct all of those by giving you the option to input the correct character.
The following could save you a great deal of time rather than sifting through each post one by one.
How to Find And Replace Text In WordPress
Step 1: Install Better Find and Replace
Better Find and Replace is a pretty robust plugin for everything search and replace related. It does far more than just text, as you can also use it for links, images, attachments, and more. That said, we are just focusing on text today.
Let’s begin by installing the plugin.
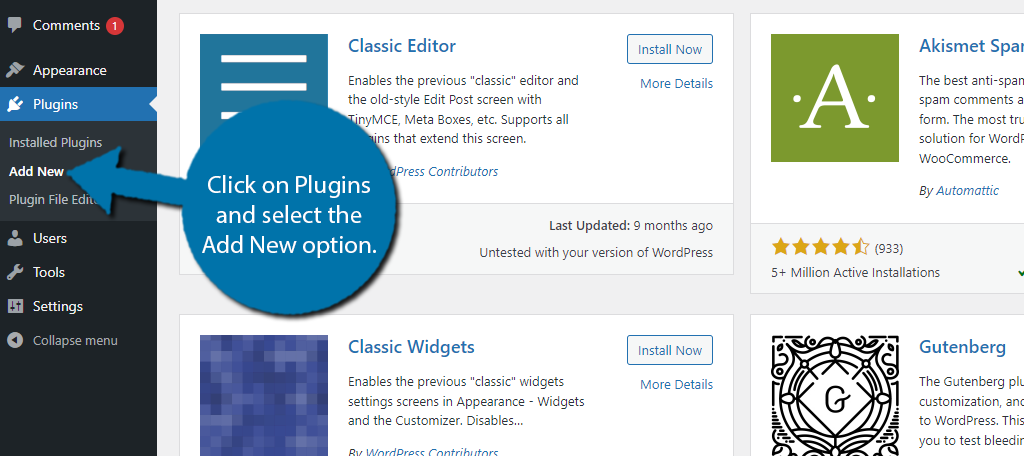
Click on Plugins and select the Add New option on the left-hand admin panel.
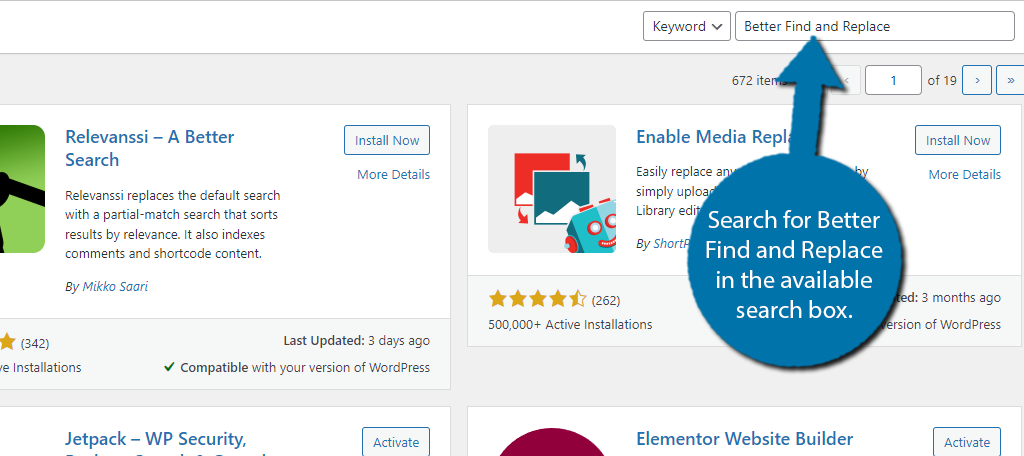
Search for Better Find and Replace in the available search box. This will pull up additional plugins that you may find helpful.
Scroll down until you find the Better Find and Replace plugin and click on the “Install Now” button and activate the plugin for use.

Step 2: Understand What You Are Doing
Before you actually use the plugin, I really need to stress that you can easily make changes that you do not intend to make using this tool, or any similar ones.
For example, let’s say you want to make a simple change to your prices. You’re updating your prices from $9.99 to $12.99. To do this, you would search for $9.99 and replace it with $12.99, which is pretty simple.
However, depending on the nature of your website, you might actually use $9.99 somewhere else within the content. For instance, maybe you review products and add Amazon affiliate links to generate extra revenue.
What happens if you listed their price as $9.99?
Well, the plugin will change that to the new price tag. Thus, what appears to be a simple change may turn into a headache. This gets more problematic the more common the change is.
As a rule of thumb, make sure to avoid overly general terms. It can have a serious impact on your website. For this reason, it’s highly recommended that you create a backup of your website before continuing.
Step 3: Search and Replace Text
Now that you have a better idea of what this feature can do and hopefully have a backup in place, let’s actually search for and replace some text.
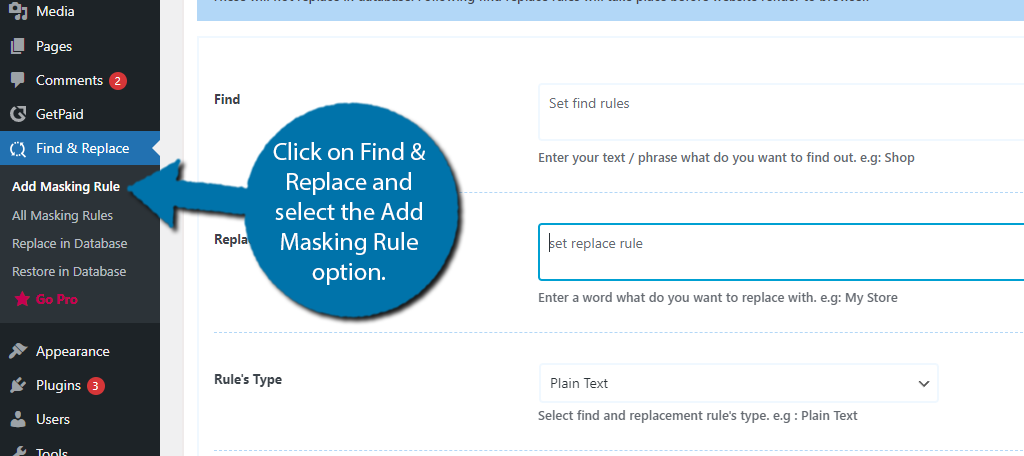
On the left-hand admin, panel click on Find & Replace and select the Add Masking Rule option.
The first two boxes consist of “Find and Replace With” options. It’s pretty simple, use the Find box to enter the word or phrase you want the plugin to find. Then use the Replace With box to enter what you want to replace that text with.
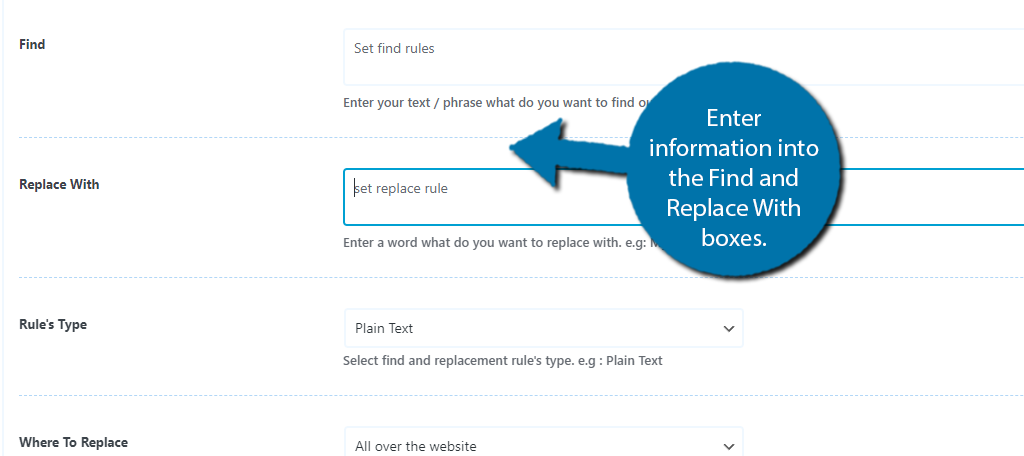
Below this, you will find the Rule’s Type option. This allows you to choose what type of content you are replacing. By default, it is set to Plain Text, which is exactly what we are after. So, no need to change it, but do take note of all the options.
After this, you can select the type of content to replace to fit your needs. While this is a drop-down, there is only one option in the free version for “All over the website” thus you can’t make a change.
In the Pro version, more options are available, including a lot of other settings you could use.
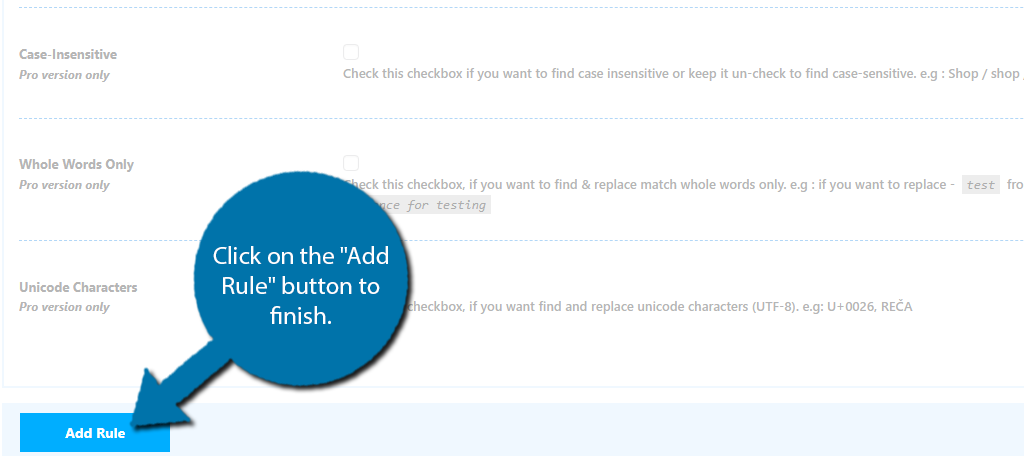
Click on the “Add Rule” button to finish.
And that’s it. Check your website to ensure that the changes were made. Congratulations!
Doublecheck For Mistakes
Unlike Microsoft Word, there is no shortcut for finding and replacing in WordPress. Instead, you’ll need to use a plugin, but luckily that’s pretty easy. However, while you have the tool available, you need to check for mistakes.
It is very easy to make a big mistake when using this feature, and it can significantly hurt content. In some cases, you could inadvertently alter a keyword.
Thus, make sure to double-check the changes you make.
What tools do you use to replace text online? Do you have a backup of your website?


Kaumil,
On the plugin page, according to your screen capture, and also when I try it, there is a message saying that the plugin is incompatble with my version of WordPress.
I do not see why!
Any ideas?
Hi Richard,
At the time of creating the screen shot, the Plugin version was not compatible with the version of WordPress we were running. Sometimes this occurs when a new update happens and the plugin author hasn’t had a chance to make the update. If you look now however, it is compatible.
None of these can search and replace on multiple PAGES