Users from around the world will access your website, and they probably won’t speak the same language. To fix this, adding multilingual functionality to your WordPress website is a must.
Doing so can help you create fully translated versions of your content so that users around the world can enjoy it. For some businesses, it may be necessary to offer a multilingual environment.
For example, consider a travel agency. Users from around the world may be booking trips through your business, so you need to make sure they understand what the trip covers, costs, dates, and so on. A multilingual plugin for WordPress can help.
Today, I will demonstrate two plugins that can give your WordPress site multilingual functionality.
Method 1: Google Language Translator
The fastest way to add multilingual support for your WordPress website is to use the Google Language Translator plugin. This is a quick and easy plugin that incorporates Google’s translation matrix into your website.
You can set it to display a country’s flag and when clicked, the page will be translated in that language. It supports over 100 languages, but you can limit it to only display a few if you want.
Luckily, it is easy to use and should only take a few minutes to set up.
Step 1: Install Google Language Translator
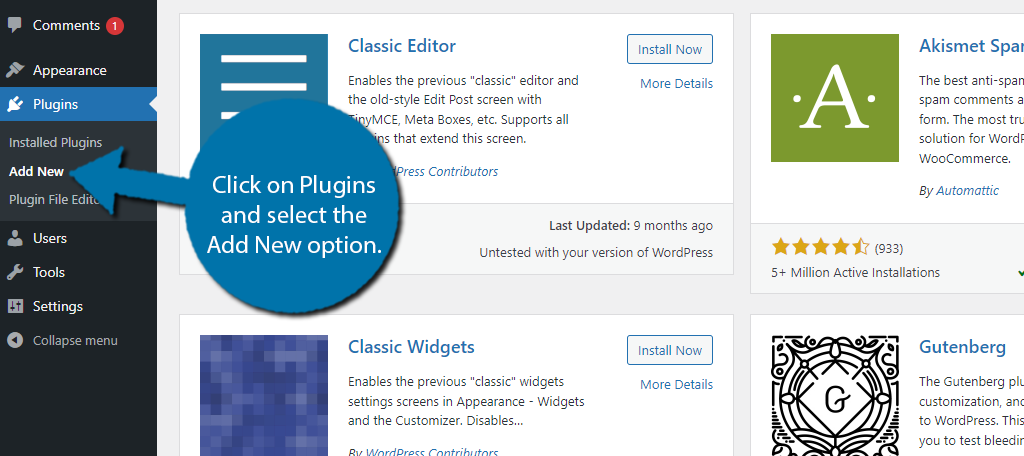
Let’s start by clicking on Plugins and selecting the Add New option on the left-hand admin panel.
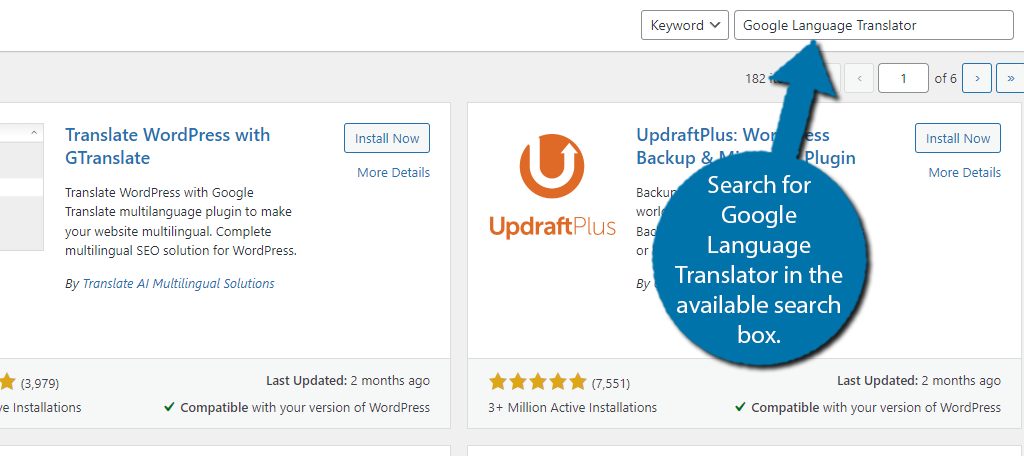
Search for Google Language Translator in the available search box. This will pull up additional plugins that you may find helpful.
Find the Google Language Translator plugin and click on the “Install Now” button and activate the plugin for use.

Step 2: Choose Languages
The plugin is rather simple to use and just requires you to select what language option you want to give users access to. While you may think adding all of them is the best option, that can make it difficult for some users to find their own.
Thus, it is recommended to add the ones that are most relevant to your user base. For example, in the United States, it is normal for many sites to have English and Spanish, while in Canada, it is normal to have English and French.
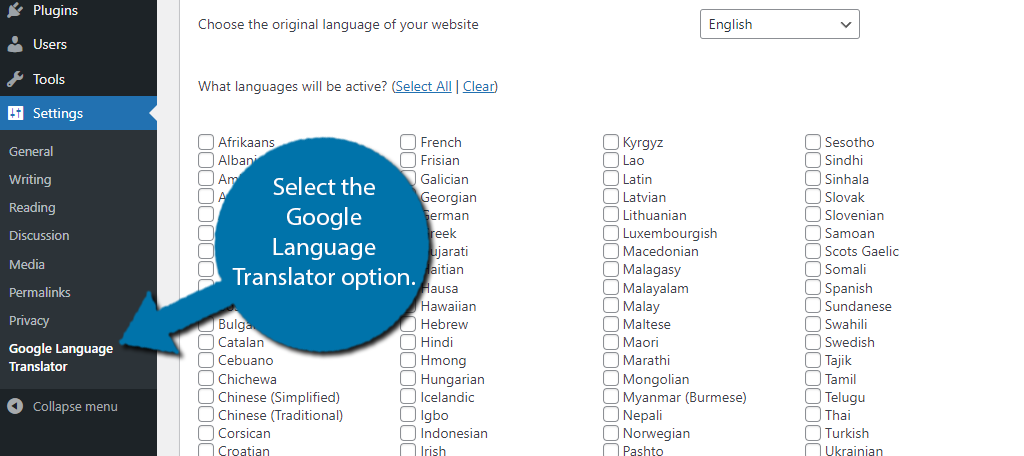
To do this, click on Settings and select the Google Language Translator option.
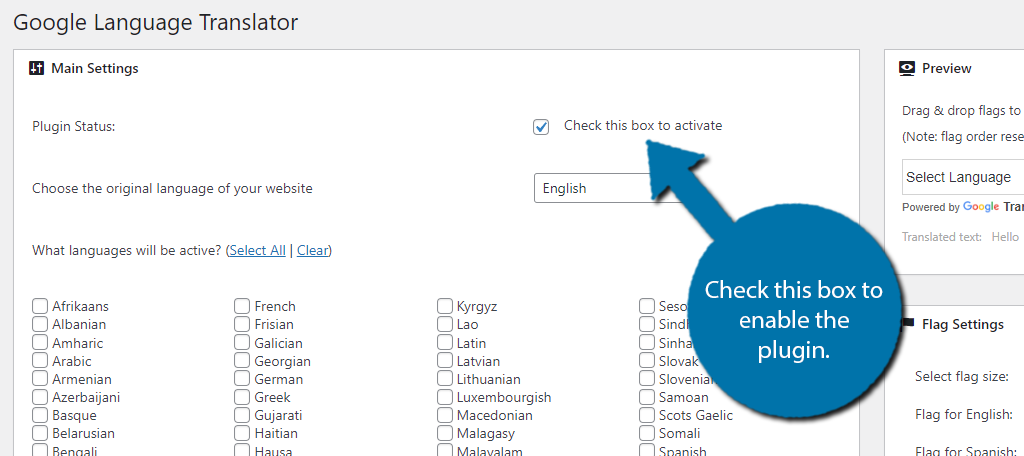
The plugin should be active by default, but make sure the checkbox is checked.
Below this, you can set the default language of your site, which should automatically be selected based on your choices within WordPress. Below this, you will find a full list of every language the plugin supports.
Simply check the box to enable that translation option on your site. In my case, I am just going to select Spanish.
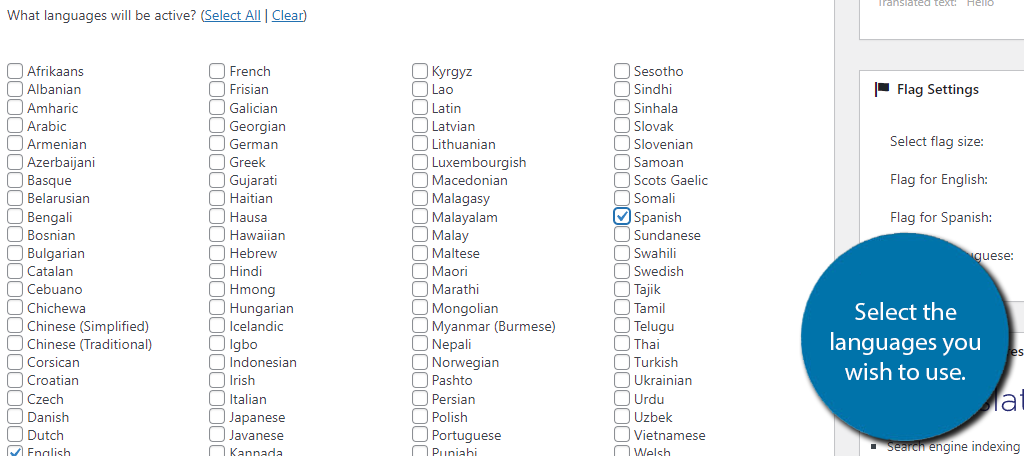
The next section is exclusive to the premium version of the plugin. This will allow you to index translated pages of your site on Google. It is worth doing this if you have a sizable audience for that language.
The following two sections give you customization options over the appearance of the translated text, such as size, color, and so on. Simply pick the best options for your site.
On the right-hand side, there is a small Flag Settings box. This allows you to customize the appearance of the flags. These act as translation buttons that the user clicks, so make sure they are sized appropriately.
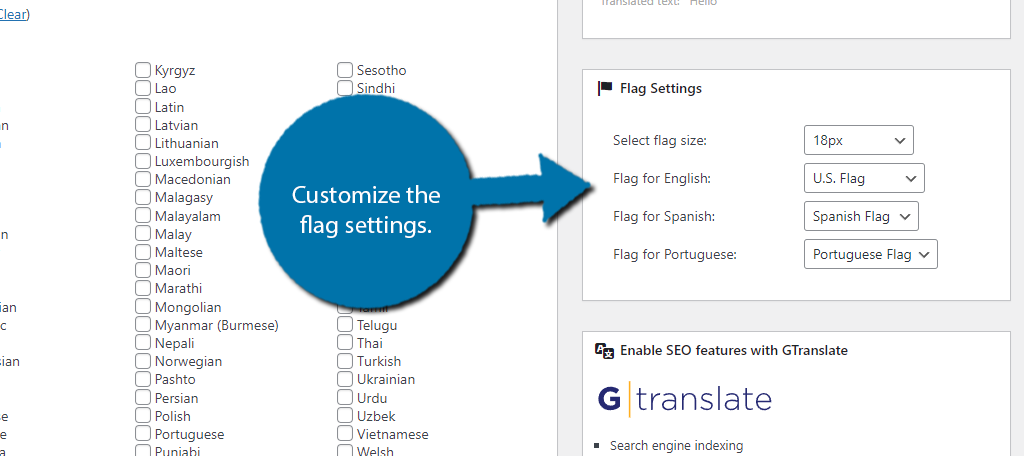
There is also a section for adding your own custom CSS if you wish. Once you are done, scroll to the bottom and click on the “Save Changes” button.
Step 3: Add The Google Language Translator Widget
While you have two ways to use the plugin, shortcodes and a widget, the best option is the widget. This will make sure the option is available on all of your site’s content.
Luckily, there is not much to adding it in WordPress. Click on Appearance and select the Widgets option.
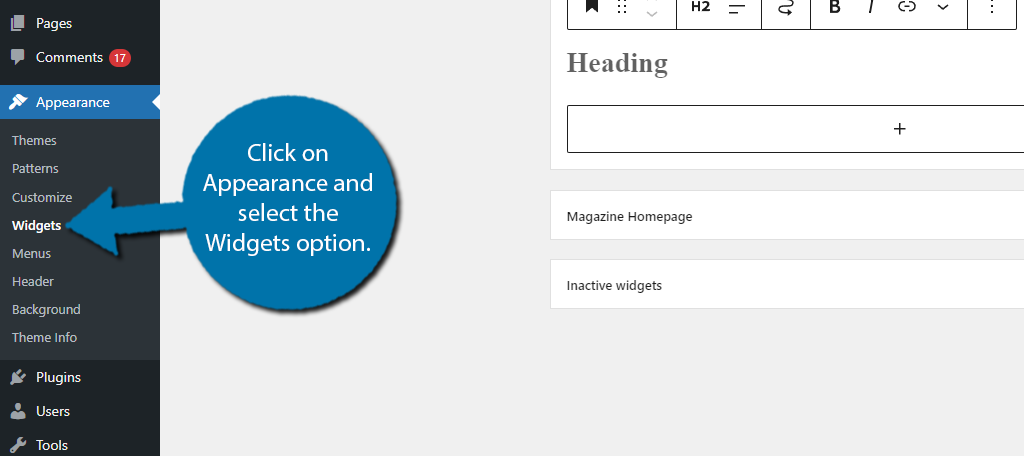
Now, locate the widget section you want to add the Translator widget to, click on the “+” button, and search for the Google Language Translator widget. The only option you will need to configure is the title.
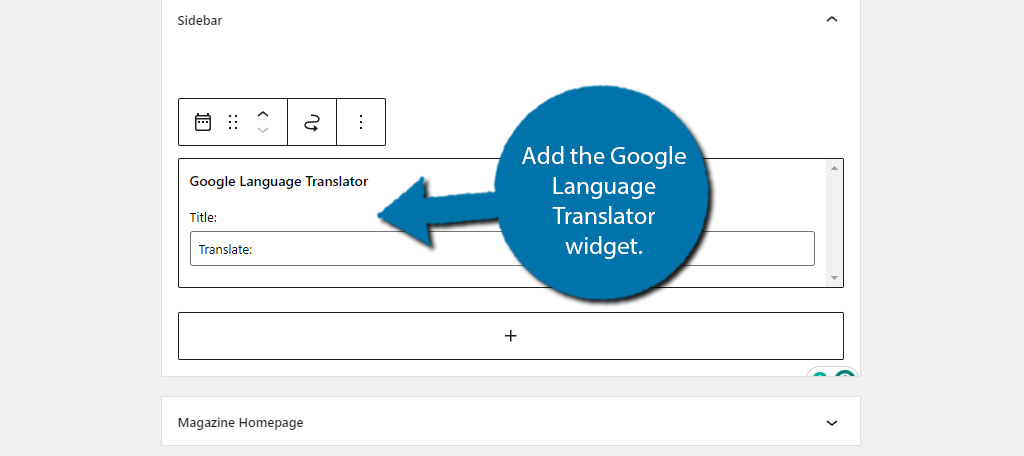
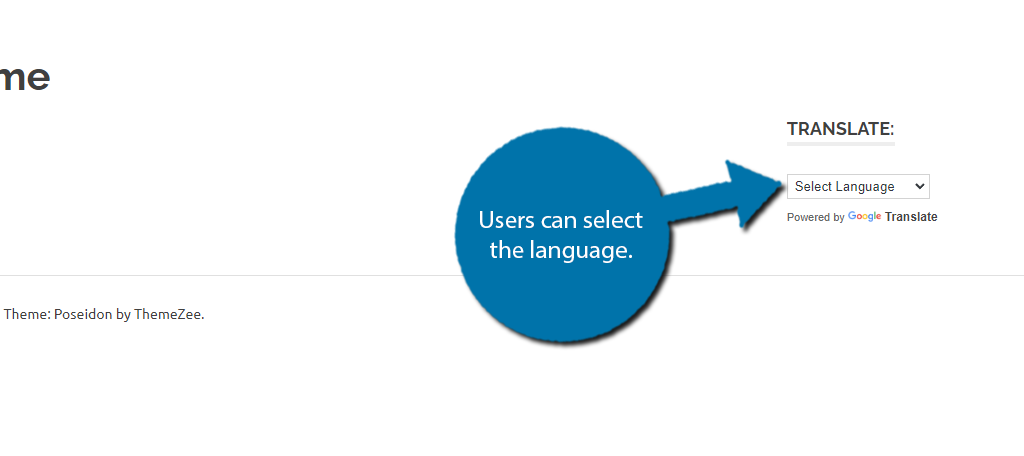
And that’s it, save the changes and users will be able to select the language they wish to use.
Method 2: Using Polylang
While the Google Language Translator is a great plugin, there is much to be desired when it comes to creating actual pages. Another great option to consider is using Polylang. It is one of the most popular multilingual plugins for WordPress.
In fact, it is so popular it has many integration options for other popular plugins. For example, it integrates with WooCommerce to help you create product pages in other languages.
Step 1: Install Polylang
Let’s start by clicking on Plugins and selecting the Add New option on the left-hand admin panel.

Search for Polylang in the available search box. This will pull up additional plugins that you may find helpful.
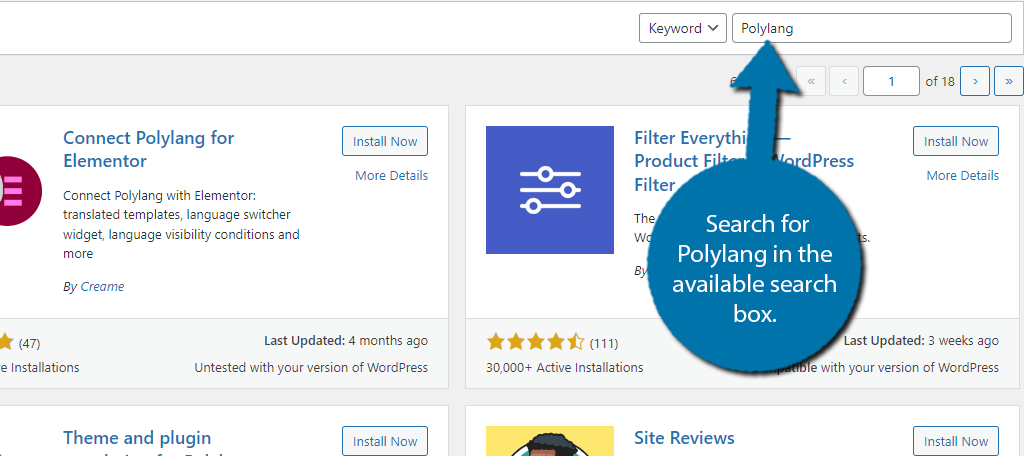
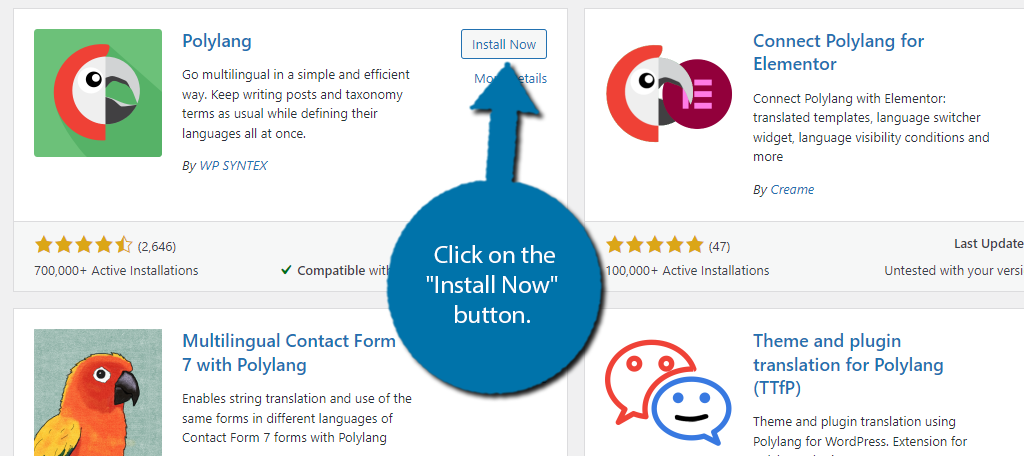
Scroll down until you find the Polylang plugin and click on the “Install Now” button and activate the plugin for use.
Step 2: Run the Setup Wizard
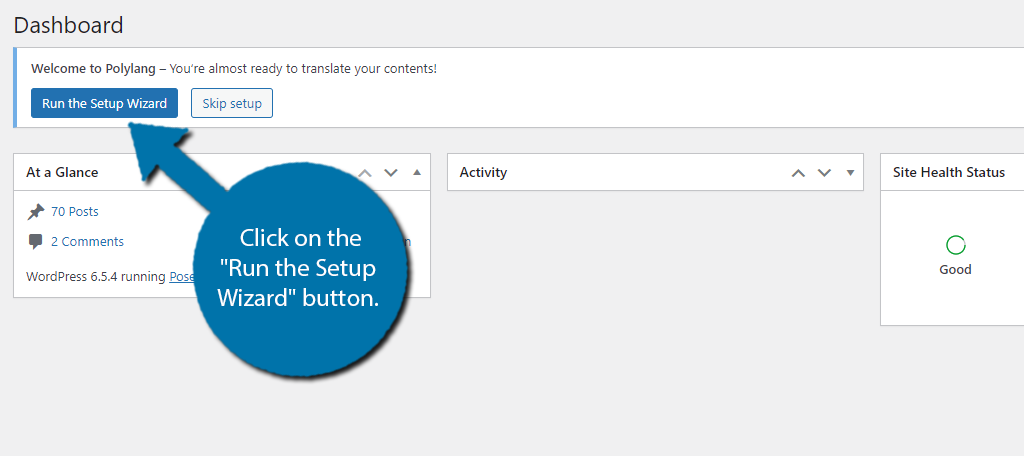
The easiest way to set this plugin up is to use the setup plugin. After installing the plugin, go to the WordPress Dashboard. You will see a welcome message for Polylang. Inside of it, you should see a “Run the Setup Wizard” button. Click it.
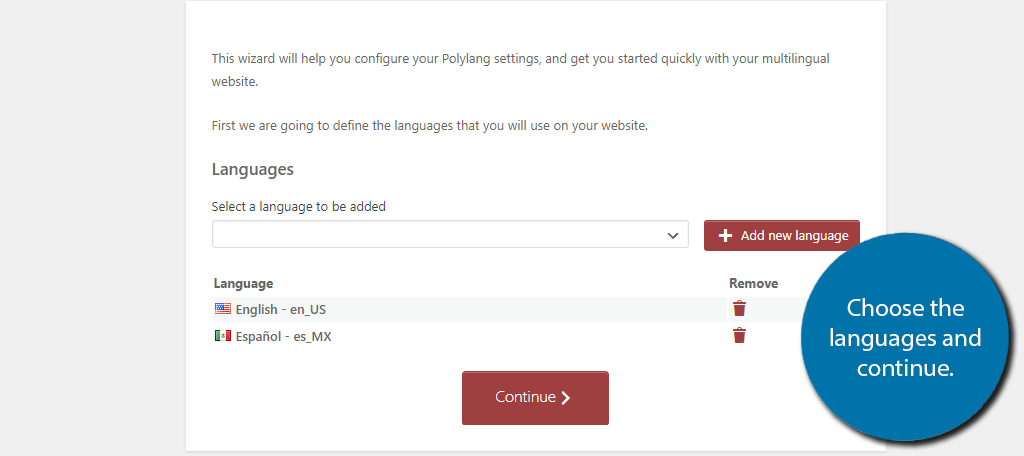
The first thing you will do is select what languages you want to add. You should add your current language and the languages you wish to add to your site. So, in my case, I chose English and Espanol.
Use the drop-down menu to select the language you want and click on the “Continue” button after making your selection.
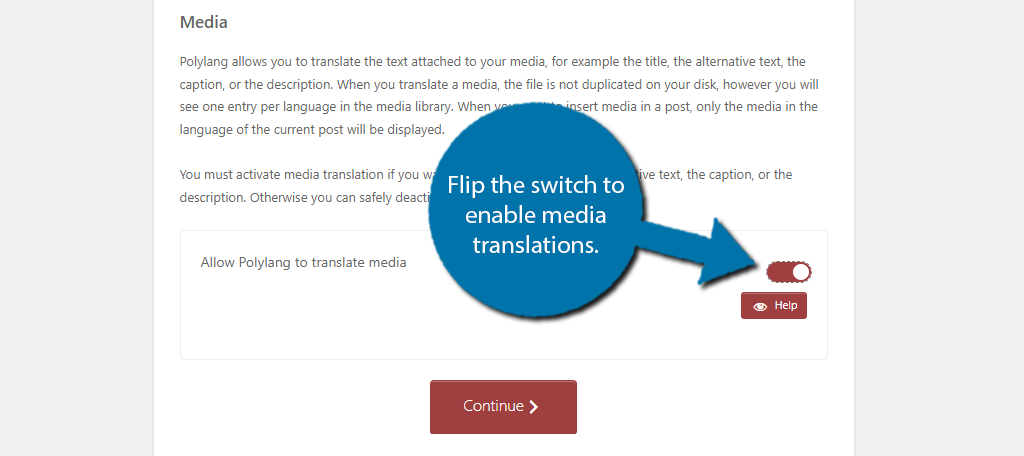
Next, you will be asked if you want Polylang to translate text associated with your media content. For example, it can translate the alternative text into the selected languages. Flip the switch if you want this feature enabled.
Continue once you have made your choice.
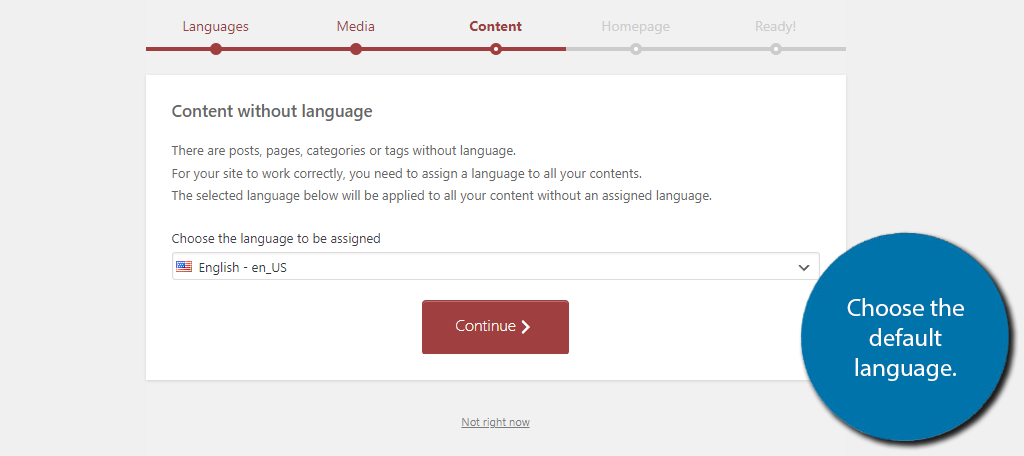
Next, you will choose the language for content that does not have a language set. This is why I told you to choose the languages your site is currently in. In my case, I want all content to be assigned in English.
The next section concerns your homepage. It will be set to English (assuming you selected that in the previous section), but it will also create other translation pages. You can’t change anything here so just continue on to complete the wizard.
And with that, you can now use the plugin.
Step 3: Add Translated Content
With the Setup wizard complete, you can now begin adding translated content for your posts and pages. One thing that is very important to understand is that this plugin will not translate your content.
Instead, it will translate everything in WordPress and any media (if you enable that option). The point of Polylang is to help you create pages that are registered as specific languages. And when a user visits that page, it will detect their language and display the correct one.
As such, you will either need a separate tool to perform the translation, or you can do so manually if you have the knowledge.
Go to the post or page you wish to create a different language version of. Locate the Language option on the right-hand settings and click on the “+” by Translations.
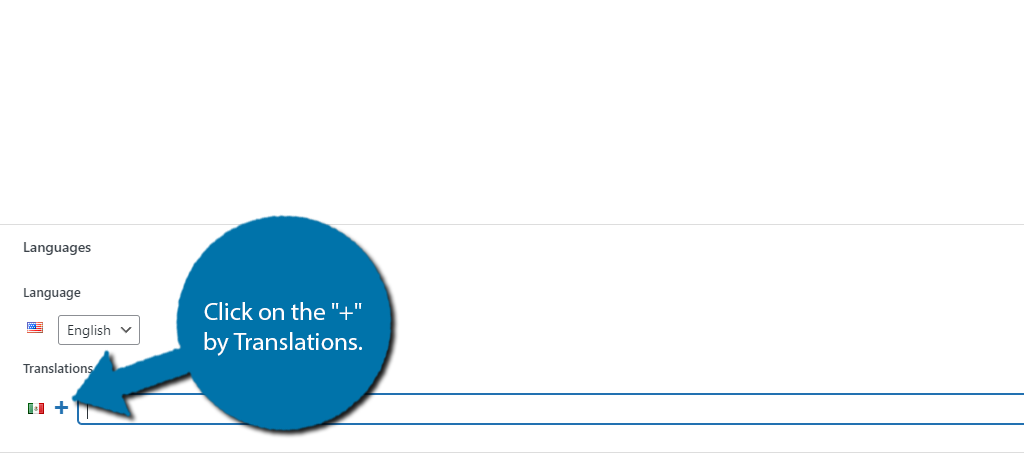
This will open up a new post that is blank. Simply copy and paste the text from the original post into this one, including the title. Once you do, you need to either run it through a translation tool or translate it yourself.
Once you have finished translating the content, save the changes. You now have a translated version of that post or page.
Other Plugins for Languages in WordPress
Of course, these are only two examples of plugins that can translate WordPress content. Here are a few more that can help.
TranslatePress
TranslatePress is another great option for websites looking to support multiple languages. It allows you to easily translate all of the content on the frontend of WordPress with the simple click of a button.
That said, it does have to be done on a page-by-page basis, so it can take a bit of time for larger sites. Not only does it translate the text, but it even translates your shortcodes.
To give users the ability to choose the language, you’ll just need to add a shortcode to the desired location, or you can even create a floating button. It’s a great option to consider if you are looking to translate pages fast.
Loco Translate
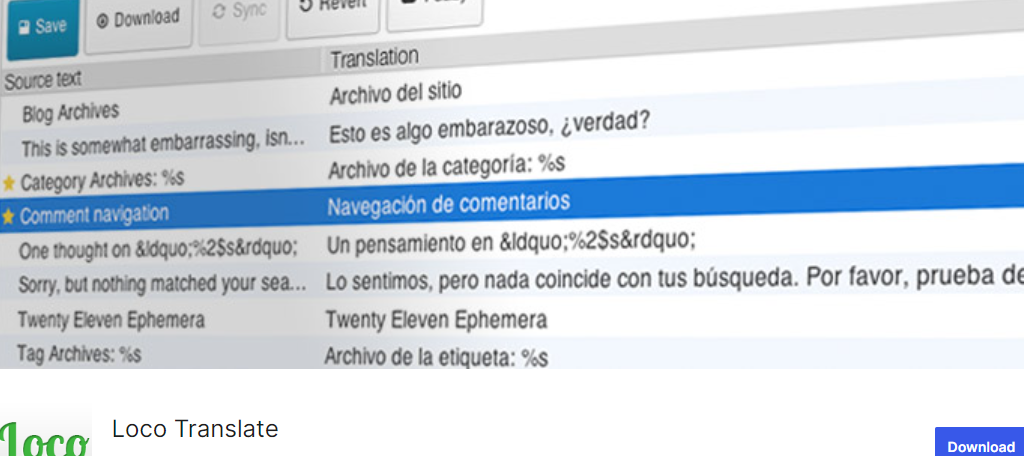
Loco Translate is one of the most popular translation plugins in WordPress with over one million active installs. It allows you to easily translate themes into the language you desire.
It comes with a translation editor that you can use to translate the content easily. You can also download the changes you make so you can use them on other sites with the same tool, which makes it a great choice for many developers.
This plugin only translates the theme, not the content itself. As such, you may want to use a different translation plugin alongside this.
WP Multilang
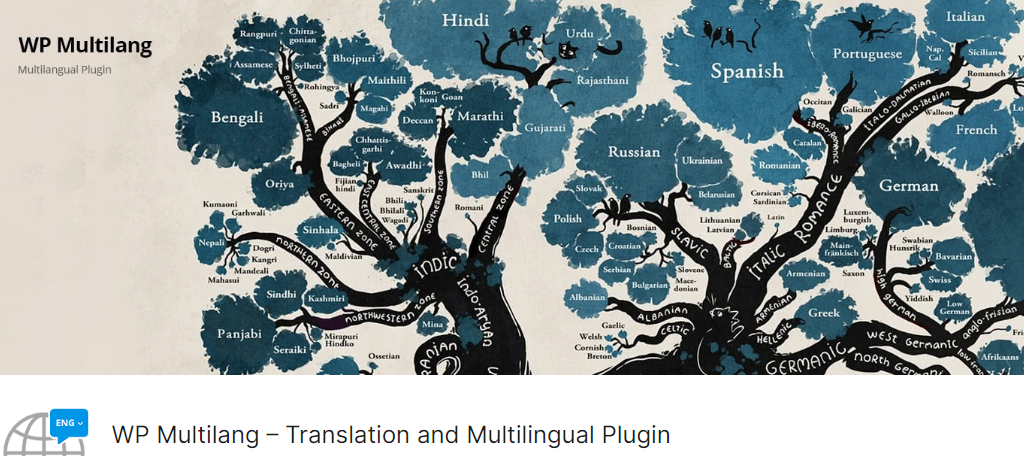
Another excellent choice is the WP Multilang. It works somewhat similar to Polylang where you can assign multiple languages to a single post or page. And it has a rather long list of plugins it is compatible with.
Some of the highlights include WooCommerce, Yoast SEO, BuddyPress, and more. It has also been recently updated to support block-based themes, which allows you to handle translations from the full-site editor.
It is a great option, especially since it is free to use, so be sure to give it a try today.
Translate Your Website Today
As you can see, there are several tools you can use to help create a multilingual environment for your website. The tools above are two different ways you can achieve this and finding the right fit for your site is extremely important.
Just be sure that whichever route you choose to go, the translations are accurate. Inaccurate translations can cause problems for readers, especially for online stores if a deal is mistranslated. It could even create false advertisement claims.
I hope you found this tutorial helpful in creating a multilingual WordPress site.
Which plugin do you prefer to use? How many languages does your website support?

