Do you own a larger website that makes making major changes a real challenge? If so then you may consider installing WordPress onto your Windows computer using WAMP. You can use this to set up a testing environment for your website. It will not be live and only people with access to your computer will be able to access it.
When you are installing WordPress on your computer, you will be creating a local server that only you or anyone with access to your computer will be able to use. It can really speed up your testing and ensures that when you make the changes on your live website it will work perfectly. It’s also a handy tool to keep your ideas a secret when you work on a larger website.Today I will demonstrate how to install WordPress in Windows using WAMP.
Why Install WordPress on a Local Server
Well, the main reason is testing. Let’s face it, you’re going to be installing new themes and plugins. You may be keeping a backup of all your website content in case a big mistake is made but isn’t it better to avoid the mistake on your live website entirely? This local version of WordPress can be used as a buffer for your actual website and keep it safe. It can also be used to write your content in secret, but it is a bit extreme to make a local server for that depending on your content.
These local servers are commonly used by the theme and plugin developers to test their new designs and plugins. Not only can you test it quickly, but it is also free to do so. This is a big selling point to many theme and plugin developers that don’t make any income until they are done.
Why WAMP
WAMP or WAMPServer is a free Windows web development environment for Apache, MySQL, and PHP database. You will, of course, need to be on a Windows operating system, but if you are on the MAC OS you may be able to run Windows as a virtual machine to use WAMP. Since you are going to install WordPress on localhost, be aware that you can use a local host for many other things and this tutorial can still help you.
How to Install and Use WAMP to Install WordPress on Your PC
Today I will demonstrate how to install WordPress in Windows using WAMP. This may be very obvious, but remember you cannot use this tutorial if you are on the MAC OS. This tutorial is not overly complicated but may run slower on an older PC.
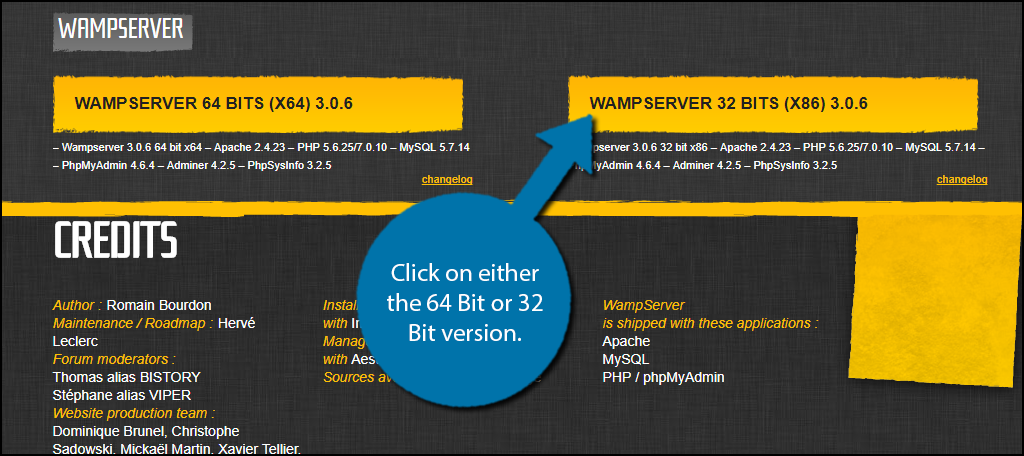
To install WordPress on your PC you must first install WAMP. It’s quite easy to do. Simply go to wampserver.com and scroll down to the bottom of the page. Click on either the 64 Bit or 32 Bit version. If you are not sure you can just select the 32 Bit version since it will work on your computer even if you have a 64 Bit PC.
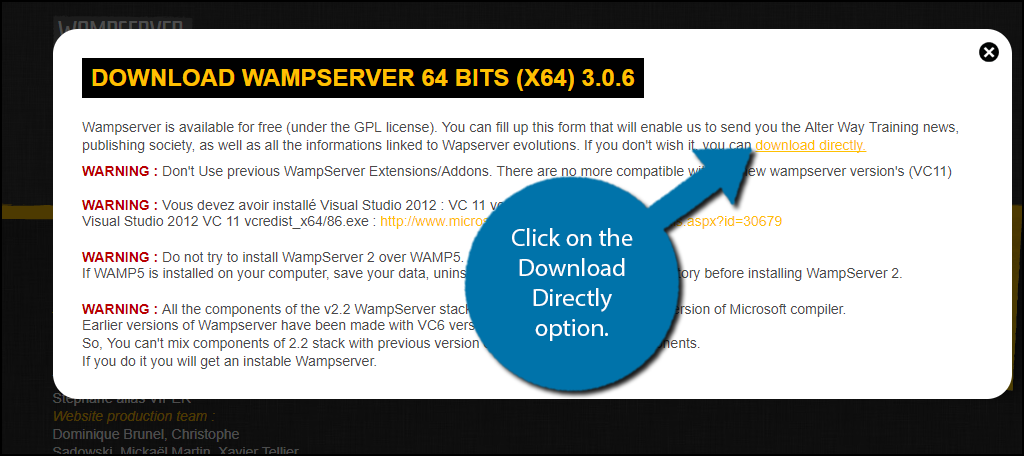
A pop-up window will appear. Click on the Download Directly option.
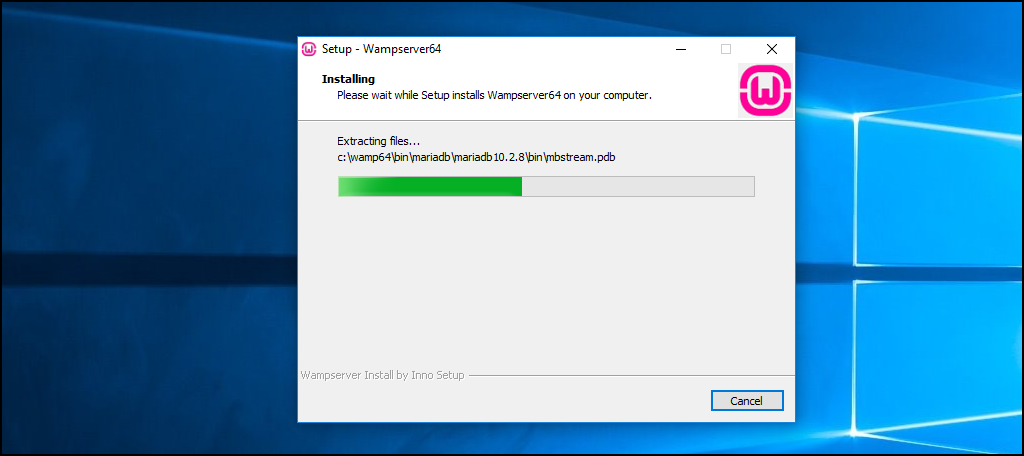
This will bring you to a SourceForge page that you can download from. Click on the “Download” button. Five seconds later you will notice the file is being downloaded. It is 412MB and download speed will vary with your Internet connection. Click on the file once downloaded to open the WAMP installation window.
The first thing you must select is your language. Once selected click on the “OK” button. Accept the agreement and click Next. The next window will give you more background information on WAMP. Feel free to read through it and click on the “Next” button when ready. Choose where to save the folder and click Next. Click Next again and click on the Install Button to begin the installation. This may take several minutes depending on your PC and Internet connection.
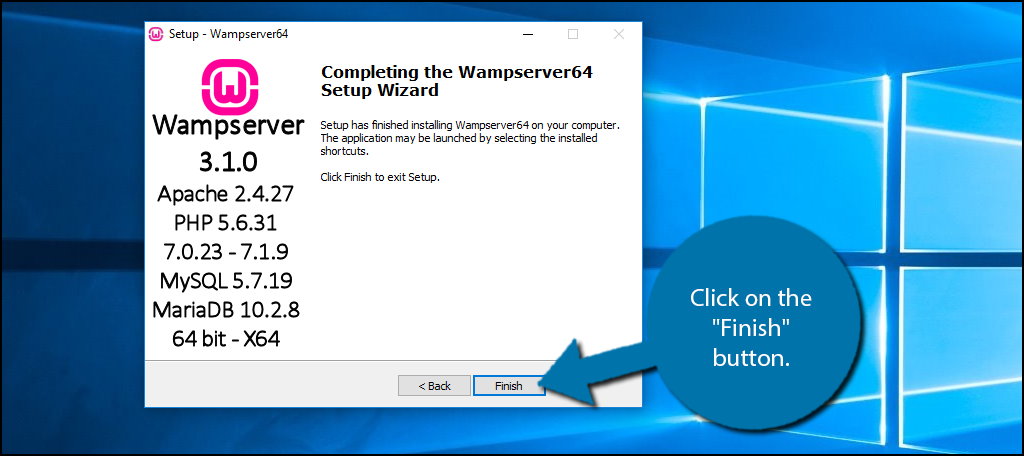
You will be asked which Internet browser to select as default and what text editor to use. You may choose whichever you prefer. By default, it will suggest Internet Explorer and Notepad. You will also be asked to allow it through your computer’s firewall. WAMP will not work if your Firewall blocks it so you must Allow Access. Once you are done with the installation click on the “Finish” button.
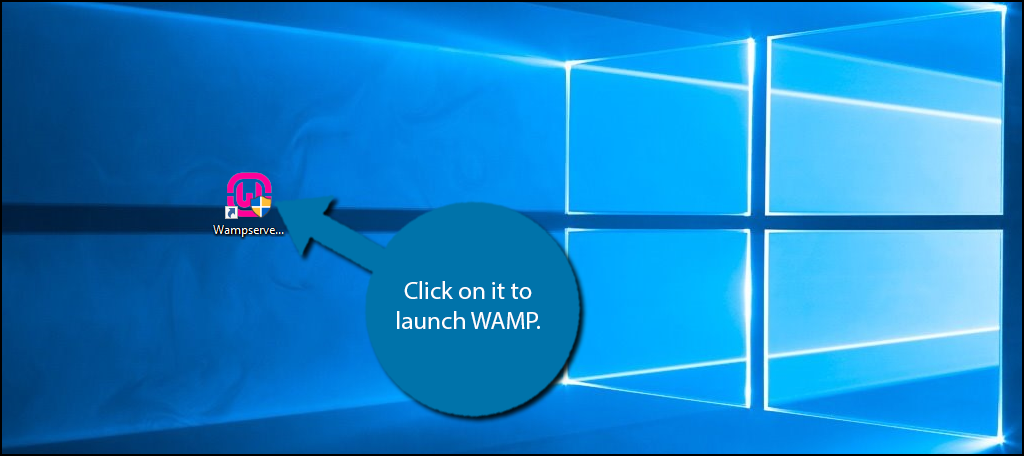
You should now see a shortcut for WAMP on your desktop. Click on it to launch WAMP.
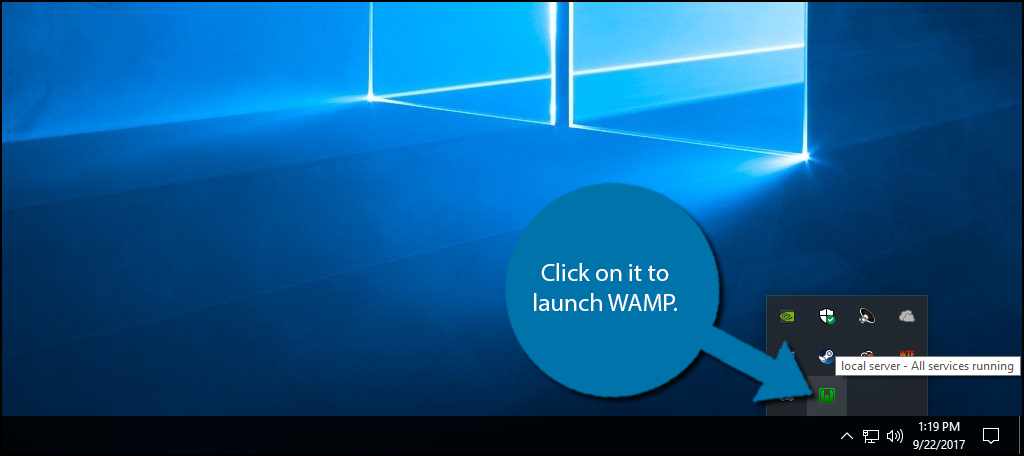
You may be wondering why nothing popped up for WAMP and the answer is simple, nothing will pop-up for WAMP. Instead, you should notice by your date and time in the bottom right-hand corner that there is a green “W” icon. Click on it.
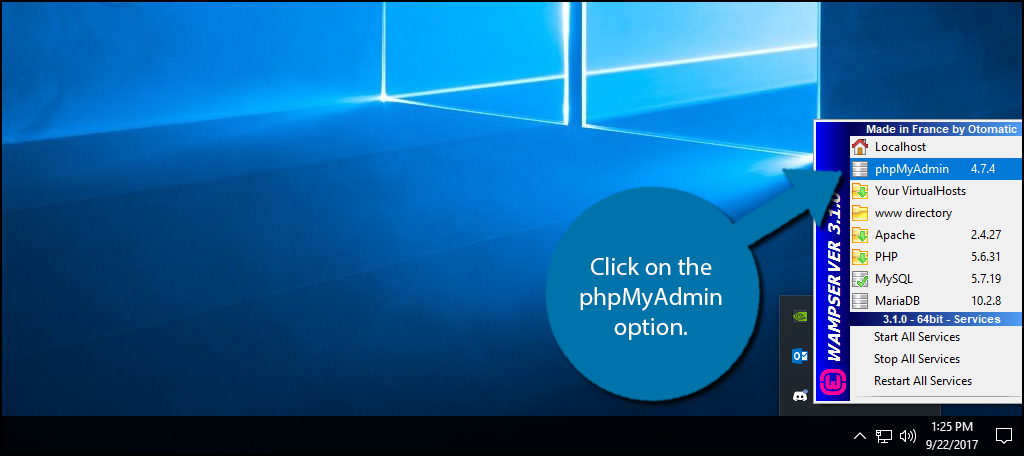
A menu will appear. Click on the phpMyAdmin option.
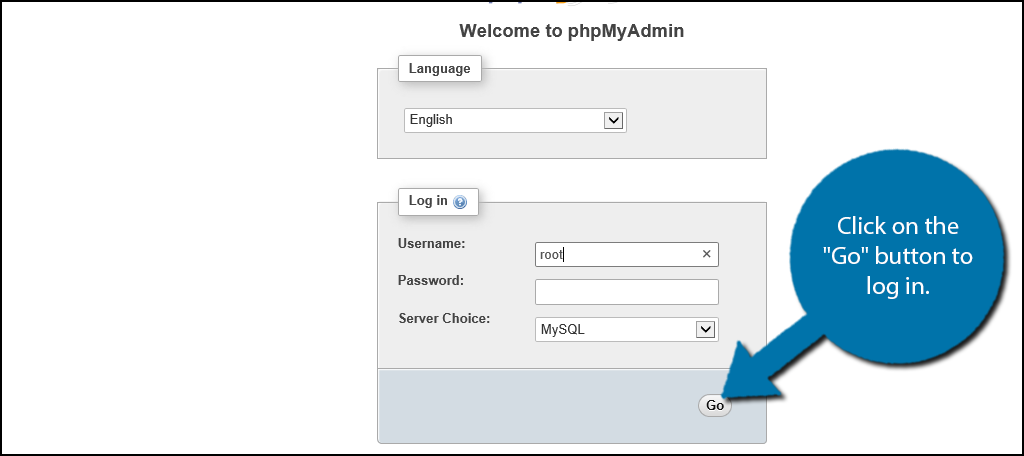
A web page will open on whichever browser you choose to use for WAMP. Enter root for the Username and leave the Password blank. Click on the “Go” button to log in. These are the default username and password.
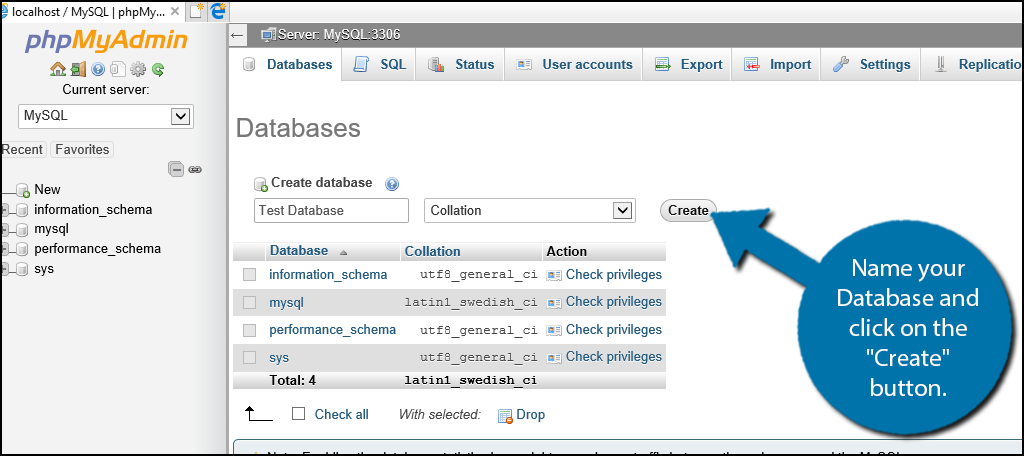
Click on the Databases tab. Name your Database and click on the “Create” button.
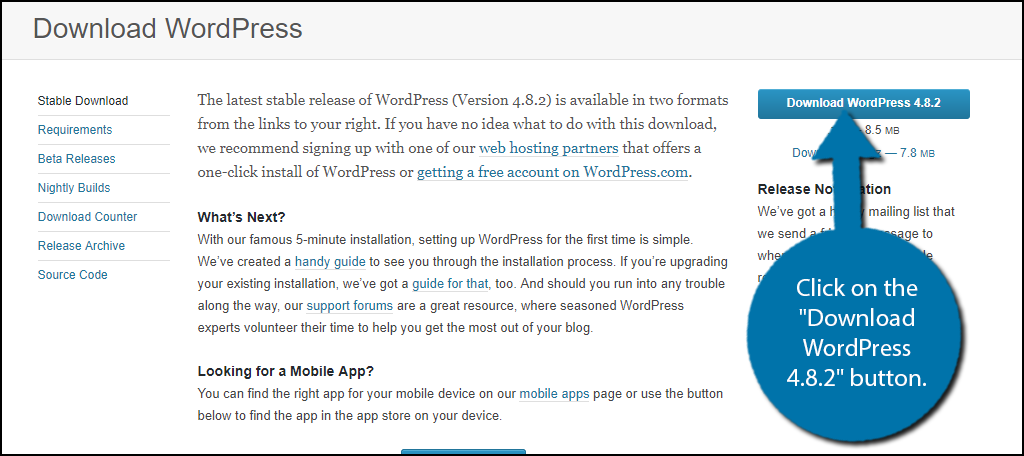
You’re now ready to install WordPress. Go here to download WordPress. Click on the “Download WordPress 4.8.2” button.
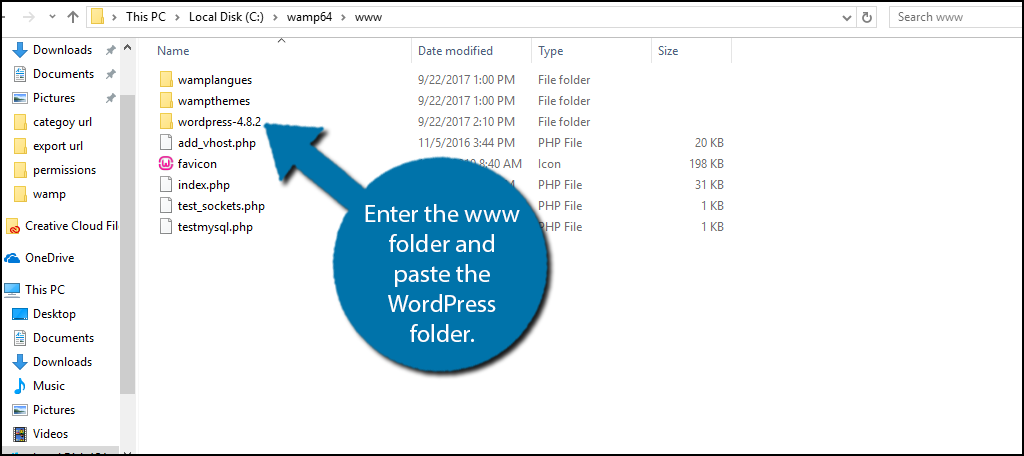
It will be downloaded as a zip file. Extract the file and copy it for later use. You must now find the WAMP folder where you downloaded it. The file should be named either wamp64 or wamp32 depending on what version you downloaded. Inside the file find the www folder. Enter the www folder and paste the WordPress folder. Feel free to rename the WordPress folder to anything else, but you will have to find this folder in a directory so name it something easy to remember.
Enter https://localhost/”folder name”/ to access WordPress. By default, the folder name should be wordpress-4.8.2. Click on the WordPress option on the page. You will be prompted to select your language. Click on the “Continue” button once your language is selected.

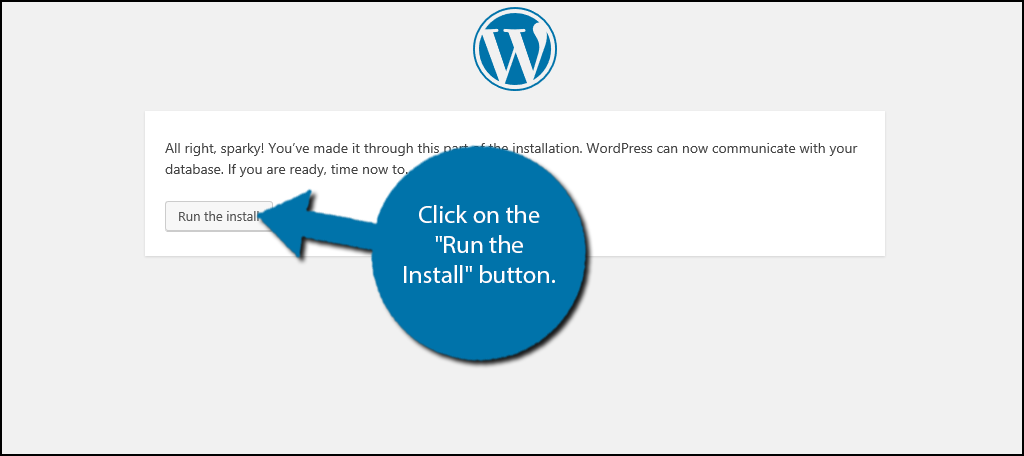
You’re almost done now! Click on the “Let’s Go” button. You will see some text boxes looking for your database information. Earlier we created a database to use. I called mine Test Database. Insert the correct information in the text boxes and click on “Submit” button. You will now be prompted to run the install of WordPress. Click on the “Run the Install” button.
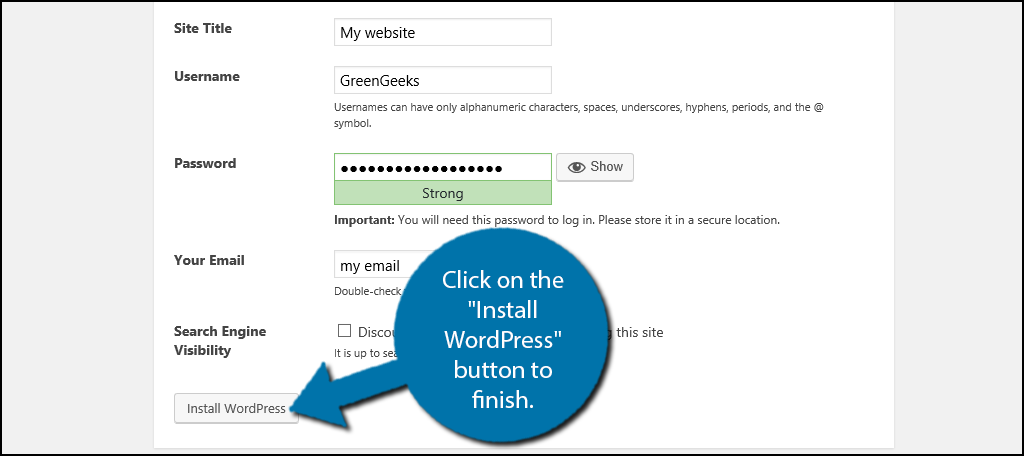
You will now be asked to fill out the key information for your website. Fill out the page and write down your username and password in case you lose them. Click on the “Install WordPress” button to finish.
Congratulations, you have successfully installed WordPress on your Windows PC using WAMP. This is a great tool to test new things on your website before adding them to your live site. Think of it as a training dummy for WordPress and use it well.
Always Plan Ahead
The goal of using a local version of WordPress is to be able to test and plan out the future of your live website, theme, or plugin in development. Regardless of what you are making, a plan is necessary to finish it in a timely manner. So before you install a theme or plugin on your website check it on this offline site. Remember, only you or anyone else that has access to your PC will be able to access this website.
How long did it take you to install WAMP and WordPress on your computer? What do you use your offline website for?

Thanks for the tutorial, but the W icon in the short cut is still orange. what do I do
Excellent article. I found it very easy to follow and was able to get wordpress working with WAMP very quickly and easily.
Thanks
I am searching on google how to install WordPress on localhost and I find your post. Hopefully, now we can install WordPress on localhost easily. Thank you!