Drupal is a good system to use when building a website. It eliminates the need to understand code while providing a platform to create almost any kind of a site you can think of. However, you need to install Drupal before you can take advantage of it.
Today, I’m going to show you how to install Drupal manually. This is an easy process, and you can get your site up and running today by following these instructions.
Getting Started
To manually install Drupal, you will need access to your site’s root folder and either cPanel‘s File Manager or FTP programs such as FileZilla. This will depend on your web hosting provider.
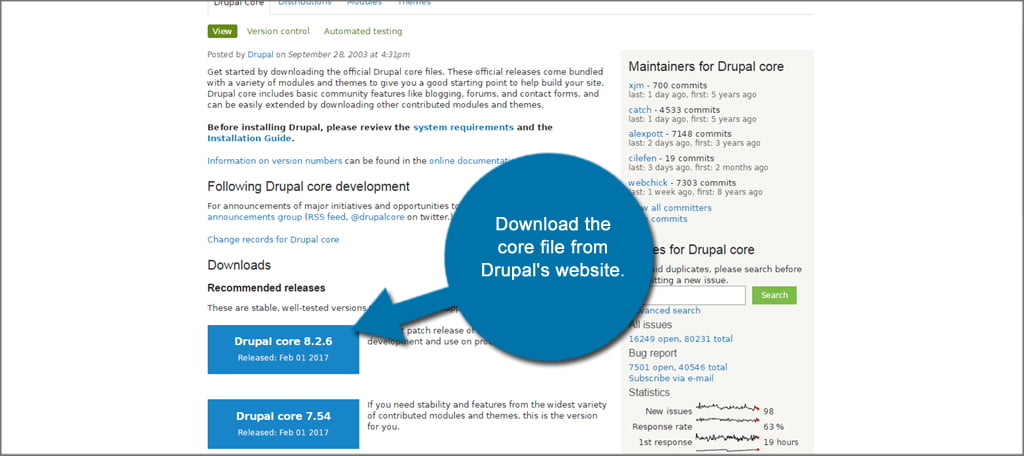
Download the core file from Drupal’s website. I advise you to download the latest stable version. It will often provide the greatest benefits with reduced risks to security threats. You may have to scroll down a bit as the downloads are not visible on the top of the page.
NOTE: You will want to choose the “Download ZIP” option on the next page. This is the more universal out of the two options as most people can easily open ZIP files.
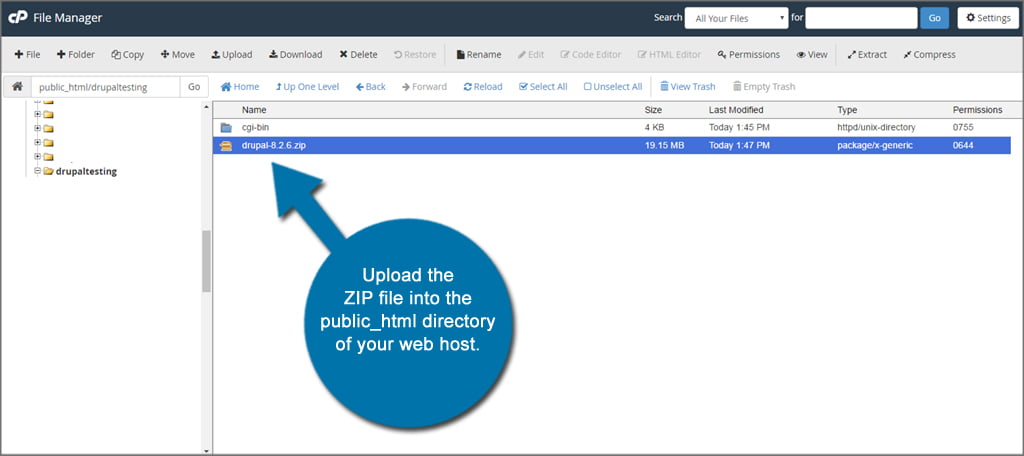
Upload the ZIP file into the public_html directory of your web host. This is when you would use the FTP program or the File Manager in cPanel. In this tutorial, I am using cPanel and File Manager to upload the ZIP file directly into the domain’s folder in public_html.
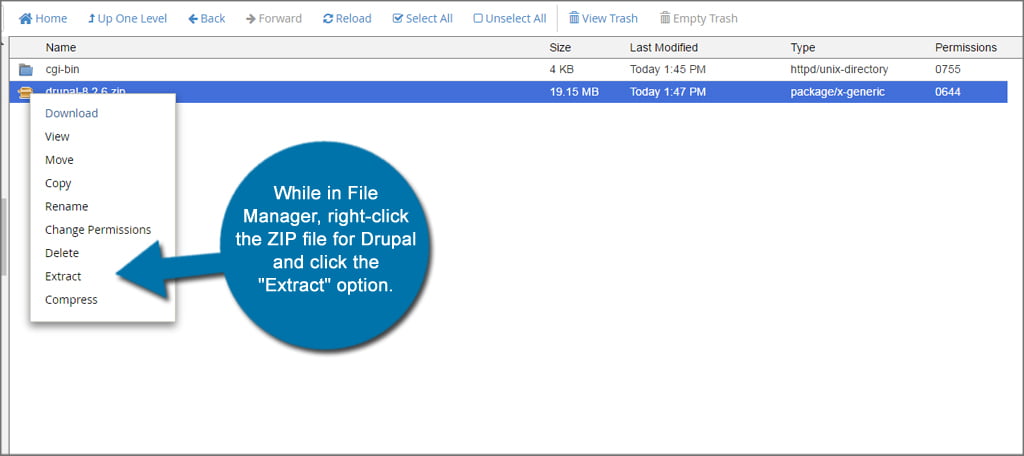
While in File Manager, right-click the ZIP file for Drupal and click the “Extract” option. Mac users may have to use Command + click.
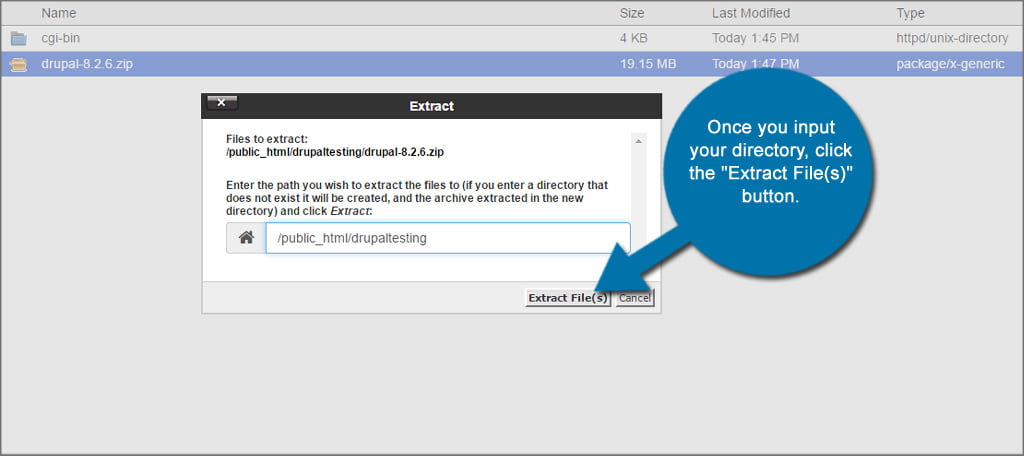
A new window will appear asking where you want your files extracted to. Input the correct folder you want to use for hosting Drupal. In this tutorial, I am using the subdomain “drupaltesting” located in my /public_html that I created. This is where you would place your own directory.
Once you input your directory, click the “Extract File(s)” button.
NOTE: Alternatively, you can extract the ZIP file after downloading it from Drupal.org directly onto your desktop computer. From there, you can use FileZilla to connect to your web host and upload the files en mass.
You will now have a folder labeled, “drupal-x.x.x” where “x” is the version number. Click into this folder.
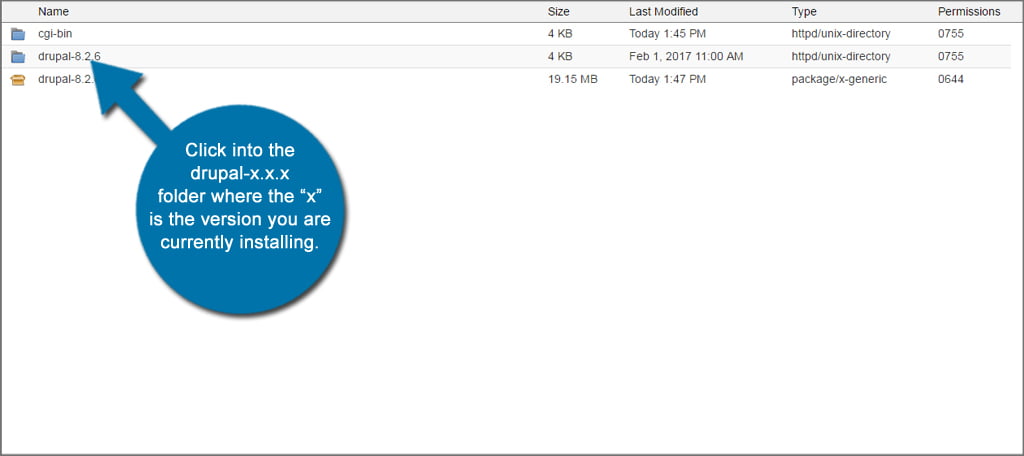
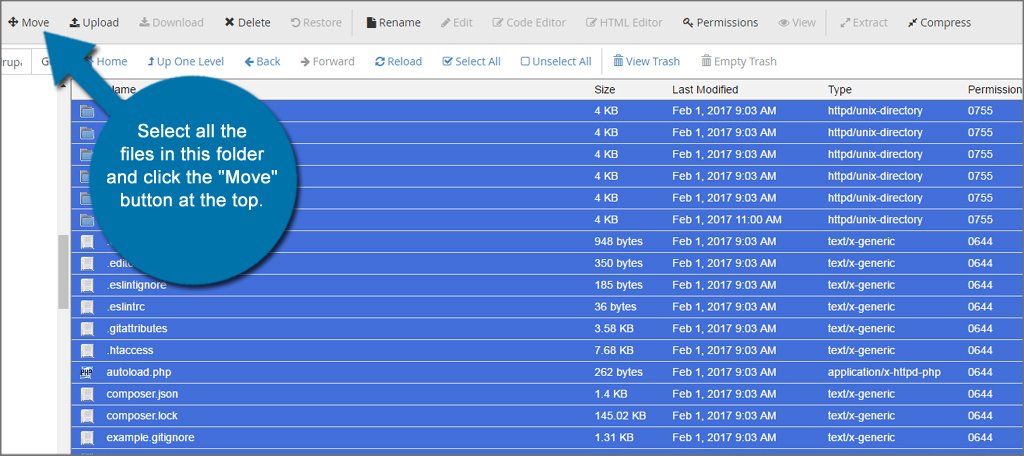
Select all the files in this folder and click the “Move” button at the top. This is done by clicking the “Select All” link.
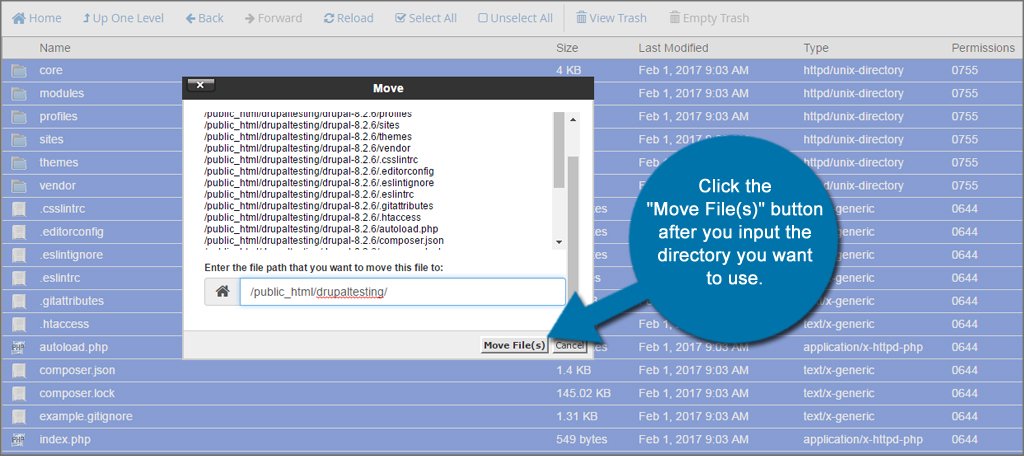
A new window for moving the files will appear. In the file path, input the location you want to move the files to. In this tutorial, I am moving all of the files into the domain’s directory, so I want to delete the “drupal-8.2.6” folder from the line of text. Click the “Move File(s)” button after you input the directory you want to use.
Setting up the Database
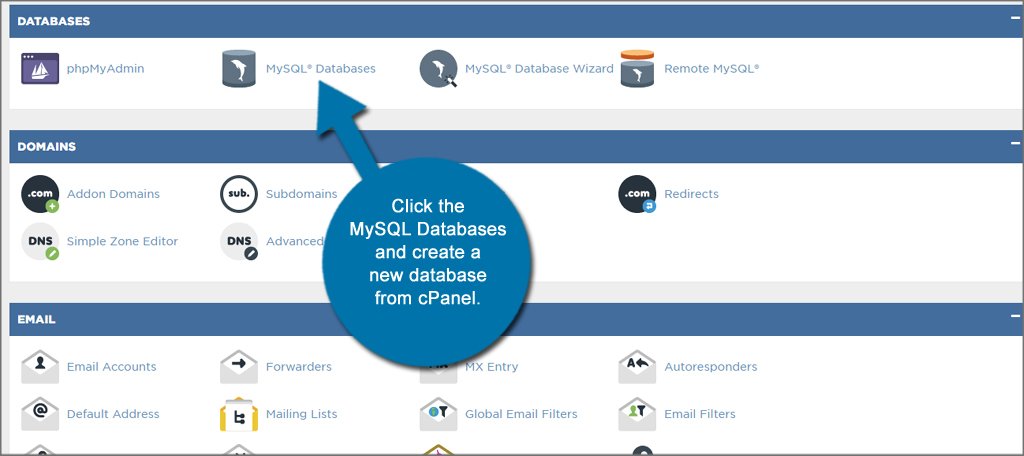
Go back to cPanel and find MySQL Databases. Drupal cannot install unless there is a database already available. Since it doesn’t create its own, you’ll have to do this yourself. Click the MySQL Databases and create a new database. Don’t forget to create a new user and password. It will be needed when installing Drupal.
Setting up the Drupal Installer
Once the database is complete, go to the URL of where you placed your Drupal files from a web browser. For instance, you would go to “https://www.yourwebsite.com” unless you moved the files to a different location. Drupal’s installer will load from the URL you used to place its files.
If you get a message stating, “Your PHP installation is too old,” you will need to update PHP in your cPanel. This can be done by going to the PHP Selector.
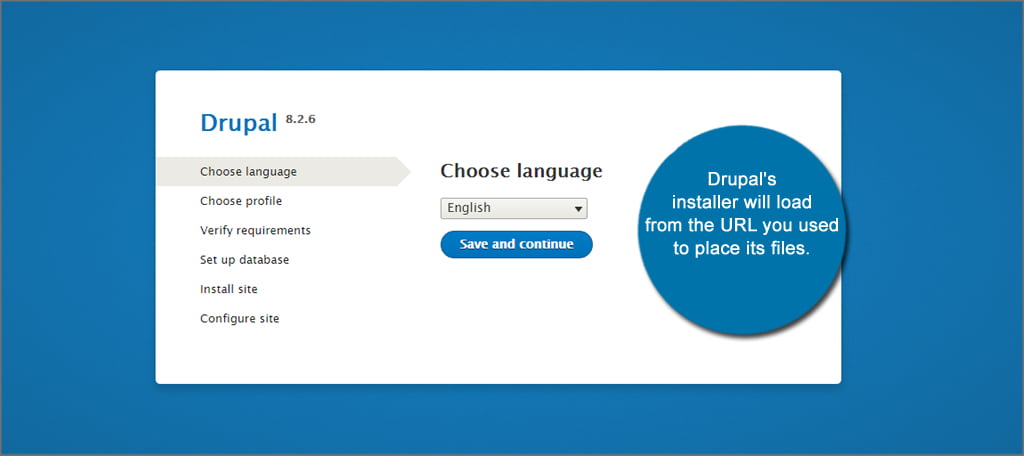
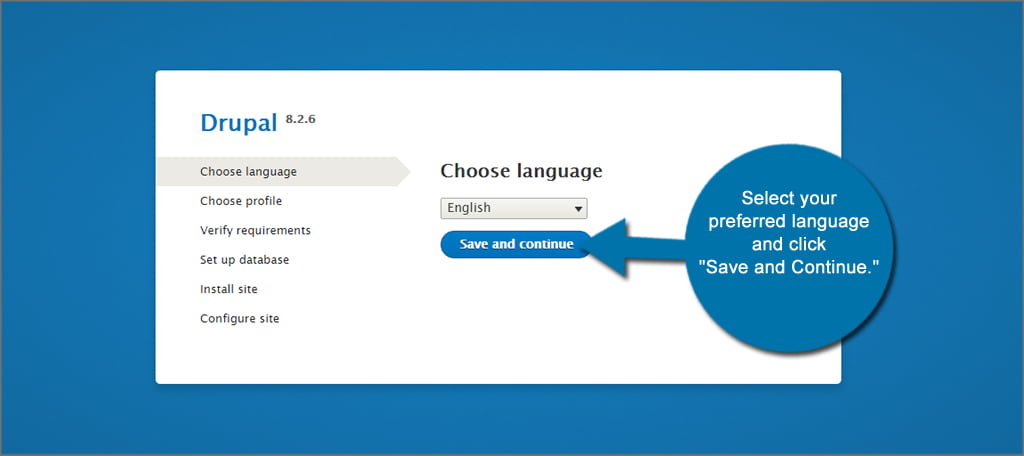
Select your preferred language and click “Save and Continue.”
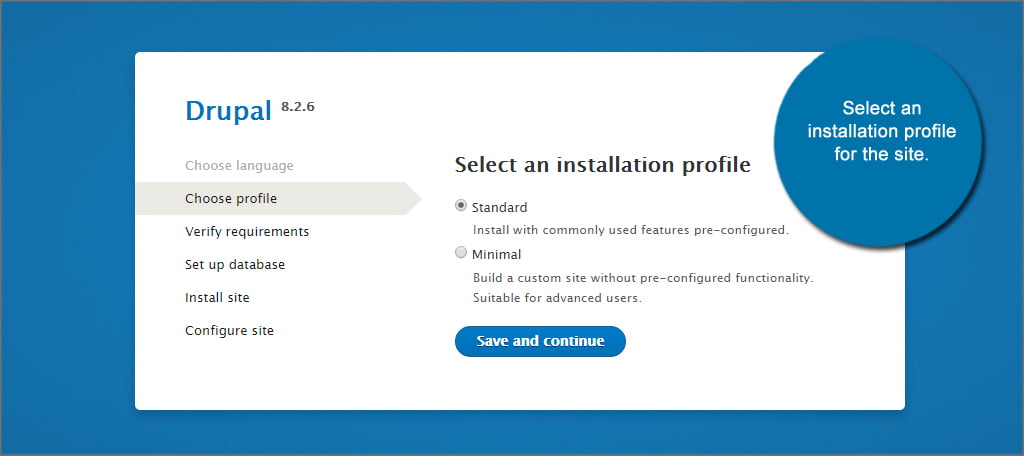
Select an installation profile for the site. In this option, you can choose “Standard” and “Minimal.” If you’re new to developing websites or using Drupal, I suggest using the standard installation. This will help you learn the system and get started right away.
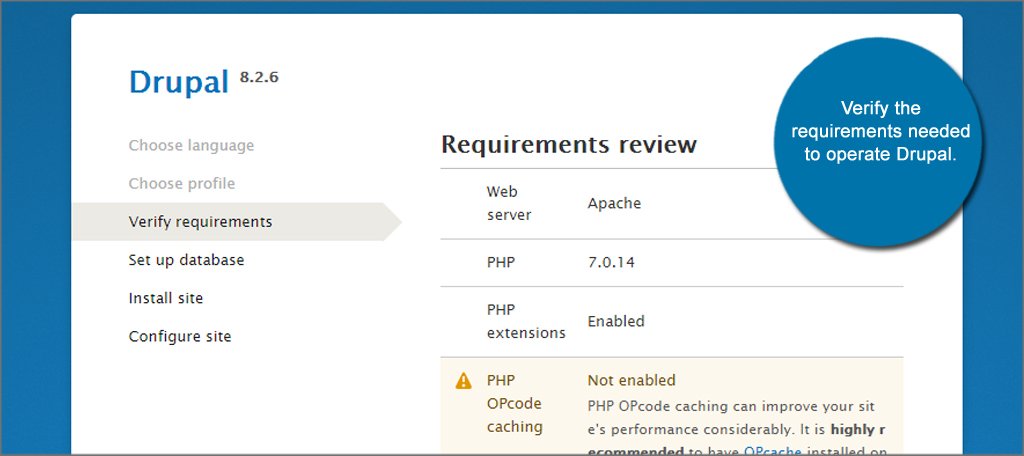
Verify the requirements needed to operate Drupal. This will show you what is necessary to run the website. Should you need to install additional software or updates, you may want to consider doing those first.
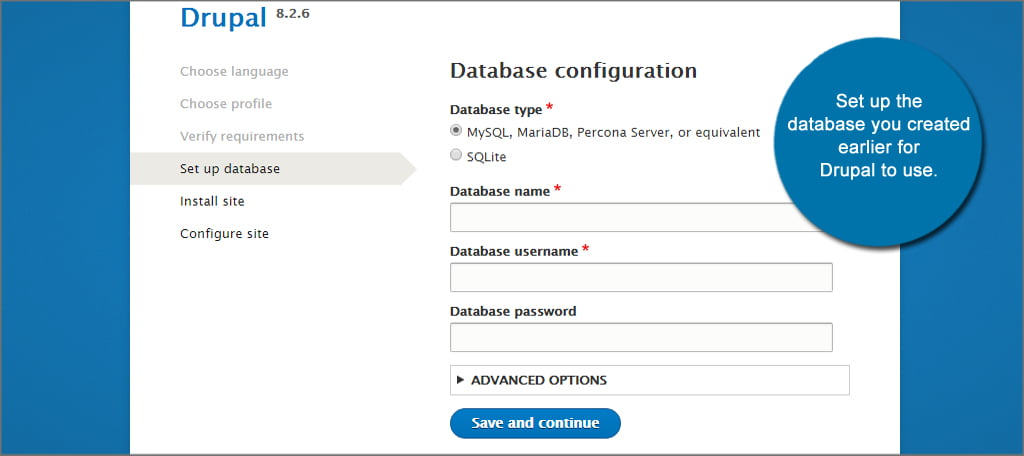
Set up the database you created earlier for Drupal to use.
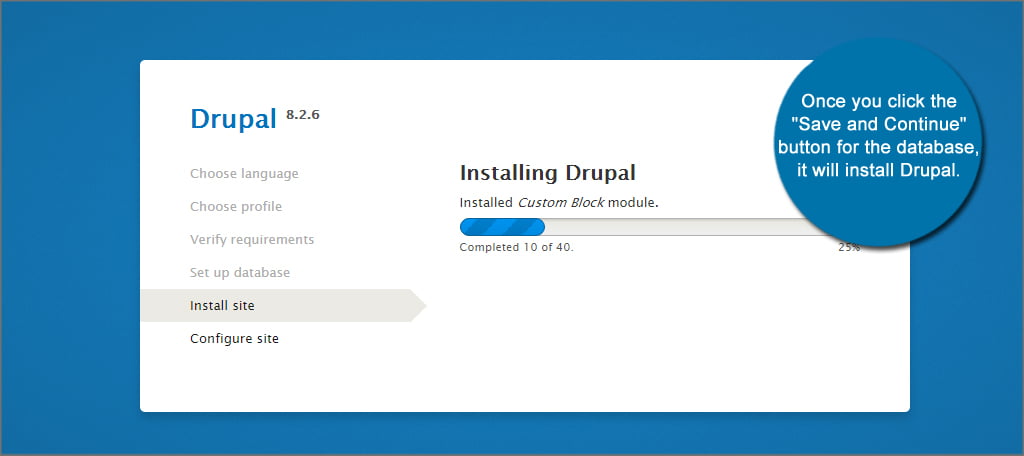
Once you click the “Save and Continue” button for the database, it will install Drupal.
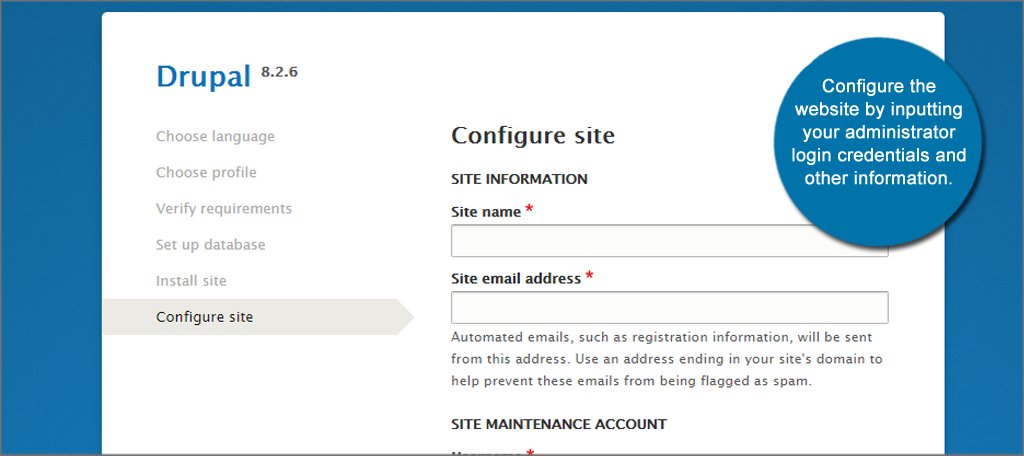
Configure the website by inputting your administrator login credentials and other information. Drupal will use this data for continued operation of your website.
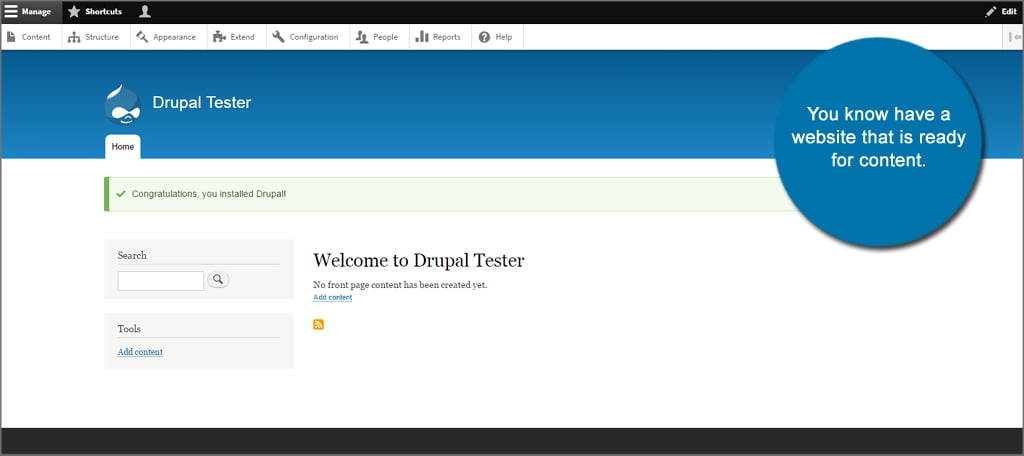
You now have a website that is ready for content. From here, you can alter the site’s appearance, add extensions, get reports and much more.
When you don’t know much about programming, content management systems are a great way to build something amazing in a very short amount of time. This Drupal installation tutorial may be the beginning of finding your own place in the digital world without requiring a degree in programming. All you need to do now is create some amazing content that will drive in the traffic.

I am having difficulty installing custom Drupal 8.8 via CPanel and don’t understand why. I have done this before a few years ago, but not now. I could use some help with this.
I really appreciate for this Manual install of Drupal. Now I can proceed to design my website.
Thank you