Creating custom permalinks in WordPress can give a boost to your search engine optimization, as well as being a valuable marketing tool. In this tutorial, you’ll learn how to customize permalinks. It’s easier than you think.
What Are Permalinks?
Permalinks are human-readable URLs that are intended to be, as the name suggests, permanent. As websites became more complex and database-driven, permalinks were created to replace URLs containing variables (URLs like index.php?id=2843&pg=23).
Permalinks are usually made up of slugs (more on those later), which are small groups of relevant words. When we look at a permalink URL, they make more sense to us than random numbers and IDs.
WordPress allows you to select from different permalink formats, or even create custom permalinks. Custom permalinks are useful for marketing, and they are also part of some search engine optimization (SEO) strategies.
How to Use Permalink Manager Lite
Step 1: Install Permalink Manager Lite
Like most things in WordPress, there is a plugin that can handle all of your permalinks needs. In this case, the Permalink Manager Lite will allow you to edit full permalinks, create custom permalink structures, and even automatically redirect users after you edit the permalink.
It does everything you could possibly need in regards to permalinks.
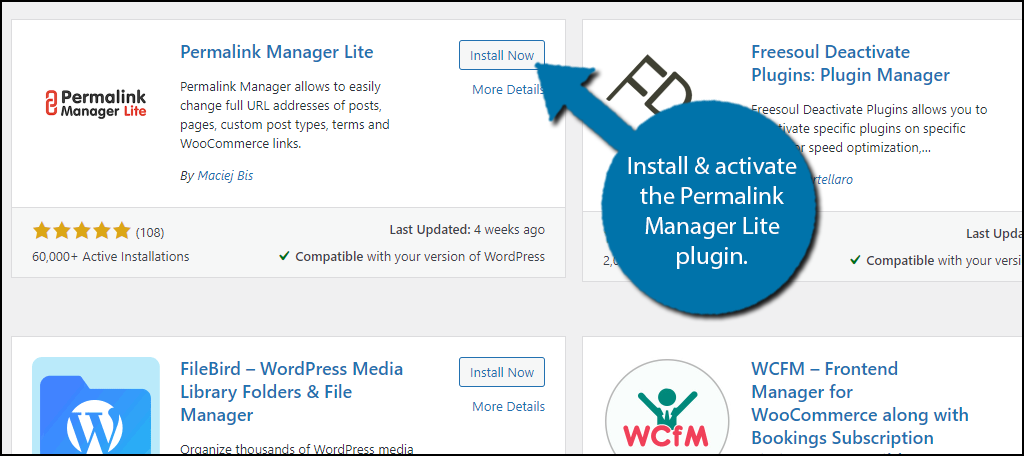
Go to the plugin area of WordPress and install & activate the Permalink Manager Lite plugin.
Step 2: URL Editor
On the left-hand admin panel, click on Tools and select the Permalink Manager option.
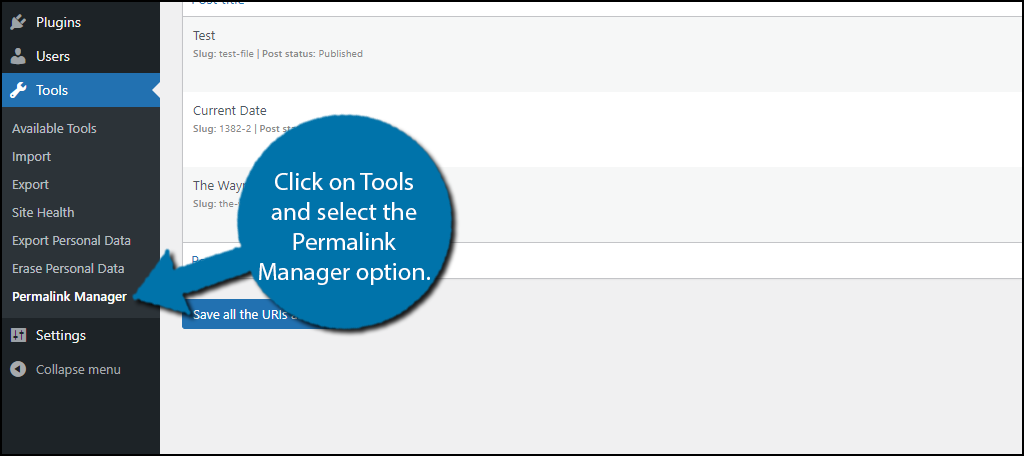
There are four tabs to choose from and the first one is the permalink editor, which allows you to directly edit the permalink for any individual post.
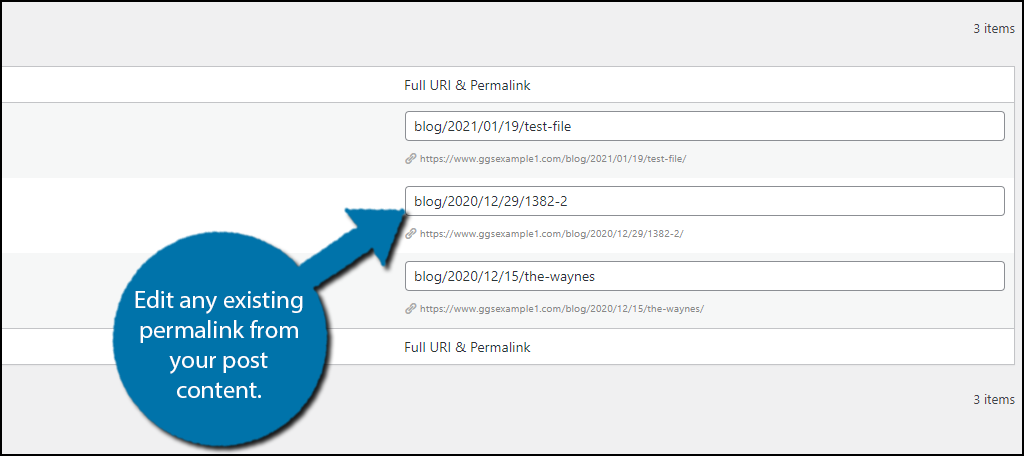
And click the “Save” button when you are done editing.
Note: I do not recommend changing individual permalinks. This could severely damage your ranking on search engines like Google. It is much better to change them all at once, like in the next step. However, you can always use a 301 redirect after making such changes to each individual post.
Step 3: Permalink Structures
You can also use the plugin to create custom permalink structures.
To do so, click on the Permastructures tab.
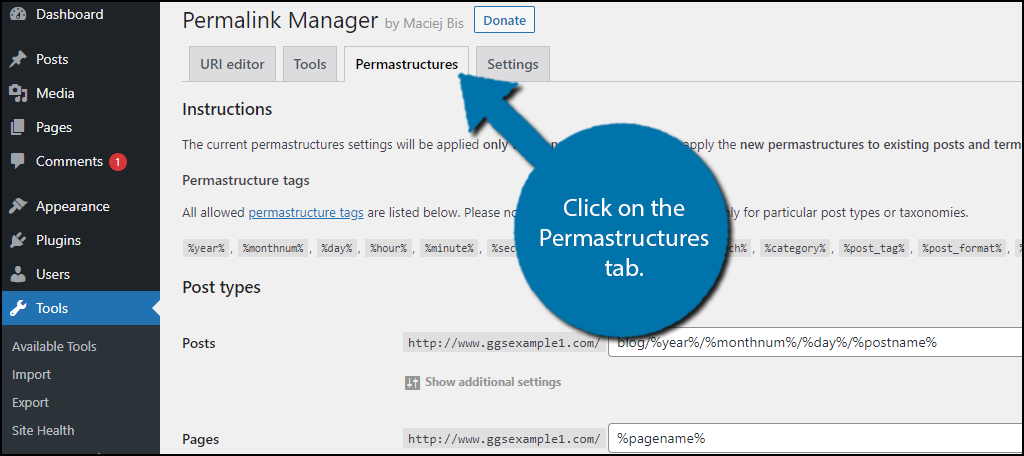
Here, you can edit the permalink structure of posts, pages, and media. Also, if you have the Pro version, you can edit taxonomies. These changes will affect all content that falls into those categories.
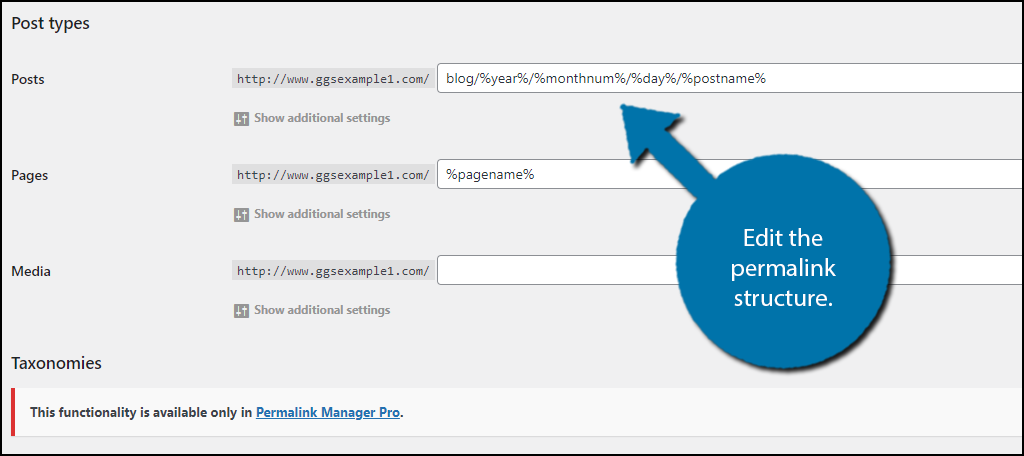
And once again, when you are done editing the permalinks, click on the “Save” button.
I will now demonstrate how to use the built-in WordPress permalink tools.
How to Build Custom Permalinks in WordPress
Step 1: Open the Permalinks Settings
Making basic changes to your website’s permalink structure in WordPress doesn’t require a plugin. You can do it in your admin dashboard.
In the left column navigation, mouse over the “Settings” link and click the “Permalinks” link.
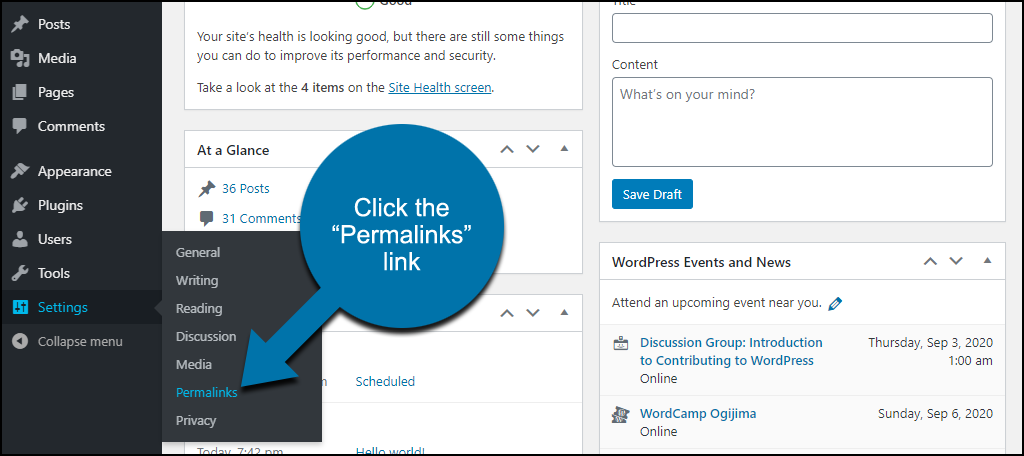
Step 2: Select the Custom Permalinks You Want to Use in WordPress
In the “Common Settings” section, you can see that the default permalink setting is “Day and name.” That’s what gives us the ggexample.com/2020/08/31/hello-world/ permalink.
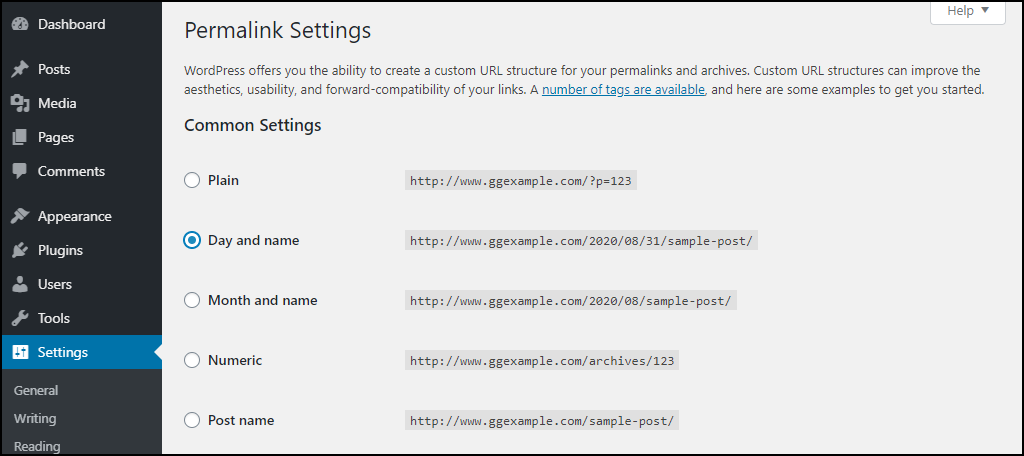
To change to the shorter ggexample.com/hello-world/, click the “Post name” option.
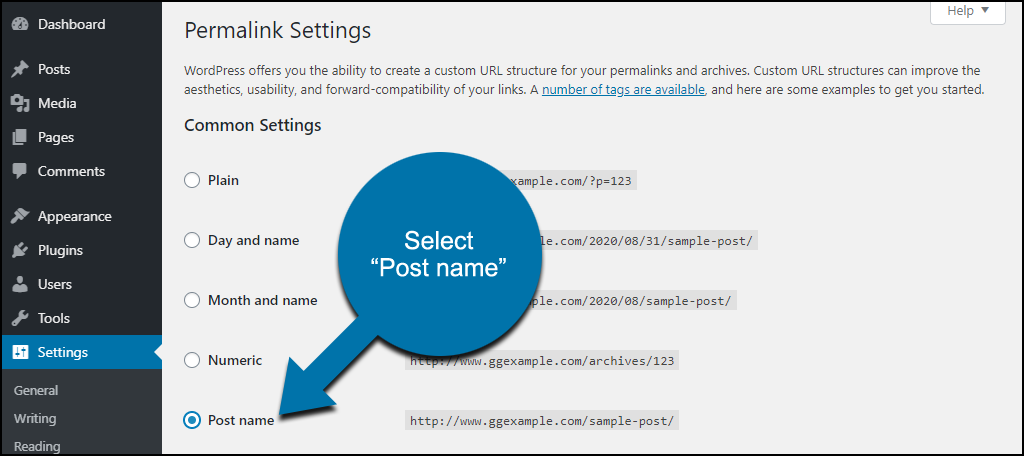
Step 3: Save Your Changes
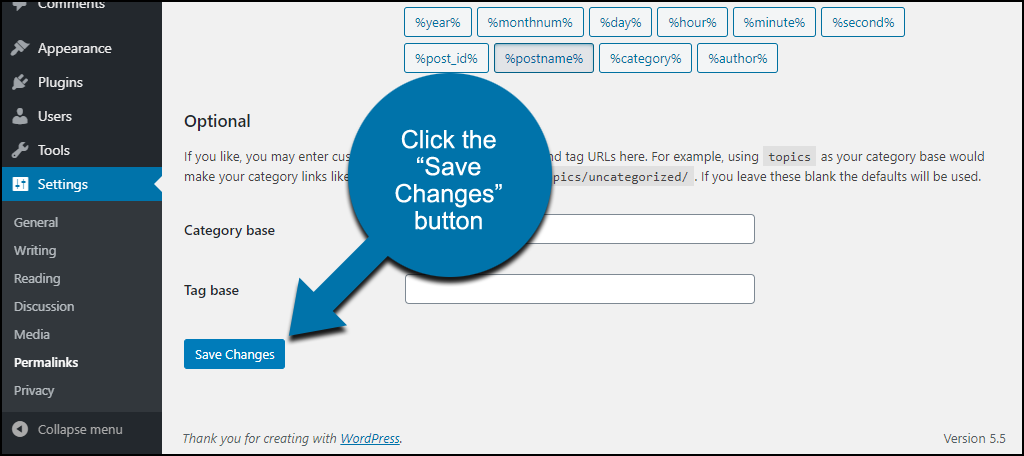
Scroll down and click the “Save Changes” button.
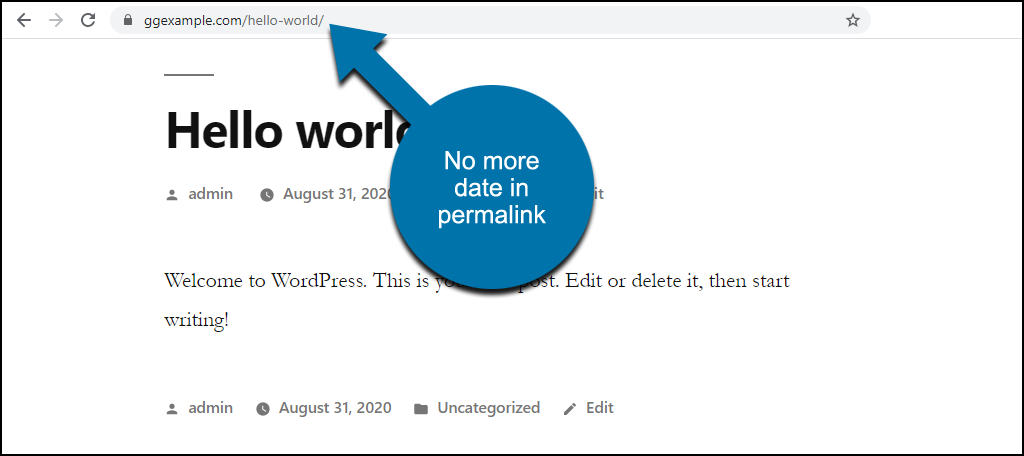
Now the date is gone from your post permalinks.
Don’t stop here! Be sure to address the side-effects of changing permalink structure.
How to Customize WordPress Permalinks
The “Common Settings” provided by WordPress cover a lot of bases. But if you want more control, there are a few other permalink building blocks available. You can use the hour, minute, and second that a post was published, the category, and the author’s WordPress username.
You create a custom permalink structure by using placeholders. Let’s walk through an example so you can see what I mean.
Step 1: Select Custom Structure Option
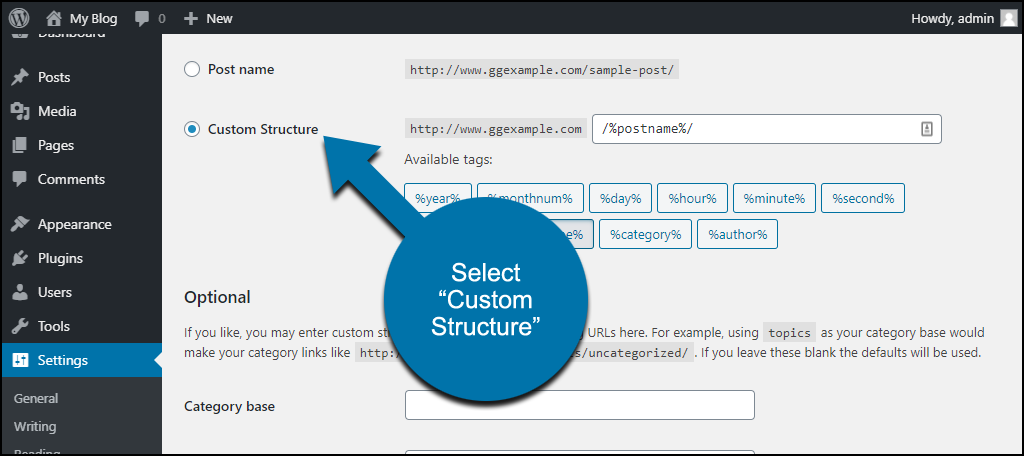
On the “Permalink Settings” page, click the “Custom Structure” option.
Step 2: Add Available Options for WordPress
We’ll add the author’s WordPress username to the permalink by clicking the “%author%” button.
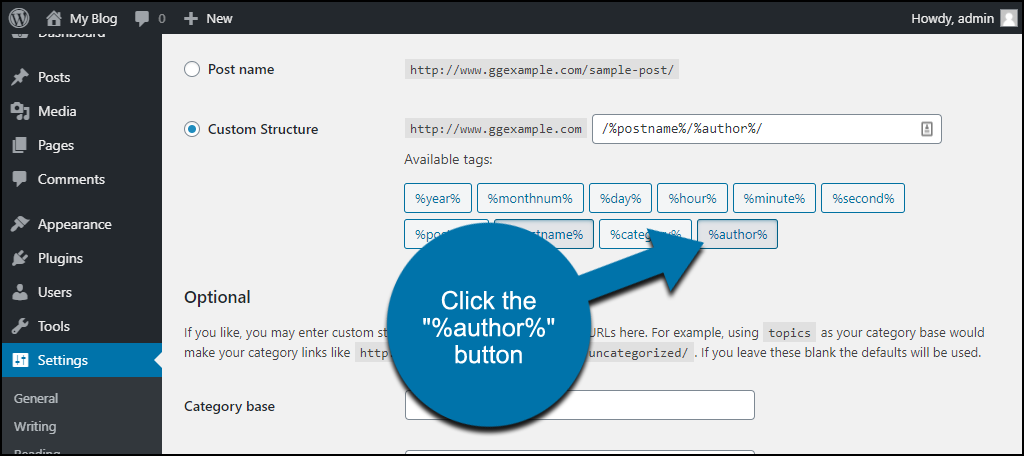
You can see that the permalink structure is built in the text field following your website URL. Clicking one of the option buttons inserts the placeholder into the field.
You can also add placeholders manually. Just be sure to separate placeholders with a forward slash, and include a slash at the beginning and end of the sequence. Like so:
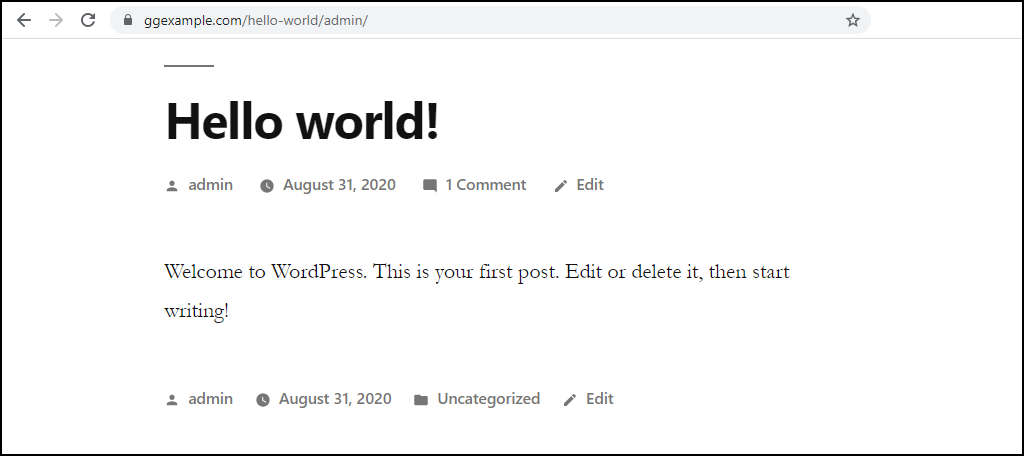
/%postname%/%author%/
Step 3: Save Your Changes
Now when we click the “Save Changes” button, the author’s username name is added to the permalink.
The available permalink placeholders are:
- %year%
- %monthnum%
- %day%
- %hour%
- %minute%
- %second%
- %post_id%
- %postname%
- %category%
- %author%
Be sure to address the side-effects of changing permalink structure.
How to Use Custom Permalinks for a Single WordPress Post or Page
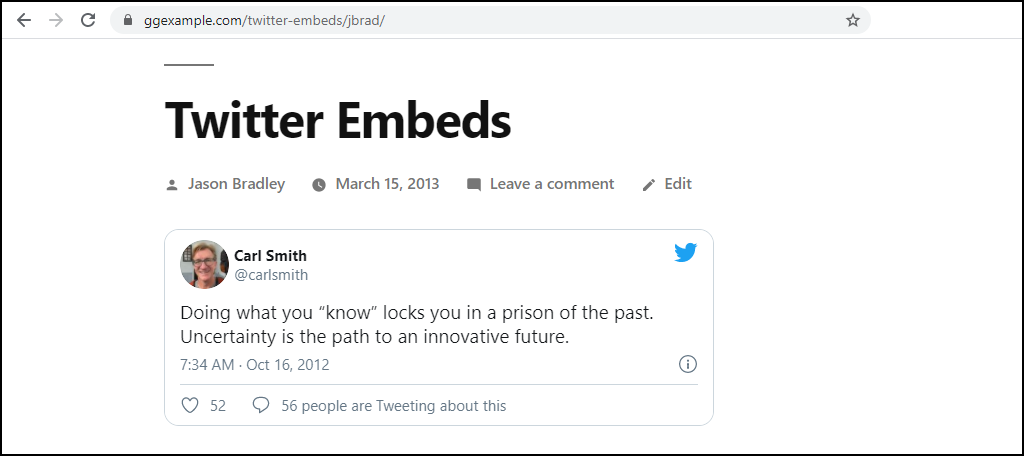
WordPress uses your permalink structure as a template for your posts. But you can change the slug portion of the permalink for individual posts.
Step 1: Edit the Post or Page
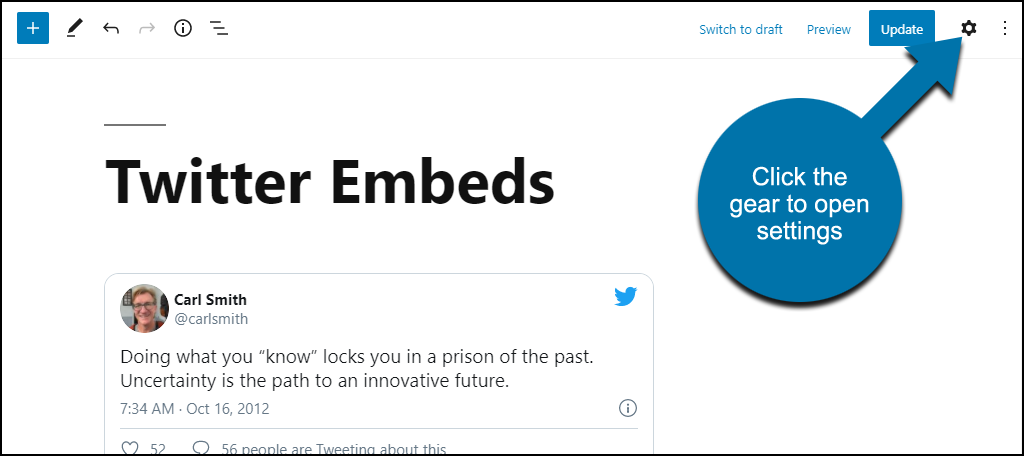
Open a post in the editor.
Click the gear icon to open the post settings.
Step 2: Open the Post or Page Permalink Setting
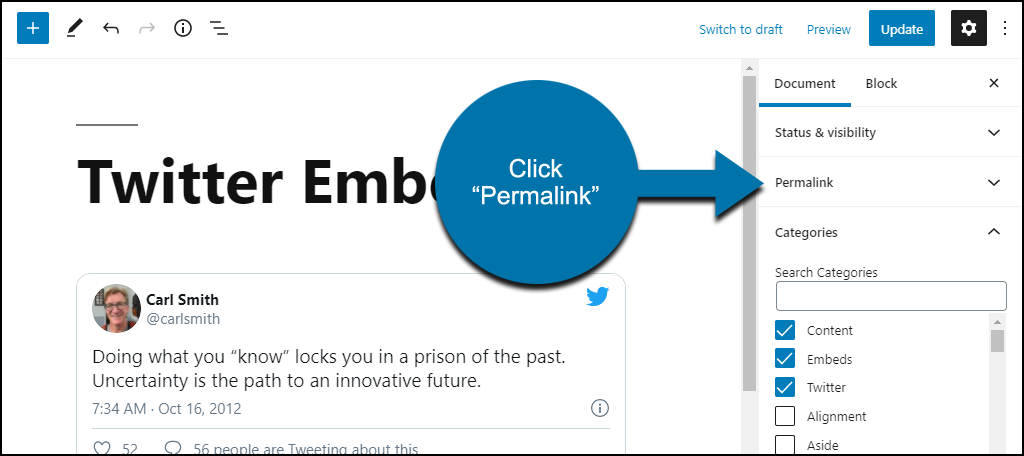
Click “Permalink.”
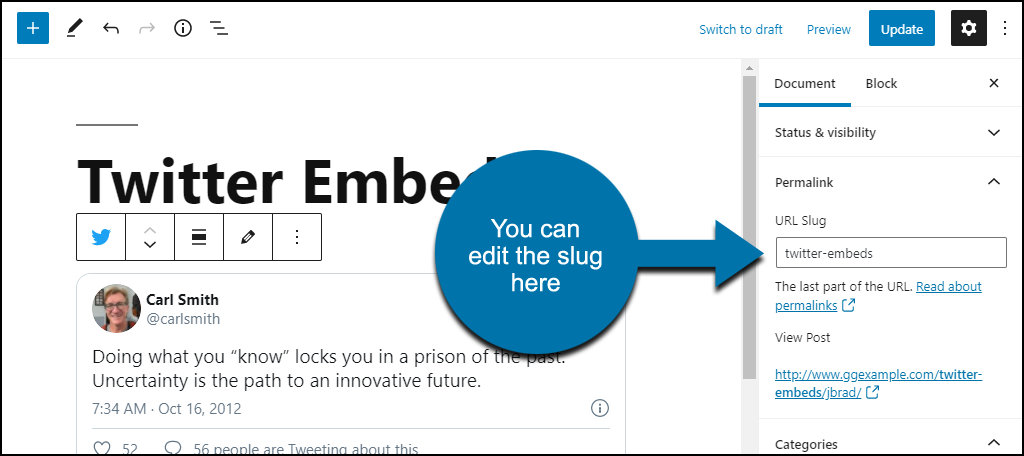
Step 3: Edit the URL Slug and Save
Now the slug is editable. There’s also a URL preview below.
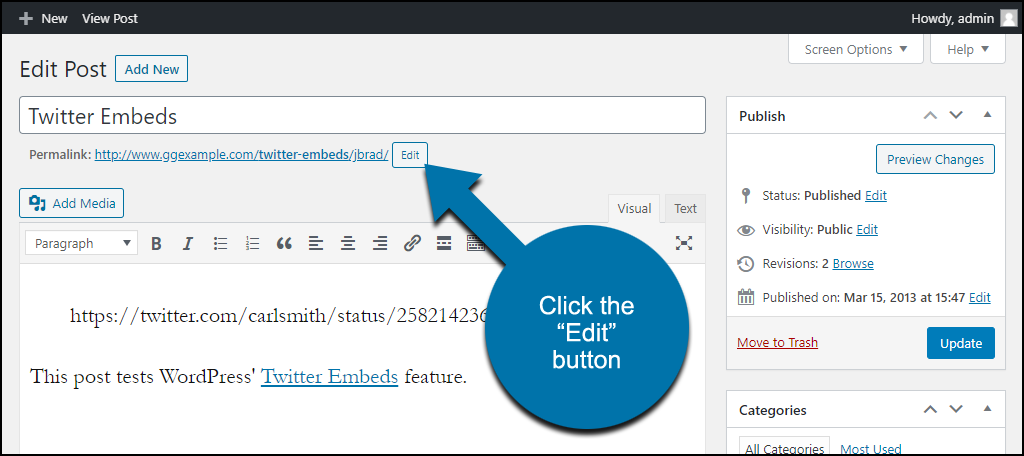
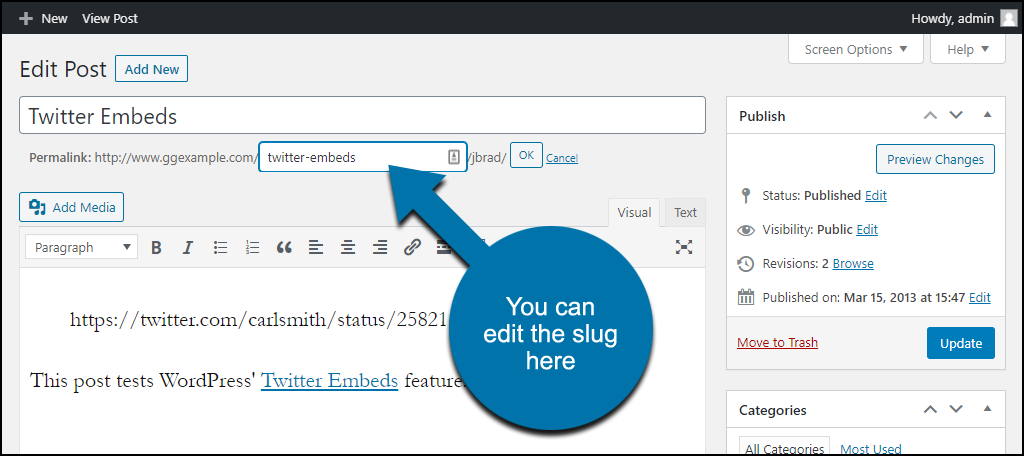
In the “classic” WordPress editor, you can edit the slug at the top of the editor page.
Be sure to address the side-effects of changing permalink structure.
What Are WordPress Slugs?
I said I’d talk about slugs, so let’s get to that. Sometimes people confuse slugs with permalinks. Slugs can be a part of your permalinks, but they are not permalinks themselves.
The slug is the portion of the permalink/URL that describes the page in a human (and SEO) friendly way. (As you’ve seen in the previous sections.) Slugs are created automatically, based on the post title.
If you edit a slug, be sure to follow the standard format:
all-lower-case-letters-separated-by-hyphens
The Side-Effects of Adding Custom Permalinks to WordPress
While there are benefits to changing your permalink structure there is one very important issue to be aware of.
Broken links.
When you change the URLs of your posts, existing links will no longer be valid. That means all of your links from other sites (and Google search results) point to URLs that no longer exist.
When you change the permalink structure, WordPress will automatically update the links used in your post lists. So those links will always work.
But links to your site from other sites will lead to a 404 (file not found) error. Also, any internal links that you added to posts and permalinks to custom post types will fail.
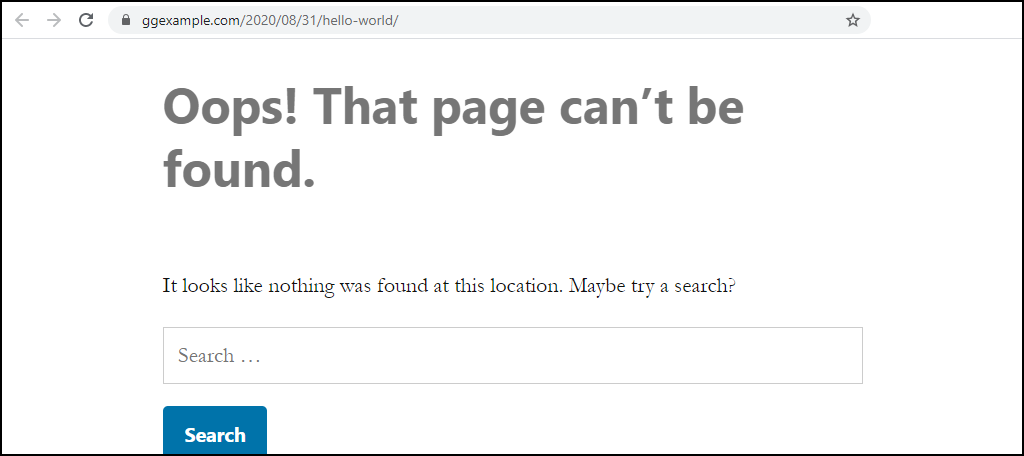
You can solve that problem with .htaccess redirects. But that’s complicated, and if you make a mistake (which is very easy to do), you can break your site.
An easier way to solve the problem is with a plugin that provides comprehensive redirection.
Aside from broken links, another consideration when changing permalinks is SEO.
When you change all of the post URLs on your site, Google’s understanding of your site could change. This article goes into detail on making permalink changes without hurting your SEO.
The bottom line is you want to prevent the failure of any links coming into your site.
Why Use Custom Permalinks in WordPress?
As I mentioned, many database-driven websites (WordPress included) create URLs that contain variables. The default URL structure for WordPress posts used to be:
https://ggexample.com/?p=123
That’s not a very informative URL. But if you installed WordPress a while ago, your site may be using this old-style permalink structure.
Google has indicated that URLs are a factor in search engine results rankings. (Though it’s worth noting that Google doesn’t put as much weight on factors that can be manipulated, such as permalinks.)
But when they are relevant to the page contents, permalinks are definitely a factor in ranking. So it’s in our interest to make them as SEO-friendly as we can.
Now, WordPress defaults to “Day and name” permalinks that include the post date:
https://ggexample.com/2020/08/31/hello-world/
By default, pages in WordPress do not use the “Day and name” structure, just the name.
But permalinks can also be made without any date information, like:
https://ggexample.com/hello-world/
In addition to their SEO purposes, permalinks just make for a better-looking, more trustworthy URL. I have no idea what I’m going to see when I click ggexample.com/?p=123. But I know what’s likely to be on the other end of ggexample.com/hello-world/.
Custom Permalinks Can Help Make Your WordPress Site Successful
Permalinks can be an integral part of your SEO strategy. This is a technical tutorial, so we didn’t really dig into potential SEO benefits. But there are a lot of SEO experts out there who put a lot of stock into permalinks.
Try using keywords in some permalinks and see if you notice a change in traffic. Your post title should already contain your primary keyword, but you may be able to surround it with others. Just remember that the slug/permalink should remain relevant to the post contents.
I mentioned that descriptive permalinks create more “trustworthy” URLs, and I believe that’s one of their main benefits.
How many times have you hovered over a link and seen a long, nonsensical URL, then hesitated to click? It happens to me all the time. I’ll look more closely at the URL if I really want to click the link. But if I’m not otherwise motivated to click a mystery link, I may not.
I may be more careful (or paranoid) than the average person, but it’s something to consider. If you use UTM codes, it’s hard to avoid long URLs. But a descriptive slug in the early part of the URL can help.
How do you format permalinks on your website? Do you prefer a complex or simple structure?


I did the same. But page get 404 not found