An Intranet is a private network usually for the purpose of communication within a business or facility. This includes elements such as sharing files, memos, live chat and more. Using WordPress with an Intranet plugin opens the doors to a number of possibilities for expanding what an organization can offer.
In this tutorial, I’m going to show you how to create and use a WordPress Intranet. From the business perspective, it’s a user-friendly method of sharing information while keeping data secure.
What Can You Do with a WordPress Intranet?
In many situations, WordPress is installed on a local server which connects local computers together while being the connecting point for the Internet. A setup like this gives flexibility as internal and external users can have access to the same business resources.
Think of it like having your own internal website specifically for your local users. Anyone directly connected to the business network can see this site, but those on the Internet cannot access it.
An Extranet is the connection between the Intranet and the Internet. Outside people can still access the WordPress site on your server, but only if you give them permissions to do so. If you know anything about setting up the domain security on a server, you know how tight you can make this system in terms of protection.
Why Would You Want a WordPress Intranet?
As cyber crime continues to run rampant on the Internet, the prospects of maintaining a local hub becomes more attractive. With a local Intranet, you could deny access to the resources from the outside world indefinitely. Imagine how this could have saved businesses from hackers stealing corporate data.
Not all Intranets are completely localized, though. Some can still be accessed from the public Internet. However, this is often ideal as it gives employees a way to access company resources from abroad. It’s a mobile world, and WordPress can help facilitate off-site business practices quite efficiently.
WordPress is an exceptionally easy system to use for even the most novice of users. It gives a website-look to the business dynamic which can house everything from documents to sharing business memos. It’s an excellent step to take if you want to move to a paperless system.
Setting Up WordPress
So, there are a few different ways you can set up WordPress for an Intranet or Extranet. The path you take really depends on what you want to build.
Internal Only
If you want to build a traditional Intranet on your own network, you will need to install WordPress manually on the local server. This may require additional installations of things like Apache, PHP and Perl. You may already have these as well as MySQL running. If you don’t, XAMPP is an excellent addition to installing WordPress locally.
Intranet and Extranet
In an Extranet, one way you can set this up is to use a WordPress hosting account and install the content management system. This is easy to do especially if you use something like Softaculous to install WordPress.
Building the Intranet Hub with Plugins
Once WordPress has been installed, it’s time to set up the plugins you’ll need to create an effective Intranet hub. After all, you want it to be secure while offering employees access to various tools and components.
Using BuddyPress
Although BuddyPress is more popular as a social media addition to WordPress, it does have a lot of capability for keeping communications private within a business. The plugin is used to create a community on many websites whether it’s business, school or any other niche in a community.
To install BuddyPress, go to the Plugins area and click, “Add New.”
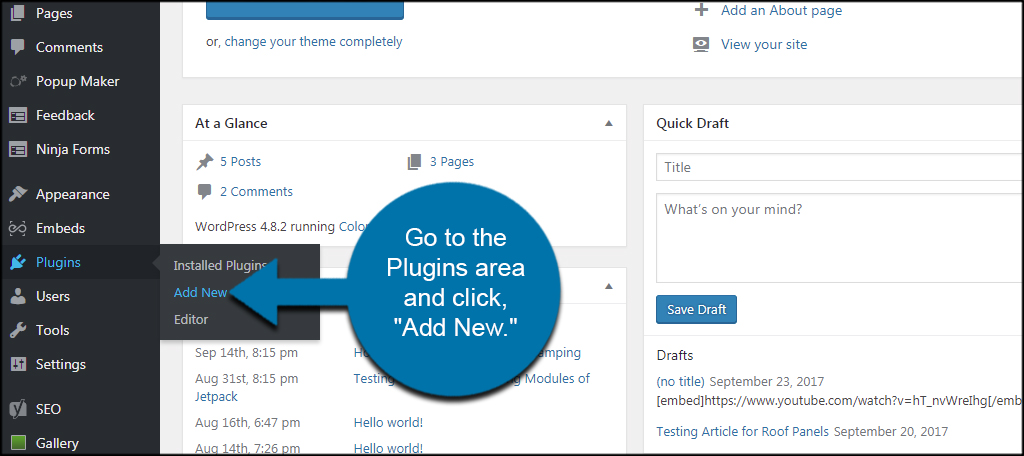
BuddyPress is usually on the “Featured” list of WordPress. If you don’t see it on the Add Plugins page, you can always search for it.
Install and activate the BuddyPress plugin.

You will see the welcome screen for BuddyPress. Click the “Get Started” button to begin customizing your site.
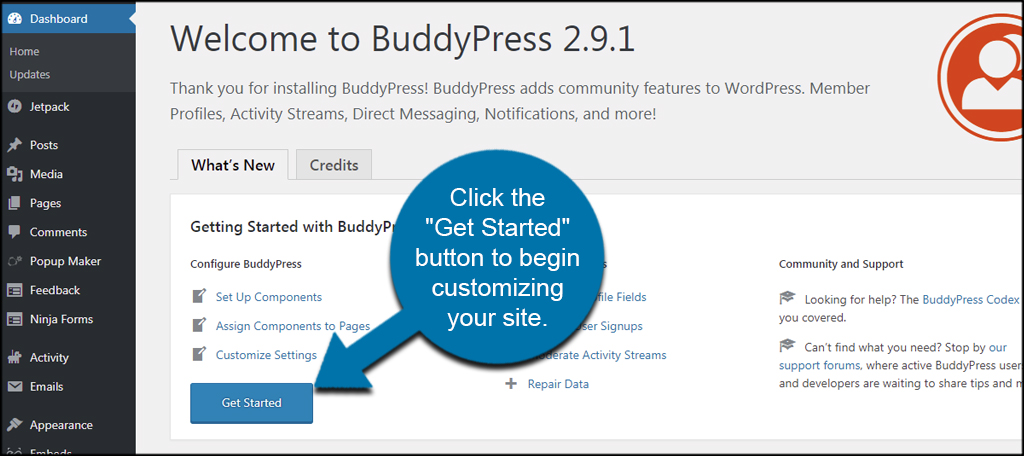
Adjust BuddyPress to suit your needs complete with how signups are managed, moderation and setting up user profile fields.
Using All-in-One Intranet
Once BuddyPress is ready, it’s time to secure the Intranet. You can do this several ways depending on how your system is set up. If you installed WordPress on a local server, you can limit access to the site by restricting IP addresses within your .htaccess file. In this case, you can control just what users and departments have access to the content.
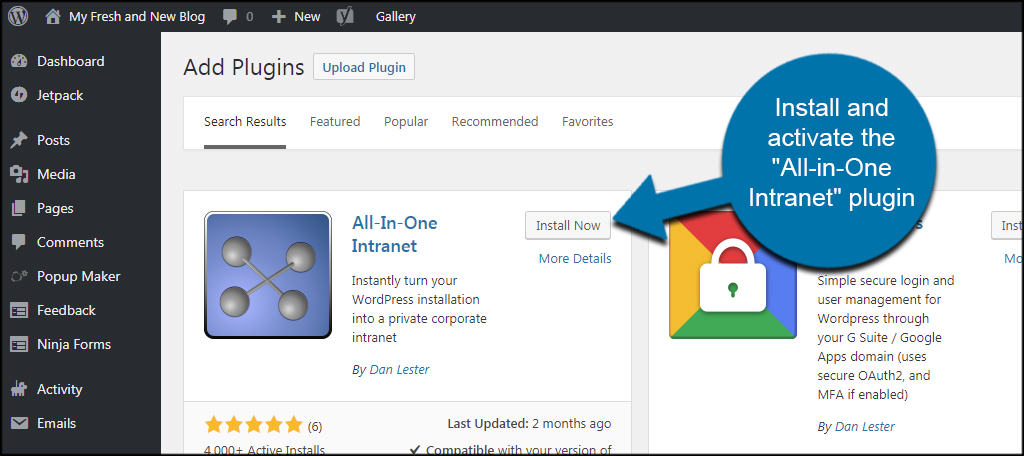
However, a lot of people set up Intranets with Internet access. For this, I’ll be using the All-in-One Intranet plugin. Install and activate the “All-in-One Intranet” plugin as you did with BuddyPress.
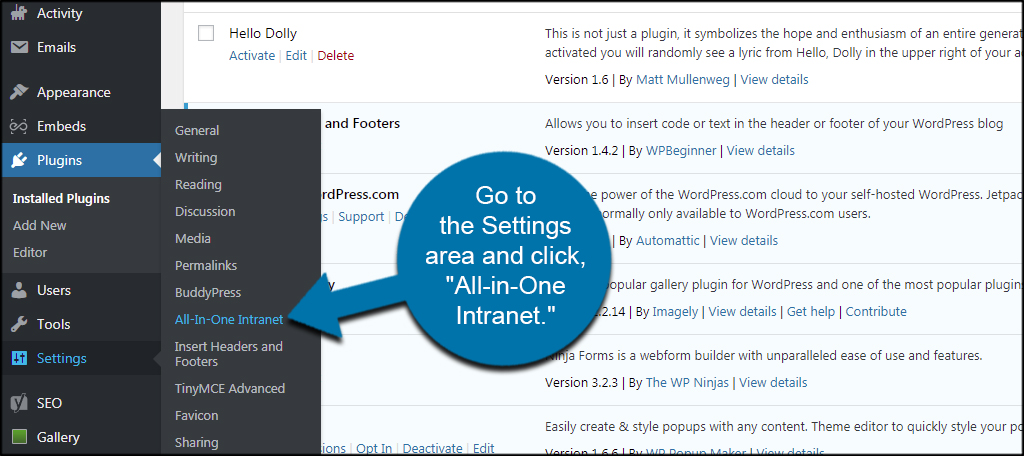
To modify the settings of AiO Intranet, go to the Settings area and click, “All-in-One Intranet.”
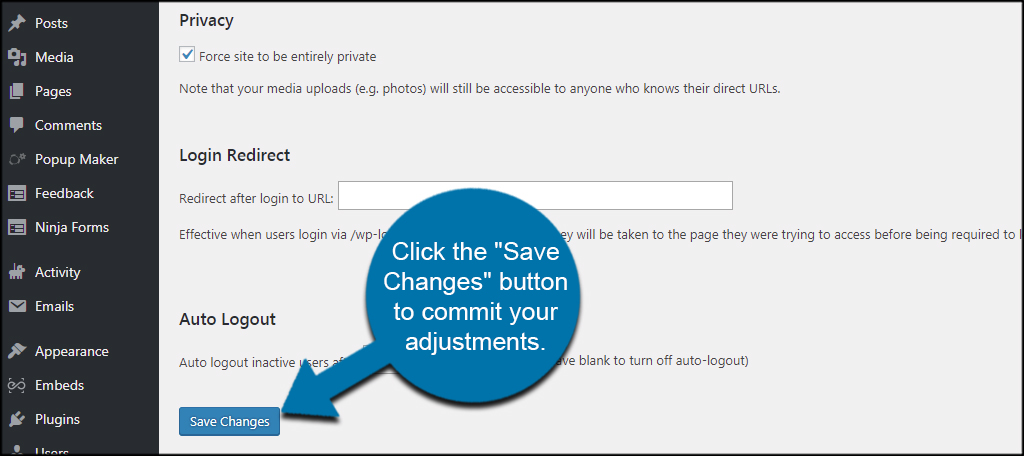
You have three features to customize to keep your site private.
- Privacy: Keep this box checked to force the site to be completely private.
- Login Redirect: This is the webpage you want users to see immediately after logging in. This can be any page you want within your site.
- Auto Logout: This is the timer that will automatically log out inactive users. This helps provide security. I suggest setting it to five minutes or so.
Click the “Save Changes” button to commit your adjustments.
Other Plugins of Note
BuddyPress and AiO Intranet are only the essential basics you can add to WordPress. You have access to a myriad of tools that will accentuate business efficiency. Here is only a handful of what you can add.
However, you might want to go though BuddyPress to see what’s available. There may be some aspects of the social plugin that may work instead of installing a new plugin.
Embed Any Document
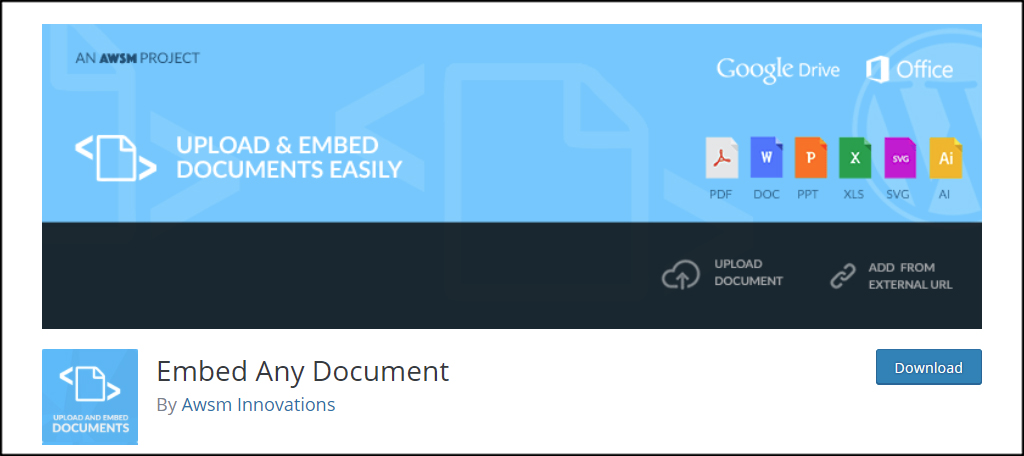
Embed Any Document is an exceptionally useful tool if you want to display Word, Excel, PDF files and more. You can go so far as to insert PowerPoint presentations directly into WordPress post and pages. With the long list of supported file types, this plugin has great flexibility.
Wise Chat
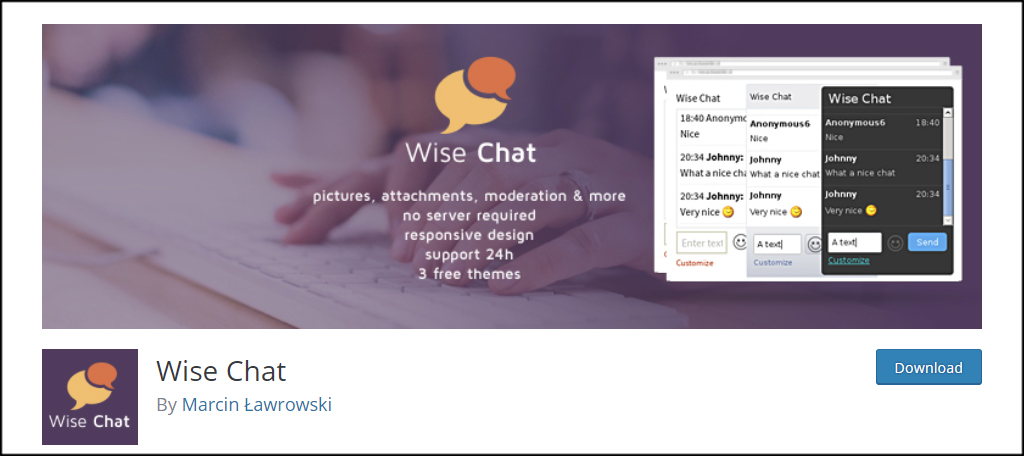
For larger organizations, it’s often faster and more secure to use browser-based chat. For instance, this may be ideal in an educational or medical capacity as you don’t have to worry about people listening in on the conversation. Wise Chat comes with a lot of options to make this a useful tool in the business.
Awesome Support
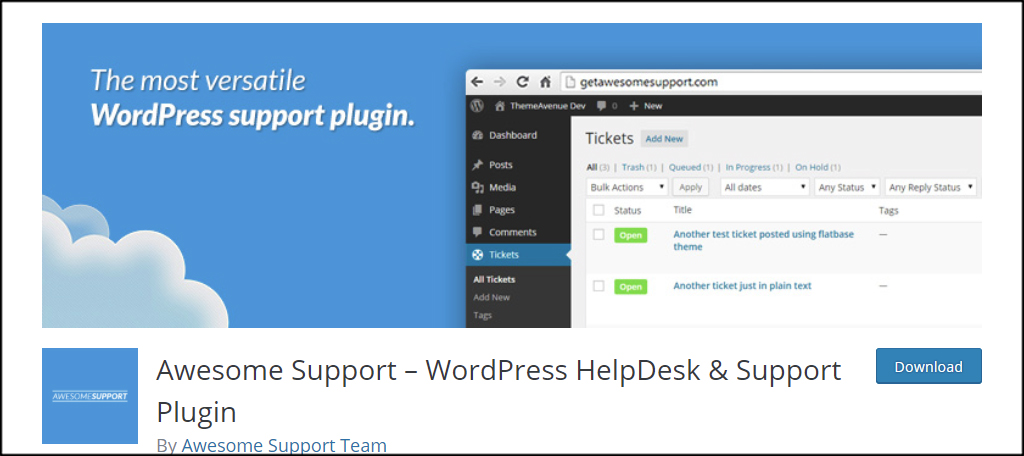
Awesome Support comes with a variety of tools to create a ticketing system for the business. Email notifications, file uploads and custom fields are only a few of the features of this system. While the premium system has a few more tools available, the free standalone version has more than what’s needed for a good ticket system.
What About the Media Upload Folder in WordPress
AiO Intranet doesn’t shield the media folder from external users. If someone knows the exact URL of an image or other file type, they can still access those elements. Although this is very unlikely to happen, it’s better to be safe than sorry.
There are several ways to protect the media folder from access. In some instances, you can use an extensive piece of PHP coding to prevent access and modify your WordPress website. But what if you don’t have a knack for coding or just want something quick and easy?
Prevent Direct Access
I prefer to use something like Prevent Direct Access. This plugin prevents users and search engines from access files including the uploads folder. Those without authorization will simply see a 404 error page instead of the resource. It’s a much faster method than editing code to deny access to the website.
Make it Your Own
WordPress as an Intranet hub has a vast number of possibilities. It makes the business feel more personable while providing a platform for sharing and private communication. Because you have access to complete customization of WordPress, there is no limit to what you can accomplish.
What kind of business elements would you add to a private WordPress website? What kind of communications hub does your business use?
