When you are building a new WordPress website, there are certain things you want to do to set yours apart from other websites. One of these things is having the ability to add a WordPress header image to pages, posts, categories, and even products.
Oftentimes, header images have to be coded in a certain way to show up in menu items and on other parts of a website. However, now there is a header image plugin for WordPress that will allow you to easily add a custom header image to menu items.
Why Create a WordPress Header Image
There may be a few reasons why you want to create a WordPress header image. Many templates allow you some functionality, but the ability to put these WordPress header images in menu items can be difficult.
Adding header images into menu items will give your site a look and feel that other sites won’t have. It is a unique design add-on for a website and something people will remember.
Furthermore, you can use related images for each menu category item. This will give more of a visually stunning look to your menu items and make them stand out more.
You want to find a solution that is easy to handle. This is why we are going to use a smooth plugin called WP Header Images. Let’s take a look at the plugin, how it works, what you can use it for, and how to set it up and use it.
WP Header Images

The WP Header Images plugin is a smooth, simple to use, lightweight plugin that comes full of functionality. This header image plugin for WordPress will allow you to set custom header images for pages on your website.
Not only will you be able to insert custom images for different content types, but you can also choose header images for pages, posts, categories, products, and even links.
The plugin works with almost all of the major WordPress themes out there. So you won’t have to worry about compatibility. As a matter of fact, its compatibility list includes:
- Guava Pattern
- Genesis
- Thesis
- WooThemes
- Gantry
- Carrington Core
- Hybrid Core
- Options Framework
- Redux Framework
- SMOF
- UPThemes
- Vafpress
- Codestar
As you can see, the plugin is compatible with nearly everything, so you should have no problems. If you do, you can always contact the developer.
As stated above, you can even use the WP Header Images plugin to add visuals to product pages and categories if you are running WooCommerce on your website.
The plugin really allows a lot of freedom to operate. There is a pro alternative of it as well, but for this tutorial, we are covering how to use the free versions. The free version will give you everything you need to properly create a WordPress header image for menu items and more.
Let’s take a look at how to install, activate, and set up the plugin for use.
Install and Activate WP Header Image Plugin
In order to create header images in WordPress, you first need to install and activate the plugin. You can do this from the plugins page in your WordPress admin dashboard. Simply search the plugin name.
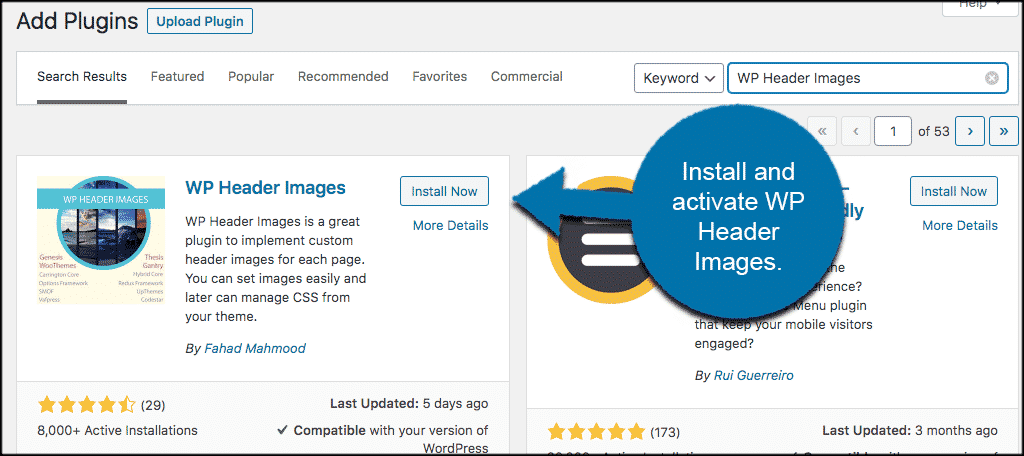
Once the header images plugin has been installed and activated, click on Settings > WP Header Images to access the main settings and configuration page for the plugin.
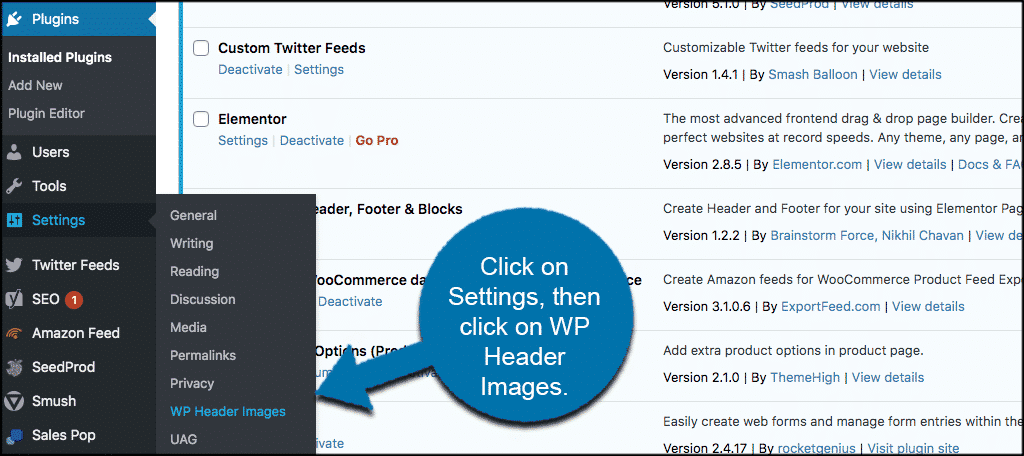
You will see this is the left menu area of your admin dashboard. Now that you are in the settings area for the plugin, we can go through setup together.
Plugin Setup
When you arrive on the plugin setup page, you will see four main tabs. They include:
- Header Images
- Styling
- Templates
- How It Works
Let’s go through these together and see what they all mean. The setup for the plugin is actually very simple and you will be up and running with the ability to add a WordPress header image to pages and categories in no time at all.
Header Images
The header images tab will have a list of items based on what all is installed and set up on your website. So for instance, if you don’t have WooCommerce setup, then you won’t see a product or product category dropdown area to add header images.
In this example WooCommerce is actually installed, so you see those extra items in the tab. You can also see that we have several menu items already set up to go along with the default menu and the WooCommerce category and product pages.
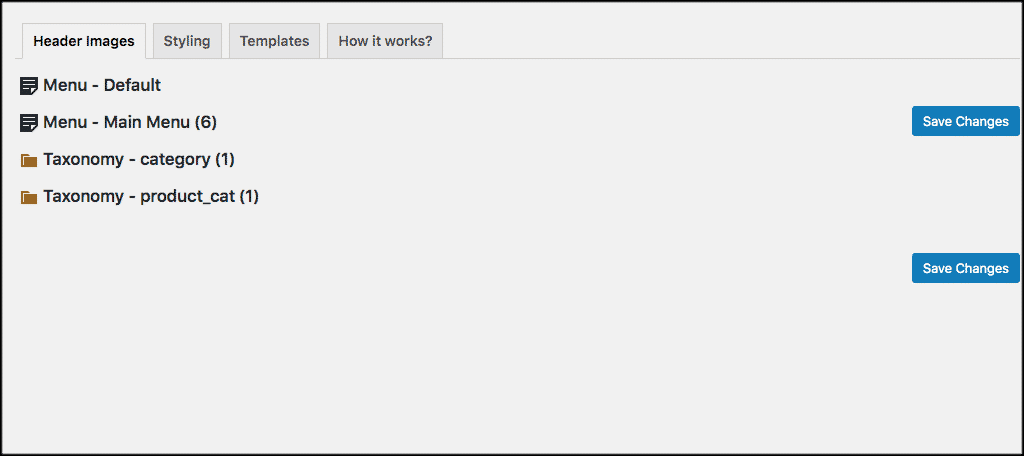
Within this tab, you can click on any of the links showing and a dropdown menu will come out. Within that dropdown will be an upload area for pictures based on the menu items.
You have two choices for upload here. You can drag and drop images in, or you can click on the link to upload images already found in your media library.
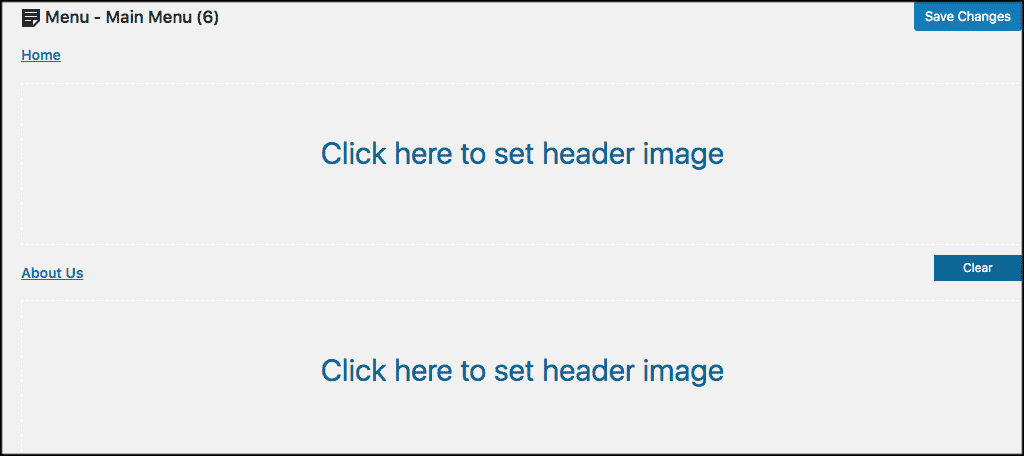
Simply upload the WordPress header image you want to use for each corresponding menu item and you are good to go. For example, put the header image you want to show in the “About Us” menu item directly into the about us image area.
Styling
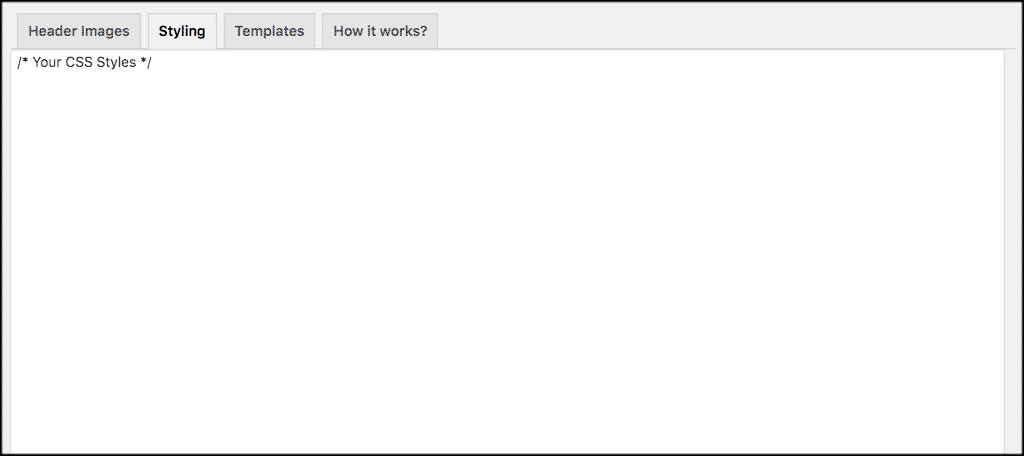
The styling tab is for those of you who know and understand how to add custom CSS to a WordPress website. If you know what you are doing, then go for it. If you don’t, then just skip this tab. It is there for your use at any time.
There are several ways to add custom CSS, but if you are not familiar with it, then this could get tricky.
Templates
The templates tab is actually a premium feature. The tab is there for free version users of the plugin, but if you want access to the templates and the ability to use them, you will need to purchase the pro version of the plugin.

Note: Click on the “Click here to go premium” button located on the top right to get the pro version of the plugin if you want it.
How It Works
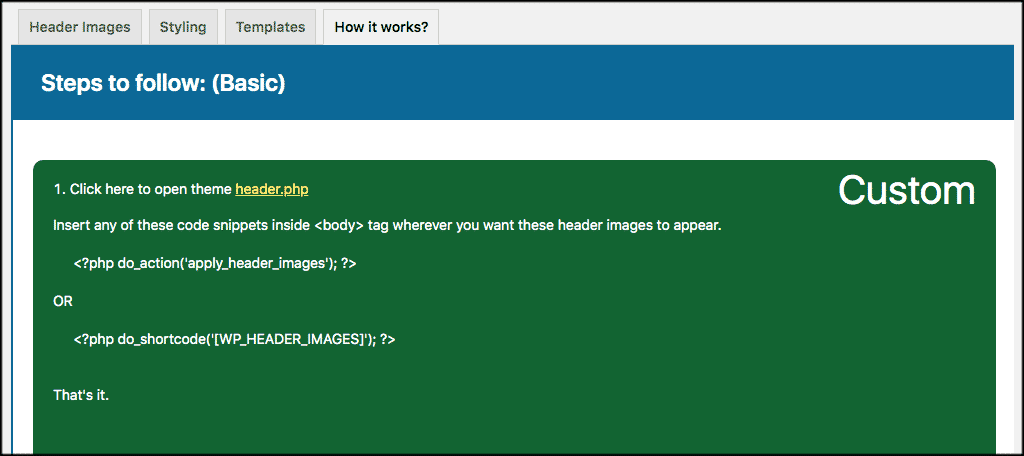
The how it works tab is there for you to reference and get help when needed. You can contact support from here or you can view the help guides and troubleshooting steps the developer has added. This is a resource for reference.
That’s it! At this point you should have relevant images uploaded for the menu items in question and you have successfully added WordPress header images to menu items.
Setting a Header Image
Now that we have checked the plugin out. let’s quickly set a WordPress header image together. It is not difficult at all.
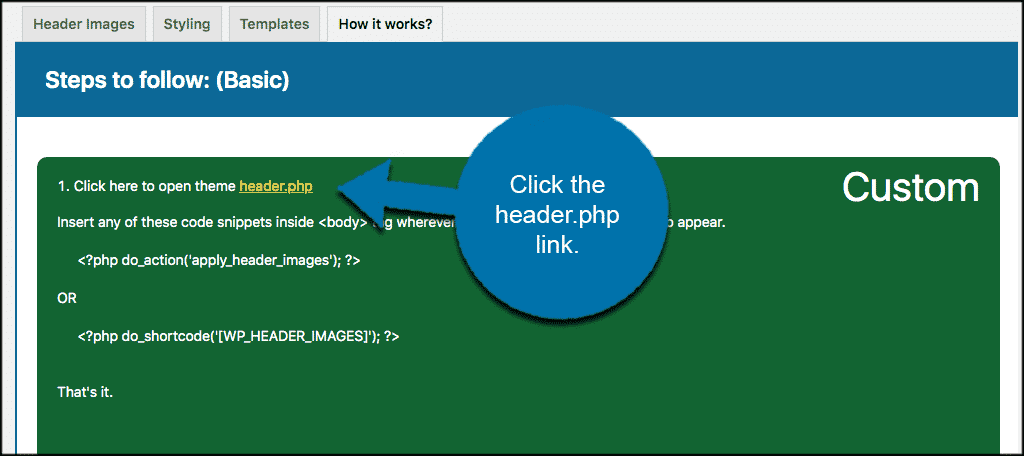
First, from the “How it Works” tab, click on the “open theme header.php” link and add that code you see into the bottom of your header.php file. You can do this by using copy and paste for the coded lines. Then click “Save”
Now go back to the “Header Images” tab. Just like above, you can see that we have certain items already there based on what menu items we have in place.
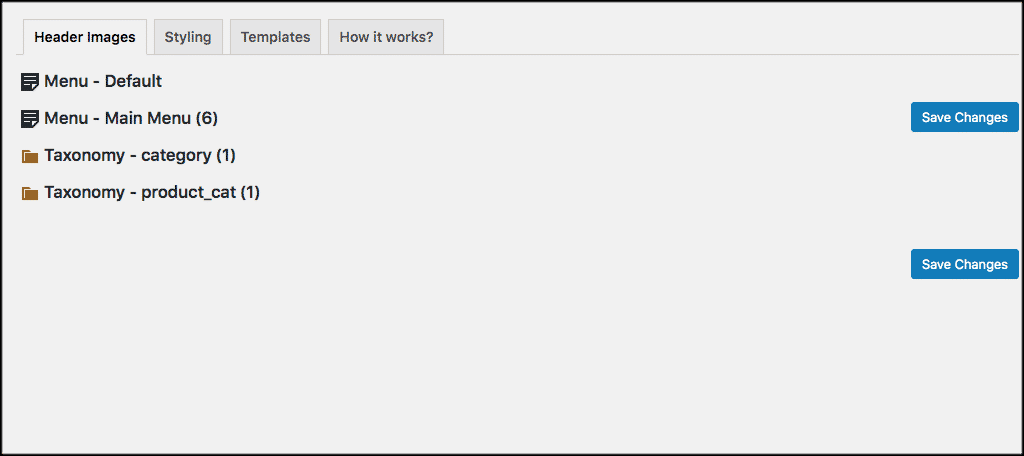
Click on any of the menu items you see on your specific list. For this, I am going to use the main menu that already has 6 items in it.
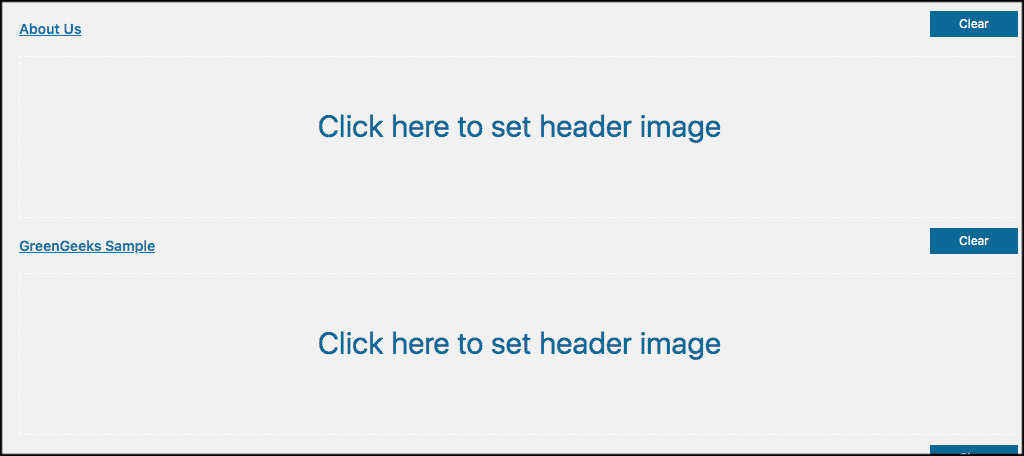
Click on it and a dropdown box will appear for every menu item section. You want to select the “Click here to set header image” link in any of the dropdown boxes you want a header image placed in.
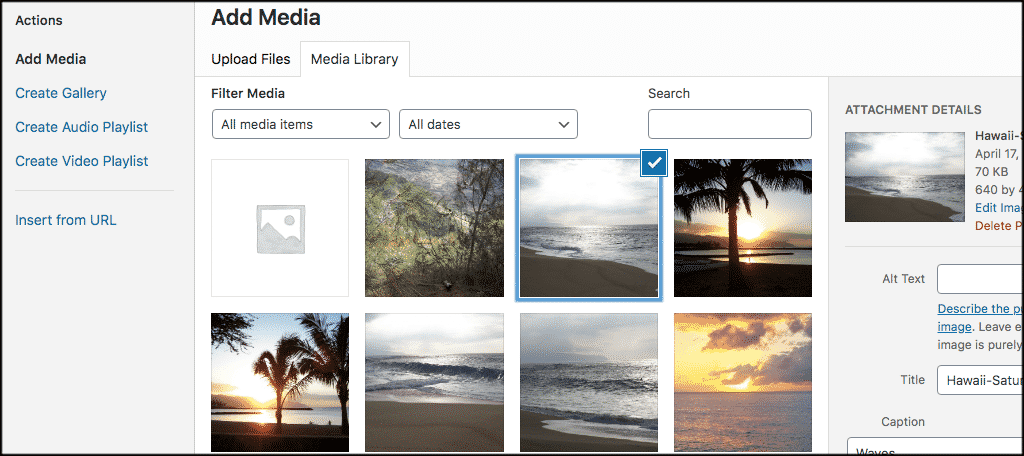
This will open up your media library. Select the image from your library that you want to use for the WordPress header image on that page. Click on the “Insert into Post” button.
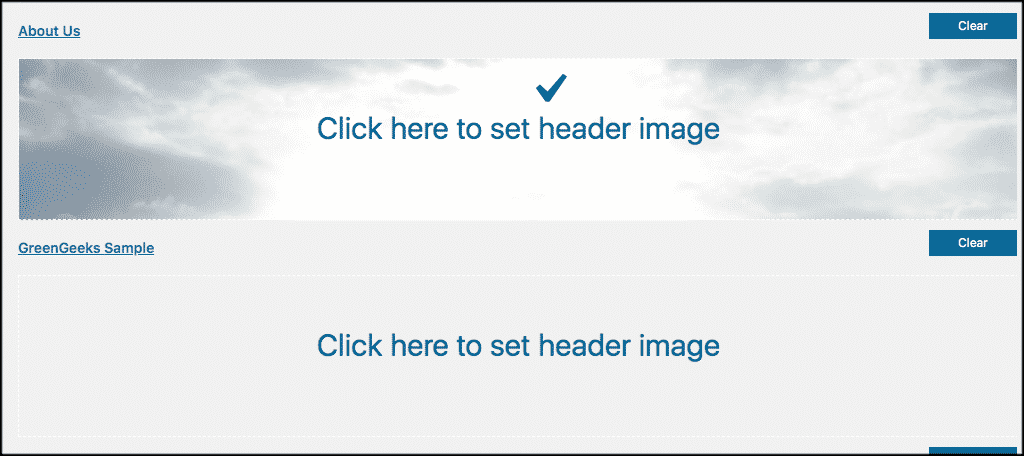
You will see that the file has been added to that area, and a checkmark appears letting you know that the menu image has been set.
Go ahead and go to your live site to check it out. Just click on the menu item you set the image for and you will see the image is now there displaying in the header.
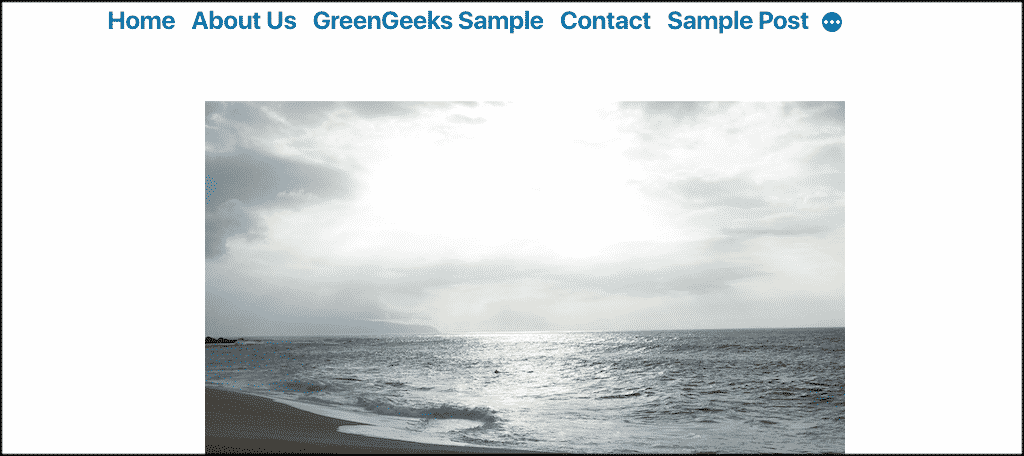
Note: The WordPress header image will display based on the personal styling you set. The template and placement you set will also affect the look.
Final Thoughts
When it comes to originality, adding unique header images is a great way to set yourself apart. The more original your website is, the more memorable you will be to your website users.
One of the great ways to do this is to create custom WordPress header images for your menu items. This is a unique way to show functionality and originality on your website.
Now that you have an easy-to-use tool for doing this, adding a header image to your menu items will not be difficult to do at all.
Have you had trouble finding a solution that would allow you to easily handle this process? Are you still manually coding in header images when you need them?
