Do you want to grow your email list in WordPress? If so, then you should try using contact forms. Contact forms can create a variety of forms that range from signing up for a membership to leaving harassment reports. Regardless of which kind of contact form you use or its purpose, having visitors give their email to you is very valuable.
Many people are wary of signing up for email subscriptions due to bad experiences with email spam. This makes it increasingly difficult to grow any email subscription list in today’s world. Email marketing is one of the best ways to engage with your community, along with social media. Today, I will demonstrate how to set up contact forms to help increase your email list using WPForms.
Why Use a Contact Form to Grow Your Email List
Email marketing is a necessity for any website or company. Thanks to smartphones, email is just a fingertip away. For this reason, many email marketing services exist and produce great results. Email marketing services are in charge of delivering the email to anyone in your email list. Other services like OptinMonster can directly increase your email subscribers, but these are not free services.
The contact form method is a great way to gain more email addresses without spending money. Of course, you may choose to use paid contact form building plugins, but the free ones are a great place to start. They allow you to offer your email subscription when the visitor is already trying to contact you. Keep in mind that getting visitors’ email address does not give you the right to spam or sell their email.
How to Integrate Your Contact Form With Your Email Marketing Service
Today, I will demonstrate how to set up contact forms to help increase your email list using WPForms. WPForms is one of the best contact form builders available. It has a free version and a paid version that has a lot of additional features. You will also need an email marketing service like MailChimp. This will allow you to directly allow visitors to sign up for an email subscription within the contact form.
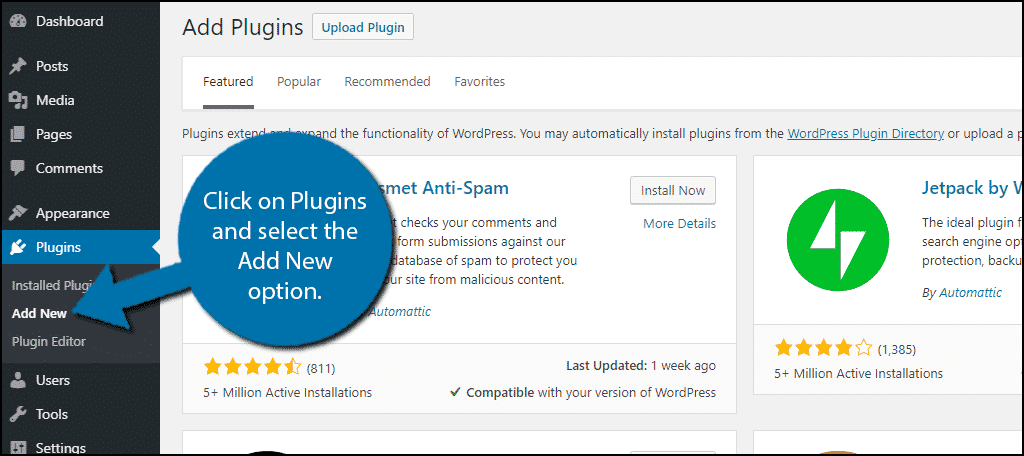
Start off by clicking on Plugins and selecting the Add New option on the left-hand admin panel.
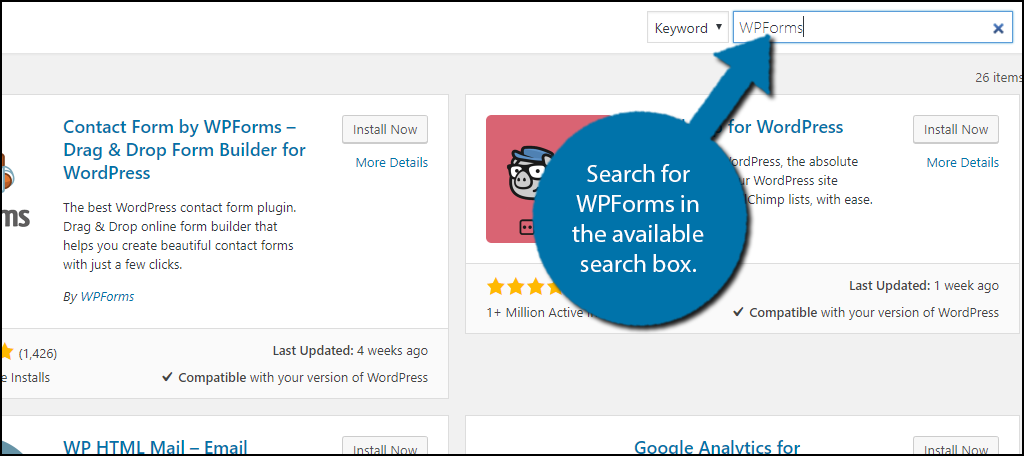
Search for WPForms in the available search box. This will pull up additional plugins that you may find helpful.
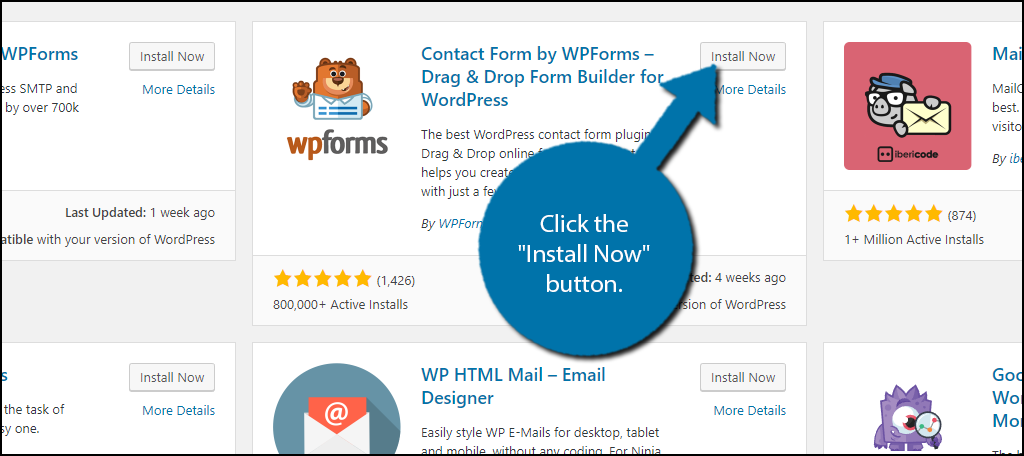
Scroll down until you find the Contact Form by WPForms plugin and click the “Install Now” button and activate the plugin for use.
On the left-hand admin panel click on WPForms and select the Settings option. This will pull up the main settings page.
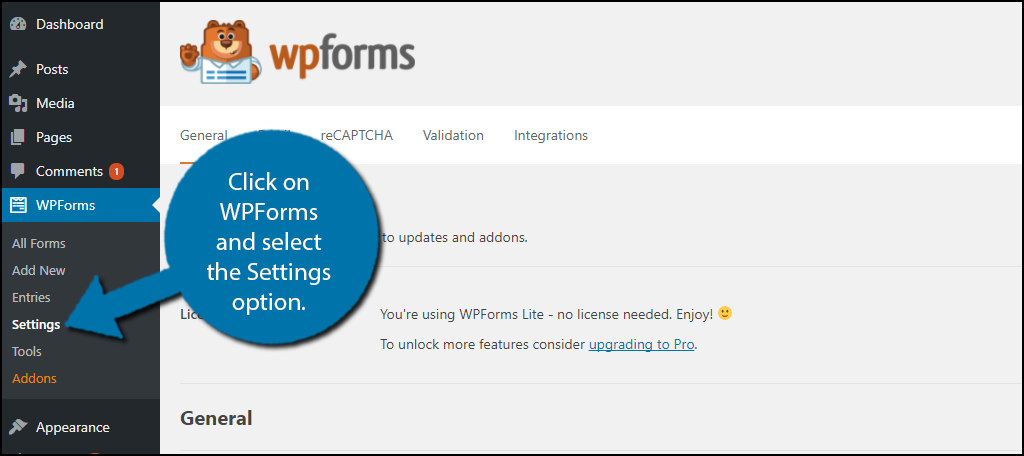
WPForms has many settings to tweak and even more if you upgrade to the pro version. Click on the Integrations tab. This tab will allow you to integrate any contact form created in WPForms with your email marketing service of choice.
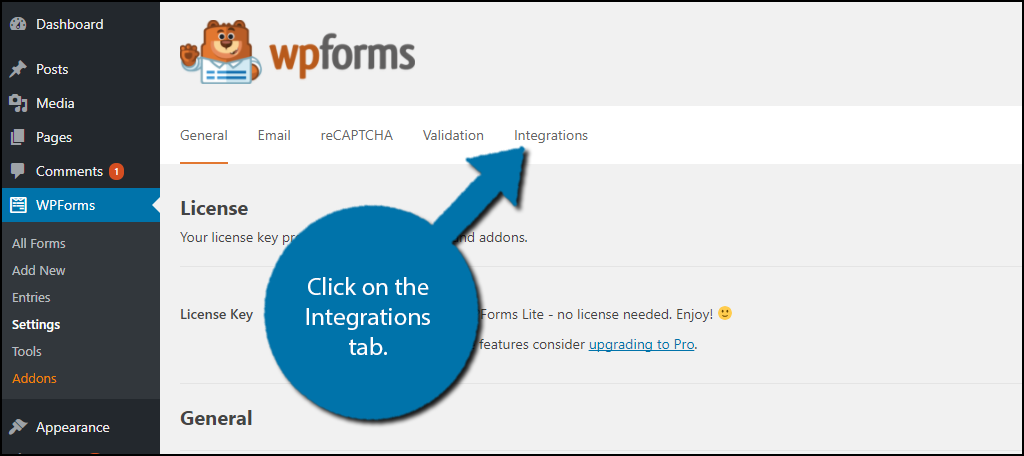
The integration tab will allow you to integrate your contact form with email marketing services. Signing up for the email marketing services like MailChimp is a separate process. The free version will only allow you to integrate with one email marketing service. If you would like to use a different service, like MailChimp, you must upgrade to the pro version. Once you have signed up for the service of your choice, you can find it on this page. Click on the service you want to integrate with.
How to Add an Email Signup Checkbox to Your Contact Forms
Integrating with your email marketing service is only the first step. Their job is to deliver the emails, but will not find people to send emails to. This is where the contact form becomes beneficial. This is another avenue you can use to promote signing up for your email subscription. The nature of the form is not important, you can add this check box to every form and should.
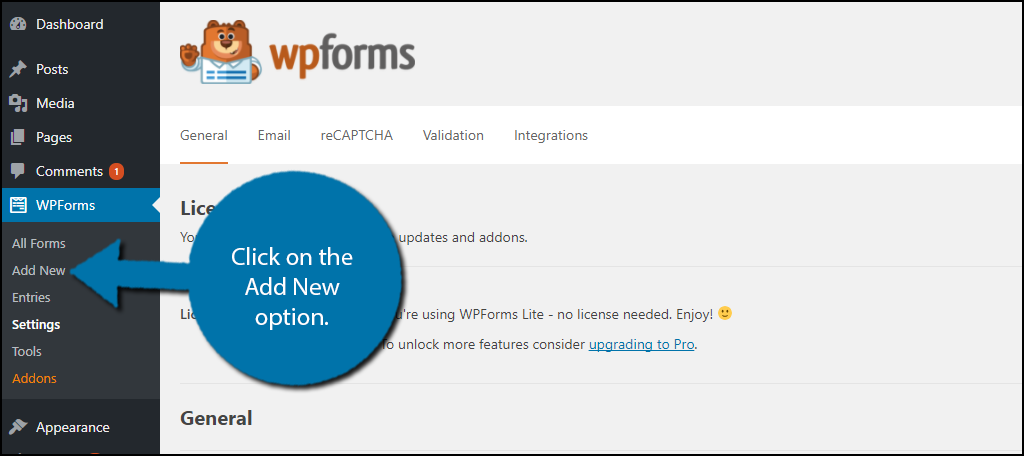
If you already have a contact form made, feel free to use that, but if you do not, click on the Add New option. The type of form does not matter since you can add the checkbox to any form. In my case, I picked the Simple Contact Form template.
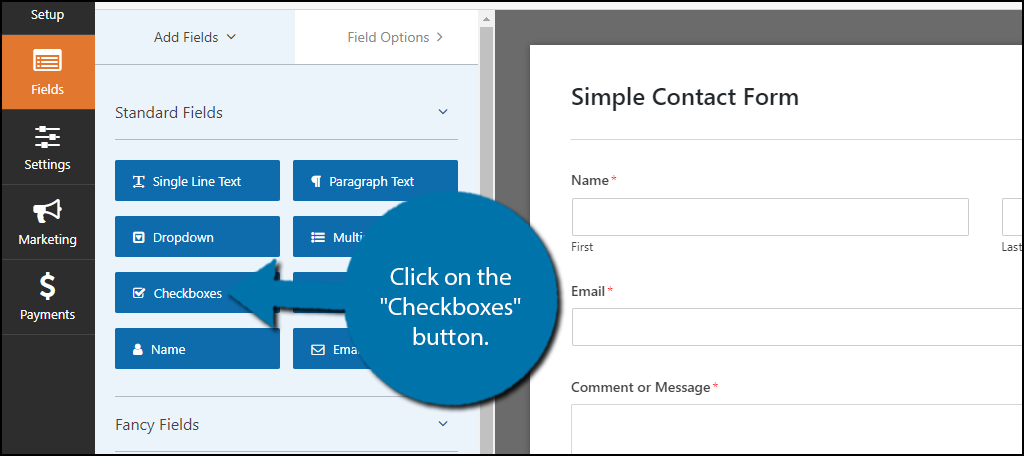
Click on the “Checkboxes” button. A checkboxes section will be added to your form. Click on the checkboxes section.
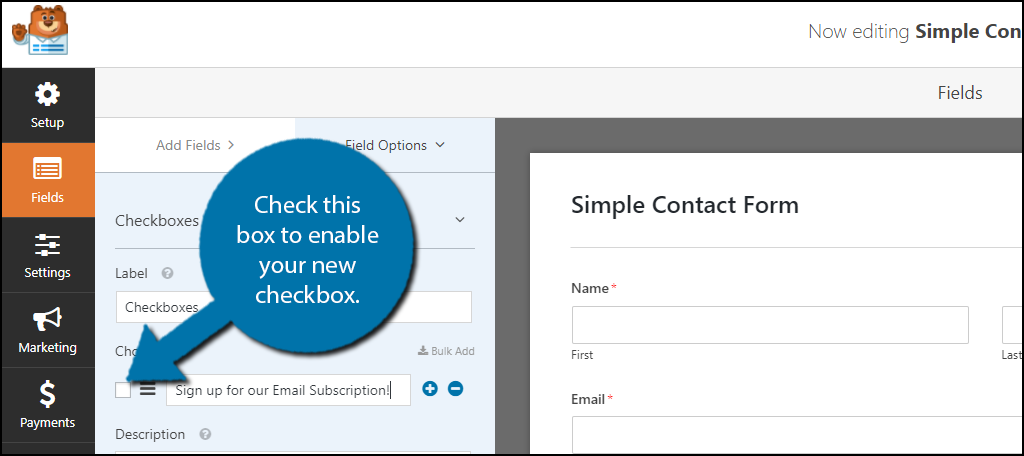
The default checkbox addition will add three checkboxes. You will only need one, delete the other two checkboxes by clicking on the “-” button next to the checkbox. Name the checkbox accordingly. Once the checkbox is set up, check the box to finalize it.
The checkbox is now created, but it does absolutely nothing in its current state. You must now add the functionality to the checkbox. Click on the Marketing button. Here you will see the various email marketing services. Click on the one you integrated with earlier and click on the “Add New Connection” button.
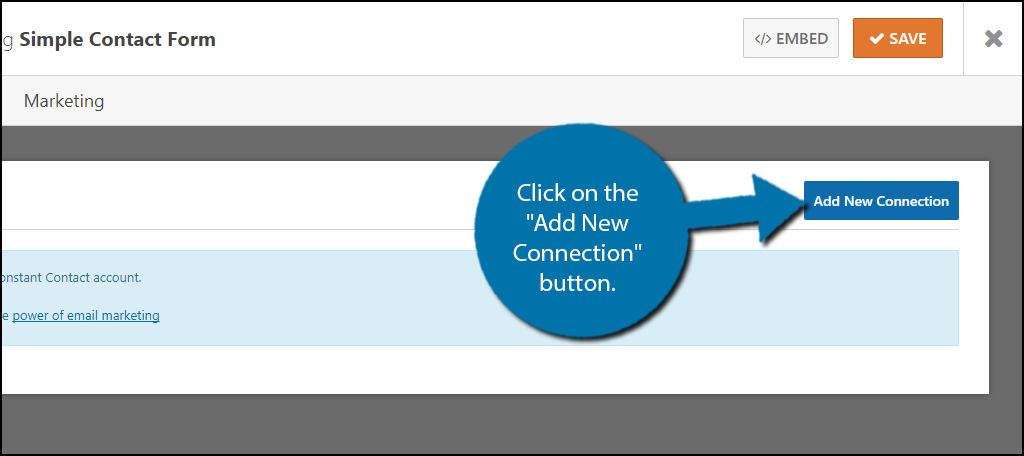
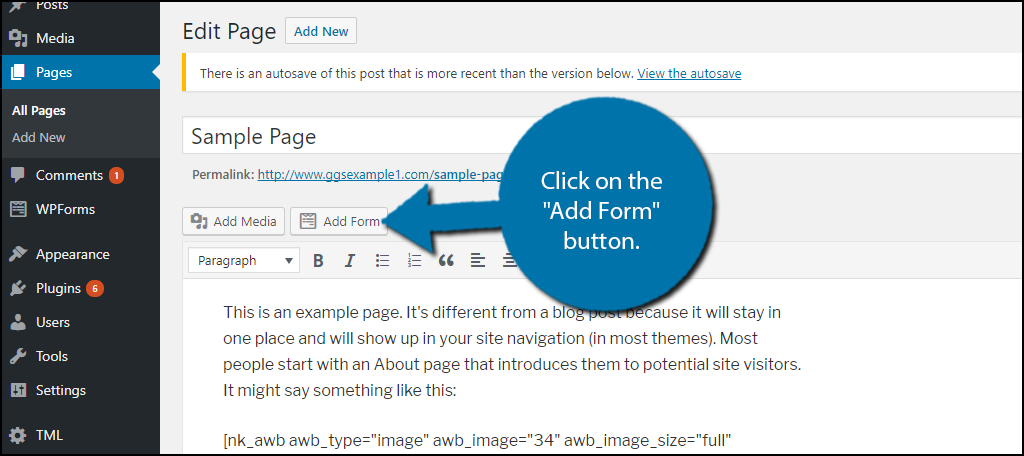
WPForms will now obtain your account information with the email marketing service of your choice. Once connected you need to select what email list visitors will be added to when they check the box. Enable the conditional logic and the checkbox is all set up. Now you simply need to add the form to a Post or Page. Click on the “Add Form” button and select your form.
Congratulations, you have successfully added an option for your email subscription on any contact form. Keep in mind you will have to repeat these steps on each form to add the button.
Don’t Abuse Your Communities Emails
Having a visitor sign up for your email subscription list has become much harder over the years. This is mainly due to the large number of spam emails most websites send out.
This is a quick way to get placed in the spam folder and you should avoid it. Not many websites or companies should produce a daily email.
If you’re just starting out, consider sending a monthly or weekly email showing what changed, new content, or new products being offered.
You must also make sure your emails look good. This is all set up with your email marketing service and it is very important to send the right message. It is also important to follow a schedule.
Have you noticed an increase in email subscribers since you added the contact form? Which email marketing service is your favorite to use?

I’m not sure how outdated this article is, but WPForms won’t allow you to connect to ANY mail service without paying for it now.