Do you want to automatically create a WordPress post when you upload to your YouTube channel? YouTube is the largest video sharing website in the world and has many impressive stats to back up its popularity. Many YouTubers will make their own websites to support their channels. Creating a post for every upload is extremely important for these content creators.
Automatic posts in WordPress save web developers time but make sure you check on them. The last thing you want to happen is automatic mistakes. This will also help you provide more content to visitors if you are an active uploader. Today, I will demonstrate how to automatically post to WordPress from Youtube using the IFTTT service for free.
Why Should You Automatically Post to WordPress
Videos are a great source of content to add to any website. Videos can contain any type of content from entertainment to education. A popular YouTube channel can help make a popular website and vice versa. Videos complement most content and can be the only source of content, as YouTube has proven. The issue is actually having enough time to grow both a website and a YouTube channel.
They are both full-time jobs and it can be very tough to handle one of them, but automatic posts can help save you time. Every time you upload a video on your YouTube channel, a post on WordPress is created by IFTTT. It will be a very simple post, but like all WordPress posts, you can easily expand upon it.
IFTTT?
IFTTT or IF This Than That is a very powerful service. You can tell the service if this happens then do this. In our case, if I post a new YouTube video, then create a new WordPress post. It has a lot of possibilities and it’s free to use.
How to Automatically Post to WordPress From YouTube
Today, I will demonstrate how to automatically post to WordPress from Youtube using the IFTTT service for free. Make sure you have the appropriate login information for both YouTube and WordPress. You will need to make an IFTTT account to begin. The process is very easy to understand. It can be used for a lot more automatic posts as well, including other social media platforms.
Creating an IFTTT Account
If you already have an IFTTT account, you can skip this section of the tutorial. On the IFTTT home page, click on the “Sign Up” button on the top right of the page.
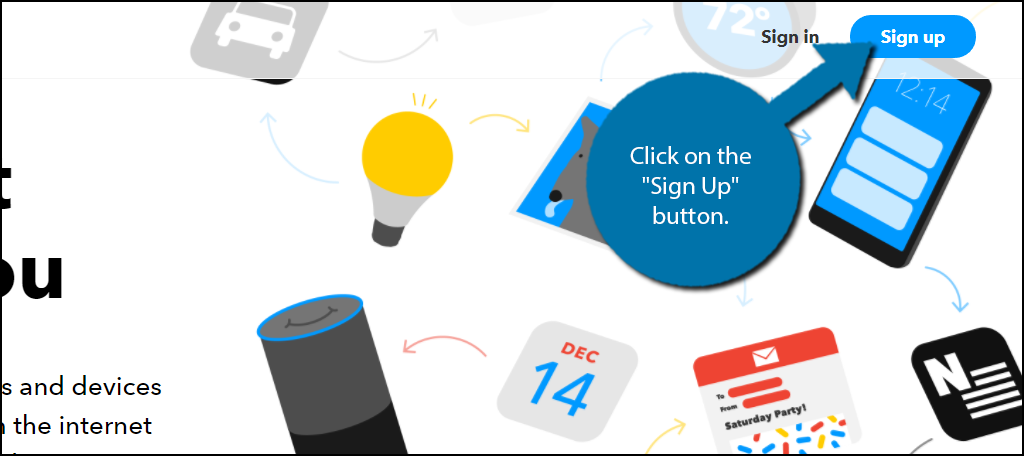
You can use either your Facebook or Google + accounts to create an account on IFTTT. You can also use the traditional method by clicking the “Sign Up” option underneath them. It does not matter how you create the account.
Once you have signed up, you will be asked to select three services you use regularly. Pick the ones that you use and click on the “Continue” button.
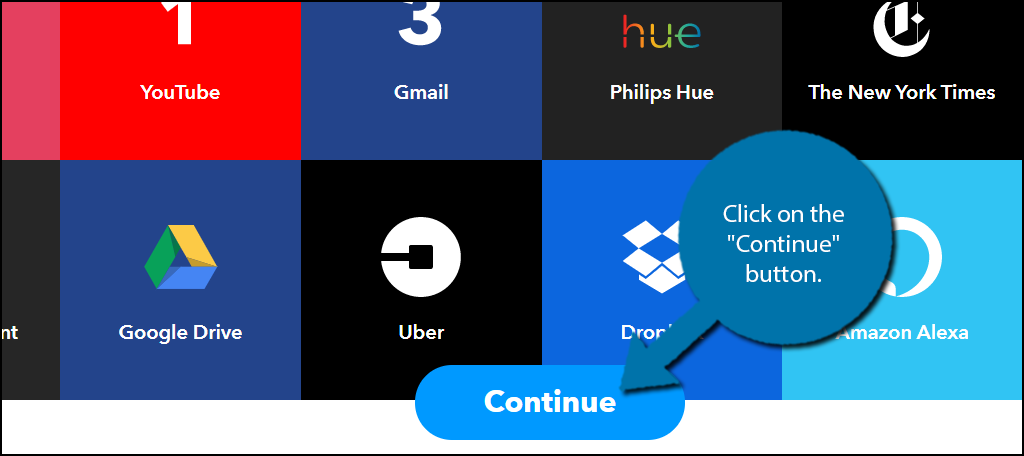
The service will recommend some applets for you to pick, you can either pick some or click on the “X” on the top right of the page. An applet makes it easy to connect two different platforms together and there is a lot to choose from. We will create our own applet to connect YouTube and WordPress together.
Creating Your Applet
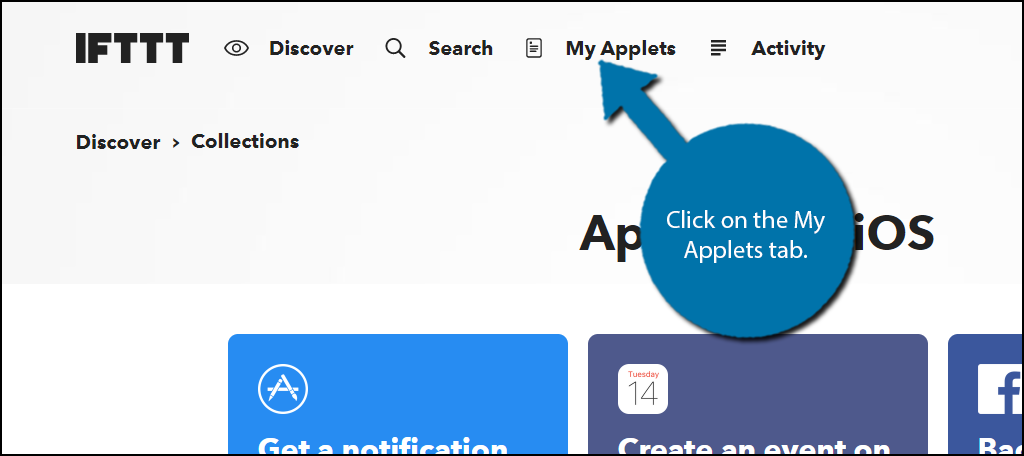
Creating your own applet is very easy. Click on the My Applets tab at the top of the page.
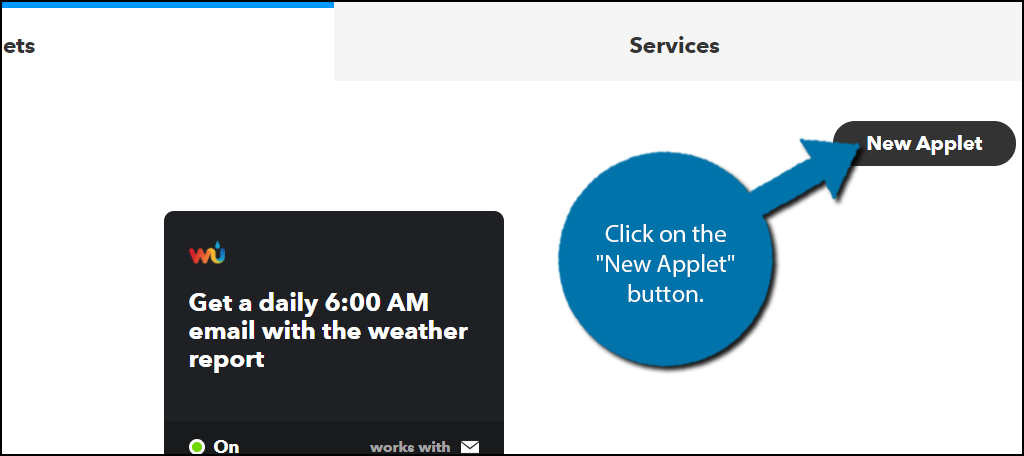
You will see all of your existing applets if you have any. Click on the “New Applet” button.
You will see “if this than that”, but the this will be blue and clickable. Click on the “this” option.

You need to select the service that will be the cause of the effect. So in your case, you want to select YouTube. You will then have to follow the steps and link your YouTube account.
Once linked, you will have to select the trigger. The trigger is the action that will cause the reaction. It gives you four options to choose from. Select the “New public video uploaded by you” option.
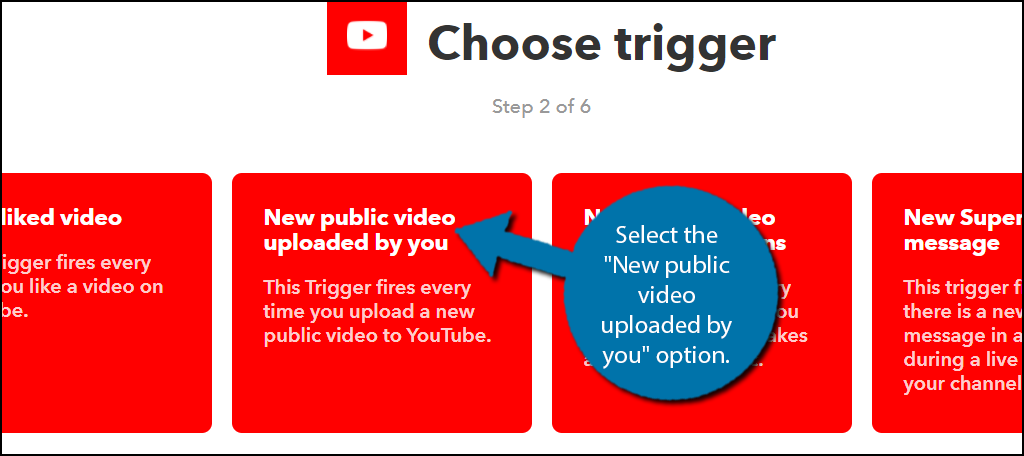
Now it is time to click on the “that” option. This is where the effect will take place.

Type in “WordPress” into the available search box. Select the WordPress option.
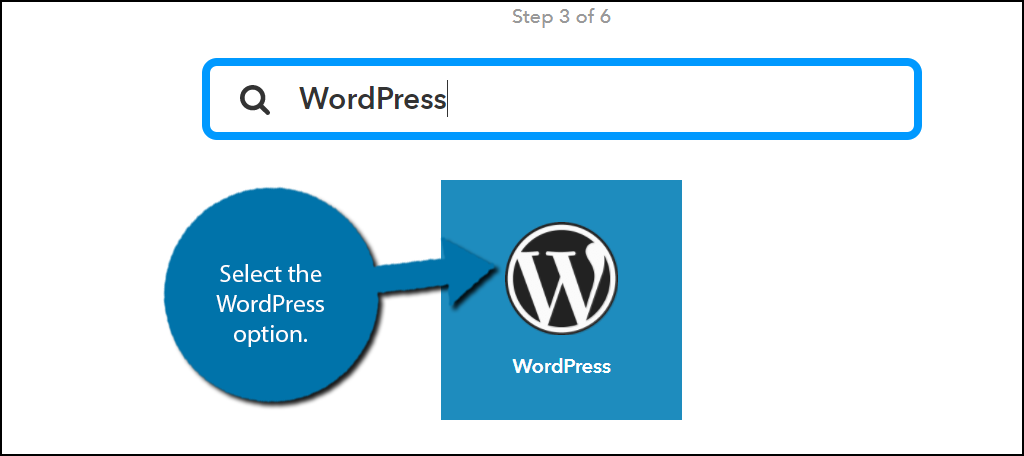
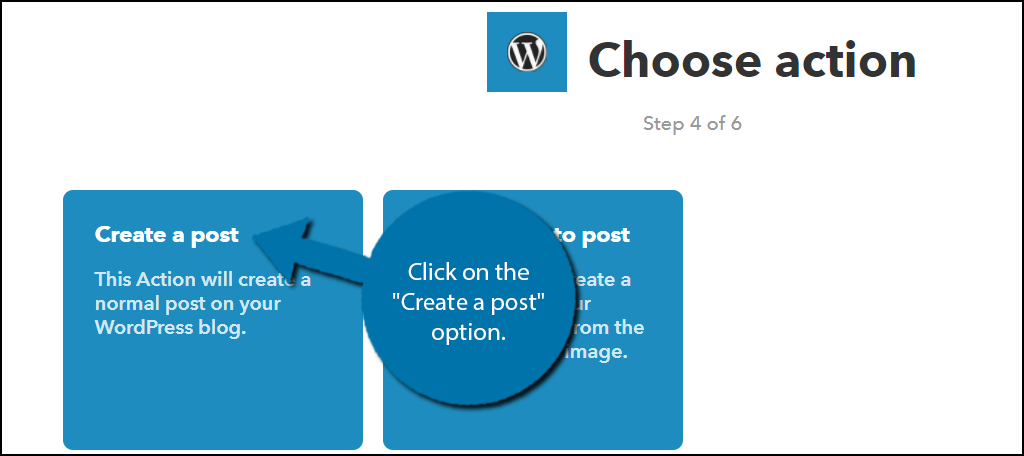
Now you need to click on the “Connect” button and link your WordPress website. When your account is linked, you will have two options. Click on the “Create a post” option.
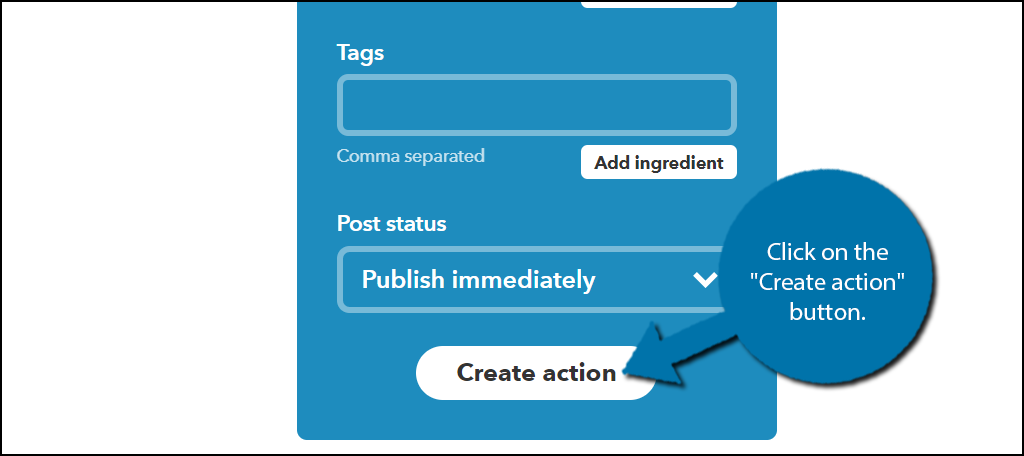
You can now fill out what your post will contain. IFTTT allows for you to import data into the fields by clicking on the “Add Ingredient” button. For example, in the title field, you can select the YouTube video’s title as the title of the post. Fill out the form and click on the “Create action” button. All that’s left is to click on the “Finish” button.
Congratulations, you have successfully used IFTTT to post to WordPress from YouTube. Your applet is now created and turned on. You can edit it by clicking on it in your “My Applets” section.
Be Careful About Spamming Your Own Website
Not every YouTube video you make may be appropriate for your website. The applet will continue to post every video as a post, but make sure you are not spamming your own website. It may become harder to find other posts that you make on your website. This is a very important balance you need to consider as a web developer and a YouTube content creator.
If you are solely a YouTube content creator, posting every video is fine, but as a web developer you need to make sure your website is not just a video dump. Your website needs to include custom content or else there is no point to visit it when it is on YouTube. If you find out that there are too many automatic posts, then turn it off and start manually embedding your videos in WordPress.
Have you found IFTTT easy to use? Can you think of any other creative ways to use IFTTT to automatically post on WordPress?
