One of the most important moments for a website is when a user finishes reading your post. They then have to make a choice if they want to stay or go somewhere else. For this reason, many sites add custom widgets after content.
This is so the site can better engage with the user. This can include showing similar or recent posts to the user, displaying share buttons for social media sites, listing any products that were mentioned in the post, and more.
The point is to entice the user to stay on your site and view more of your content, assuming they like what they just read. Unfortunately, by default, WordPress does not make this easy to do, but the Add Widget After Content plugin solves this problem.
Today, I will demonstrate how to add custom widgets after the content in WordPress.
What Are Widget Areas in WordPress?
Each theme comes with a specific widget area which are areas where you can place widgets. Most commonly, these include the sidebar, footer, and header area. Each theme is unique, and the number of widget areas will vary.
However, with the right knowledge, you can add more by editing the theme files, or by using a plugin.
Since WordPress updated the widget space, it has essentially become a second Gutenberg editor as you are now free to just add any blocks that you could use in Gutenberg. They will automatically be resized to fit the widget area.
That said, it is still referred to as a widget area and many plugins will list widgets that they add to these sections.
How to Add Custom Widgets After Content
The Add Widget After Content plugin was made for this specific reason. It adds a widget area that can appear after any post, and it can even add widgets before the content. That said, you have the option to disable it if you do not want it to appear on certain posts.
The plugin is rather simple to use. All you need to do is install it, customize the widget area, and choose if it should appear in the post editor. As such, it is perfect for beginners to use regardless of skill level.
Step 1: Install Add Widget After Content
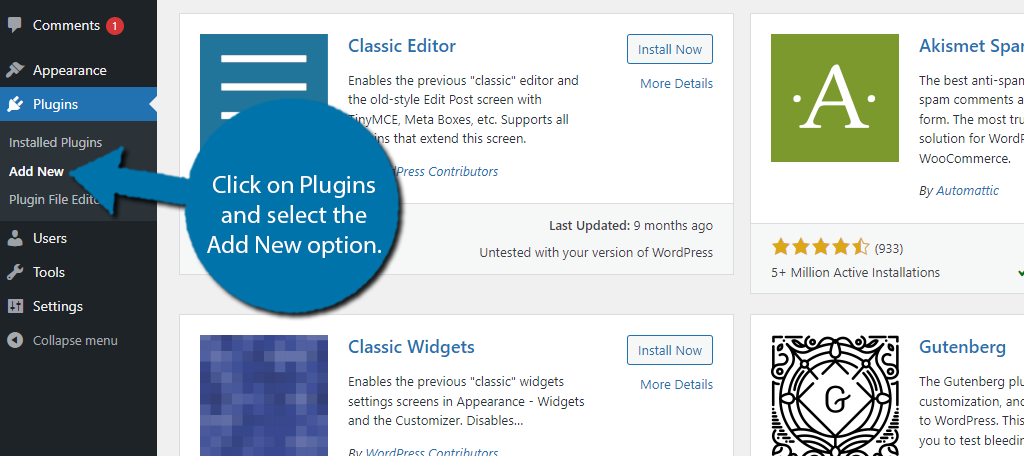
Let’s start by clicking on Plugins and selecting the Add New option on the left-hand admin panel.
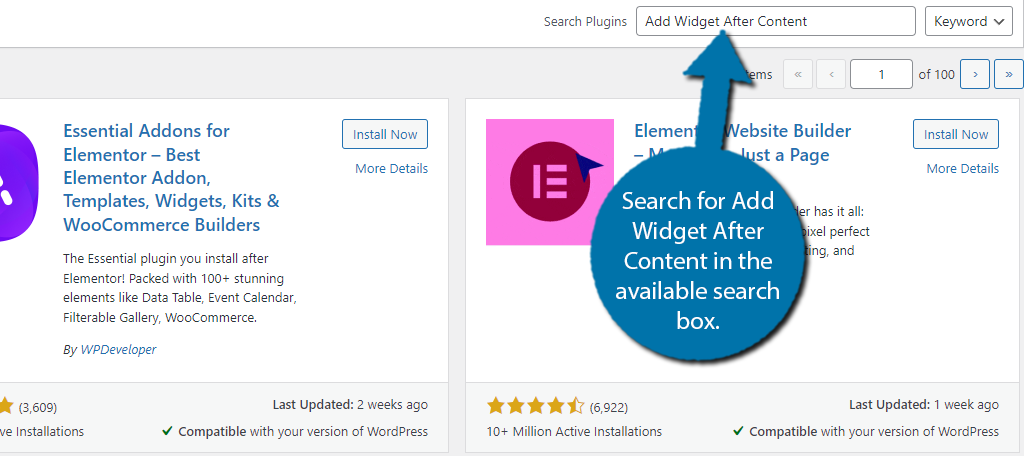
Search for Add Widget After Content in the available search box. This will pull up additional plugins that you may find helpful.
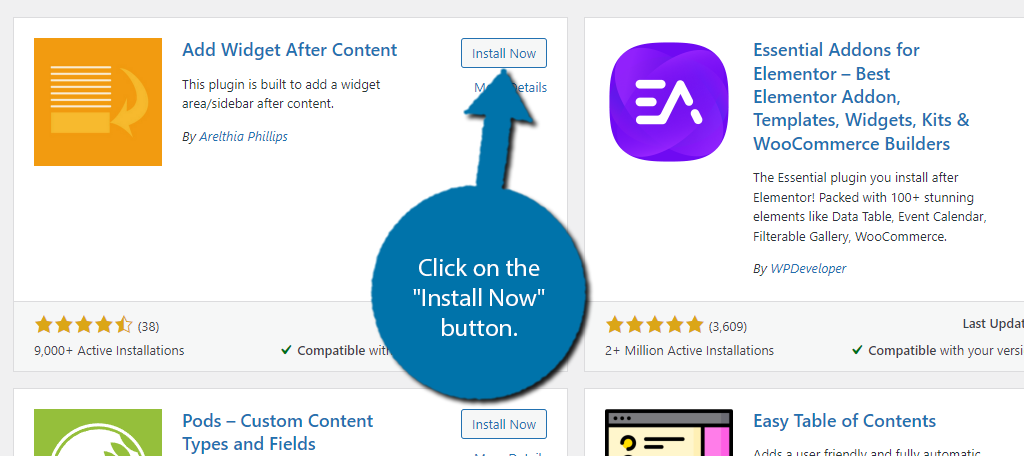
Find the Add Widget After Content plugin and click on the “Install Now” button and activate the plugin for use.
Step 2: Customize the After Content Widget
With the plugin installed, you can now begin customizing the After Content Widget the plugin adds to your site. To begin, we need to go to the widgets area of WordPress. To do so, click on Appearance and select the Widgets option.
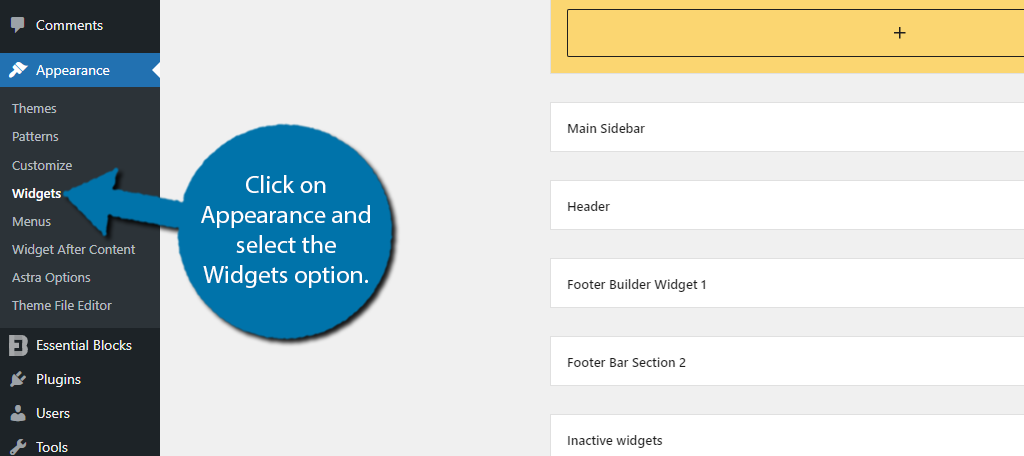
Here you will find all of the available widget areas your theme offers. Among them, you should see the After Content widget area. This is the one the plugin has added, and you will need to customize it.
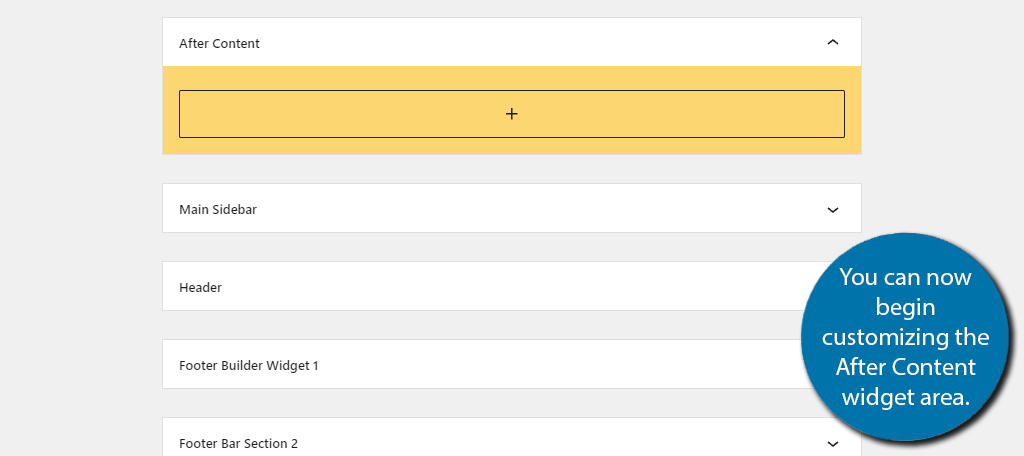
This is no different than customizing any other widget area in WordPress, so I will not spend time on that. Instead, let’s go over some good things to add once a reader has finished with your content.
Perhaps the most important is recommending more content for them to consume. The best way to do this is to recommend your latest content, which you can do by using the Latest Posts block.
Another approach would be to show related posts, but that requires an additional plugin.
Another strong choice is to display your social media share buttons. That way, if the user likes what they just read, they can share it with their own followers and hopefully help gain your post more traction.
Other ideas include asking them to subscribe to a newsletter, displaying products, or whatever else you can think of. It really just depends on your website and what you are aiming for.
Step 3: Remove the After Content Widget
Realistically, you are done. The plugin will work automatically after this and display the widget content on all post data. However, there are many situations that you may not want this widget to appear on a post.
For example, perhaps you are making a sad announcement like the death of a colleague. You probably don’t want to ask users to subscribe to your newsletter after such an announcement. As such, let’s go over how to disable the widget area from appearing.
Go to the post that you wish to exclude from the widget appearing on. Scroll down below the editor and you should see a small checkbox asking if you want to remove the widget after content.
Check the box to disable the widget area from appearing on that post.
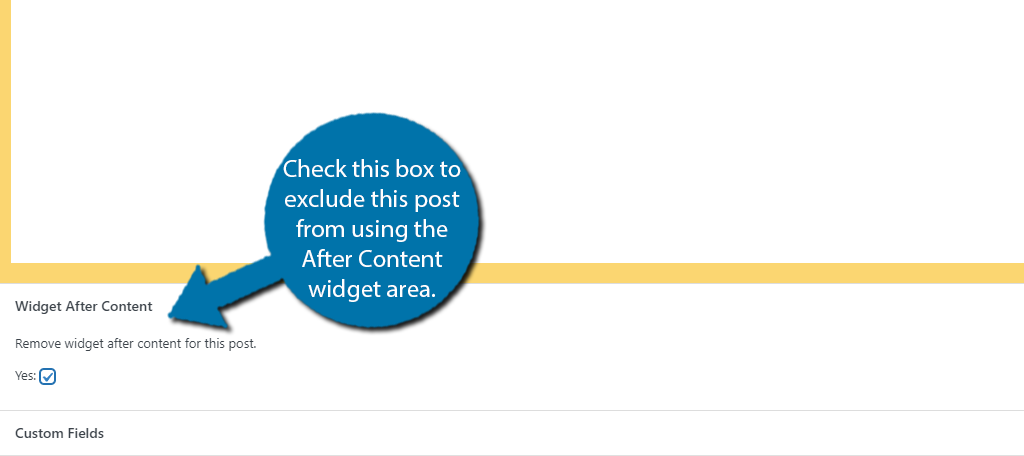
And that’s really all there is to the plugin. You can freely edit the widget area at any time, and choose which posts are excluded. Since this is done manually, it can take some time if you have a lot of posts, you do not want this to appear after.
Other Plugins to Consider Using
While the Add Widget After Content is a great way to add a custom widget area in WordPress, it is not the only way to approach the problem. Here are some other plugins you may want to consider trying.
Elementor Header & Footer Builder
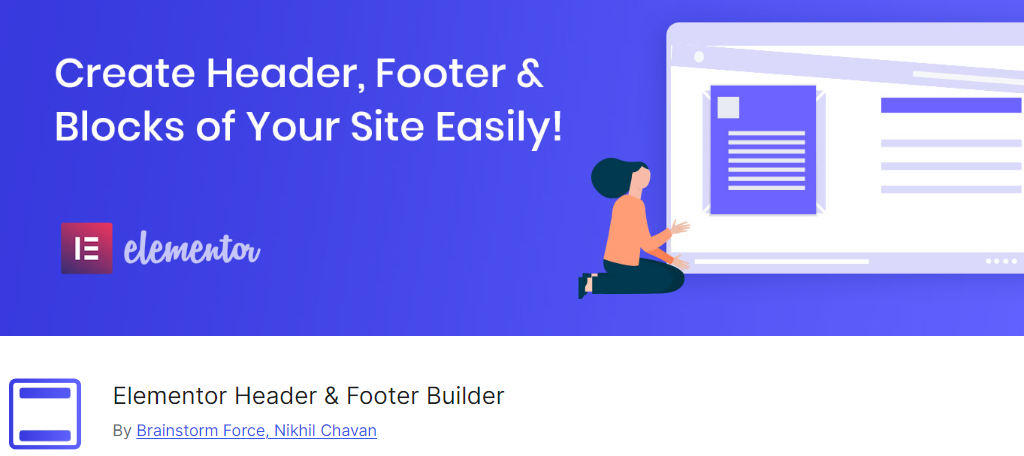
Elementor is perhaps the most popular page builder in WordPress, but what if I told you that it can also build custom headers and footers? Well, it can, and the Elementor Header & Footer Builder is what you need to install.
As the name implies, you can build your own header and footers for WordPress and store them as a block. Naturally, this means you can just add the block after your content, and you have essentially achieved the same results as the plugin we just covered.
The main difference here is that you can use the Elementor Editor instead of Gutenberg. This is a great choice if you are already using Elementor to build content in WordPress, so be sure to give it a try.
Header Footer for Beaver Builder
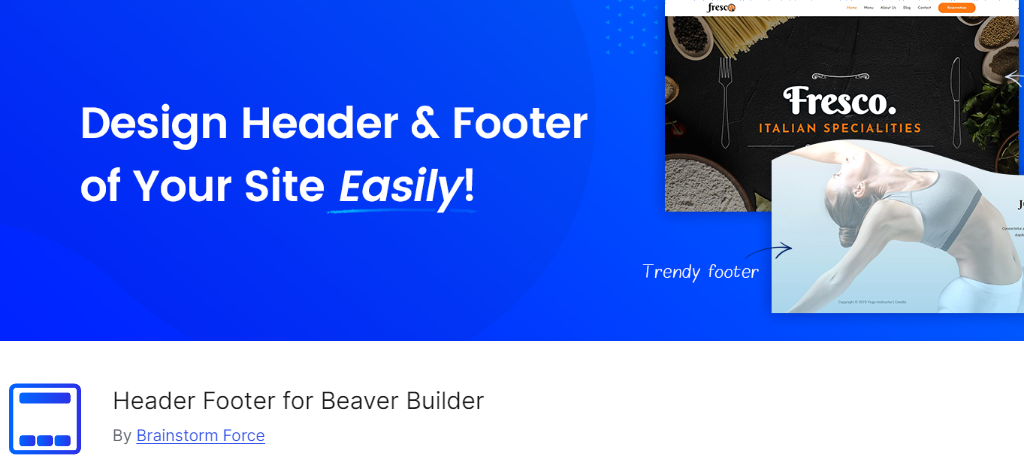
The Header Footer for Beaver Builder is similar to the Elementor plugin we just talked about with the only difference being that you are using Beaver Builder. This plugin allows you to create a page and store it as a header or footer.
Naturally, you could store what you want to include after a post as a footer and place it at the bottom of the post every time. Thus, it is a relatively easy option to use, assuming you are already familiar with using Beaver Builder.
For those unaware, Beaver Builder is another popular page builder that uses a drag-and-drop interface to build WordPress content. It is easy to use and is a great choice for beginners that may find Gutenberg difficult to use.
Improve Visitor Retention Today
The main purpose of displaying widgets after your content in a custom area is to retain those users and keep them viewing your content or help them share your content with others. This is something nearly every website does in one way or another.
As such, there is no one-size-fits-all solution. You need to figure out what you want your users to do and create content that compels them to do it. Simply telling them to sign up for a newsletter won’t work if the presentation is bad or there is no value in it.
I hope you found this tutorial helpful in learning how to add widgets to a custom area after the content in WordPress.
How easy did you find the Add Widget After Content plugin? Has this increased visitor retention and engagement?


How can I add a widget after content right after the content. The tool itself always adds widgets at the bottom.
Solo lo muestra en las publicaciones y no en la página principal… cómo se puede hacer para que los muestre también ahí… Gracias por cualquier ayuda 😉
You might be able to add the widget as a block on your homepage. Though, this will depend on the theme you use and how your homepage is set up. The Gutenberg block editor is quite flexible.