
Ever wondered why your posts have a completely different time stamp from when you actually publish them? Perhaps you want a quick glance at local server time from the admin panel. Maybe you want to show your visitors the time from your blog or even a countdown to something grand.
All of these can be easily set up in WordPress. From correcting the time of your posts to showing a countdown timer to New Year’s Day, we’ll show you how to do all of it in this tutorial.
You’ll find many uses with the right WordPress time clock plugin on your site. Many can offer practical functionality while enhancing the experience for admins and visitors alike.
Tools for Admins
Correcting the Date of Your Posts

The first point we’ll cover is how to set the date correctly in WordPress. This can be very helpful if you have admins or authors spread out across the globe. This gives your team clarity of when posts or pages are created and may also contribute to improving communication.
The default time setting of WordPress may be different than what your clock says. As a result, every post will have a time stamp that is completely off from when you actually hit the “Publish” button. To fix this:
- Go to the “Settings” control from your WordPress dashboard.
- In the “General” settings, you’ll see a drop down box for the “Timezone.” Click this box and select the correct zone for your location. NOTE: You’ll find that you can look your area up by the closest location or by the +/- of your specific UTC.
- Choose the “Date Format” in which you want to display.
- Choose the “Time Format.”
- Click on the “Save Changes” button on the bottom when you are done.
WordPress will now publish your posts according to your specific time. This may also be helpful should your target audience be in a different location in the world. It can show visitors when they can often expect a new piece of content on the site. It’s also helpful when setting up post schedules.
In a way, setting the time of the WordPress server is like all of the admins and contributors synchronizing their watches. As a result, everyone can be on the same page when creating material and building onto the website.
Displaying Current Time for Admins

When your WordPress team is scattered about the countryside, synchronizing efforts may be ideal. At a glance, your admins and authors can see what time it is in relation to the website itself. Adding a WordPress time clock plugin will be helpful for everyone. For this example, we’ll show you the Blog Time plugin.
Go to your “Plugins” area and add a new plugin. In the search bar, type in “Blog Time.” From here, you want to install and activate the plugin. This will automatically add a clock to the admin bar along the top.
The clock will show up on the right hand side of the bar next to the individual’s login name. It will be based on the time from WordPress settings.
Tools for Visitors
Displaying Current Time for Visitors
The plugin Blog Time also has a feature that can be useful for visitors. It installs a widget that you can use to place in your WordPress sidebars.
The widget itself can be helpful if you want to show the time of your site’s server to visitors. To do this, go to the “Appearance” control from the WordPress dashboard. Then, click on the “Widgets” area. Here, you will see a new widget called, “Blog Time.” Simply drag it to any of your side bars and expand to see its settings. To set the widget up: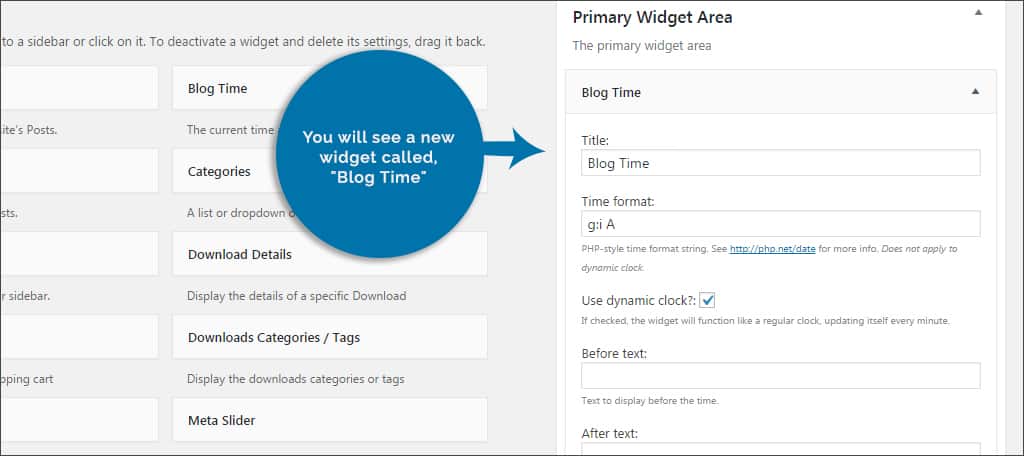
- Create a title for the widget. This is the header people will see when visiting your site. You can also leave it blank if you don’t want a header.
- Adjust the time format. It may be a good idea to leave this as it is. Otherwise, you can read how to set time in PHP format if you want to customize it.
- Keep the “Use dynamic clock” box checked. If you uncheck this, visitors will see a time stamp of when they arrive and not a fully functioning clock.

- Set a “Before” and “After” text that displays before and after the clock. This is completely optional. However, you could use it as a way to add flare to the feature. For instances, you could add a short motivational one-liner each week.

- Click the “Save” button when you are done.
Adding a Countdown Timer
Countdown timers can be incredibly fun and useful for visitors and admins alike. They can give your site a rich appearance while offering a practical marketing purpose. For instance you could use a countdown timer to:
- Promote a new product from an eCommerce site
- Show when a new post is going to be published
- Show when a specific holiday is about to come
- Promote an offline event that your business will be attending
- Advertise the release of a third-party product
To add a countdown timer, we’re going to use the Waiting: One-click countdowns plugin for WordPress. To do this, follow the directions from earlier to install and activate the plugin.
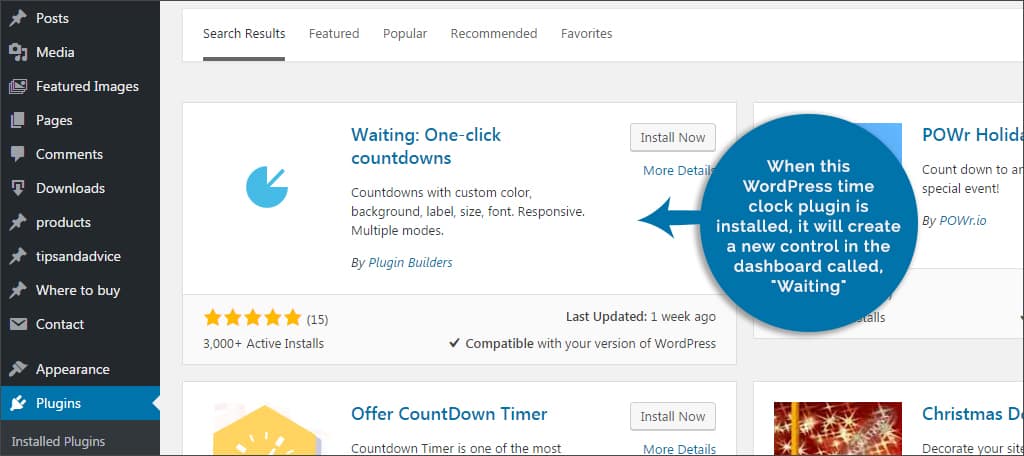
When this WordPress time clock plugin is installed, it will create a new control in the dashboard called, “Waiting.” It may show up on the bottom of the left hand side of your display. Click on this and it will open the plugin.
By default, this plugin will immediately show the settings for adding a new countdown timer. It will also show a demo of what it will look like once it’s placed on your site. To use this plugin:
Step 1: Enter in a name of the timer. This must be unique as the plugin uses this name to arrange the timers.

Step 2: Select the date and time in “Countdown to.” Note: This plugin can also work as a stopwatch by using the radio button for “Duration.”
Step 3: Select a “Timezone” of what you want the countdown to be based on. If you leave this according to “WordPress,” it will use your websites server time.
Step 4: Choose the units you want to display. Depending on the duration of the countdown, you can go from seconds to years.
Step 5: In the “Labels” row, you can choose to shorten the text or put everything into lowercase. This might be ideal if you plan on setting something far into the future as it will help it fit on the post or page.
Step 6: Waiting gives you access to more than 600 fonts to choose from. Use the dropdown box next to “Fonts” to pick on that works with your design if you wish.

Step 7: The “Style” allows you to modify the dimensions and color of the timer. This is incredibly helpful if you need it to be a specific size as a sidebar widget. Click “Edit” to choose these settings.

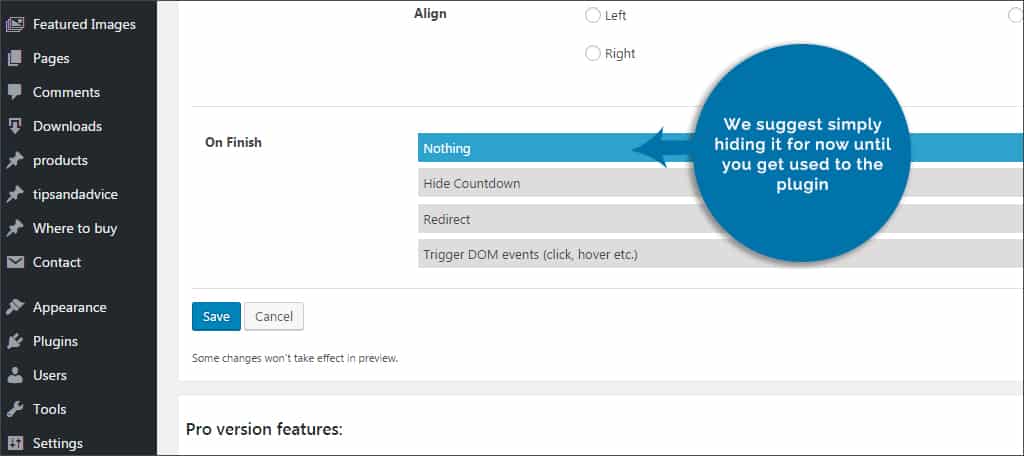
Step 8: In the section “On finish,” you can then set it to do nothing, hide the countdown, redirect or set customized trigger effects. We suggest simply hiding it for now until you get used to the plugin.
Step 9: Click the “Save” button on the bottom left.
Once you save the settings, the plugin will create a shortcode that you can add to almost any place in WordPress where you can add text. This includes posts, pages and the text widget for the sidebar.
From a marketing standpoint, countdown timers can be very useful. They instill a sense that something good is about to come from the website admins. It often inspires action from those who visit the site as well. This is why many developers will use timers to engage the audience even further.
For instance, someone who sees that a special on a certain product is about to expire may be talked into buying it.
Other Plugins of Interest
WordPress is full of plugins to manage time. Here are just a few of the more interesting ones we’ve come across.
Local Time Clock
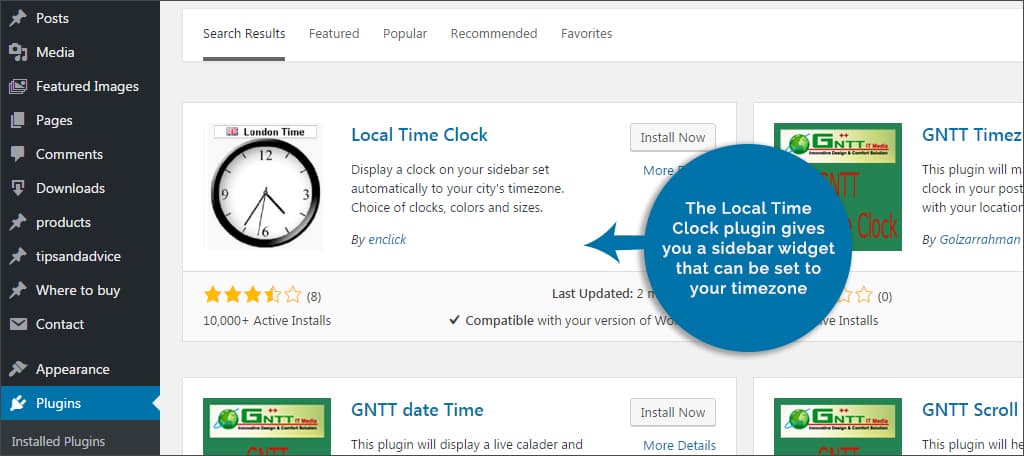
The Local Time Clock plugin gives you a sidebar widget that can be set to your timezone. It has a variety of styles available including one that looks like it was written on a Post-it note.
DT World Clock
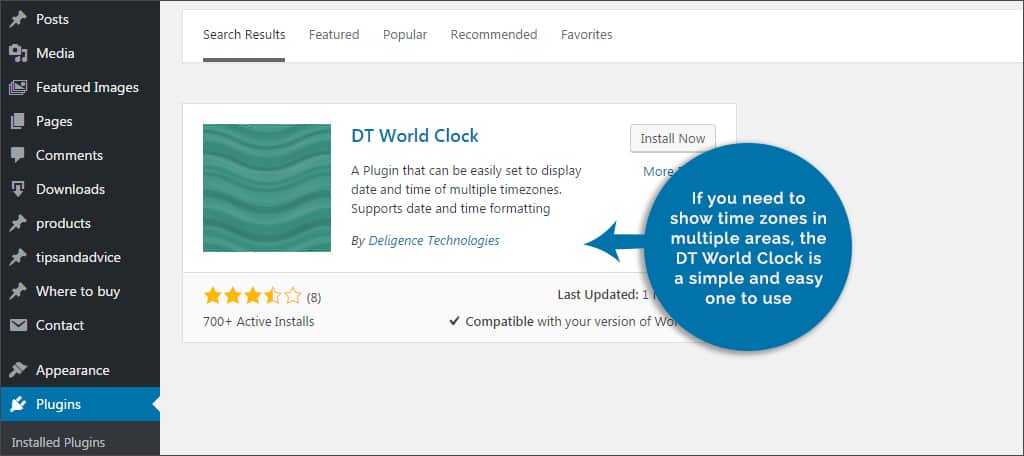
If you need to show time zones in multiple areas, the DT World Clock is a simple and easy one to use. It supports up to four locations, but the premium version can display up to 200.
Coming Soon and Maintenance Mode Plugin

Sometimes admins need to put the site into maintenance mode for adjustments. Perhaps your admins are building a new site and need an “Under Construction” placeholder with a timer. The Coming Soon and Maintenance Mode Plugin can be of use. It has a lot of features available including a nice countdown timer to let everyone know when the site will be live.
Time can be quite a useful attribute for any website. It can offer a sense of urgency for admins or be a pleasant addition for visitors. Explore the potential of what you can do with one of these types of clocks. You may find them to offer a sense of efficiency among admins as well as engaging for visitors.
What kind of small additions do you use on your website? If you have a team collaboration, do you find tools like this to be useful?


Hi there, great tutorial, im using Blog Time and it works fine and is really easy to customize but i have a really simple issue, i need to translate the days of the week and the month that i inserted using the php short-code.
Can u tell me how to do that?
Thanks in advance.